You’ve probably stood in your RV, staring up at those boxy fabric valances, wondering if anyone actually likes them or if they just came with the rig. Most people don’t. They just never got around to taking them down.
Learning how to remove RV valances is one of those projects that looks intimidating until you’re actually holding a screwdriver up to one. It usually isn’t.
Underneath that dated fabric box is either a simple staple job, a screwed-in bracket, or a snap rail. Once you know which one you’re dealing with, the whole thing comes down in minutes, not hours.
This guide walks you through identifying your mounting type, removing the valance safely, patching the window frame, and picking something better to hang in its place. Whether that’s curtains, Roman shades, or nothing at all.
Expect light work with a screwdriver and maybe a step stool. No drilling, no rewiring, nothing that requires a second person unless your ceiling is unusually high.
By the end, your windows will look like they belong to a completely different RV.
What You Need
- ▸Phillips screwdriver
- ▸Flathead screwdriver
- ▸Step stool
- ▸Small pry bar (optional)
- ▸Wood filler (if screw holes remain)
- ▸Sandpaper, 220 grit
- ▸Microfiber cloth
At a Glance
- Identify how your valance is attached
- Remove the valance panel first
- Take down the mounting hardware
- Patch and clean the window frame
- Decide what you’re hanging instead
- Measure your window before you buy anything
- Install your new curtains, shades, or blinds
Identify How Your Valance Is Attached
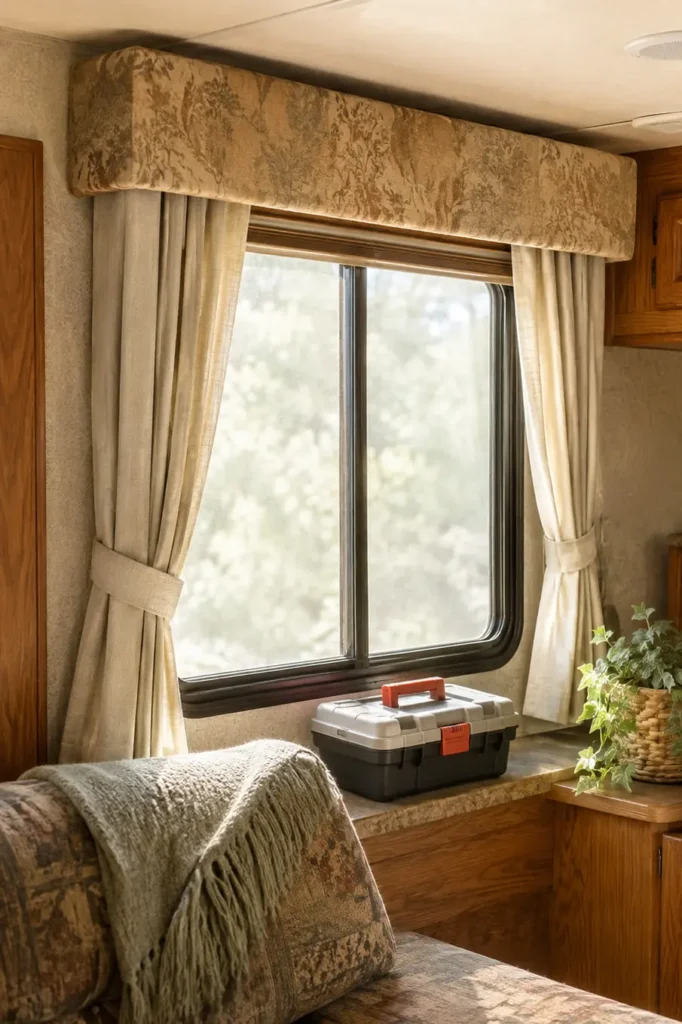
Look up before you touch anything. RV valances are usually held on one of three ways, and each one comes down differently.
Run your fingers along the top edge first. You’re feeling for a hard ridge, which usually means a mounting rail underneath the fabric.
Most RV valances fall into one of these:
- Stapled directly onto a wood strip above the window
- Screwed into a plastic or aluminum mounting bracket
- Clipped onto a curtain track with hook-and-loop backing
If you feel screws through the fabric, that’s your bracket type. If the fabric feels smooth and continuous, staples are more likely underneath.
Remove the Valance Panel First
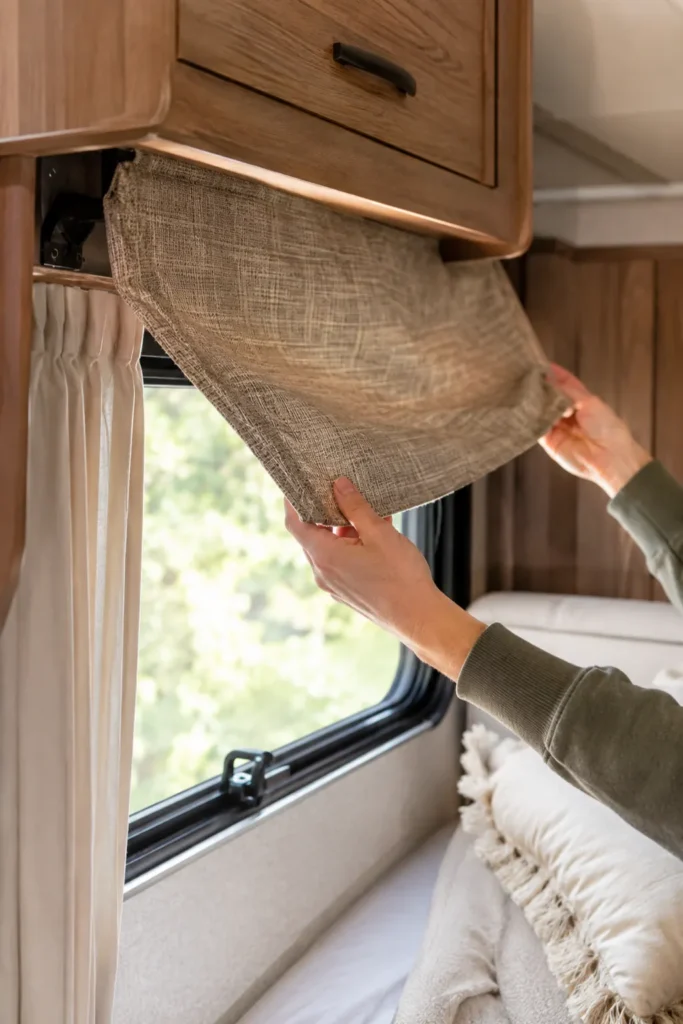
Start with the fabric, not the hardware behind it. Pulling the panel off first gives you a clear view of what you’re actually working with.
If it’s stapled, grip the bottom corner and pull gently down and out. Most staples let go within seconds once one corner starts.
Screwed panels usually have two to four screws hidden along the top seam. Back each one out fully before tugging on the fabric.
Keep an old pillowcase handy. RV valance fabric holds years of dust, and shaking it out over the pillowcase instead of your floor saves cleanup later.
Take Down the Mounting Hardware
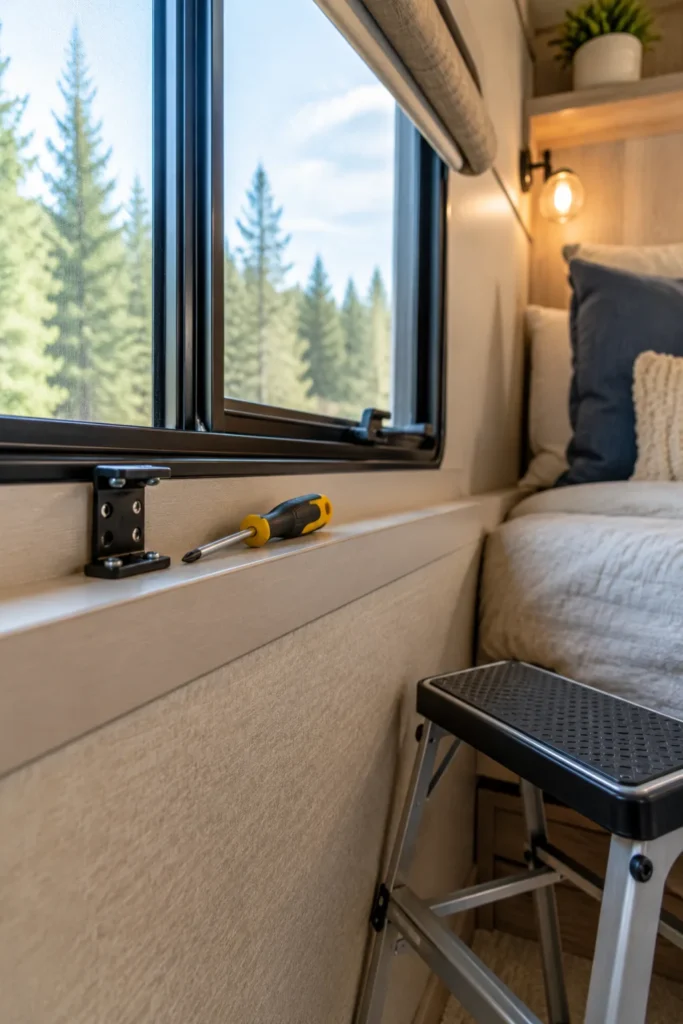
Once the fabric is off, you’ll see the actual bracket or strip screwed to the wall or ceiling. This is what held the whole thing up.
Support the bracket with one hand while removing the last screw. Unsupported hardware tends to swing and scratch the wall on its way down.
Some brackets are riveted instead of screwed. If you don’t have a rivet tool, snip the rivet head with wire cutters and gently pry the bracket free.
The risk: Some RV valance brackets hide wiring for reading lights or slide-out sensors.
The tell: A wire disappearing into the wall behind the bracket, not just a screw.
The fix: Stop and photograph it before disconnecting anything, so you can reconnect it correctly later.
Patch and Clean the Window Frame
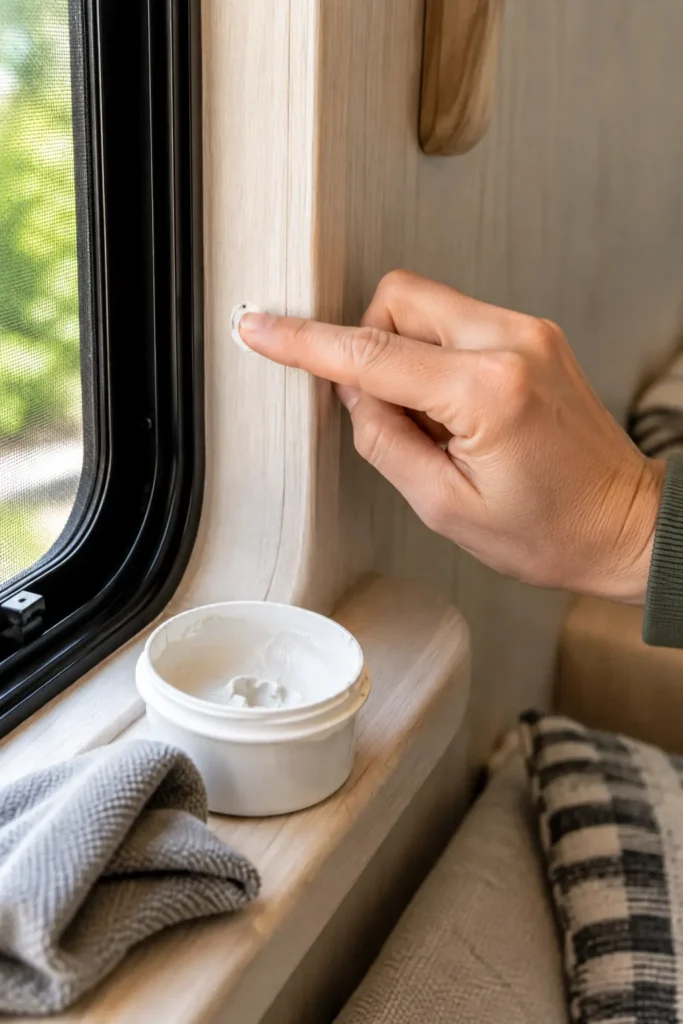
With everything down, you’ll likely see a few screw holes or staple marks along the frame. This is the easiest part of the whole project.
Press a small amount of wood filler into each hole with your finger. Let it dry for 20 minutes before touching it again.
Once dry, sand lightly in one direction until the patch sits flush. A few things to check before moving on:
- No raised filler catching the light
- No leftover staple tips poking through
- Frame wiped clean with a damp microfiber cloth
Skipping this step is tempting since no one will see it under new curtains. But rough patches telegraph through thin fabric, especially near a window where light hits directly.
Decide What You’re Hanging Instead
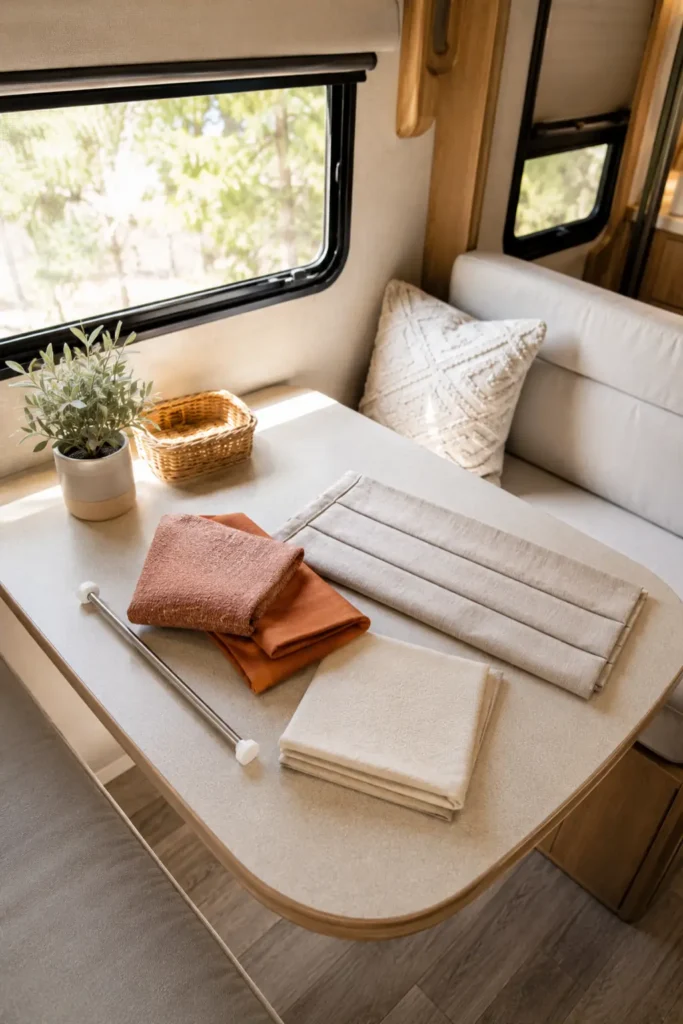
Here’s the real question: do you want something that blocks light completely, or something that just softens the space?
RV windows are smaller and sit closer to the living area than house windows, so the usual rules don’t always apply.
A few directions that tend to work well:
- Café curtains on a tension rod, covering just the lower half for privacy without losing light
- Roman shades for a cleaner, more built-in look with less fabric movement while driving
- Roller blinds for full blackout on bedroom-end windows
- No treatment at all, paired with removable window film for a minimalist look
Think about how the RV moves too. Heavier curtain rings can rattle on rough roads, while lightweight cafe curtains barely shift.
Test your pick before committing. Clip a fabric swatch to the window and drive around the block. If it stays put over bumps, it’ll hold up on the road.
Measure Your Window Before You Buy Anything
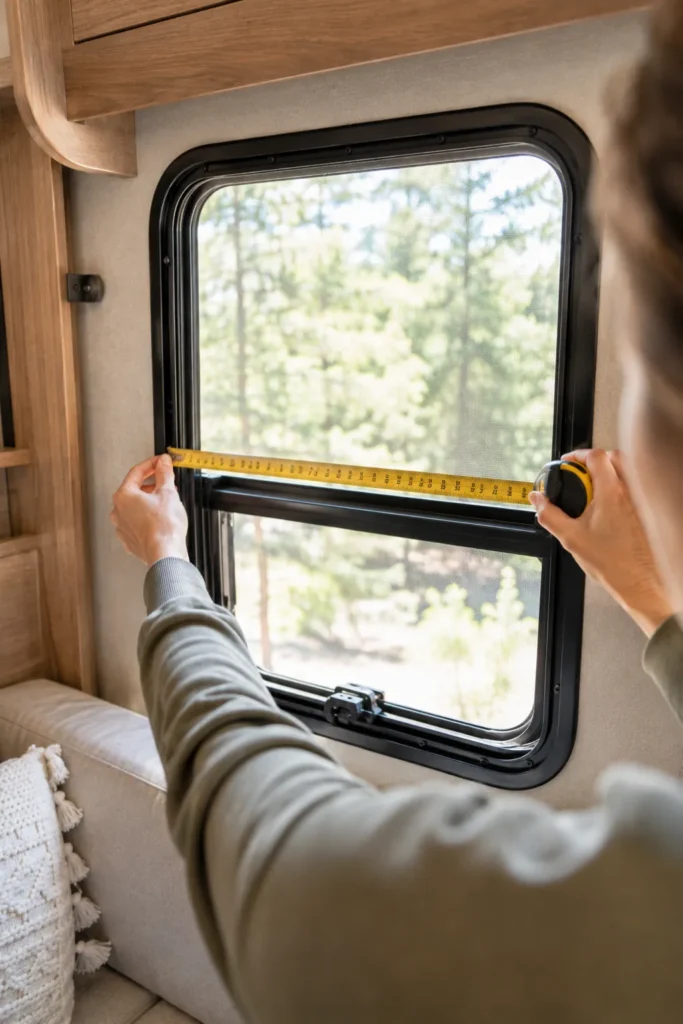
RV windows rarely match standard sizes, so guessing here almost always ends in a return.
Measure the width at three points: top, middle, and bottom. RV window frames are often slightly uneven, and using the narrowest measurement keeps your treatment from binding.
For curtains, measure from your rod placement down to wherever you want the hem to fall. Note both numbers before you shop, not just one.
Round down, not up. A tension rod that’s half an inch too long simply won’t fit inside the frame.
Install Your New Curtains, Shades, or Blinds

Mount from the inside out. Set your rod or bracket first, then test it holds weight before adding fabric.
For tension rods, twist until snug, then push firmly against both sides of the frame. It should not slide without effort.
Roman shades and roller blinds usually mount with small screws into the same holes your old bracket used, so no new drilling is needed.
Hang the fabric last, then step back and look from a few feet away. Small adjustments are normal here.
- Check the fabric hangs level on both sides
- Confirm nothing blocks the window latch
- Open and close the window fully once to test clearance
That last check matters more than people expect. New treatments sometimes catch on window cranks that the old valance never touched.
Before & After
Boxy fabric valance, dated pattern, dust collecting along the top seam, ceiling feels lower than it is.
Clean window line, more natural light, fabric or blind that actually matches your style, ceiling reads taller.
Common Mistakes to Avoid
Common Mistakes
RV Valance Removal
Quick Reference Card
- ▸Phillips + flathead screwdriver
- ▸Step stool
- ▸Wood filler + 220 grit sandpaper
- ▸Microfiber cloth
- Identify the mounting type
- Remove the fabric panel
- Take down the bracket
- Patch and sand the frame
- Pick your replacement
- Measure at 3 points
- Mount and test clearance
Conclusion
Those windows are yours again. No more boxy fabric shadowing the ceiling, no more dust catching in seams you can’t reach.
Give yourself a weekend to live with the bare frame before deciding on curtains. Sometimes the right choice only becomes obvious once you’ve seen the space with light coming in unfiltered.
Whatever you hang next, make it yours. This one’s worth pinning for when you finally get around to it.