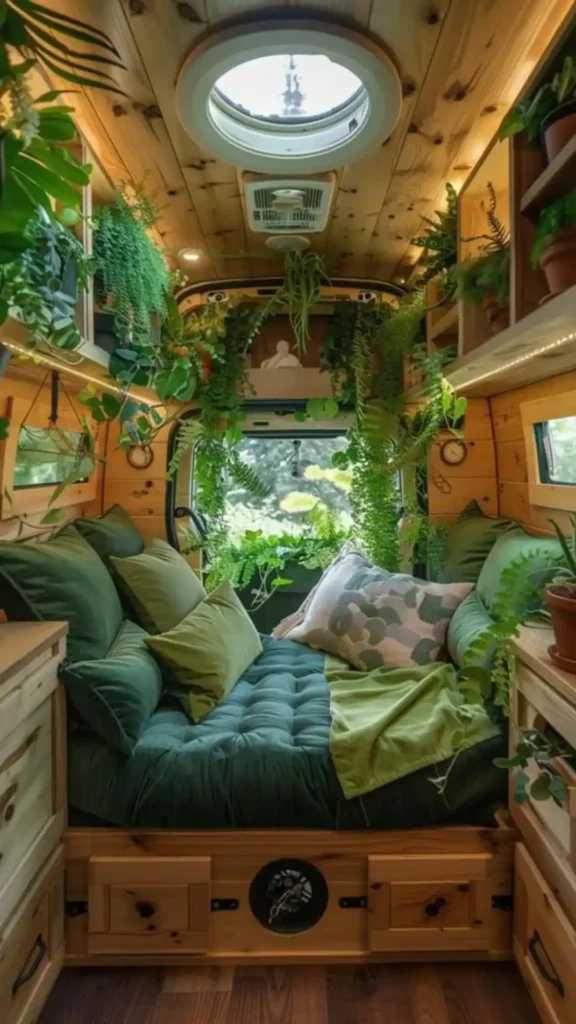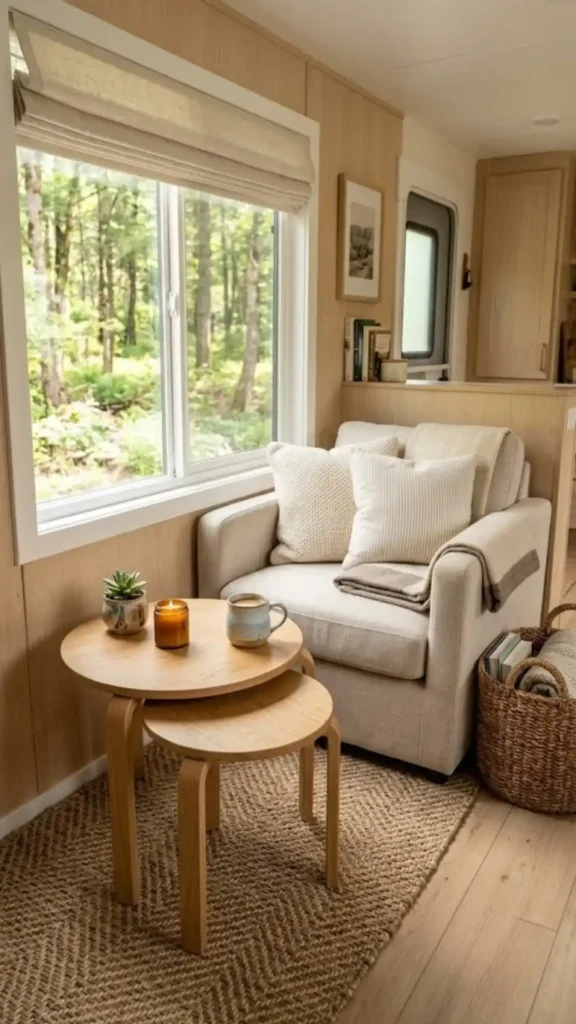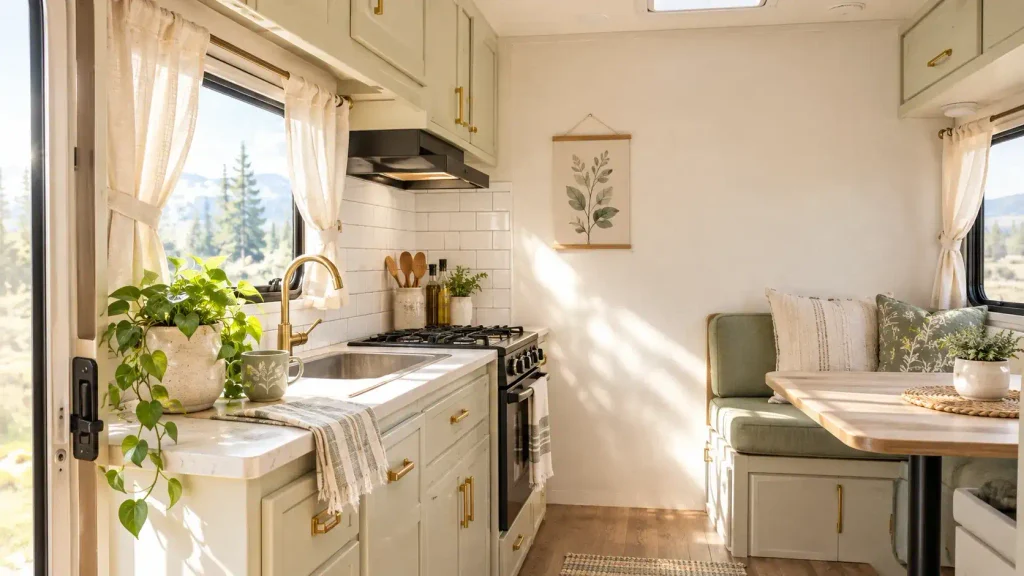
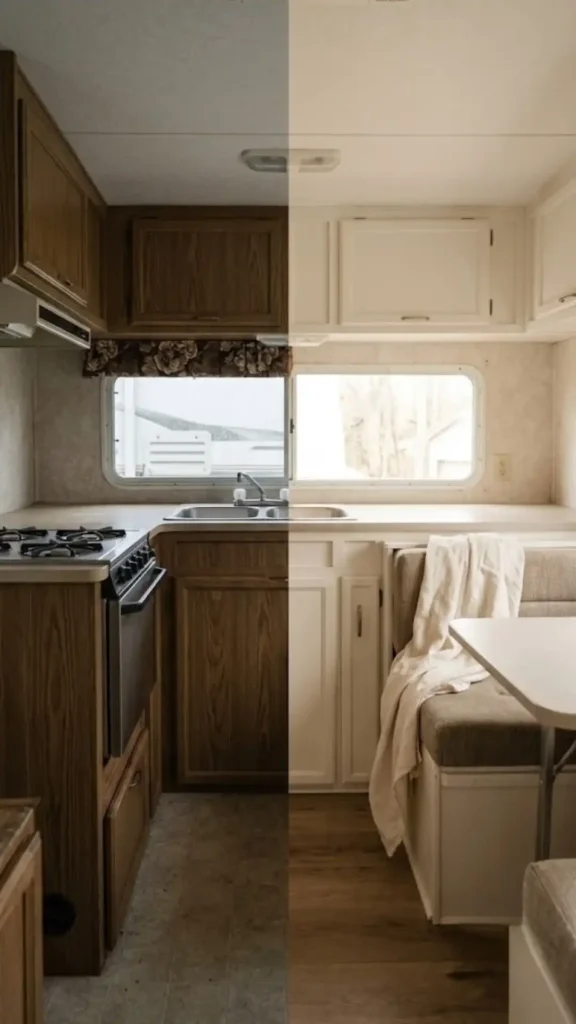
Most standard RVs roll off the lot looking like a shrine to the color brown. You stare at those faux-wood laminate walls, the beige countertops, and those matching brown floral valances, and you instantly want to rip it all out. I get it.
I have stared down that exact same tunnel of beige on a Tuesday afternoon. You want a bright, happy camper that feels like a real home. You just do not want to empty your savings account or buy a circular saw to get there.
The good news is you can completely flip the feel of your camper interior on a tight $200 budget. You do not need power tools or a trust fund. You just need a few high-impact, lightweight upgrades that actually handle life on the highway. Let us map out exactly where to spend that money to make your rolling home look like you.
Peel-and-Stick Magic: The High-Impact, Low-Cost Backsplash
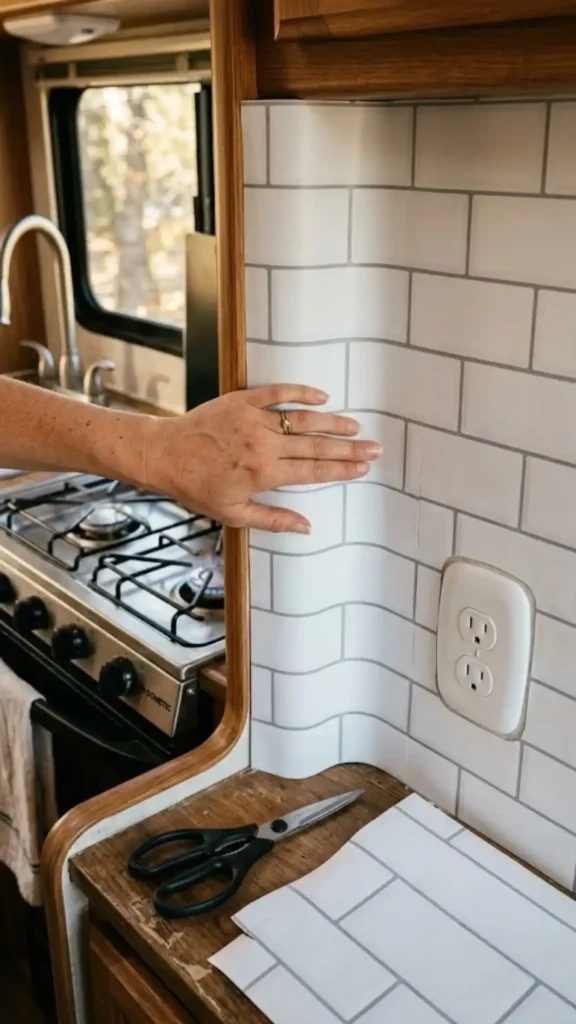
Your RV kitchen is tiny. That small footprint is actually a massive advantage for your decorating budget. You can completely cover the wall behind your stove and sink for roughly $35 to $45 using vinyl peel-and-stick tiles.
Brands like Tic Tac Tiles or Smart Tiles offer incredibly realistic, crisp white subway and dark hexagon patterns that weigh almost nothing. Weight is always the enemy in a camper.
Real ceramic tile adds heavy pounds you cannot spare and requires messy grout that will crack the second you hit a major pothole. Vinyl sheets bend right around tricky corner curves and trim easily with basic craft scissors to fit perfectly around your electrical outlets.
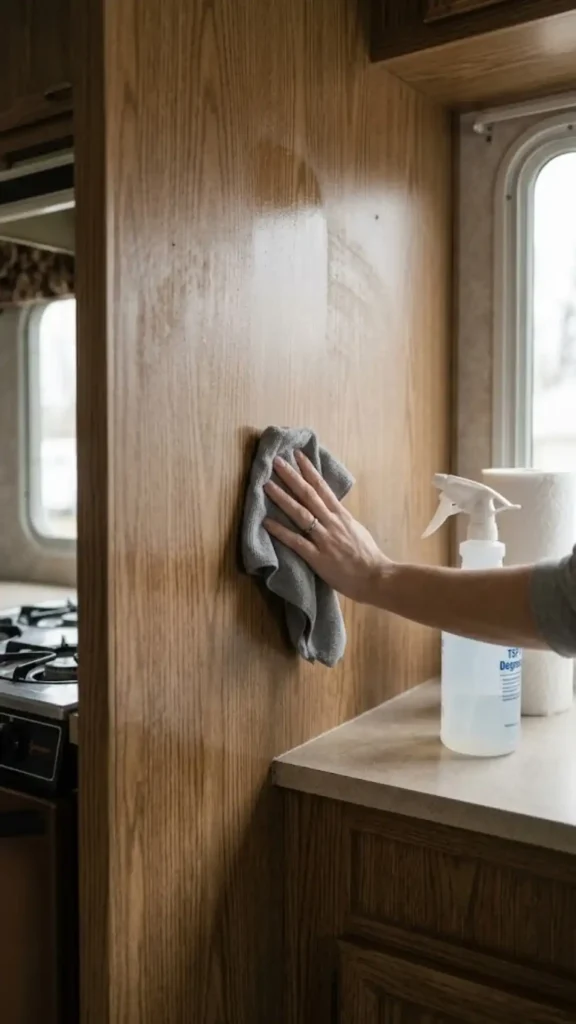
The real secret to making this specific project last is the prep work. Camper kitchens trap cooking grease on the walls because of poor ventilation.
If you stick vinyl straight onto a greasy surface, the edges will curl up during your first hot summer road trip. You must wipe down the entire area with a TSP degreaser first.
TSP costs about $6 at any local hardware store and strips off years of invisible grime in seconds.
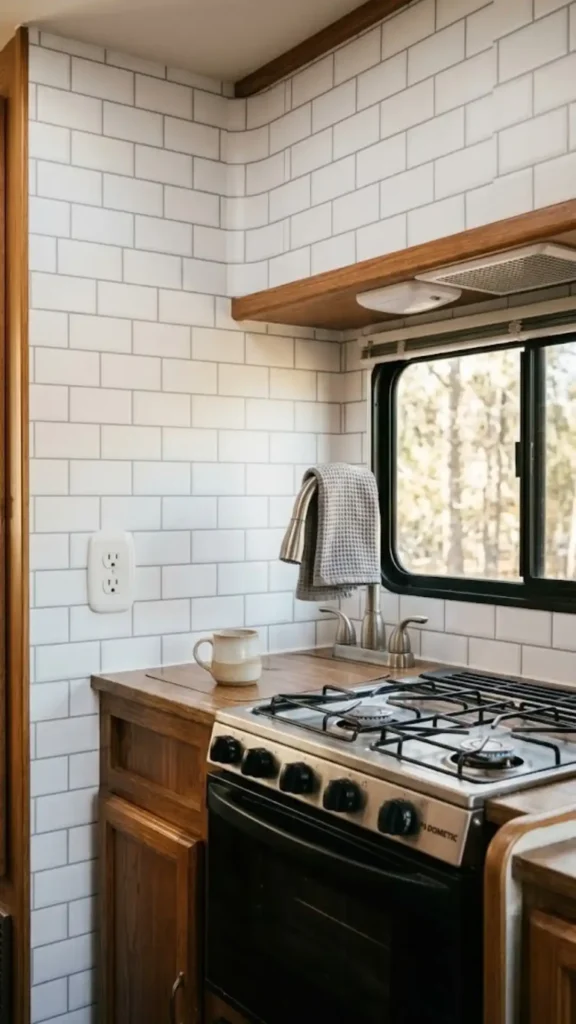
Once the wall is scrubbed and fully dry, start your first tile in the bottom corner nearest your counter. Overlap the faux grout lines as you work your way across the wall.
It takes about an hour to finish the whole space. Standing back to see a bright, modern backsplash instead of dark brown paneling feels like stepping into a brand new rig.
Swapping the Hardware: The $30 Cabinet Upgrade That Changes Everything
Factory RV cabinet knobs often feel like cheap plastic because they are cheap plastic. Replacing them is the fastest way to make flimsy veneer cabinets look purposely designed and slightly custom.
You can order a bulk 10-pack of heavy metal drawer pulls in matte black or brushed brass from Amazon for around $25.
The dark metal pops beautifully against lighter painted cabinets, while brushed brass adds instant warmth to older, darker wood tones. Just make sure you count every single drawer and door twice before hitting purchase so you do not run short.
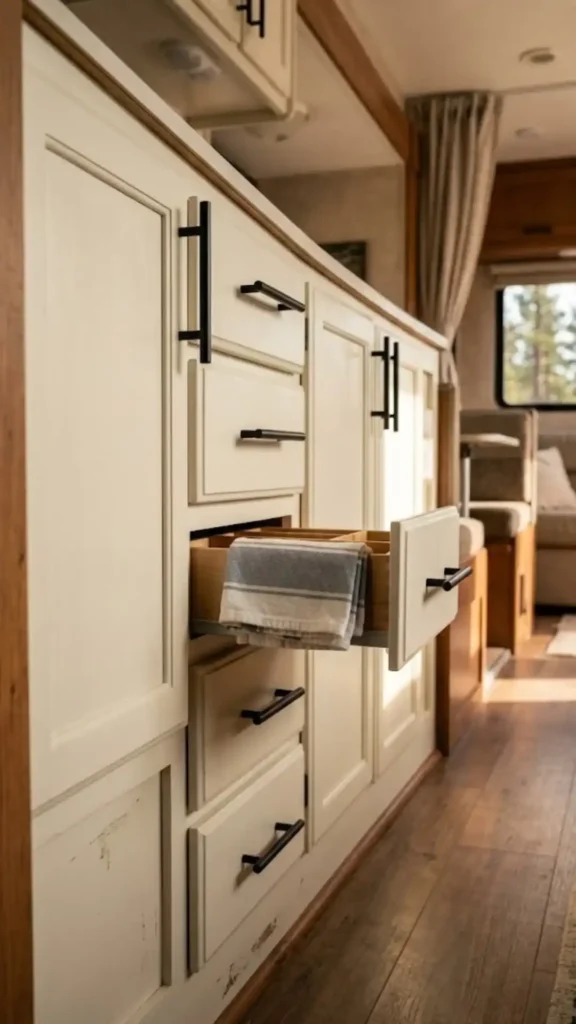
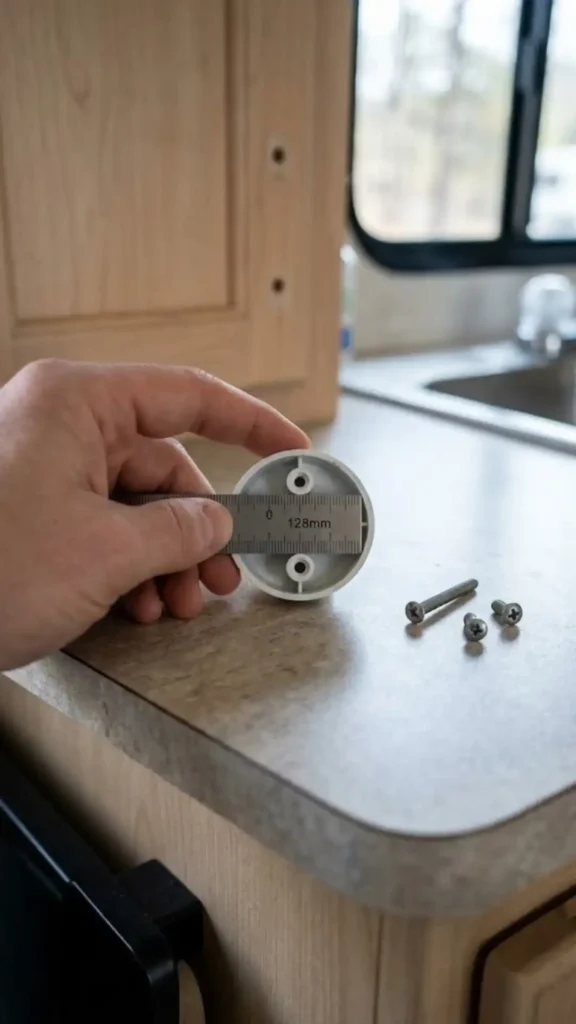
Before you add anything to your cart, take a ruler to your current handles. You have to measure the exact distance between the two screw holes on the back.
Most standard RV hardware uses a 3-inch or 96-millimeter hole center. You absolutely want to buy new pulls that match this exact measurement. RV cabinet doors are incredibly thin.
Drilling new holes creates weak spots in the compressed wood and leaves ugly empty holes you then have to fill and paint.
Buying exact-match hardware means the whole project just requires a single Phillips-head screwdriver. You can swap out an entire kitchen and bedroom set in under twenty minutes while watching television.
Feeling cool, heavy metal under your fingers instead of hollow plastic changes the entire vibe of your morning coffee routine.
Softening the Box: Textiles and Tension Rods for Under $50
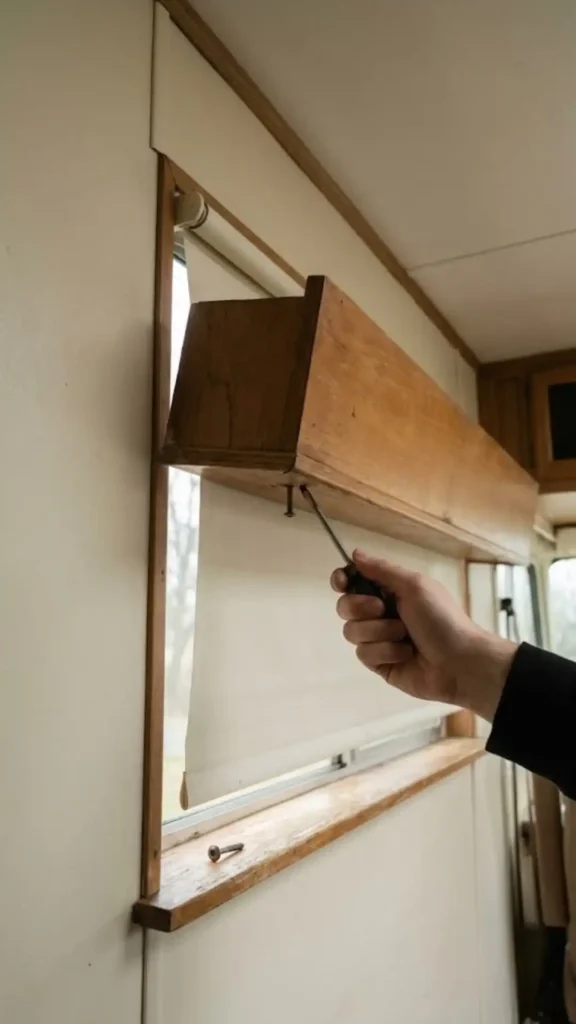
Those bulky, stiff fabric window valances are the biggest offenders in camper design. They stick out into the room, block precious natural light, and collect an unbelievable amount of dust.
Taking them down immediately makes your camper ceilings feel taller. You will need a square-head screwdriver bit to find and remove the hidden screws holding the wooden valance boxes to the wall. Just leave the pull-down roller shades in place for your nighttime privacy.
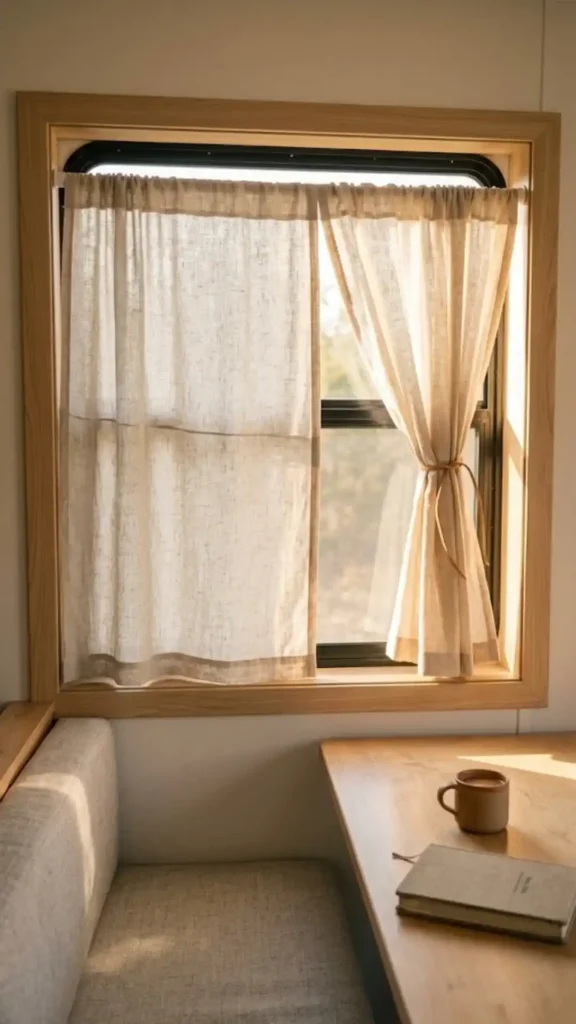
Once the bulky boxes are gone, soften the sharp window edges with real curtains. Traditional curtain rods require drilling into the thin wall paneling, which rarely holds heavy metal anchors well.
Spring-loaded tension rods are your best friend here. A basic tension rod costs about $5 and wedges firmly inside the window frame. They stay put even on bouncy dirt roads.
For the fabric, skip heavy blackout drapes that add too much visual weight to a tiny space. Pick up a pair of lightweight linen-blend panels, like the popular HILJA curtains from IKEA, for about $15.
Cut the length to hit just below the window frame, and use simple iron-on hemming tape to finish the bottom edge. When it is time to drive, you can tie them back with a cheap leather strip. The light linen texture moves gently with the breeze and turns a sterile camper box into a cozy, breathable room.
Lightweight Wall Art That Actually Survives Moving Day
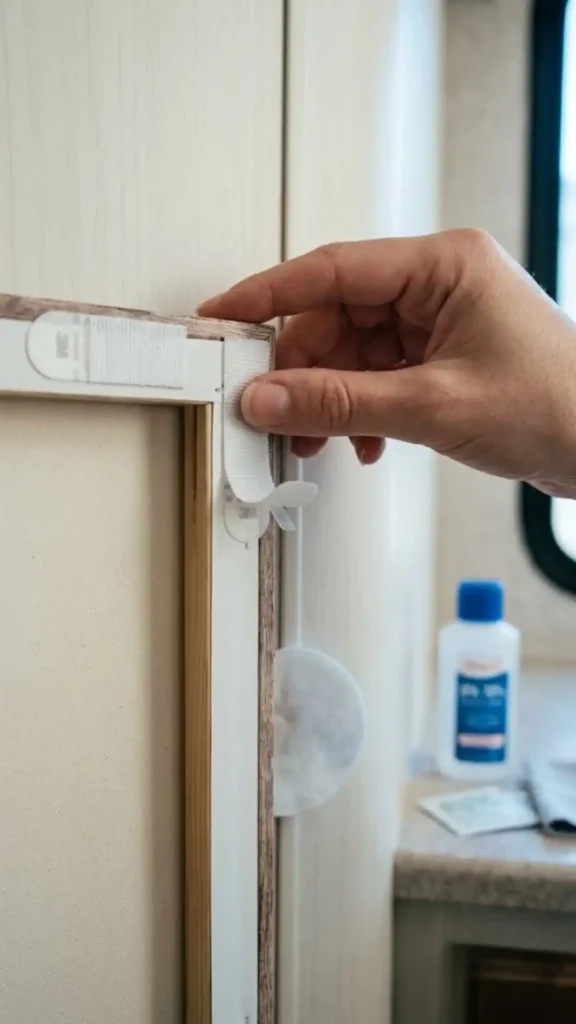
Hanging art in a moving vehicle sounds like a recipe for shattered glass and ruined vinyl floors. You absolutely can build a beautiful gallery wall on the road, but you have to completely rethink your materials.
A solid art setup will cost you roughly $40 if you source smart pieces. Your first mandatory purchase is a multi-pack of 3M Command Velcro strips.
The heavy-duty strips hold up to 16 pounds and lock your frames flat against the wall. Before you stick them on, wipe the wall with rubbing alcohol so the adhesive forms a permanent grip.
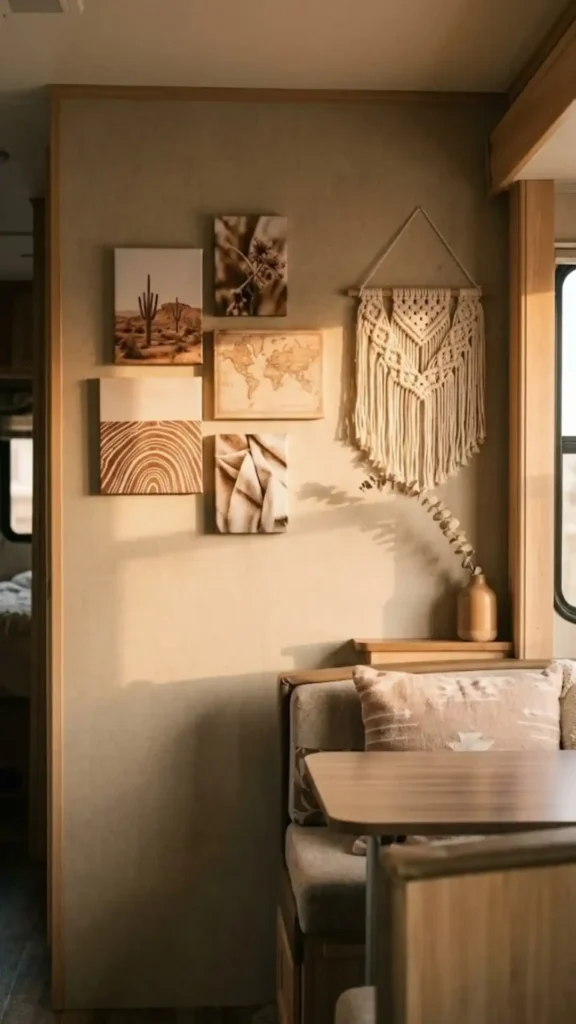
Standard picture frames use heavy glass that rattles violently on bumpy roads. You must swap that glass out for thin sheets of clear plexiglass, which you can score and snap to size at home with a utility knife.
Even better, you can skip the frames entirely. Canvas prints stretched over thin wood frames weigh mere ounces and look incredibly polished.
Fabric tapestries or lightweight woven macrame hangings are also perfect for camper walls. They add much-needed texture, hide ugly factory wall seams, and literally cannot break if they fall down.
Using Velcro strips on all four corners of a lightweight frame prevents the art from swinging away from the wall. You get to enjoy your favorite prints without flinching at every single speed bump.
The “Skip It” List: Where NOT to Spend Your $200
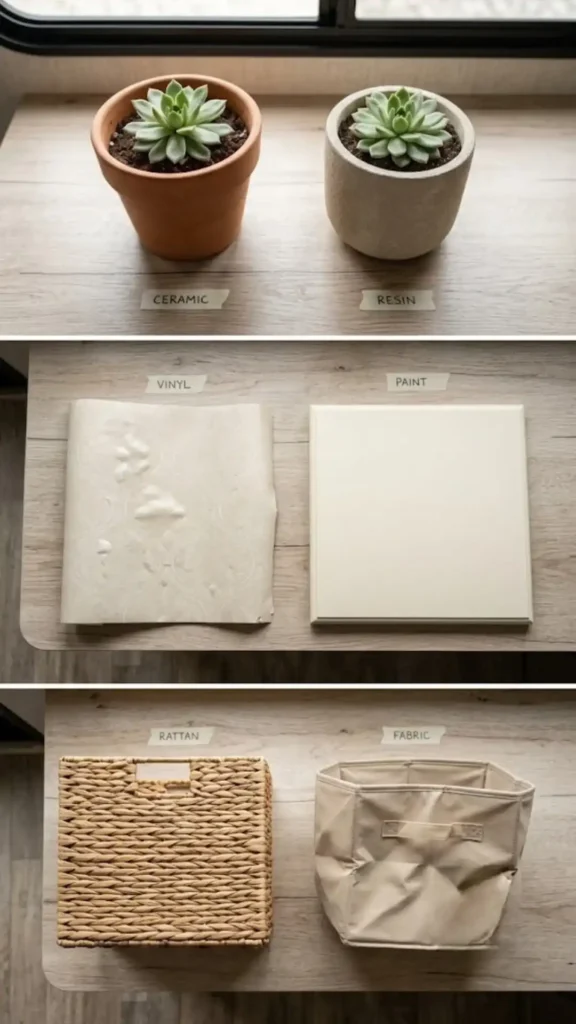
A tight budget means you cannot afford to buy things twice. Some decor items that work perfectly in a normal house will become instant regrets in a camper. You want to avoid spending your limited cash on these three common traps.
- Real ceramic planters: Heavy pots slide off counters easily on tight turns. A shattered pot means sweeping dirt out of narrow RV crevices for weeks. Swap them for lightweight resin or plastic pots from Target that look like stone but bounce if they hit the hard floor.
- Full-room vinyl wallpaper: Campers experience extreme temperature swings in storage lots and summer campgrounds. Those wild fluctuations cause large sheets of vinyl wallpaper to shrink, warp, and bubble up at the seams. Stick to painting the walls with a good bonding primer instead.
- Rigid storage baskets: Aesthetically pleasing wooden or thick rattan bins rarely fit the awkward, shallow depths of RV cabinets. Soft-sided fabric bins cost half as much and squish perfectly into odd spaces to hold your extra socks.
Spend your money on items that actually flex with your strange floor plan and stay in one piece.
Closing
A beautiful, personalized rolling home comes down to smart, strategic swaps rather than massive demolition projects. You truly can build a space you love while keeping enough gas money in your pocket to actually take the camper somewhere fun this summer.
Just pick one small project from this list to tackle this coming weekend, like scrubbing that kitchen wall and slapping up some fresh peel-and-stick tile. If you are looking for more ways to maximize a tiny footprint, read our breakdown of the best slim-profile storage carts for narrow bathrooms.
You might also want to check out our guide on picking rug materials that can handle heavy muddy boots and muddy paws. Keep experimenting with your layout and enjoy the road ahead.