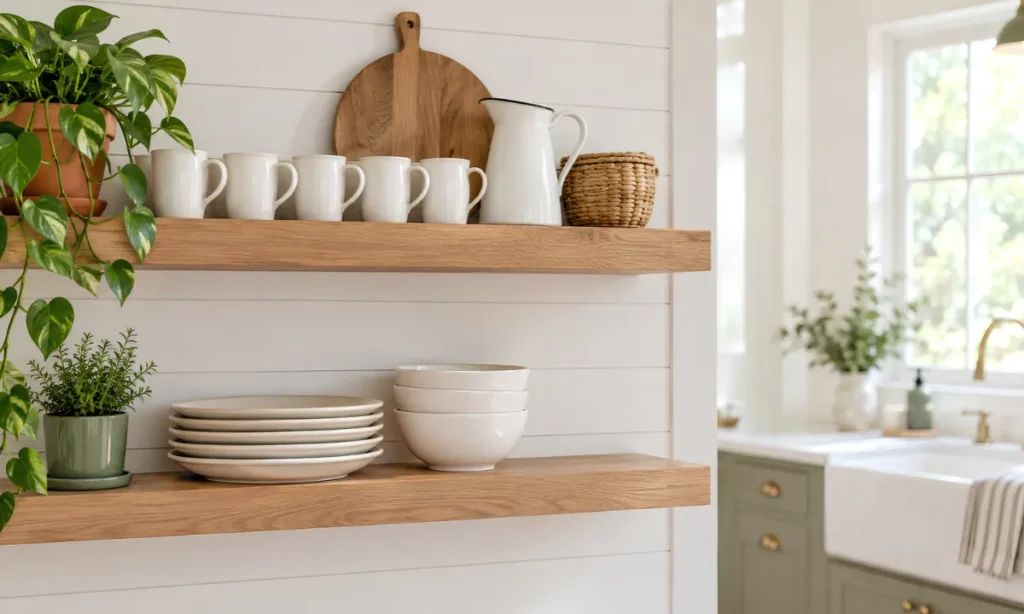
You pulled the cabinet doors off, or your kitchen came with open shelves, and for one glorious afternoon they looked like a magazine page.
By Friday, they held a crooked stack of mugs, a phone charger, and half a cereal box. Sound familiar?
Learning how to style farmhouse kitchen open shelves is mostly about decisions, not shopping. Most of what you need is already sitting in your cabinets.
This guide walks you through clearing, sorting, and arranging each shelf so it looks calm and cozy while still holding the dishes you grab every morning.
The method works because it starts with what you actually use, then adds decoration around it. Pretty shelves that block your daily plates get abandoned within a week.
Plan on about 2 hours, and most of that is deciding, not lifting. No drill, no tools. Grab a laundry basket and a hot drink, then clear a spot on the counter.
Gather These Before You Start
- 2 microfiber cloths (1 damp, 1 dry)
- Laundry basket or baking sheet
- Measuring tape
- Phone for before and after photos
- Dish soap
- Your everyday plates, bowls, and mugs
- 1 wooden cutting board
- 1 woven basket
- 1 linen tea towel
- 1 small plant or pot of herbs per shelf
- Ceramic pitcher or crock
- 1 or 2 cookbooks
- Enamelware or a vintage find
- Shelf liner
Your Shelf Makeover at a Glance
Time estimates per step, about 90 minutes of hands-on work.
- 1 Clear every shelf 10 min
- 2 Sort your dishes 20 min
- 3 Pick your palette 10 min
- 4 Anchor the bottom shelf 10 min
- 5 Group in odd numbers 10 min
- 6 Layer in texture 15 min
- 7 Add something living 10 min
- 8 Leave empty space 5 min
- 9 Edit with the squint test 5 min
- 10 Restyle each season 15 min
Clear every shelf down to the bare wood
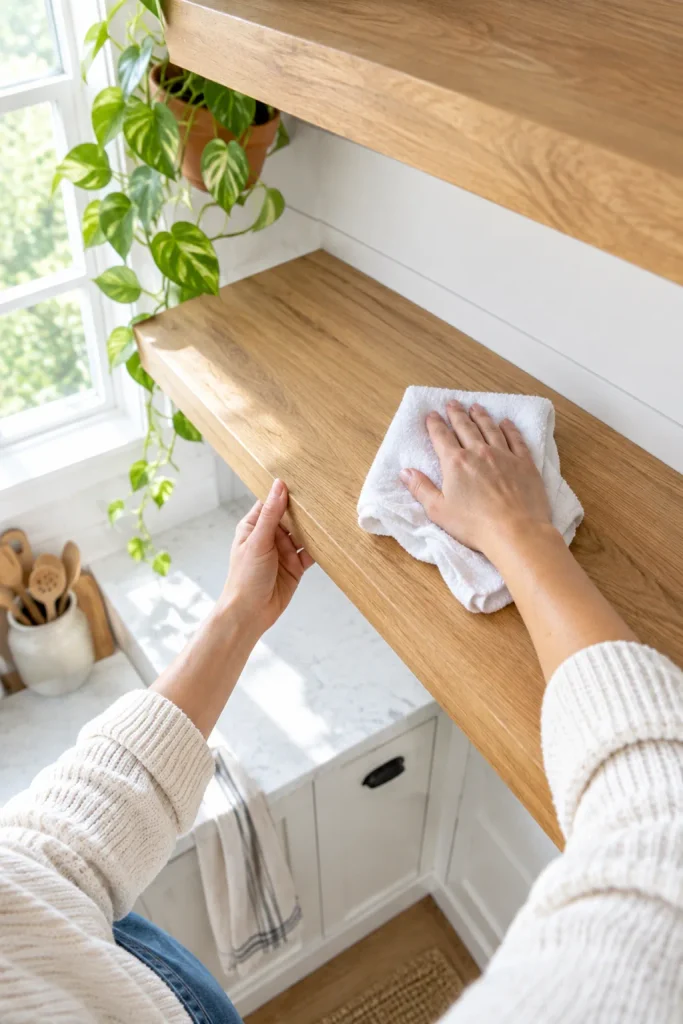
Open shelves collect a sticky film from cooking steam, and you will not notice it until the boards are empty.
Pull everything into a laundry basket or onto a baking sheet. Wipe each board with a damp microfiber cloth and a drop of dish soap, then dry it completely.
Wait 10 minutes before putting anything back. Damp wood leaves faint ring marks under ceramic.
Snap a quick before photo. At first, the bare shelves may look strangely large. That is completely normal.
Sort your dishes into daily, sometimes, and never
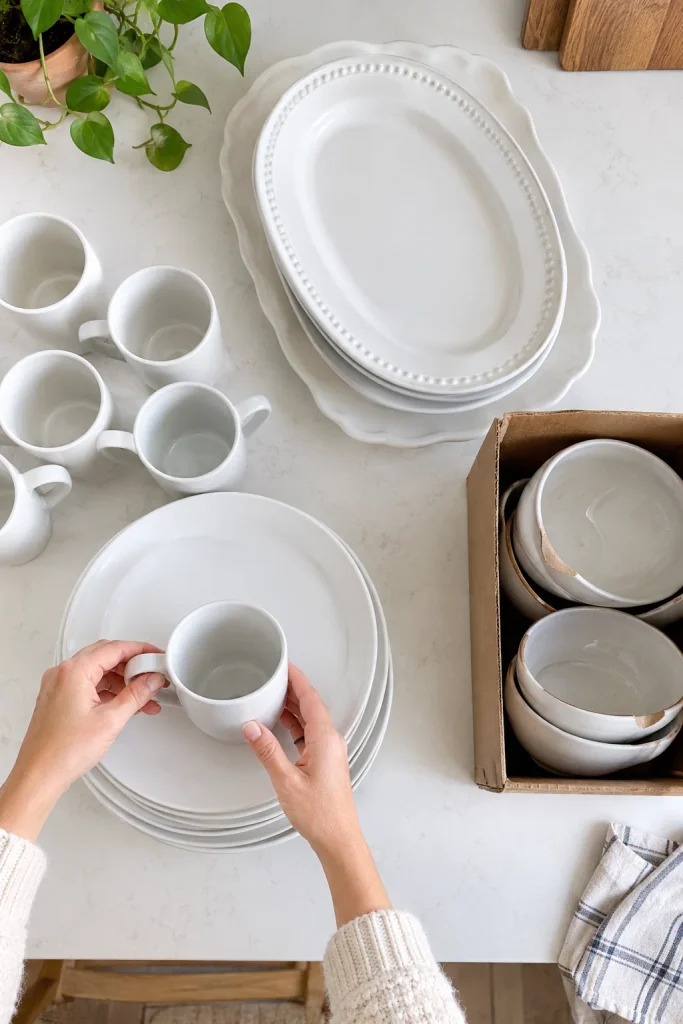
Open shelves have no door to hide behind, so every piece has to earn its spot.
Make three piles on the counter:
- Daily: plates, bowls, and mugs you used in the last 7 days
- Sometimes: platters, serving bowls, holiday pieces
- Never: chipped, doubled up, or unloved
Be honest with the sometimes pile. A gravy boat used twice a year belongs in a closed cabinet, not on prime shelf space.
Chipped pieces go in the donate bag or the trash, never back on display.
Pick a three-color palette for your farmhouse kitchen open shelves
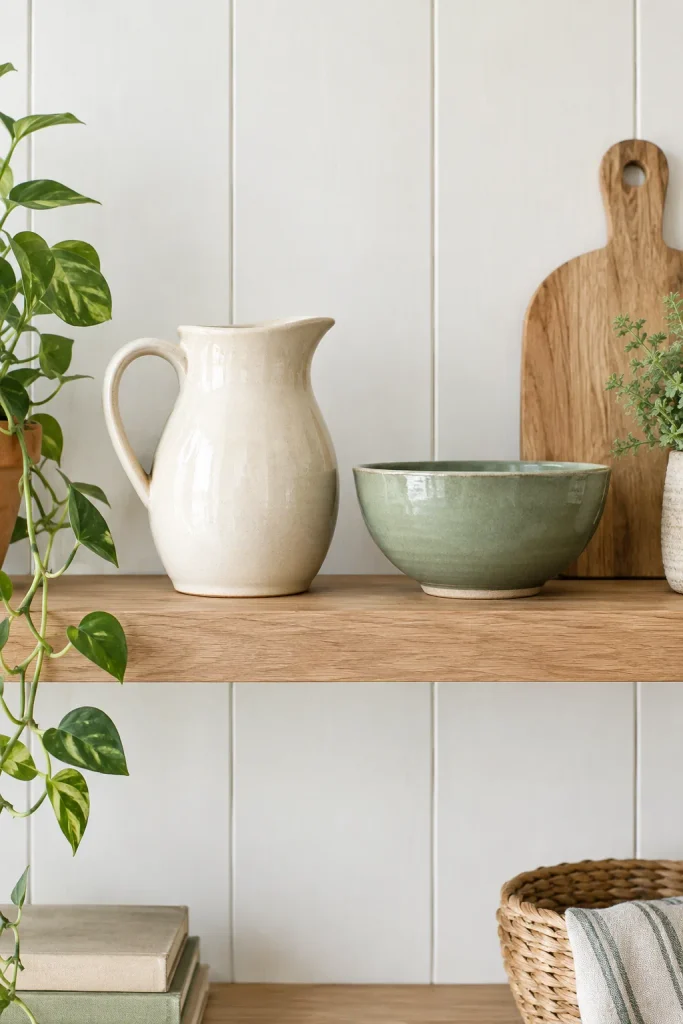
Why do some shelves look calm while others look busy? Usually it is color, not quantity.
Choose 3 colors: a main neutral like cream or white, a wood tone, and one accent such as sage, charcoal, or navy.
If your dishes are a mix of patterns, let plain white pieces do most of the work. Anything outside your three colors goes back in the cabinet.
Check your palette twice: once in daylight, once under your evening kitchen bulbs.
Warm bulbs turn cool whites yellow, so a set that looked crisp at noon can look dingy at 7pm. Swap a piece now, not after styling.
Stack your heaviest, most-used pieces on the bottom shelf
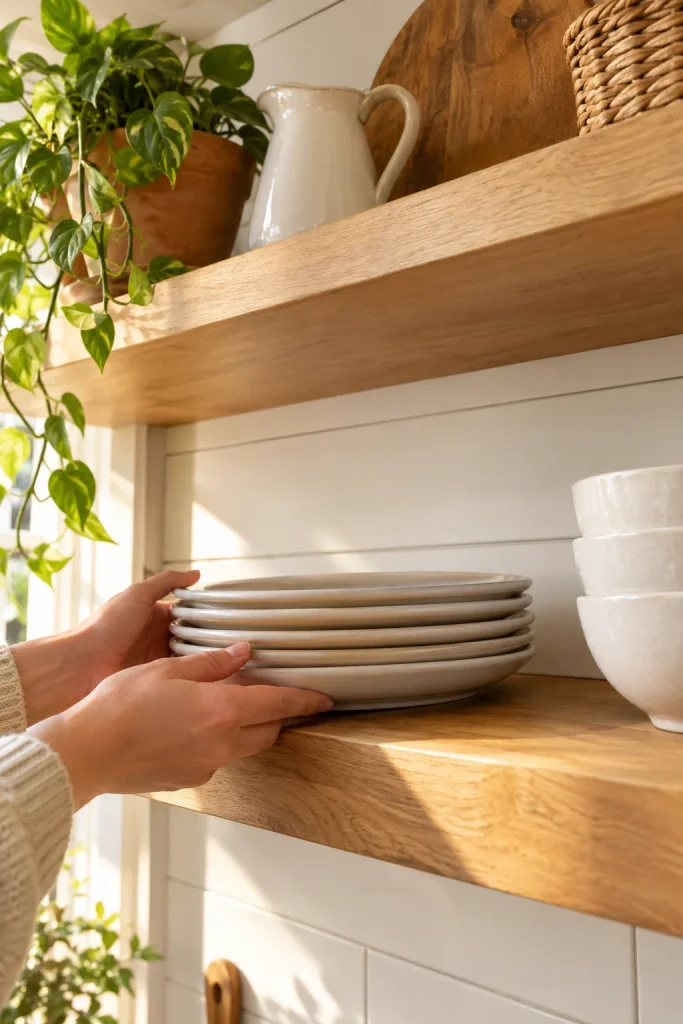
If one board in your kitchen is going to sag, it will be the one carrying the most stoneware. Low placement protects the wall brackets, and it protects your shoulders, because the dishes you grab most sit at waist height.
Set your 4 to 6 everyday dinner plates here, with the cereal bowls beside them. Keep any single stack to 5 plates or fewer so one hand can lift it cleanly.
Leave 1 inch between stacks so your fingers can slide underneath.
Overloaded boards pull their brackets slowly out of the wall, sometimes weeks later.
Lay a pencil on the board. If it rolls toward the middle or a bracket gaps from the wall, the load is too heavy.
Slide stacks next to the brackets, where the board is strongest, and check the weight rating on your shelf kit.
Group your dishes in stacks of three or five
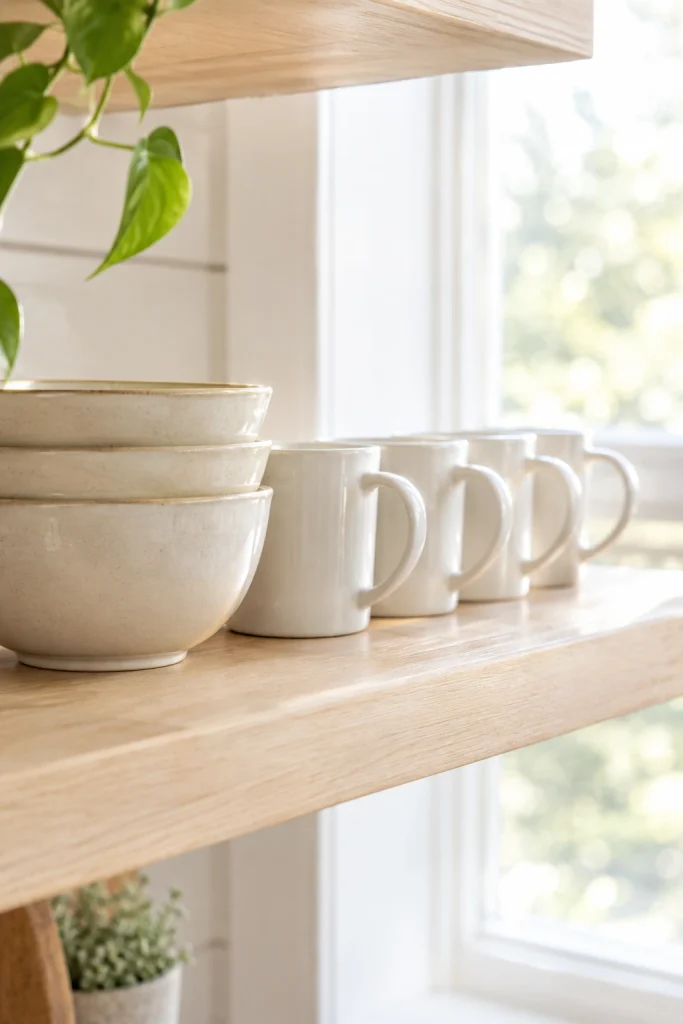
You will probably restack these more than once before it feels right. Most people do.
Odd numbers look collected over time, while even numbers look like a showroom display. Stack 3 salad plates, nest 3 bowls, or line up 5 mugs with every handle pointing the same way.
Only have two matching mugs? Add a third in a different color from your palette. The mismatch reads as intentional.
Layer in wood, metal, and woven texture
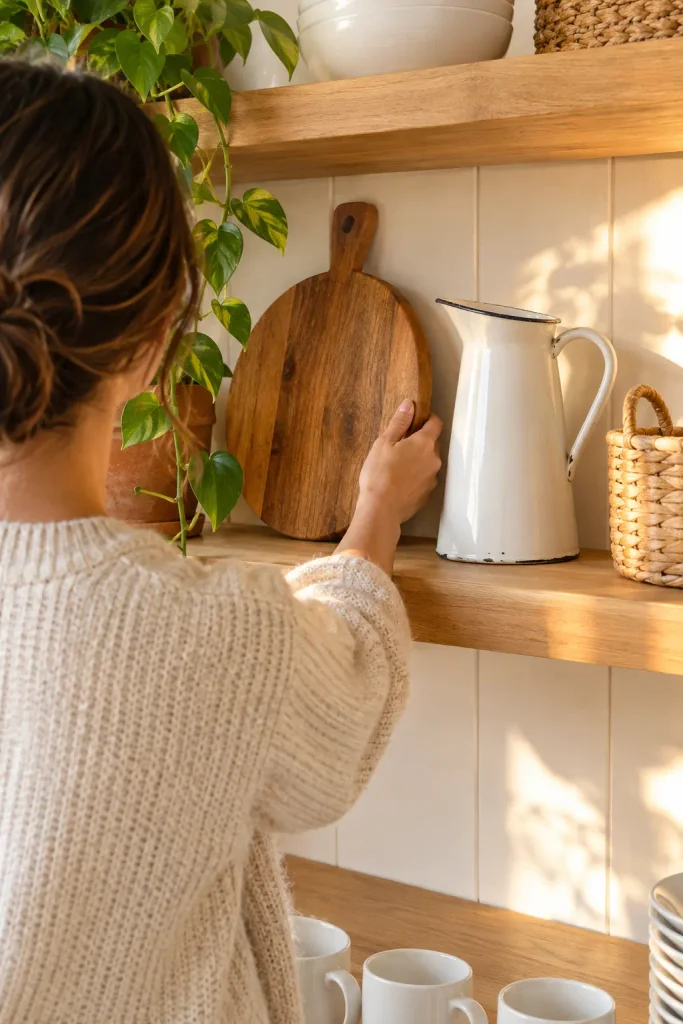
Smooth white ceramic looks flat when it stands alone. Texture is what makes a shelf feel lived in rather than staged.
Aim for 3 textures per shelf. Place them before any decorative extras:
- Lean a wooden cutting board upright against the back wall
- Tuck in one metal piece, like an enamel pitcher or galvanized tin
- Set a woven basket at one end of the board
Keep the cutting board’s top edge about 2 inches below the shelf above, so it does not look jammed in.
No basket on hand? A wire bread rack or a small wooden crate holding a folded dish towel does the same job.
Repeat one material on two different shelves and the eye connects them.
A wooden bowl on the top shelf and a wooden board on the bottom one make separate shelves read as a single display.
Add one living thing to each shelf
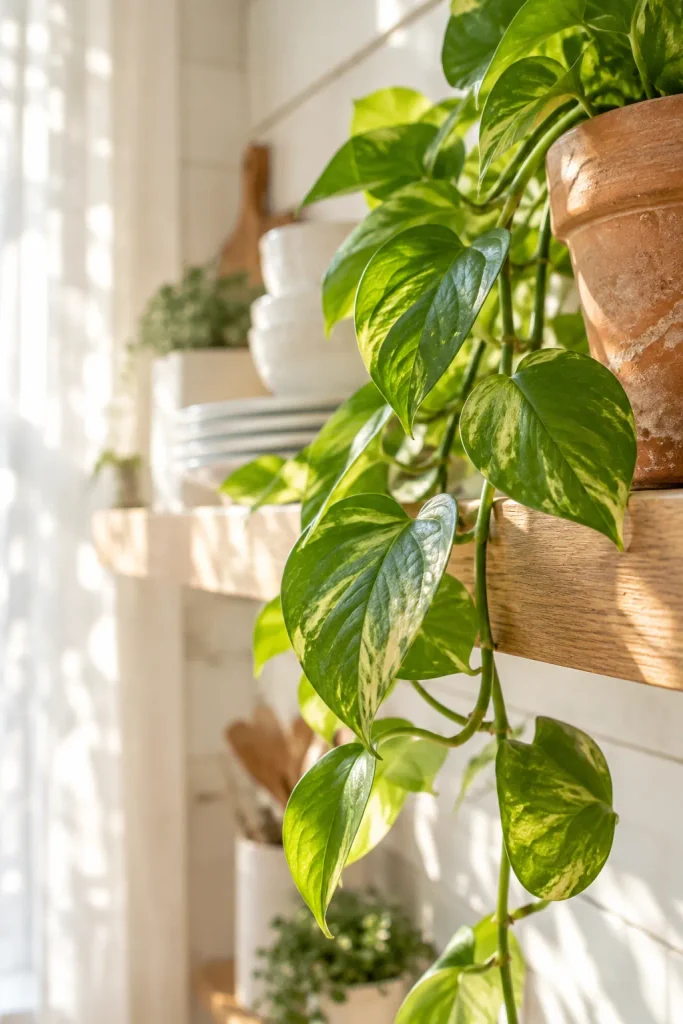
Fresh green is what keeps wood and white dishes from looking like a catalog photo. It adds color you did not have to buy in a matching set.
Pick plants that forgive a steamy kitchen: a small pothos, a pot of mint, or rosemary in a clay pot. Place them toward the outer end of a shelf, away from the stove, where grease spatter is less likely.
Dark corner with no window? Faux greenery works. A jar of cut branches from the yard, refreshed every 5 to 7 days, is a free swap.
Leave a few inches of empty space on purpose
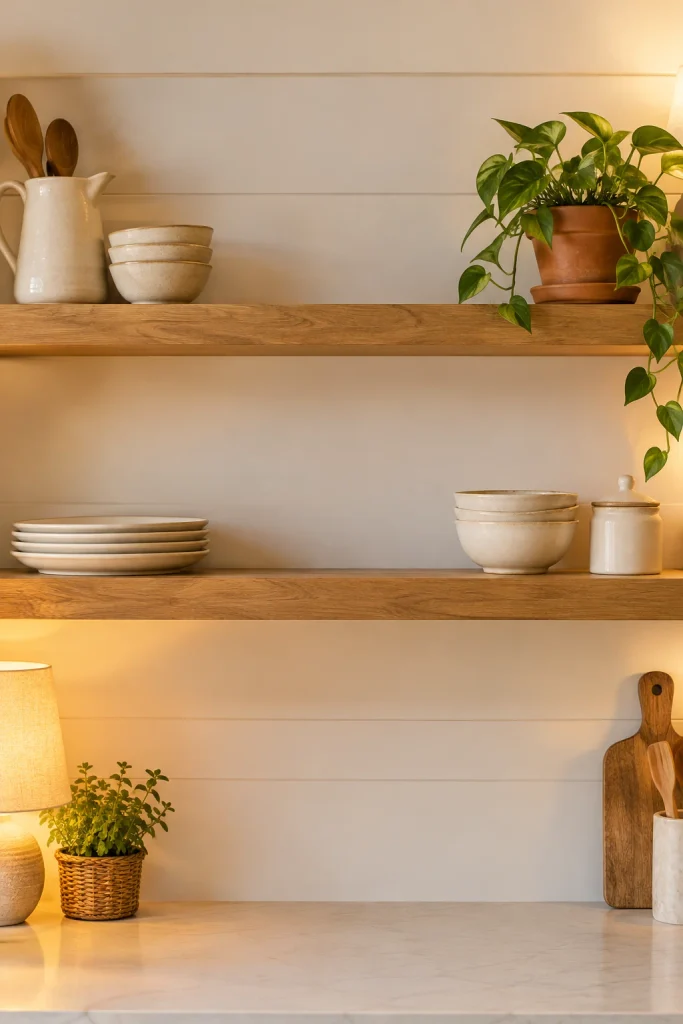
Your hands will itch to fill every gap. Resist.
Blank wood is what lets the grouped pieces breathe, and it gives you a landing spot when you set down a hot pan or a grocery-bag mug.
Aim for about one-third of each shelf left open. That is roughly 6 to 8 inches on a standard 24-inch board, not one gap but a couple of smaller ones.
If a shelf looks half-finished, check it again tomorrow before adding anything. Empty looks different once you have lived with it for a day.
Edit with the squint test
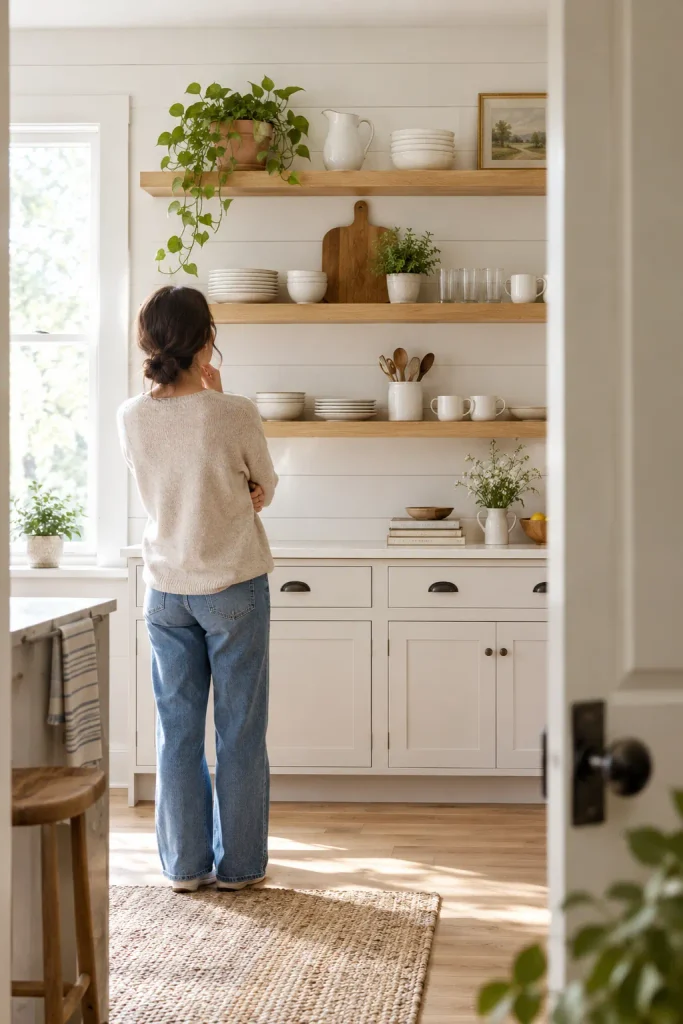
Walk to the far side of the kitchen, about 6 feet back, and squint until the shelves blur. Your eye will land on one spot first. That spot is your answer.
Run through these quick checks:
- A dark blob grabbing attention means the piece is too heavy for that shelf, so move it down
- One bare, pale area means the shelf needs a texture to balance it
- A cluster that reads as a single lump needs a gap between the stacks
Taking a phone photo and switching it to black and white shows the same imbalance faster. Fix one thing, step back again, then stop. Over-editing is how a good shelf turns fussy.
Restyle one shelf each season to keep it fresh
By the third week of owning a styled shelf, your eyes stop seeing it. A small swap wakes it back up without redoing the whole wall.
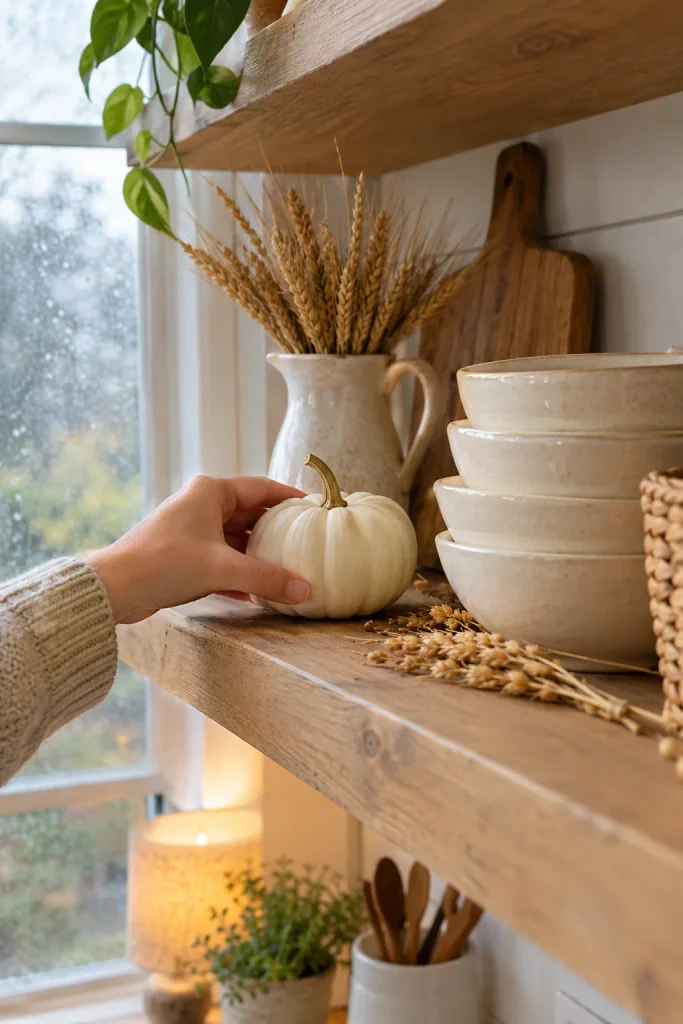
Pick one shelf per season and change only the accents. Your daily dishes stay put. Trade the herb pot for a few mini pumpkins in fall, or lay a sprig of pine across the cutting board in winter.
Swap one-for-one. If a new piece goes in, an old piece comes out, or the shelf slowly fills back up.
Store the retired accents in a labeled bin on a high cabinet shelf, so next season takes 15 minutes instead of a hunt.
Avoid the Five Mistakes That Undo a Styled Shelf
Even a well-planned shelf can slide back into clutter within a month. These are the habits behind it, based on what usually happens when someone styles open shelves for the first time.
Each card pairs the mistake with what it costs you and what to do instead.
5 Mistakes That Make a Shelf Look Messy
The cost: You end up with pretty extras and nowhere to put them.
Do this instead: Shop only after the shelves hold your daily dishes and you can see the actual gaps.
The cost: Small items read as clutter from across the room.
Do this instead: Swap several small pieces for one larger statement piece, like a big crock or tall pitcher.
The cost: Bright logos and glossy plastic pull the eye away from your calm palette.
Do this instead: Pour flour, oats, and sugar into plain glass jars, and keep the original packaging in a closed cabinet.
The cost: The shelf looks like a store display, flat and stiff.
Do this instead: Set tall items toward the back and stagger a few pieces forward, so the shelf has depth.
The cost: Dishes you never use collect a greasy film, and you eventually give up on the whole display.
Do this instead: Use the plates and mugs daily. Wipe the decor pieces every 2 weeks while you wipe the counters.
Get Quick Answers to Common Open Shelf Questions
These come up most when someone is about to try this for the first time. Tap the one that matches your worry.
Open Shelf FAQ
Short answers for first-timers.
Know What to Expect Before You Start
An honest look at what changes and what stays the same.
Save This Quick Reference Card
Screenshot this one for the store aisle or the next time you restyle.
Conclusion
Your shelves now hold what you use, in a palette that stays calm, with room left to breathe. That is the whole trick behind how to style farmhouse kitchen open shelves.
The next natural project is the counter below them. A wood tray with a pitcher and a bowl of lemons repeats the same textures.
Save this guide to your Pinterest board so it is ready for your next seasonal swap.