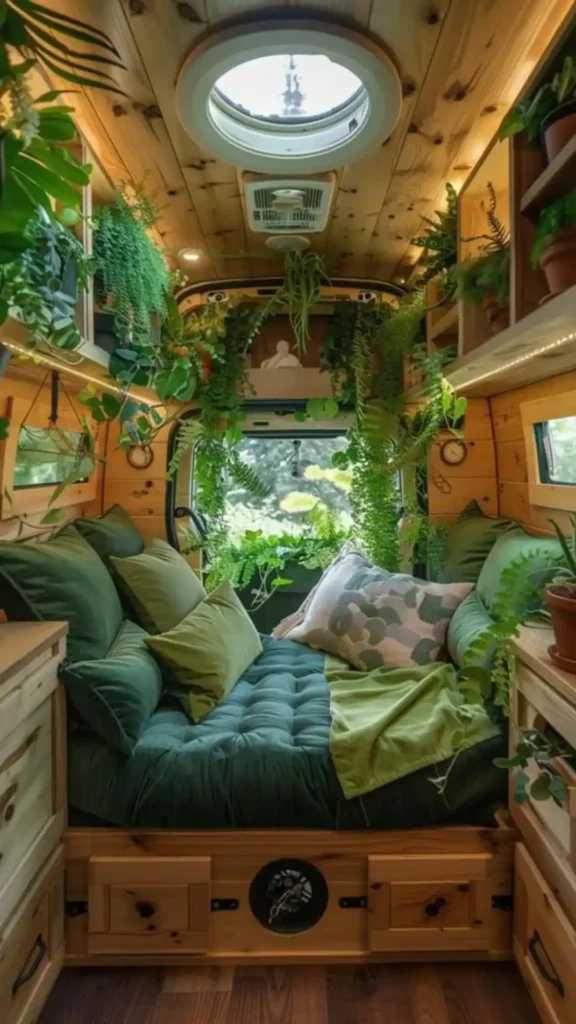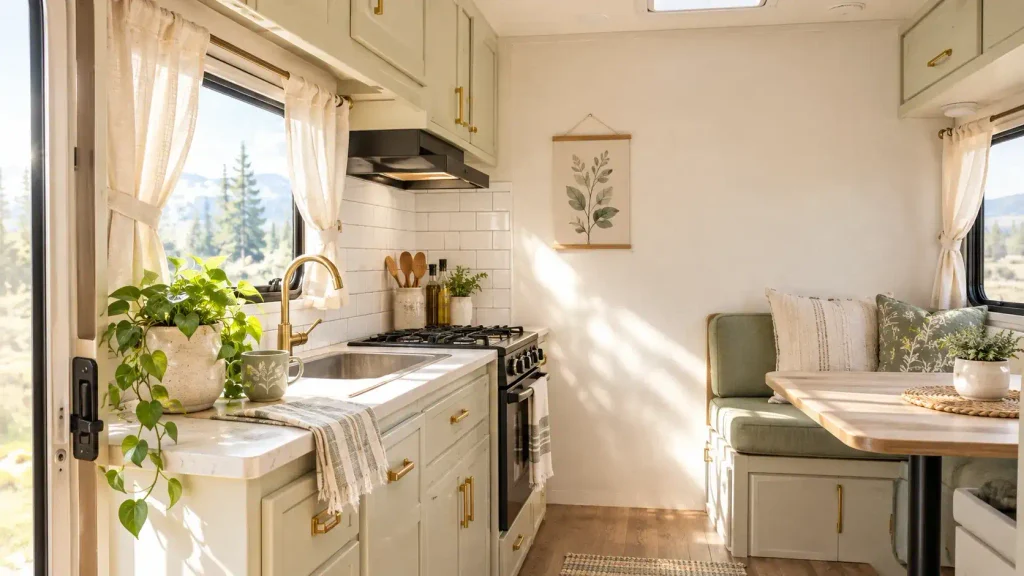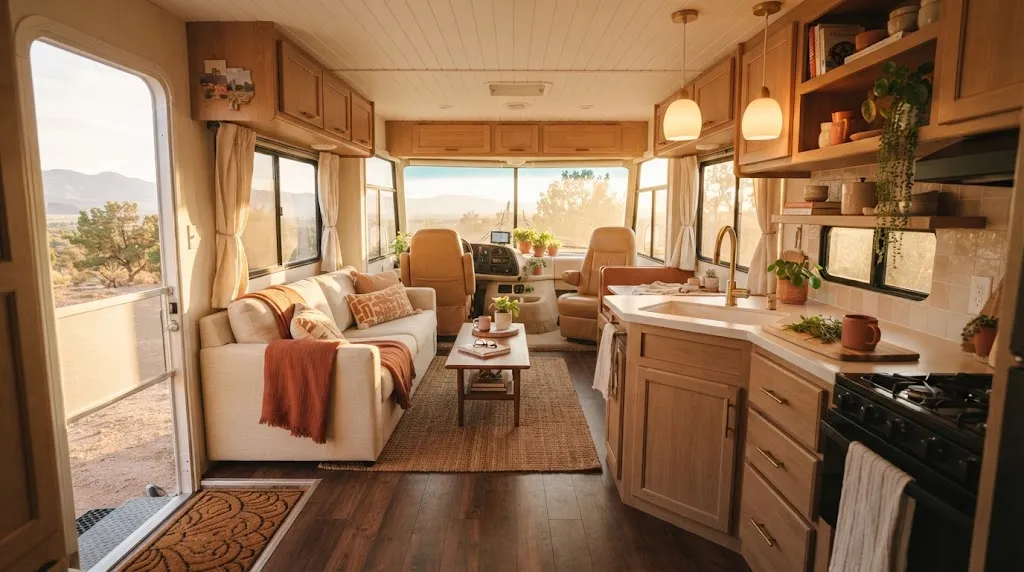
Most first-time RV decorators shop for their new tiny home the same way they shopped for their last apartment.
They pick a rug they love, a lamp that photographs well, and a set of throw pillows that match a Pinterest board.
Then they get the rig home and nothing fits, nothing stays put, and the space feels smaller instead of bigger.
RV decorating runs on different rules than house decorating. Weight matters. Vibration matters. Every inch of storage matters twice as much as it looks like it does in a photo.
This guide walks through the ten most common RV decorating mistakes to avoid, the reason each one costs you money or space, and the fix that actually works inside a moving vehicle. None of these fixes require a full remodel.
Most take an afternoon, a tape measure, and a willingness to skip the item that only looks good sitting still.
Check This Before You Buy Anything
- Exact wall height and width
- Door swing clearance
- Slide-out travel distance
- Non-slip backing on rugs
- Removable-safe adhesive
- Weight limit per shelf
At a Glance: The 10 Mistakes
- Measure Every Wall Before You Order Furniture
- Skip Heavy Rugs and Thick Curtains
- Distribute Decor Weight Evenly Across the Rig
- Choose Removable-Safe Materials Over Permanent Ones
- Limit Each Surface to One Statement Item
- Test Paint Adhesion Before Committing to a Wall
- Plan Storage Needs Before Choosing a Style
- Design for RV Layouts, Not House Layouts
- Match Grip Level to Each Surface
- Fix Your Lighting Before You Style Anything
1. Measure Every Wall Before You Order Furniture
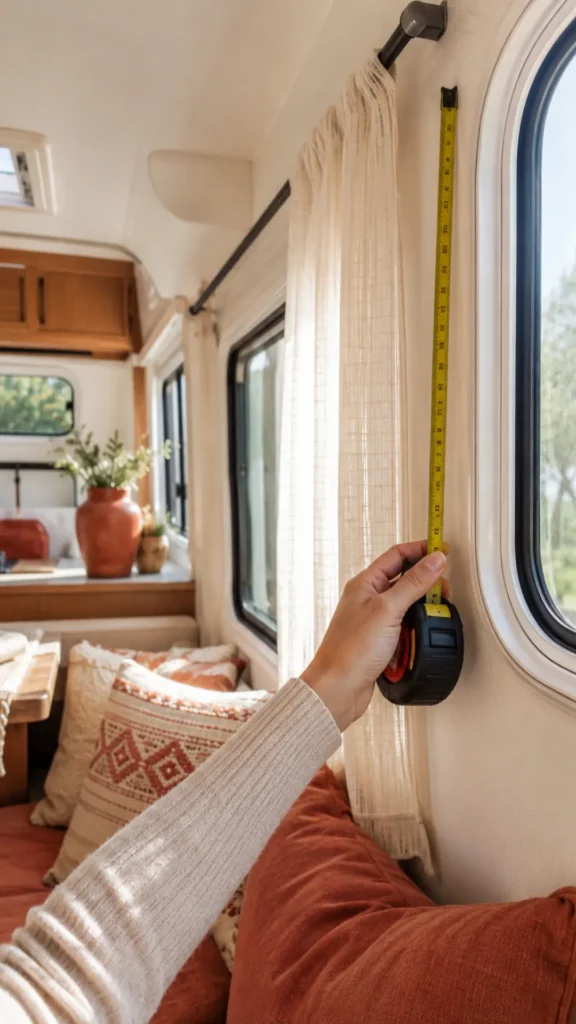
A couch that fits an apartment can eat a third of an RV’s living space. Order online without a tape measure and you’re returning it, or living around it.
Pull three numbers before you shop: wall length, ceiling height near slide-outs, and doorway width for getting the piece inside.
Two inches of miscalculation is the difference between a couch that slides in clean and one that doesn’t fit through the door at all.
2. Skip Heavy Rugs and Thick Curtains
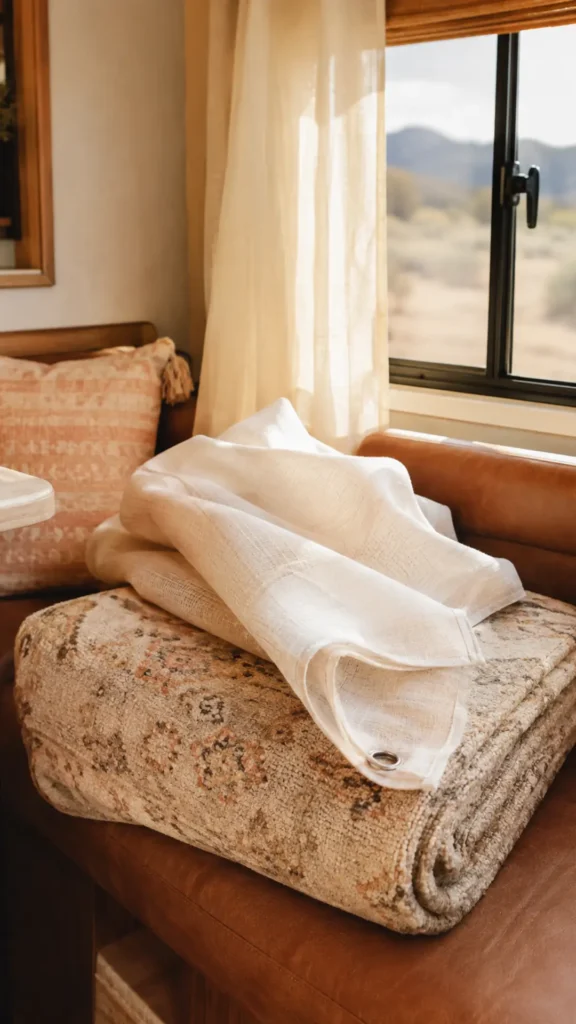
Weight adds up fast in a moving vehicle. A plush area rug that feels cozy in a house adds unnecessary pounds to a rig with a strict cargo limit.
Thick blackout curtains cause the same problem, and they trap heat against windows that already run warm.
Go with low-pile rugs under 5 pounds and lightweight thermal curtains instead. They insulate just as well without the extra weight.
3. Distribute Decor Weight Evenly Across the Rig
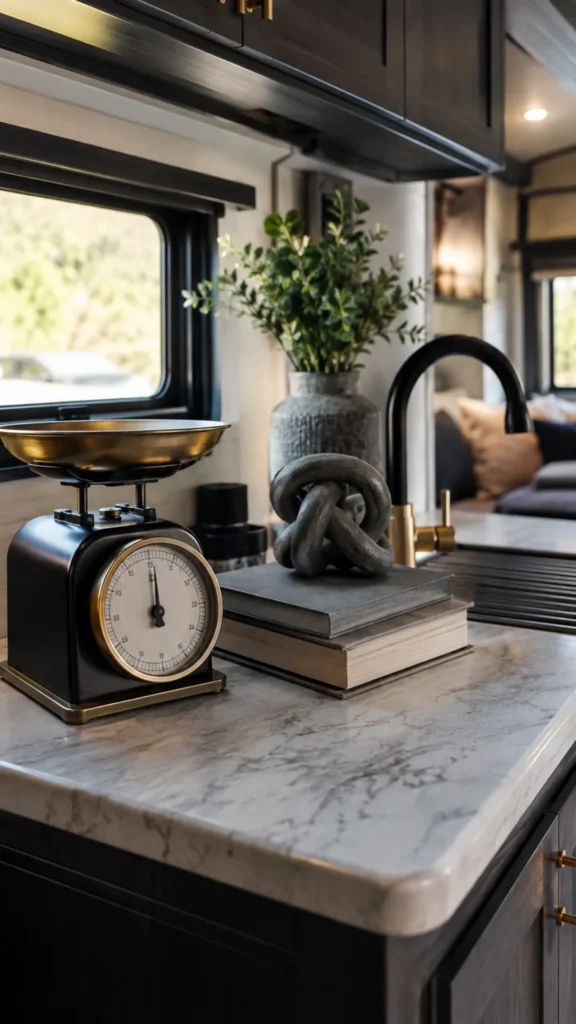
This one gets ignored because it doesn’t look like a decorating problem. It’s a towing and handling problem hiding inside a decorating choice.
Heavy items clustered on one side, like a stack of books or a decorative water feature, shift your rig’s balance while driving.
Spread weight side to side and front to back. A kitchen scale works fine for checking heavier decor pieces before you commit to a spot.
The risk: uneven weight distribution can affect steering and braking, not just aesthetics.
The tell: the rig pulls slightly to one side on the highway or sways more than usual on turns.
The fix: weigh both sides of the rig separately at a truck scale if you’ve added significant decor.
4. Choose Removable-Safe Materials Over Permanent Ones
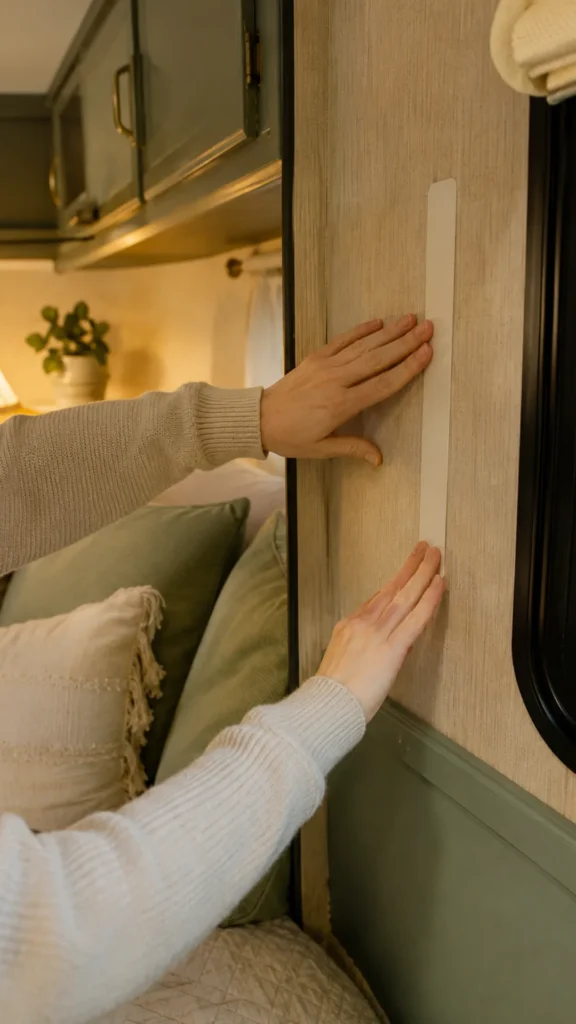
Command strips, static cling film, and tension rods do almost everything screws and glue can do inside an RV, without the wall damage.
Permanent hardware might survive one owner. It rarely survives resale, and landlords of rented rigs will deduct it from your deposit.
If you’re renting or planning to sell within a few years, removable is the only real option worth considering here.
- Test the adhesive on a hidden spot for 24 hours first
- Warm the strip gently before removal to release the bond clean
- Rated for at least 7 pounds per strip for anything shelf-sized
5. Limit Each Surface to One Statement Item
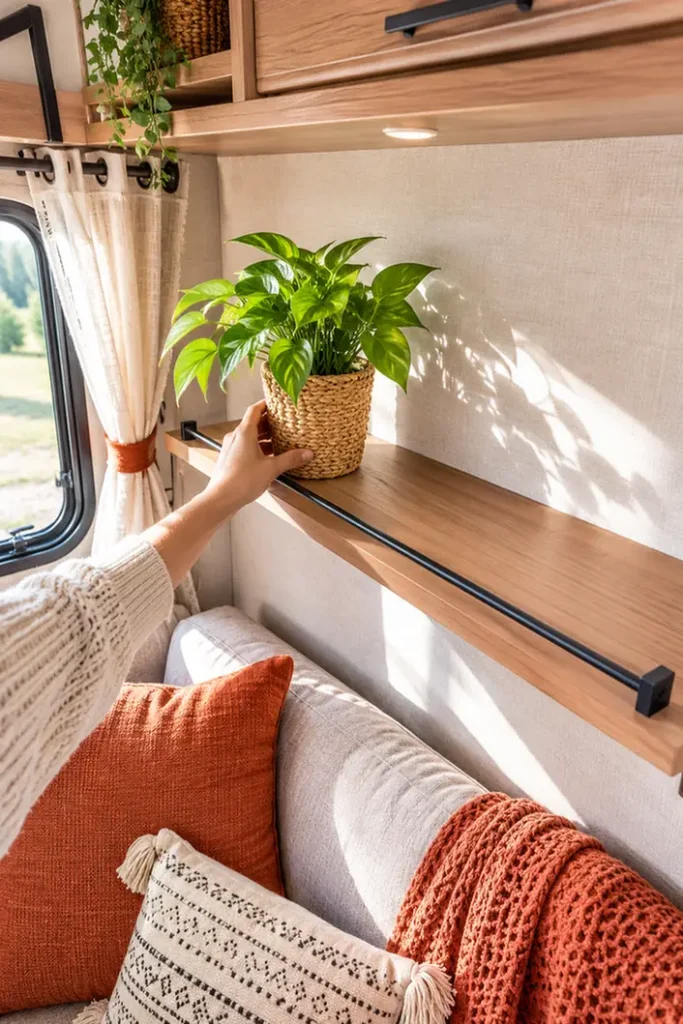
Counters, shelves, and tables in an RV do double duty as workspace and storage. Cover every flat inch with decor and there’s nowhere left to actually live.
Pick one item per surface that earns its spot.
- A single plant instead of three
- One tray instead of scattered objects
- A folded throw instead of extra pillows
Everything else either goes in a drawer or doesn’t come along at all.
6. Test Paint Adhesion Before Committing to a Wall
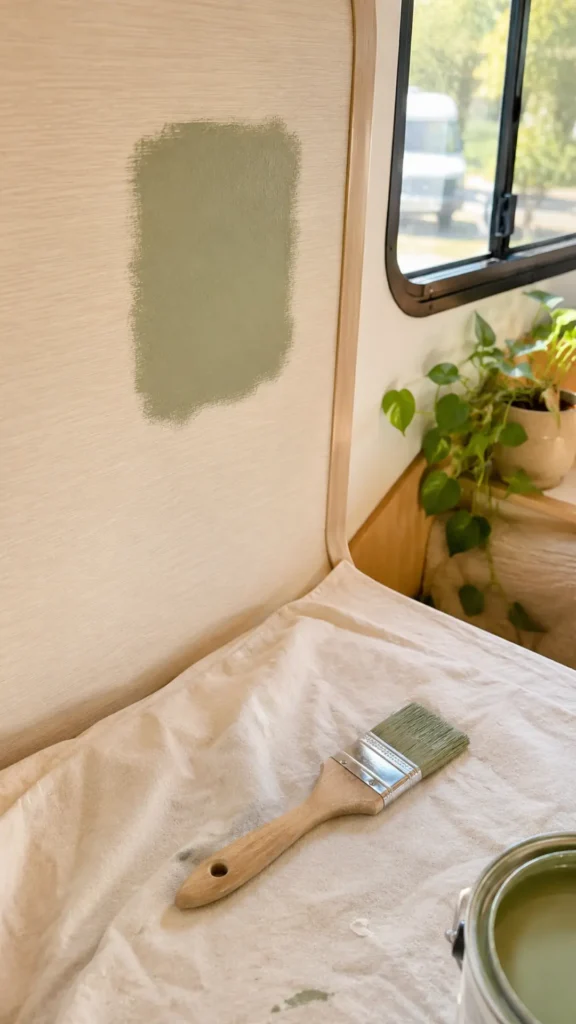
RV interior walls aren’t drywall. Most are vinyl-laminated panels or thin wood veneer, and regular wall paint doesn’t always grip the surface the way it grips a house wall.
Skipping this test is how peeling patches show up two months later, usually right above a heat vent.
Paint a small hidden section first and wait 48 hours before judging how it holds.
The risk: standard latex paint can crack or peel off vinyl-laminated panels within weeks.
The tell: small bubbles or lifted edges near vents, windows, or anywhere heat cycles through.
The fix: use a bonding primer made for slick surfaces, and always test before painting the full wall.
7. Plan Storage Needs Before Choosing a Style
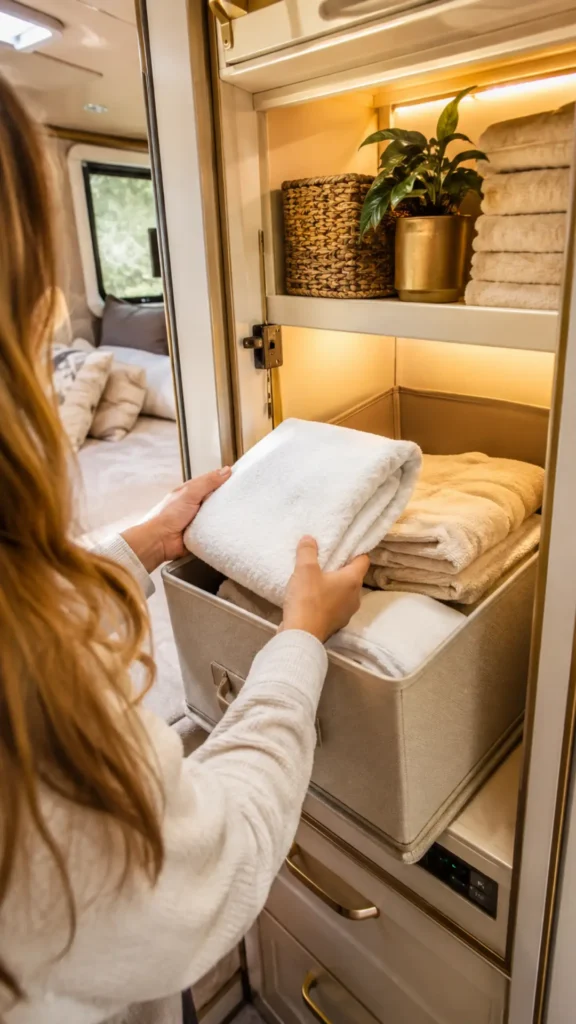
Style should follow function here, not the other way around. Decide what needs a home first: shoes, pantry goods, cleaning supplies, extra bedding.
Once those spots are claimed, decorate around what’s left. Reversing this order is how people end up styling a shelf that was supposed to hold canned food.
A rig with 12 cubic feet or less of dry storage can’t afford to lose a single shelf to decor alone.
Walk through a full week of routines first: cooking, dressing, packing up to drive. Storage gaps show up fast once you picture actual use instead of an empty shelf.
8. Design for RV Layouts, Not House Layouts
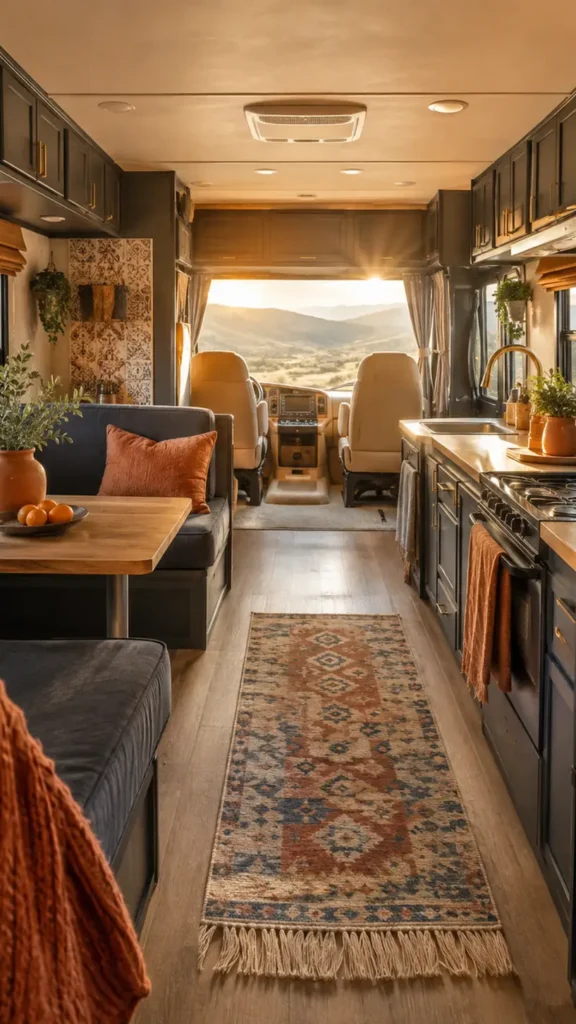
A house floor plan gives you separate zones with doors between them. An RV gives you one open run where the kitchen, living area, and sometimes the bedroom share sightlines.
Decor that would sit quietly in a house living room competes with everything else in a rig this size.
Choose a single color story that carries through the whole space instead of decorating each zone like its own room. It reads calmer, and it photographs better too.
9. Match Grip Level to Each Surface
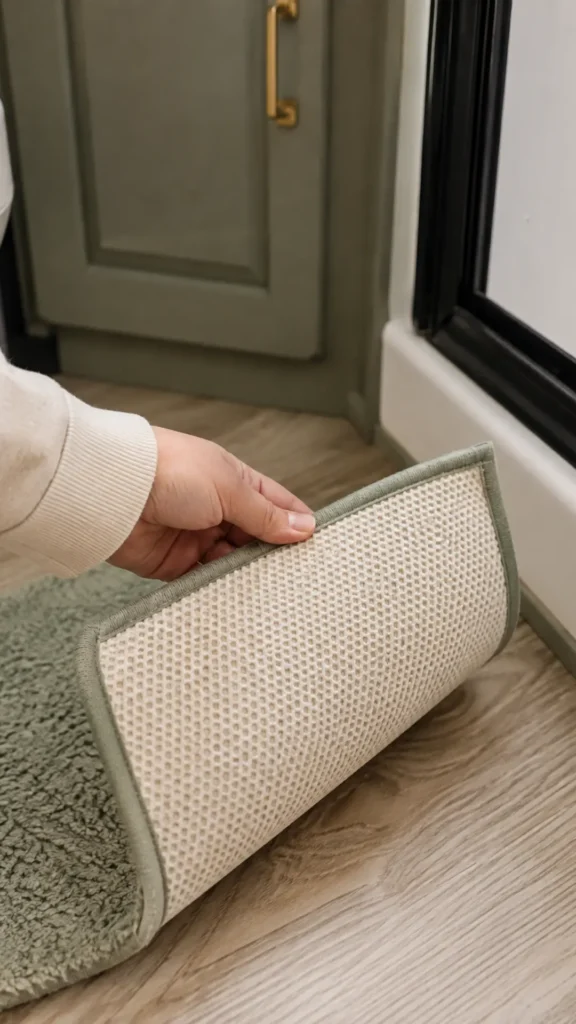
Not every non-slip product belongs everywhere. A rug pad rated for a fixed floor can act differently once the rig hits highway vibration for six hours straight.
Bathroom mats need a stronger wet-grip rating than a hallway runner does.
Check the packaging for a vibration or RV-specific rating before assuming “non-slip” means the same thing in every product.
The risk: a mat that grips a still floor can creep or bunch once the rig is moving.
The tell: corners lifting or a mat noticeably shifted after a drive.
The fix: look for mats specifically labeled for marine or RV use, not just household non-slip.
10. Fix Your Lighting Before You Style Anything
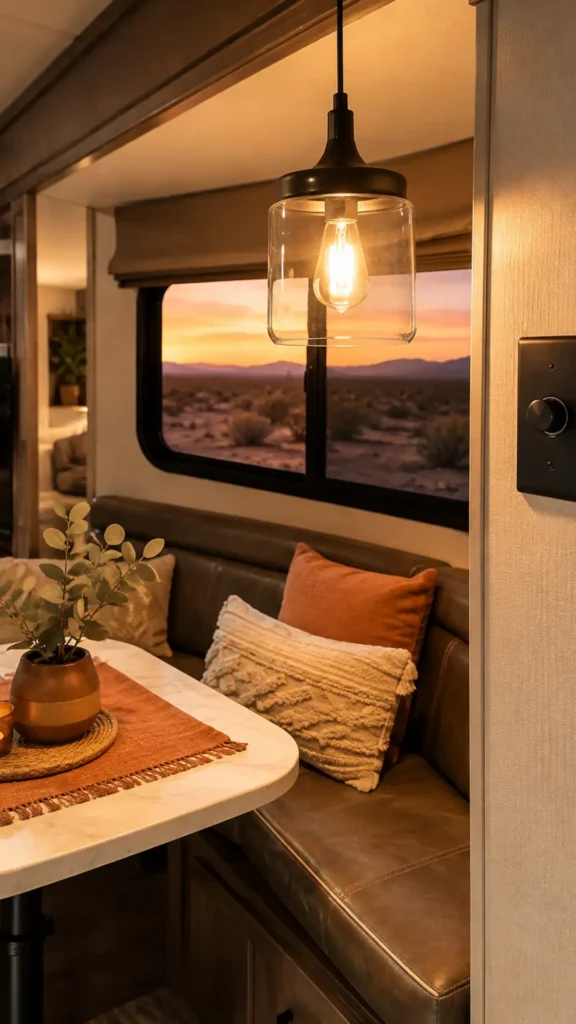
Lighting changes how every other color and texture reads in the space. Decorating around bad lighting means redoing decisions once better bulbs go in.
Warm white bulbs make terracotta and gold tones look intentional. Cool white bulbs wash them out and make the same palette look flat.
Swap bulbs and check dimmer compatibility first. Then choose your rugs, pillows, and wall decor under the lighting you’ll actually live with.
Most people rearrange their decor once or twice after switching bulbs, once they see the colors shift. That’s normal, and it’s a lot cheaper than repainting.
Frequently Asked Questions
Quick Reference: Save This
- Wall, door, and ceiling measurements
- Rug and curtain weight
- Adhesive and grip ratings
- Skipping measurements
- Heavy fabrics
- Uneven weight
- Permanent materials
- Overcrowded surfaces
- Untested paint
- Style before storage
- House-style layout
- Wrong grip rating
- Decorating before lighting
Ten mistakes, one theme: an RV rewards decor that’s light, tested, and planned around how the space actually moves. Get those three things right, and everything else falls into place fast.
Start with the one mistake you recognized in your own rig right now. Fix that first before touching anything else on the list.
Save this guide before your next supply run. You’ll want the checklist handy in the store, not just at home.