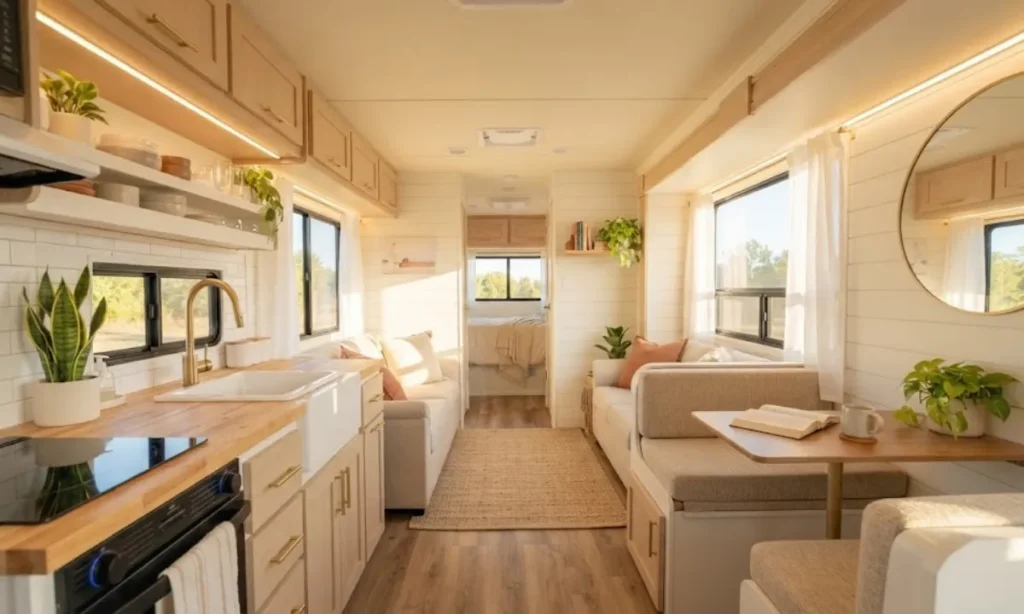
Your RV probably felt roomy in the dealer lot. Then you moved in, and suddenly every wall feels like it’s closing in an inch a day.
Here’s the truth nobody tells you at the dealership: square footage is fixed, but the feeling of space is not. How to make your RV feel bigger comes down to three cheap, weekend-friendly tools: color, mirrors, and light. None of these require a renovation permit or a trip to a big-box store’s contractor desk.
This guide walks through the exact order to tackle each one, starting with color choices, moving into mirror placement, and finishing with a lighting layer that erases shadows and dead corners.
The full project spreads across a weekend if you do everything, but individual steps like adding a mirror or swapping a light bulb take under an hour. You do not need carpentry skills. You need a paintbrush, a level, and about $150 in materials if starting from scratch.
By the end, your RV will still measure the same 28 feet. It just won’t feel like it.
- Interior-grade paint, light neutral
- Interior-grade paint, ceiling white
- 2-inch angled paintbrush
- 4-inch foam roller
- Painter’s tape
- Large wall mirror (unframed or thin frame)
- 2-3 small accent mirrors
- Command strips or mirror clips
- LED strip lighting kit
- Sheer curtain panels
Pick a light, unified color palette before you buy any paint
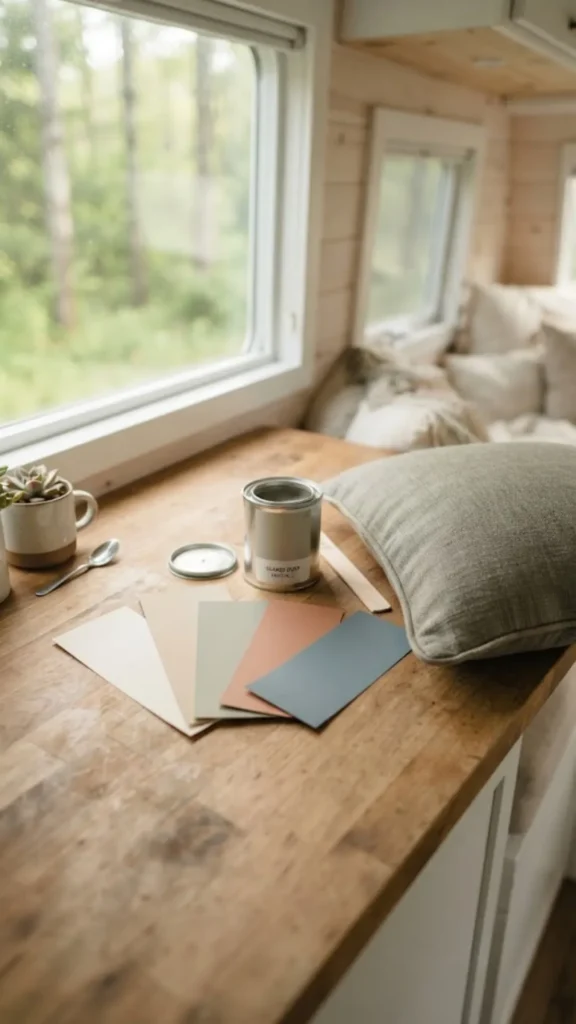
Grab paint chips before you grab a brush. Choose one color family for walls, ceiling, and trim, just in different tints of the same base. Mixing three unrelated colors chops the RV visually into smaller sections, which is the opposite of what you want. Stick to a palette where the ceiling is the lightest tint, walls are one step darker, and trim matches the ceiling.
Paint the ceiling a shade lighter than the walls
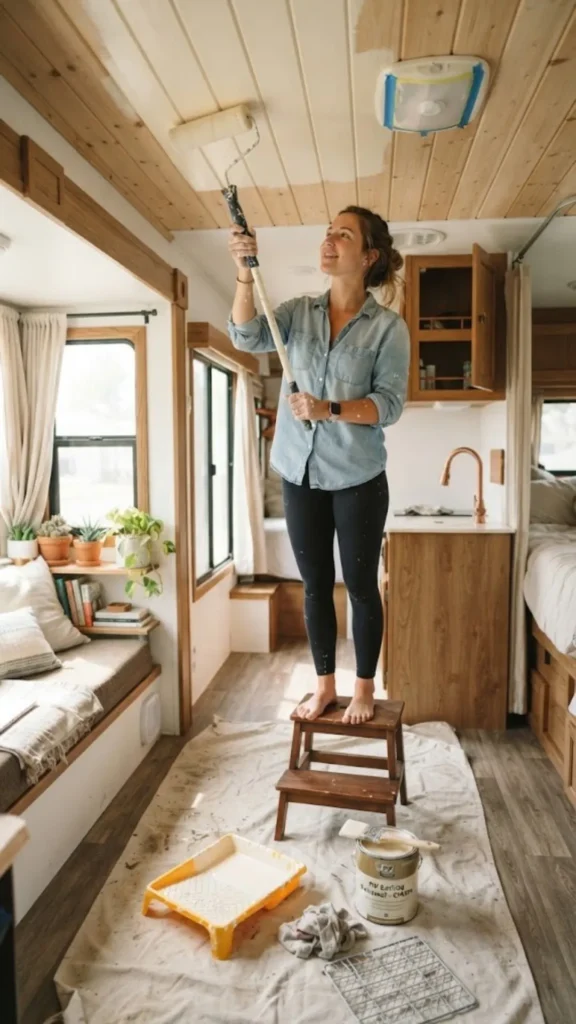
Start high and work down, always. Ceilings in RVs sit lower than in houses, often around 6.5 feet, so a dark or busy ceiling presses down on the whole space. A lighter ceiling tricks the eye into reading more height than actually exists. Use a 4-inch foam roller for the flat panels and cut the edges with a 2-inch angled brush.
Before you start:
- Remove any vents, smoke detectors, or fixtures you can unscrew
- Tape off the edges where the ceiling meets the cabinetry
- Lay a drop cloth, since RV ceilings shed old varnish flakes as you roll
Two thin coats beat one thick one here. A single heavy coat pools in the seams between ceiling panels and dries streaky.
Paint the walls in a soft, warm white or pale neutral
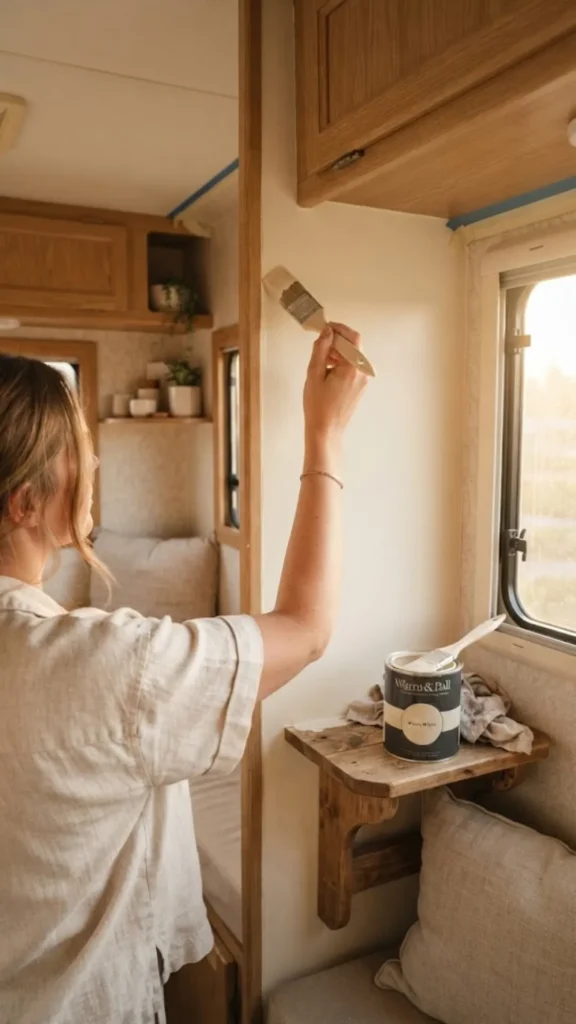
Warm whites read as bigger than stark whites in RVs, oddly enough. Stark white under RV LED lighting can look clinical and flat, which flattens depth instead of opening it up. Pick something with a hint of cream or greige in the undertone. Apply in the same two thin coats method as the ceiling, cutting in first, then rolling the field.
- Stop painting immediately
- Lightly sand the panel
- Apply a bonding primer before repainting
Position a large mirror across from your biggest window or door
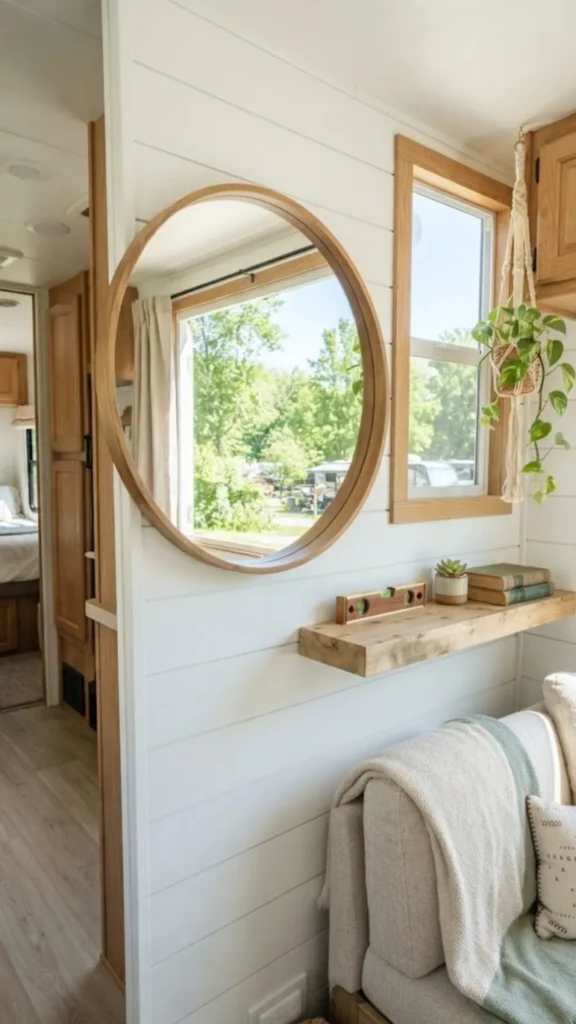
One well-placed mirror does more for a small space than five small ones scattered around. Hang your largest mirror directly across from the window or entry door, so it reflects daylight and outdoor scenery back into the room.
This doubles the visual depth of that view. Aim for a mirror at least 24 inches wide, hung so its center sits at eye level, roughly 57 inches from the floor.
Add small accent mirrors in dark corners and tight spots
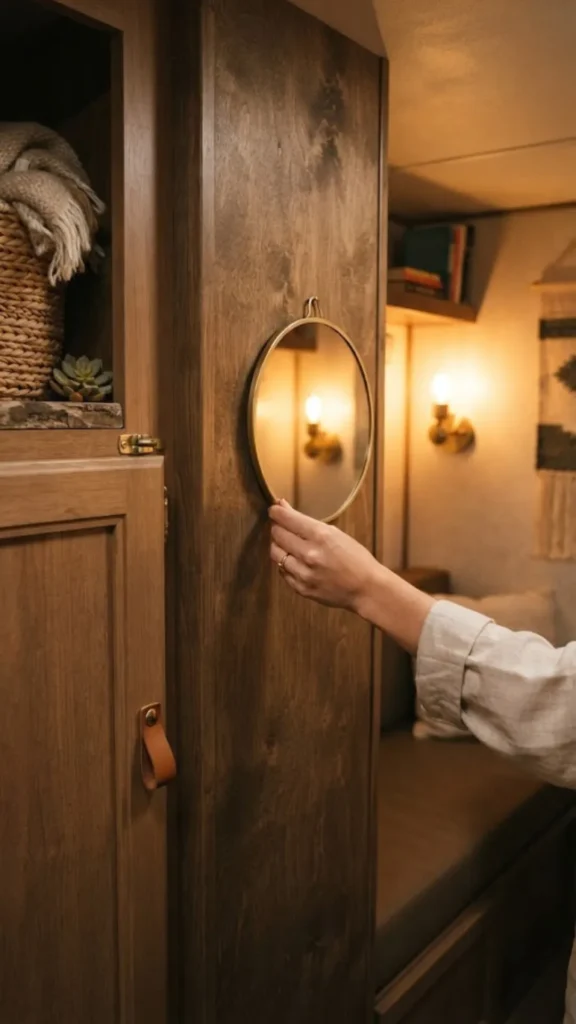
Every RV has one spot that never sees daylight behind a door, beside a closet, under a loft bed. That’s exactly where a small mirror earns its keep. Three or four accent mirrors, each around 8 to 12 inches, scattered into these dead zones, bounce ambient light where it would otherwise disappear. Skip anything ornate; a thin black or brass frame keeps the look clean instead of busy.
- Behind the entry door when it’s open
- The wall beside a closet or wardrobe
- Under any loft or cabover bed
Layer three light sources instead of relying on one overhead fixture
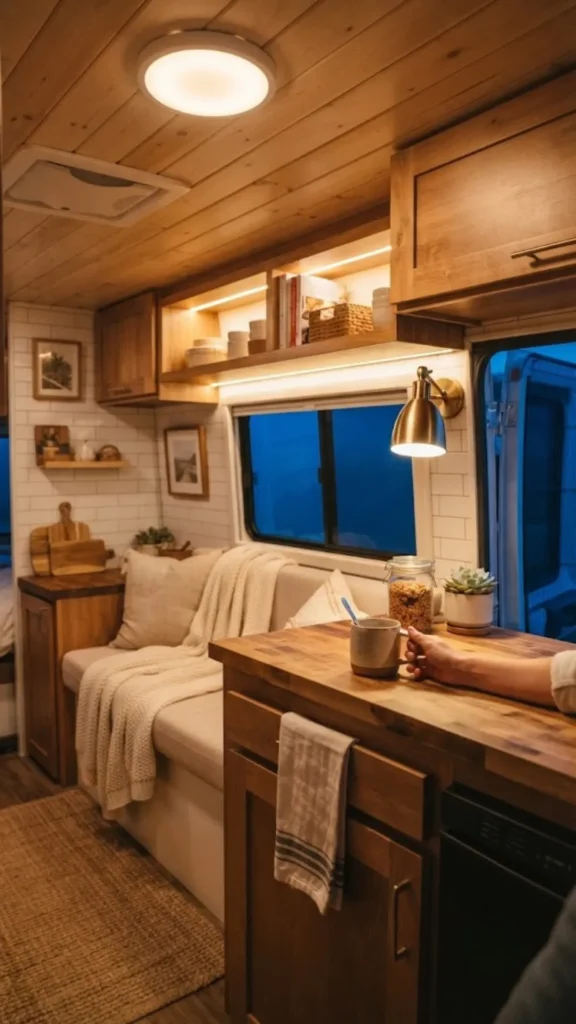
A single ceiling light flattens a room and throws hard shadows into every corner it doesn’t reach directly. Three layers fix that: ambient light from the ceiling, task light where you actually work (like over a counter or bed), and accent light that just adds glow, like a small lamp or puck light on a shelf. Turn on all three at once in the evening, and the whole space reads brighter and larger, even though the total wattage barely changed.
Install LED strip lighting under cabinets and benches
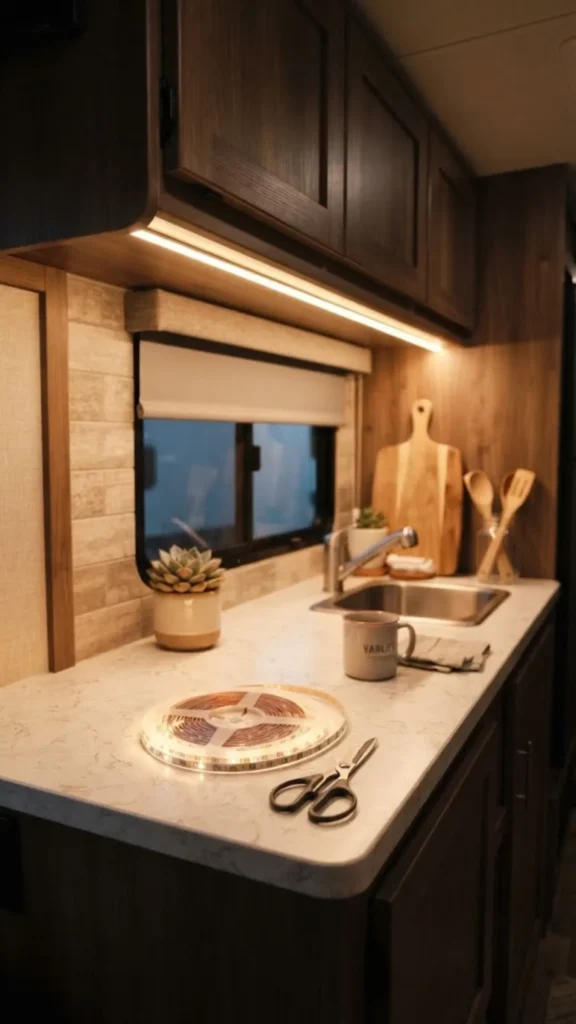
Buy a 16-foot LED strip kit with adhesive backing; they run about $20-30 and need no wiring if you choose a battery- or USB-powered version. Stick the strip along the underside of upper cabinets, facing down toward the counter. This erases the dark line that usually forms under cabinetry, which is one of the biggest culprits making galley areas feel cramped.
Swap heavy curtains for sheer or light-colored window coverings
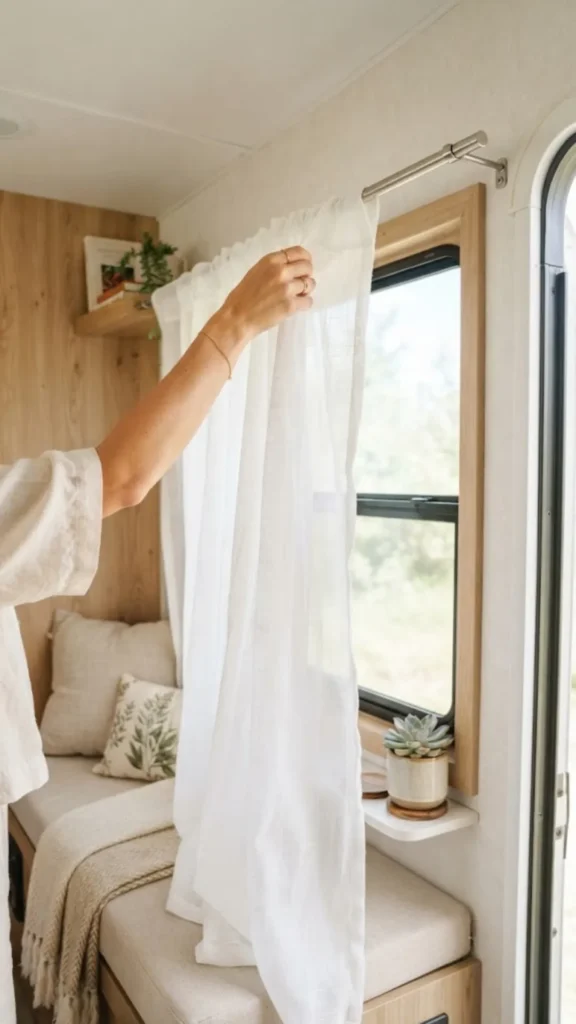
Dark, heavy curtains block light even when they’re pulled back, since bunched fabric still shadows the window frame. Sheer panels or light-colored roller shades let daylight pass through even when closed, so the room never goes fully dim during the day. If privacy is a concern for nighttime, layer a blackout shade behind the sheer panel instead of replacing it outright.
Three quick wins with this swap:
- Rooms read taller since less fabric bunches at the top of the window
- Daytime privacy and light coexist instead of trading off
- Cleaning is faster, the sheets shake out instead of needing a wash
Clear horizontal surfaces to keep sightlines open
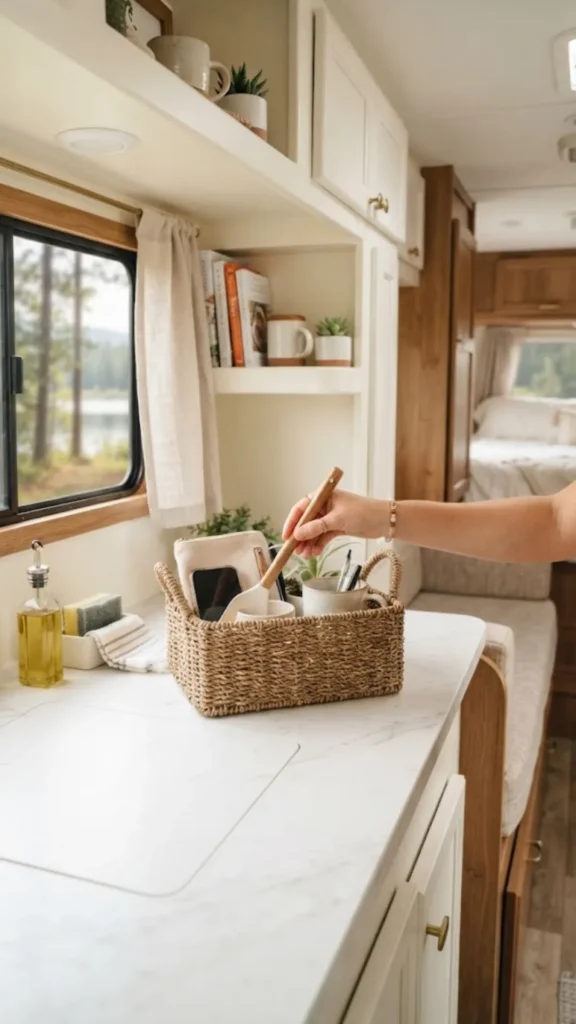
Every flat surface that collects clutter, counters, dashboards, shelf tops, chops up the eye’s path across the room. A clear line of sight from one end of the RV to the other is worth more than any single decor choice on this list. Walk through and remove anything that isn’t used daily. Store it instead in closed cabinets, where the eye never registers it at all.
Conclusion
Your RV didn’t get any bigger. It just stopped fighting you. The painter erases hard edges, the mirrors trick the eye into seeing depth that isn’t there, and the light layers chase away every shadow that used to make corners feel smaller than they are.
Next weekend, pick one more surface to declutter, since that habit keeps the whole effect working long after the paint dries.
Pin this guide now so you have it ready when you’re ready to make your RV feel bigger, one weekend project at a time.