Your RV walls have been staring back at you for months now- that same dated paneling or peeling vinyl you promised yourself you’d fix “eventually.” Removable wallpaper is the fastest way to make that promise real, and you do not need a single power tool to pull it off.
This guide walks you through installing peel-and-stick removable wallpaper on RV walls, start to finish, without voiding your deposit or damaging the paneling underneath.
The method works because RV walls are usually smooth vinyl-coated panels or laminate, which removable wallpaper adhesive grips well as long as the surface is properly cleaned and prepped first. Skip that prep, and the paper bubbles or lifts within a week. Follow it, and the paper can stay put for years, then peel away clean when you are ready for a new look.
Plan for roughly 2 hours of active work for a standard RV wall section, spread across a weekend so the surface has time to dry between cleaning steps.
You will need patience during the smoothing step more than any special skill. By the end, you will have one wall (or your whole living area) transformed, and you will know exactly how to repeat it anywhere else in the rig.
Clear the Walls Completely Before You Start
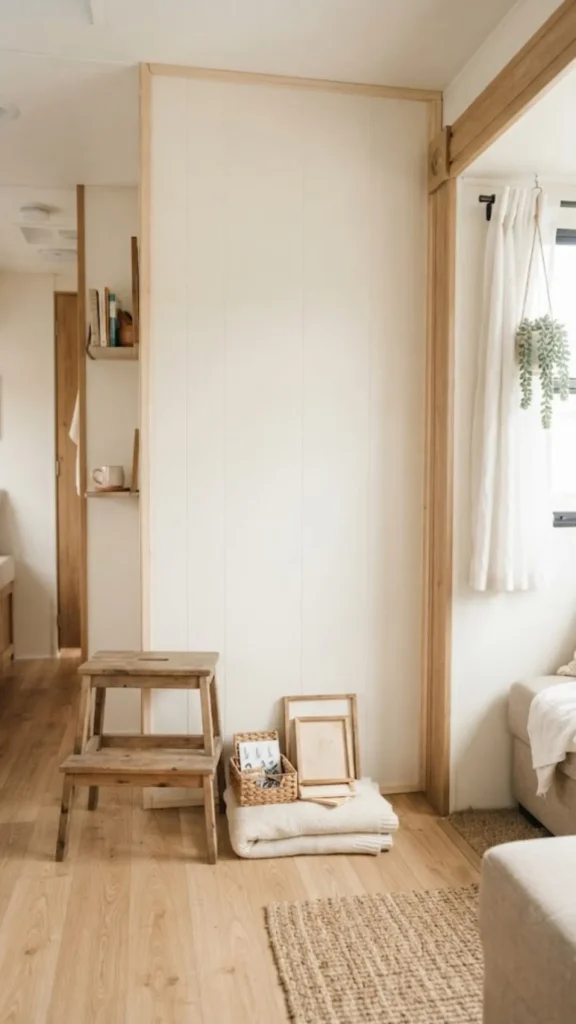
Every screw, hook, and decal has to come off, even the ones you plan to put back later. Anything left in place blocks the adhesive from bonding flat, and you will see a bump under the paper for the life of the project. Fill any small screw holes with a dab of spackle if the wall will show through your chosen pattern.
Wash the Surface With Soap and Water
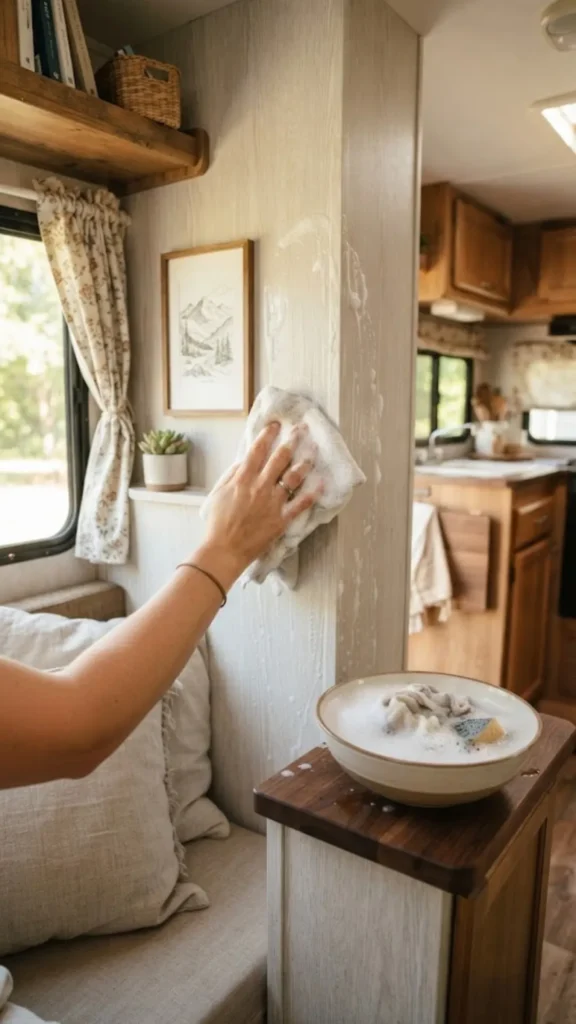
RV walls collect a thin film of cooking grease and road dust that is easy to miss by eye. Mix a few drops of dish soap into warm water and wipe the entire surface in overlapping passes. Rinse your cloth often so you are not just spreading grime around. Let the wall air dry for 20 minutes before moving to the next step.
Wipe Down With Rubbing Alcohol to Remove Residue
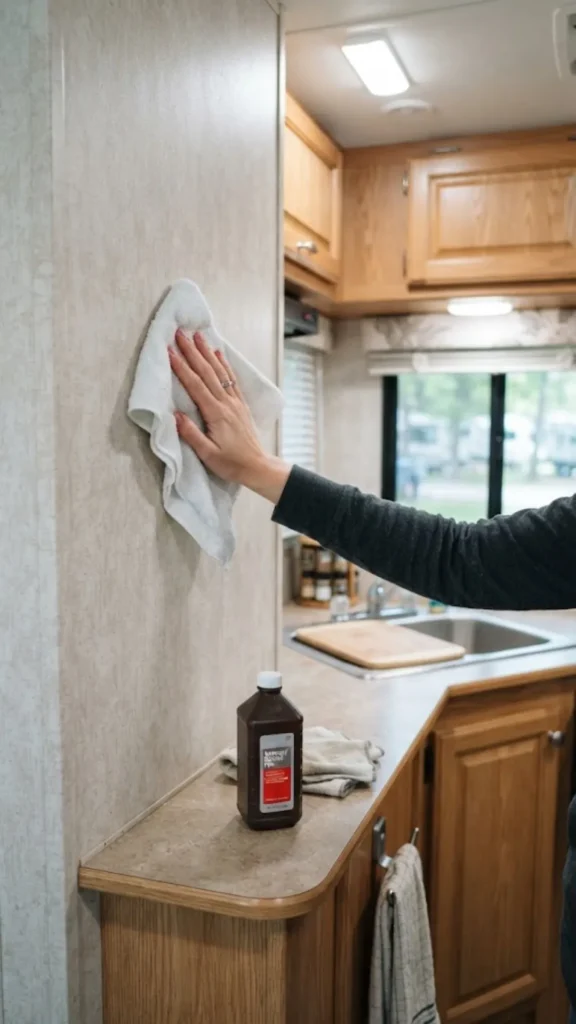
Soap alone leaves behind a faint film that weakens adhesive over time. Dampen a clean cloth with 70% isopropyl alcohol and wipe the wall in one direction, switching to a fresh section of cloth as it picks up grime. This step matters most on kitchen and bathroom walls, where grease builds up fastest.
Sand Glossy Paneling Lightly for Grip
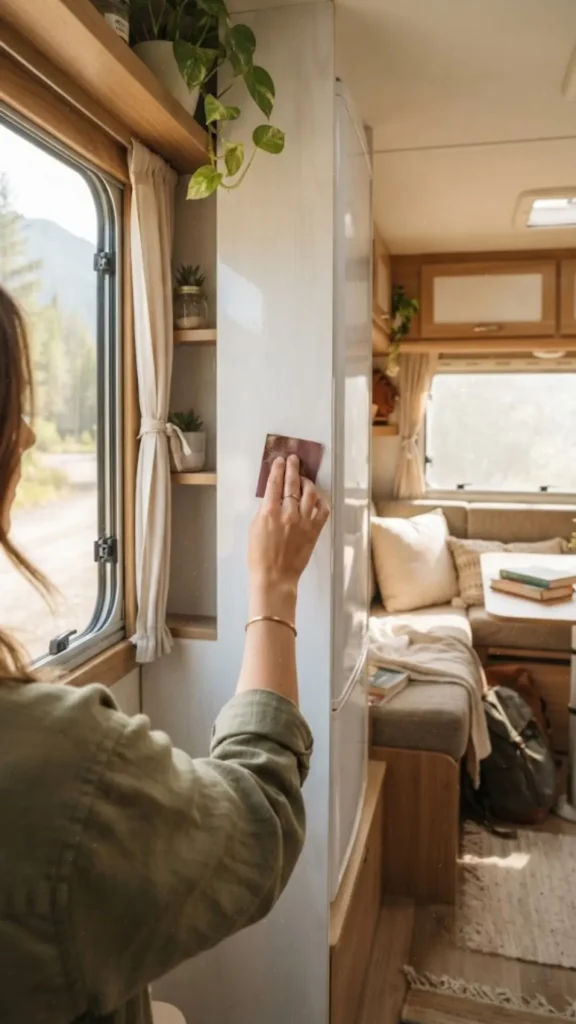
Not every RV wall needs this step. If your paneling has a shiny, slick finish, adhesive struggles to bite into it, and the paper can slide or lift within days. Run a sheet of 220-grit sandpaper over the surface in light, circular motions until the shine dulls slightly. You are not trying to remove the finish, only rough it up enough for the glue to grip.
Measure Your Wall and Add Extra Inches
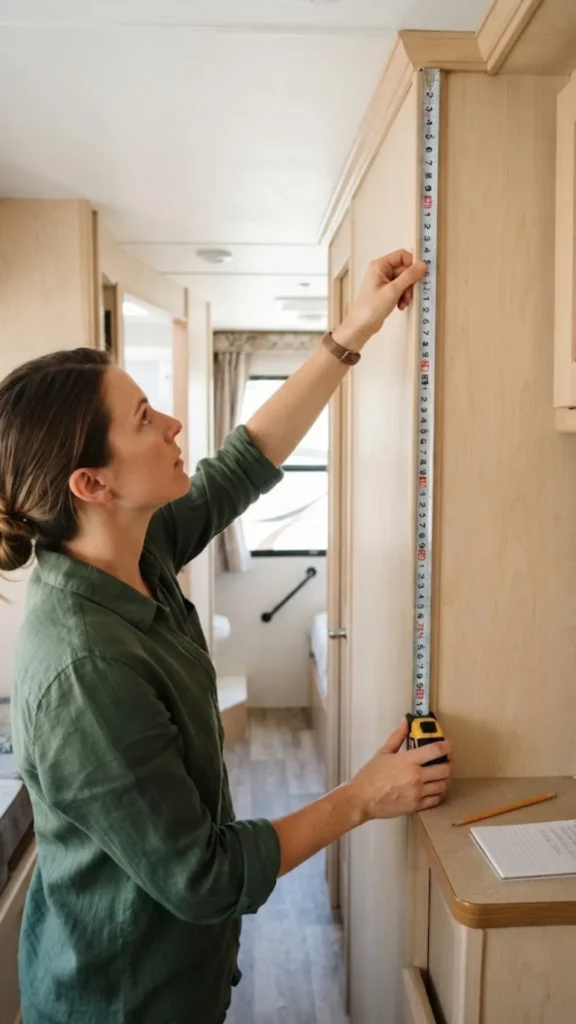
A tight measurement is how strips end up short halfway through installation. Measure the height of your wall from ceiling trim to baseboard, then add 3 extra inches to that number before you cut anything. That buffer gives you room to adjust for walls that are not perfectly straight, which is common in RVs.
Cut Your First Strip on a Flat Surface
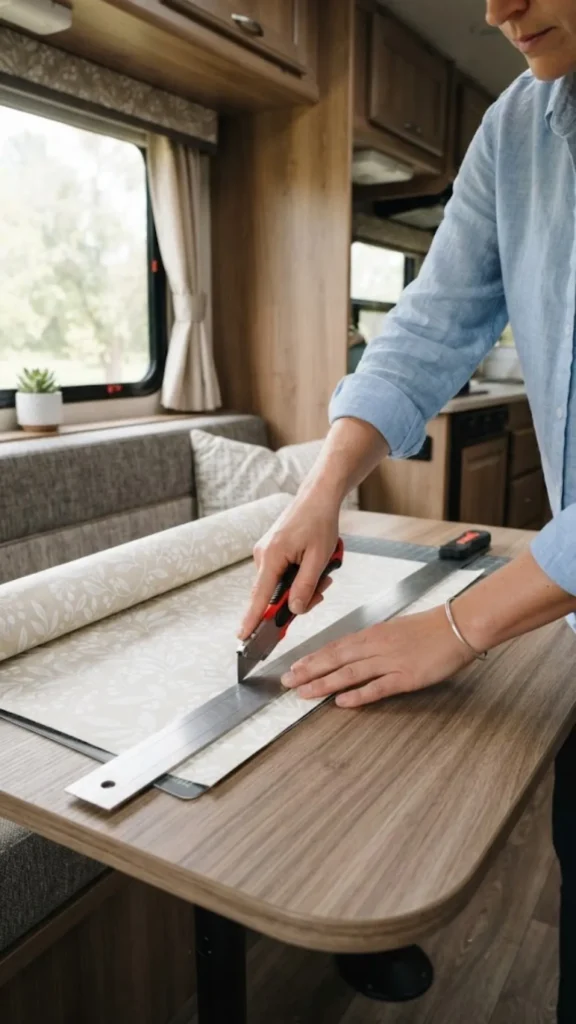
Six feet of wallpaper does not cut cleanly balanced on your knee. Roll the paper out on a table, the floor, or your RV’s bed, backing side up, and smooth out any curl before cutting. Use a straight edge to guide your knife so the edge comes out even. A crooked first cut throws off every strip you match to it after.
Peel Back the Top Six Inches of Backing
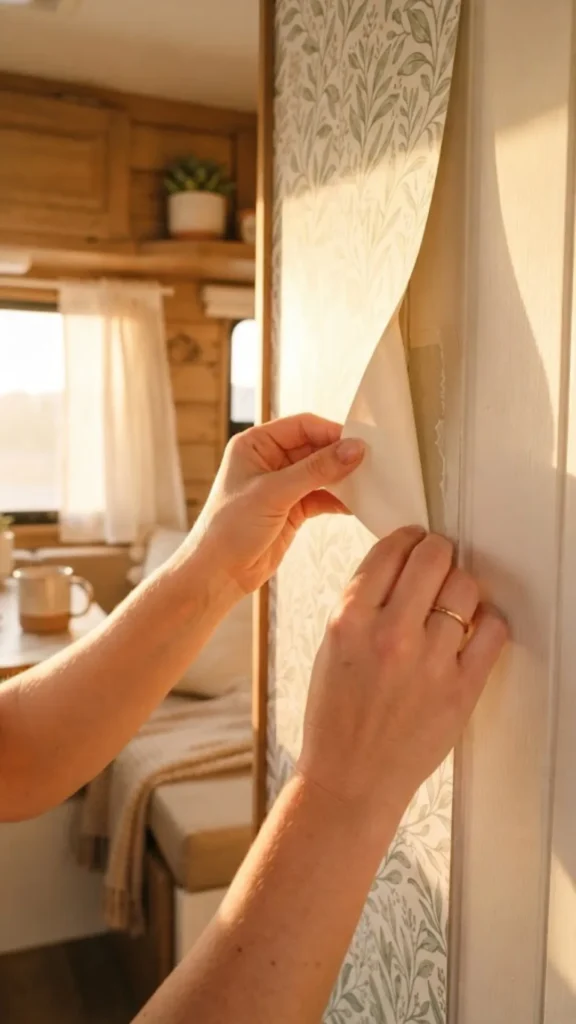
Peeling the whole backing off at once almost always ends in the strip folding onto itself and sticking to nothing but itself. Instead, fold back just the top six inches of backing paper and crease it flat against the back of the strip. This gives you a small, manageable section of exposed adhesive to work with first.
Position the Strip and Anchor the Top Corner
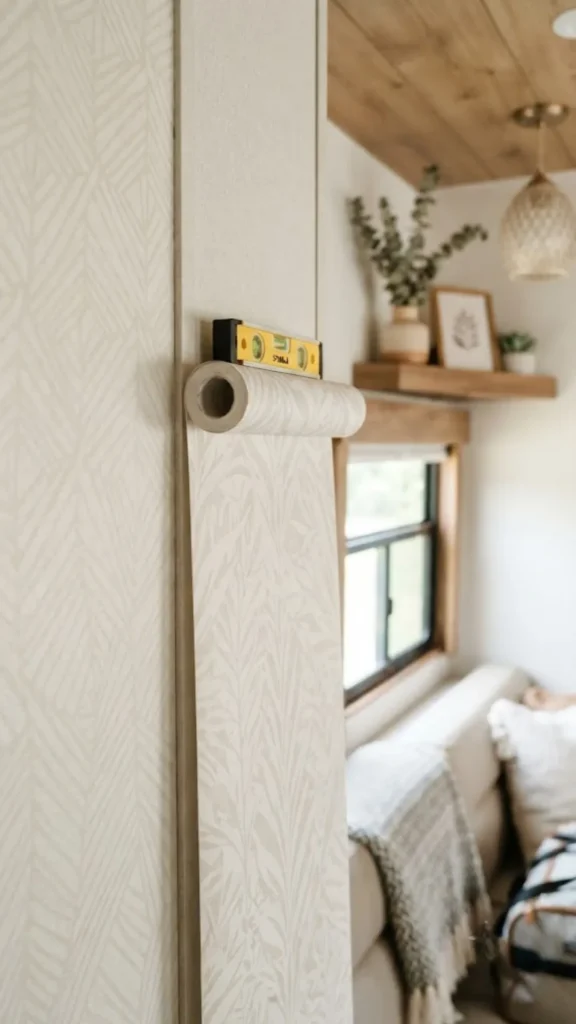
Line the edge of your strip against your ceiling trim or starting point, leaving a small overhang you will trim later. Press only the top corner into place first, checking that the edge sits straight with your straight edge or level before committing further. Once that top corner is anchored, the rest of the strip has a fixed reference point to hang straight from.
Smooth Downward With a Squeegee as You Peel
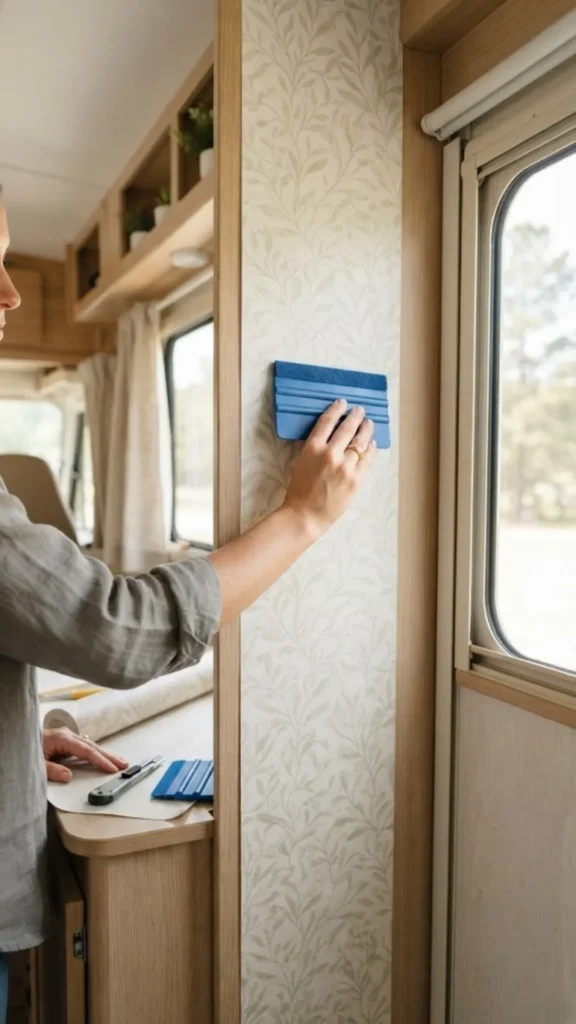
Working in short 6- to 8-inch sections, pull a bit more backing away, then smooth that section flat with your squeegee before peeling further. Move the squeegee from the center of the strip outward toward each edge in short strokes.
- Peel a small section of backing
- Press the strip flat against the wall
- Smooth outward with the squeegee
- Check for air bubbles as you go
- Repeat down the length of the strip
Trim Excess With a Sharp Utility Knife
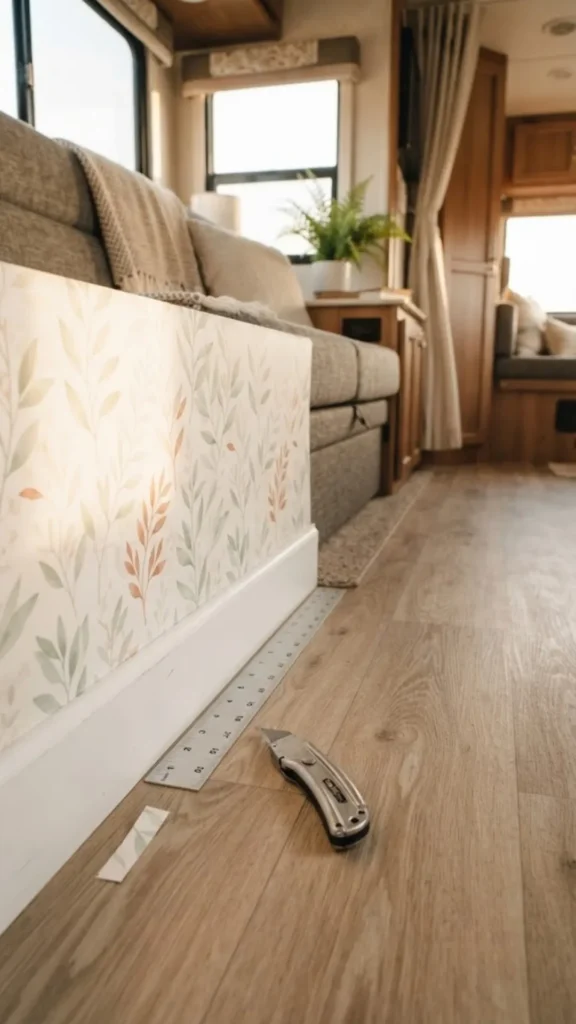
A dull blade drags the paper instead of slicing it, leaving a ragged edge that is hard to hide. Press the excess flush against the ceiling trim or baseboard using your straight edge as a guide, then run the utility knife along that line in one smooth pass. Swap in a fresh blade if you notice any tearing rather than a clean cut, since a few extra cents on blades beats a visible rip on your wall.
Match the Pattern on Your Second Strip
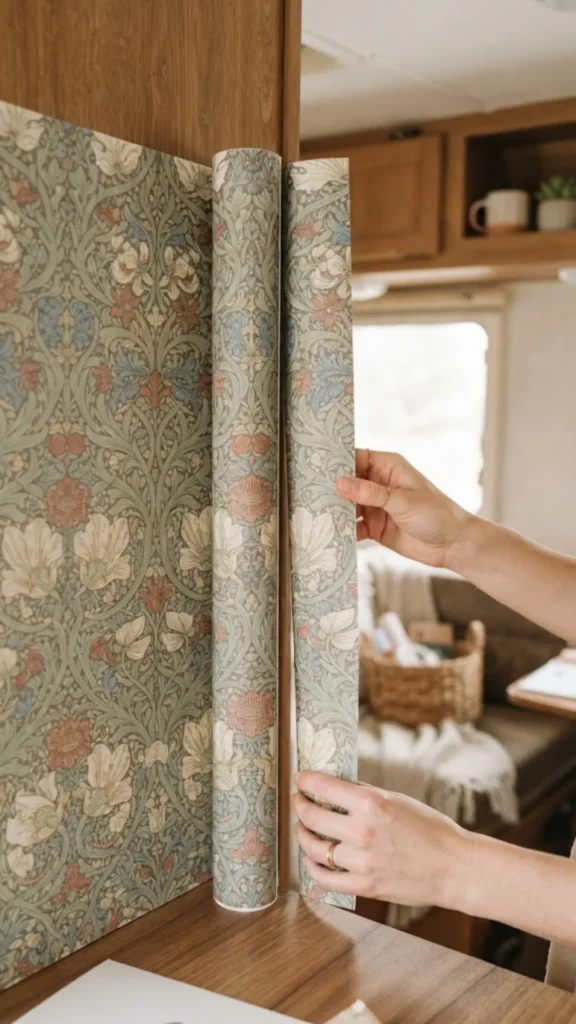
Butting two strips together without checking the pattern first is how you end up with a visible seam that ruins the whole look. Hold your second strip up against the first, dry, before peeling any backing, and slide it until the pattern lines up edge to edge. Mark that position lightly with a pencil dot at the top and bottom so you have a reference once the adhesive is exposed.
Work Around Outlets, Corners, and Vents
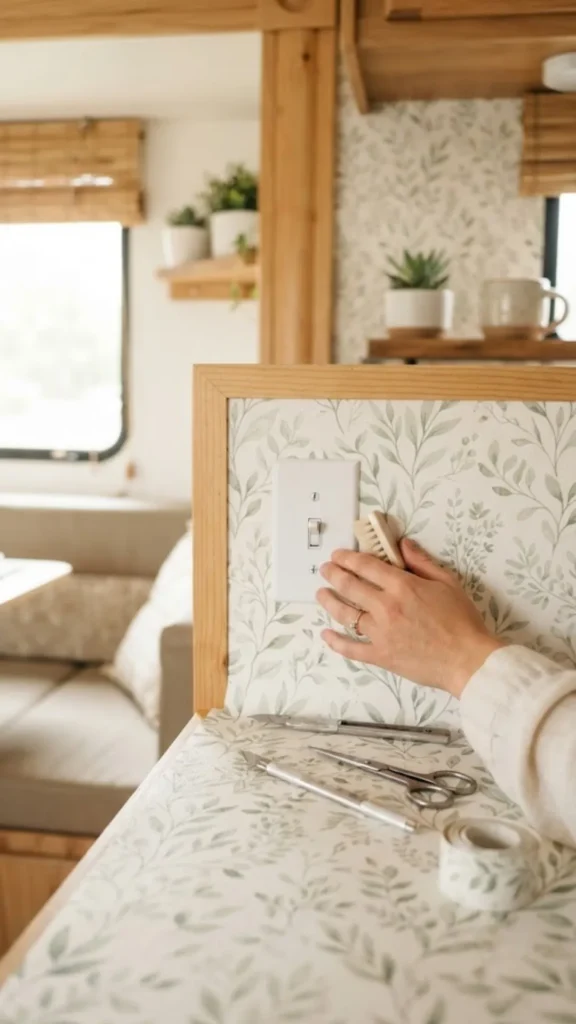
Outlets and vents are where most beginners rush and end up with torn paper. Smooth the strip flat right up to the edge of the fixture, then use small 1-inch diagonal cuts from the center of the opening out to each corner. Fold the flaps back and trim them flush against the fixture’s edge.
Press Down All Seams and Edges Firmly
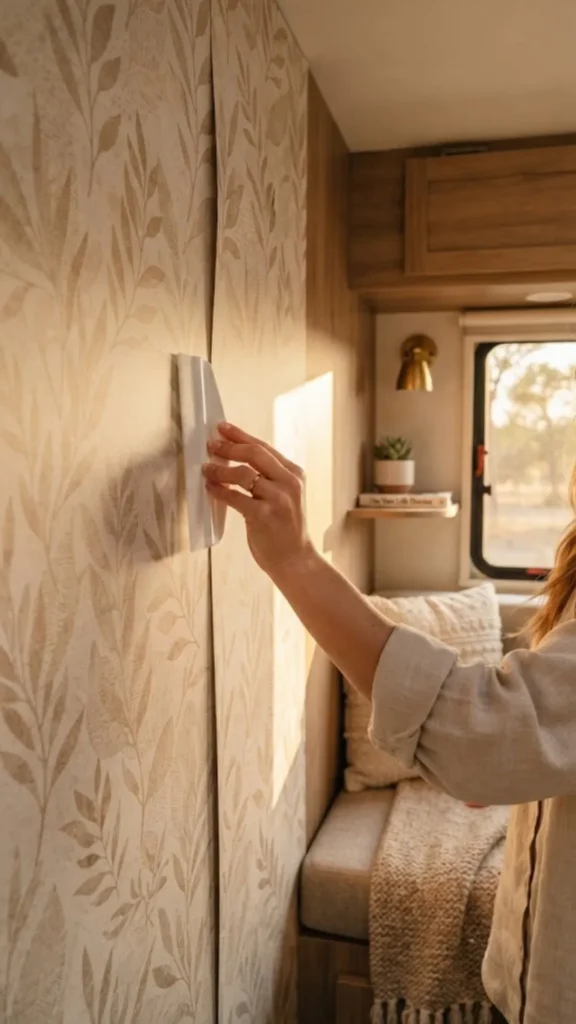
New wallpaper looks finished long before it actually is. Go back over every seam, corner, and edge with your squeegee or a firm hand, pressing along the full length rather than just tapping at spots. Edges that are not fully pressed down are the first place curling starts, usually within the first week, so this final pass is what makes the difference between a wall that lasts one season and one that lasts years.
Conclusion
Your RV walls are no longer the dated backdrop they used to be. You have prepped a raw panel surface, hung and matched full strips, and worked cleanly around fixtures that trip up most beginners on their first try.
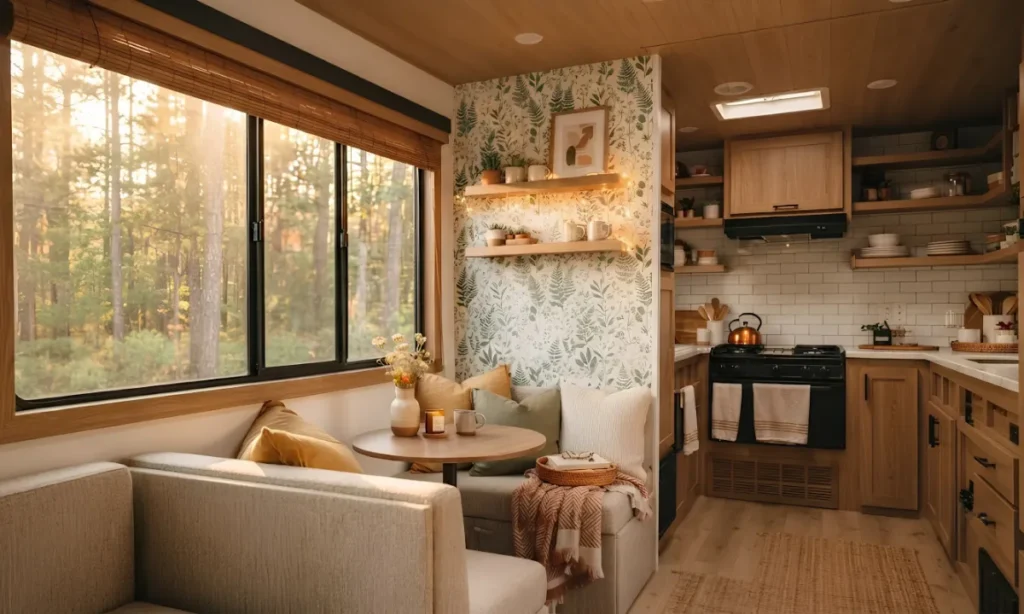
The natural next step is tackling a second wall or an accent nook, like above a dinette bench, once you have this first section down. Removable wallpaper in your RV is meant to be changed as your style shifts, so treat this weekend as the first of many.
Snap a photo of your finished wall and save this guide to Pinterest so you have it ready next time you want a refresh.