Renting an RV or driving a brand new rig brings an incredible sense of freedom, but those bare, industrial-looking walls can feel cold and unwelcoming. You want to hang up personal touches that make the space feel cozy, but the fear of losing your security deposit or ruining the laminate keeps your walls completely blank.
Regular nails, screws, and heavy adhesives are out of the question since they leave permanent scars that rental companies will notice instantly.
The standard advice is to just live with the boring interior, but you do not have to spend your road trip staring at plain vinyl paneling. Standard sticky hooks often fail on textured RV walls or melt in high humidity, causing your decorations to come crashing down mid-drive.
By using strategic No-Damage RV Wall Decor solutions, you can completely personalize your temporary living space and pull everything down in minutes before handing back the keys. Here are the best ways to style your mobile walls without leaving a single trace behind.
1. Hook Lightweight Woven Flat Baskets with Damage-Free Adhesive Strips
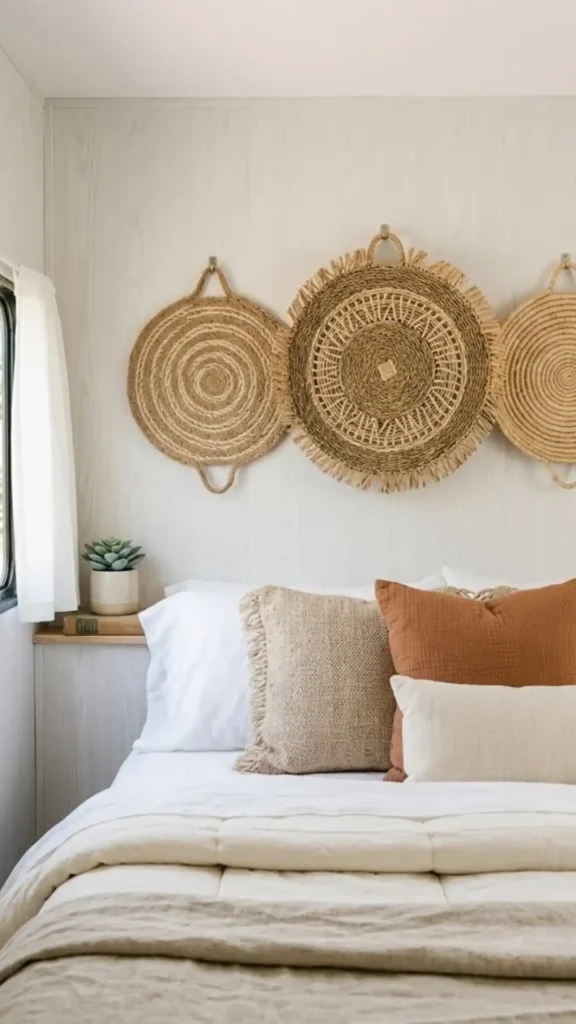
Woven shallow baskets add immediate warmth and texture to the flat, glossy surfaces found inside most camper trailers. Because they are mostly hollow and made from dried grasses, they weigh almost nothing, making them highly resistant to vibrations on the road.
Clean the wall surface thoroughly with rubbing alcohol first to remove any factory film or grease from cooking. Press a pair of low-profile adhesive strips firmly onto the thickest part of the basket weave, then hold it against the wall for thirty seconds. Grouping three different sizes together creates a beautiful focal point over the master bed or near the entryway.
💡 Quick Tip
Always use rubbing alcohol instead of household surface cleaners to prep the wall. Cleaners often leave a slick residue that causes adhesive strips to slide right off within 24 hours.
2. Hang Heavy Fabric Tapestries Using Heavy-Duty Hook and Loop Tape
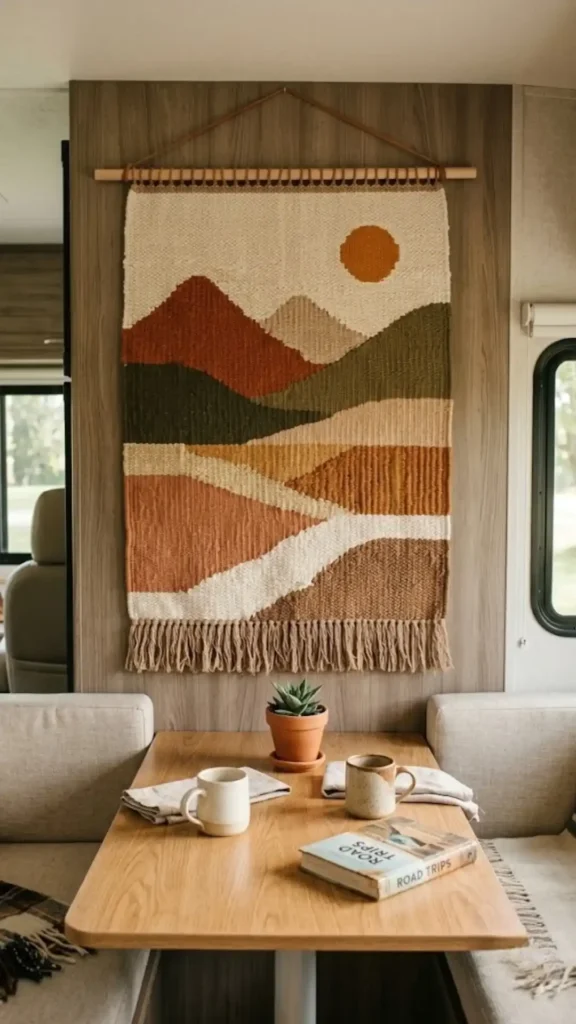
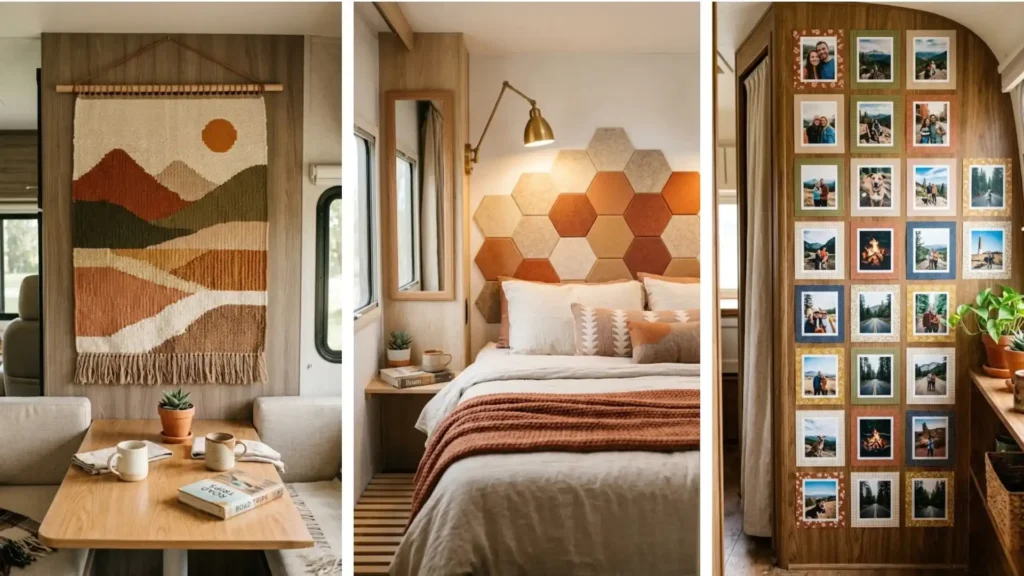
Large wall expanses in a rig, especially the bare area behind a dinette, can look cold and echoey. Heavy-framed art is too dangerous to hang because the shifting weight will tear right through thin drywall or paneling during transit. Cotton tapestries offer a lightweight way to cover massive amounts of space without adding dangerous weight.
To prevent the fabric from flapping around when the air conditioner kicks on, follow these placement steps:
- Apply a continuous strip of heavy-duty hook-and-loop tape along the top edge of the wall.
- Secure smaller squares of the tape to the bottom corners to keep the fabric perfectly flush.
The material softens the interior sound while making the main cabin feel much more like a residential living room.
A bare, echoing vinyl wall behind the dinette table that feels like an institutional trailer cabin.
A cozy, texture-rich focal point that muffles road noise and peels off instantly without tearing the wall wallpaper.
3. Mount Acrylic Floating Shelves with Clear Adhesive Backing for Faux Greenery
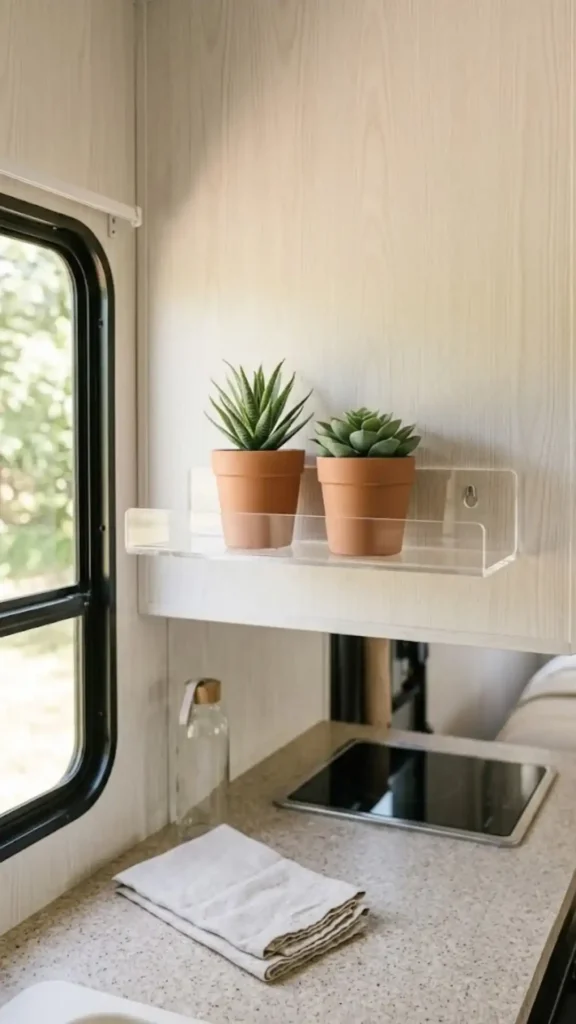
Utilizing transparent acrylic shelves gives you the ability to display small items without drilling permanent anchor holes into your kitchen or bathroom shelves.
These clear ledges blend into the wall, keeping the narrow walkways feeling open and bright. They typically come with specialized clear adhesive patches that distribute weight evenly across the smooth vinyl surface.
Drop in a few lightweight, plastic faux succulents wrapped in twine to bring a natural element into the space. Just remember to take the plants down and place them in a sink basin before you hit the highway, as sudden bumps can throw loose items off the ledges.
What to grab first
4. Secure Unframed Canvas Prints Using Adhesive Picture Hanging Strips
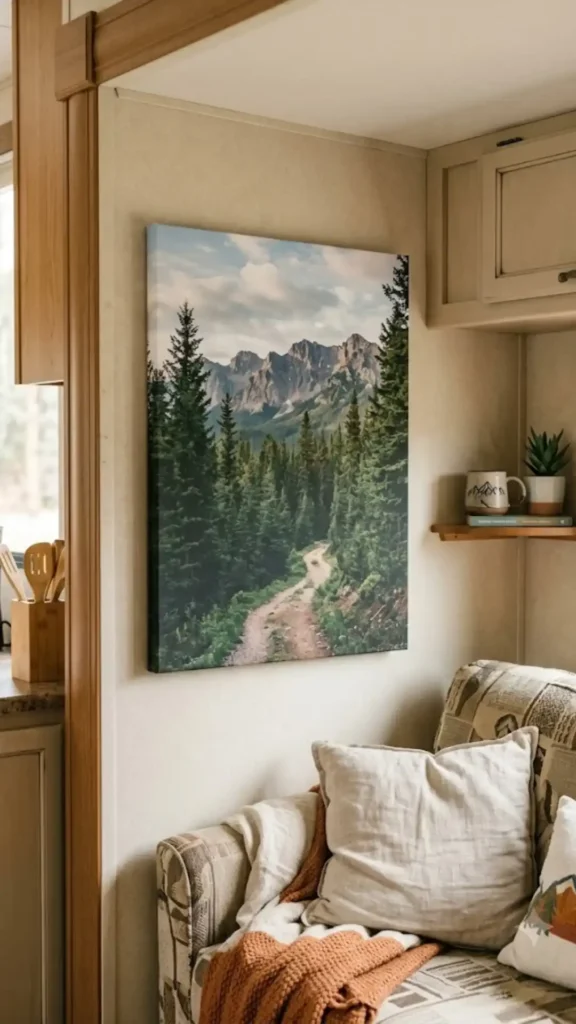
Traditional glass picture frames are a safety hazard inside a moving vehicle because they easily shatter if they slide off the wall. Unframed canvas wraps provide the exact same high-end look without the dangerous weight or fragile glass panels.
Look for canvases with deep hollow backs so you can place the interlocking hanging strips directly along the inner wooden frame edges. This keeps the artwork completely tight against the wall surface, so it will not swing or rattle while you drive down rural highways. This setup works beautifully for families traveling with pets or young children who might accidentally bump into the walls in tight quarters.
5. Suspend Macrame Plant Hangers from Over-the-Door Hooks
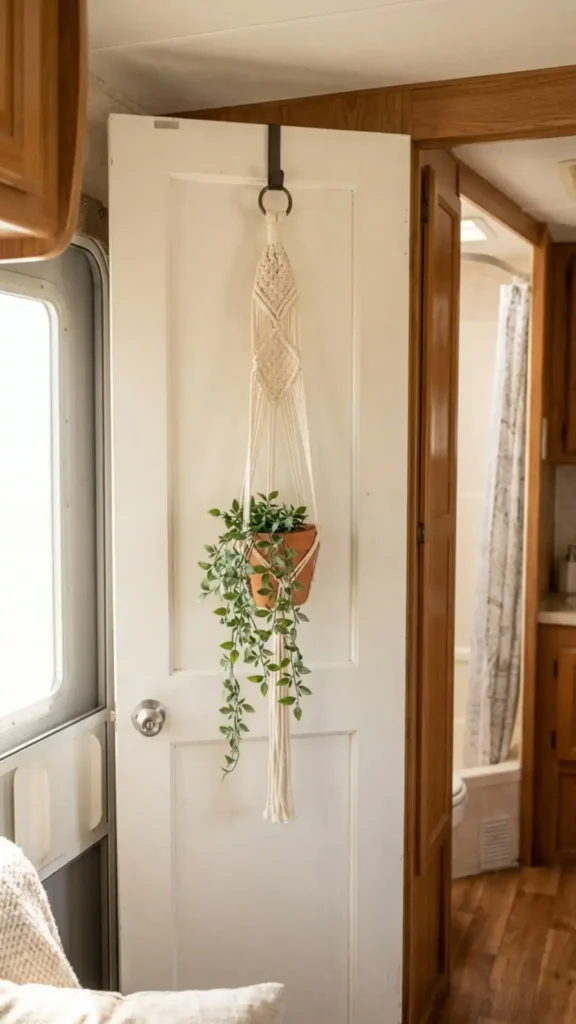
Interior doors and cabinet tops offer built-in, sturdy support zones that do not require any sticky adhesives at all. Padded over-the-door hooks slip right over the top edge of a bathroom door or bedroom partition without scratching the wood finish.
You can loop a handmade macrame yarn hanger directly onto the hook to introduce a soft, bohemian look to the room.
- Choose a flat-backed textile hanger that rests flat against the panel.
- Insert an ultra-lightweight faux air plant or silk ivy strand.
This utilizes vertical space that usually goes completely wasted while adding zero weight to your delicate wall panels.
Place a thin, foam-padded over-the-door utility hook onto the top of the bathroom partition door.
Loop the top ring of your yarn macrame hanger over the hook tab, letting it hang straight down.
Tuck a lightweight foam or plastic container inside the knot basket to complete the arrangement.
6. Press Removable Peel-and-Stick Vinyl Decals Onto Clean Slide-Out Walls
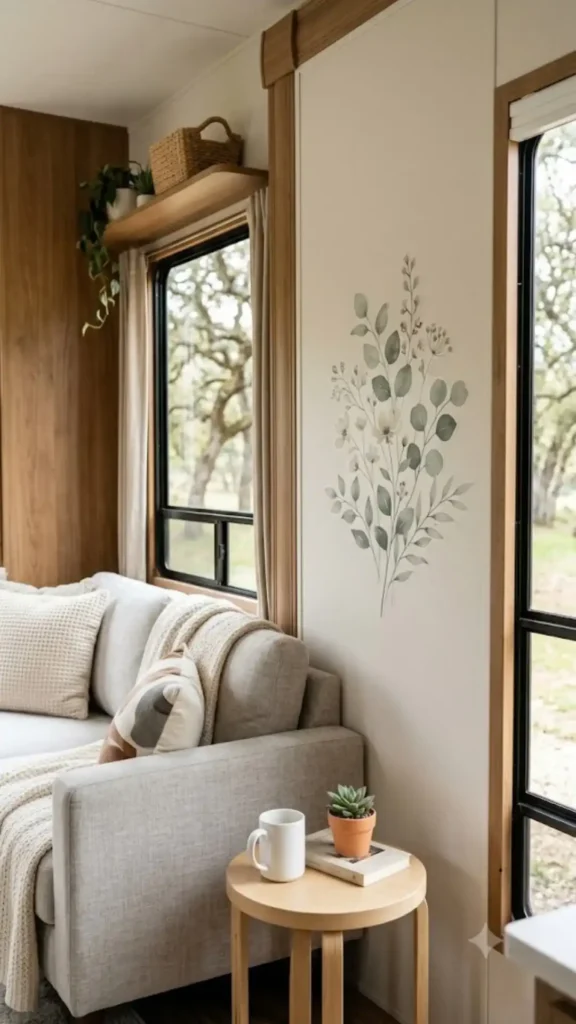
Hard surfaces on slide-out sections are excellent spots for large vinyl graphics. These decals behave like temporary tattoos for your vehicle interior, laying completely flat against the surface so they never shake loose on winding mountain roads.
To ensure a smooth layout:
- Wipe the wall down with a dry microfiber cloth to clear away dust.
- Smooth the decal out from the center using an old credit card to eliminate bubbles.
The thin material adds color without extending into narrow walking paths, making it ideal for high-traffic zones.
Choose matte finish vinyl decals because they hide wall texture better.
Peel the backing off slowly at a sharp angle to avoid stretching the design.
Avoid metallic or high-gloss decals which can bake and stick permanently in the hot sun.
Do not apply them over existing peeling wallpaper seams.
7. Arrange a Photo Gallery Wall Using Lightweight Cardstock and Removable Washi Tape
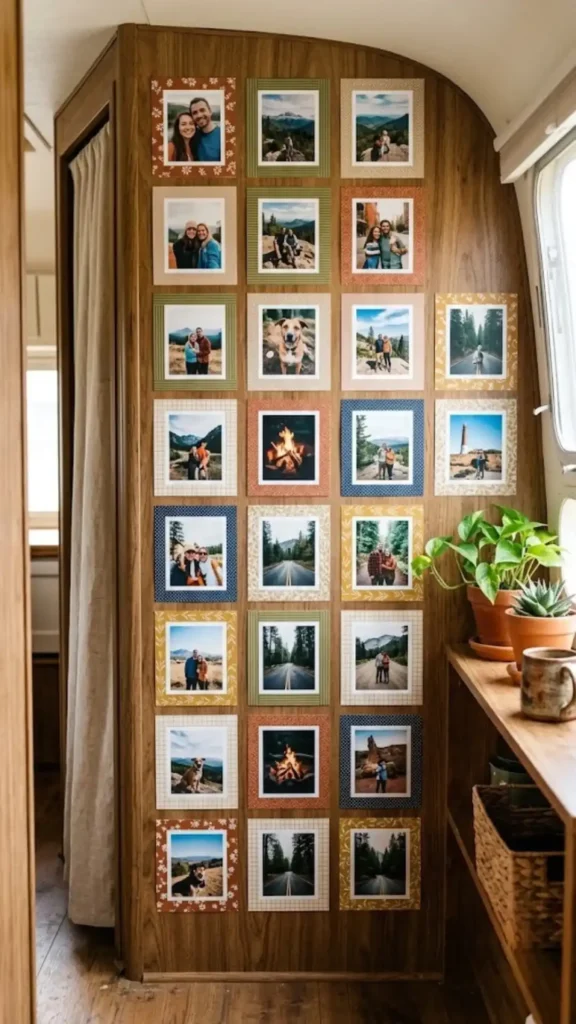
Printing family travel pictures on standard paper or cardstock instead of using heavy glass frames lets you share road trip memories without risking wall damage.
Decorative Japanese masking tape is gentle enough to peel away cleanly from flimsy interior vinyl panels. You can frame each printout by running the colorful tape directly along the outer borders, creating an intentional gallery wall that takes up absolutely zero space. It holds up well against a light breeze from open screen doors while keeping your camper safe from shattering glass during transit.
| Washi Tape Framing | Traditional Sticky Strips |
|---|---|
| Leaves absolutely zero adhesive residue on thin trailer wallpaper. | Can occasionally pull up the top layer of paper if removed too fast. |
| Weights nothing and works best with flexible paper printouts. | Designed to support heavier hardboard or plastic photo frames. |
8. Apply a Temporary Peel-and-Stick Wallpaper Accent Panel Behind the Dinette
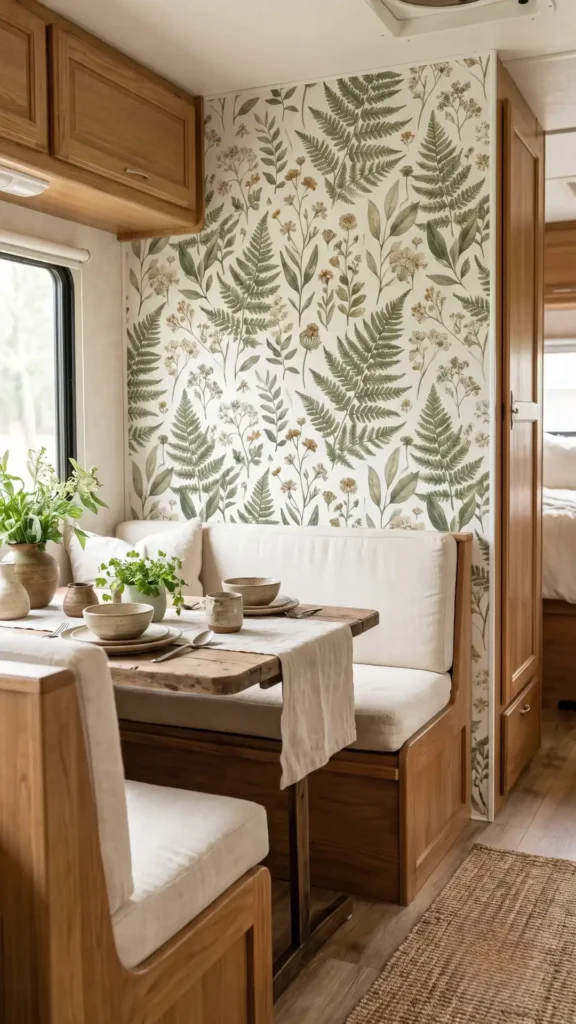
Putting a single vertical sheet of renter-friendly wallpaper can completely change the tone of a dark dining corner. Look for brands explicitly labeled as low-tack to avoid the glue bonding permanently to the wall during hot summer storage months.
Measure the space twice and cut the panel before peeling the backing off. This gives the kitchen slide an updated, clean appearance without the permanence of real paint or heavy wood paneling accents.
9. Secure Lightweight Cork Board Tiles with Non-Staining Mounting Putty
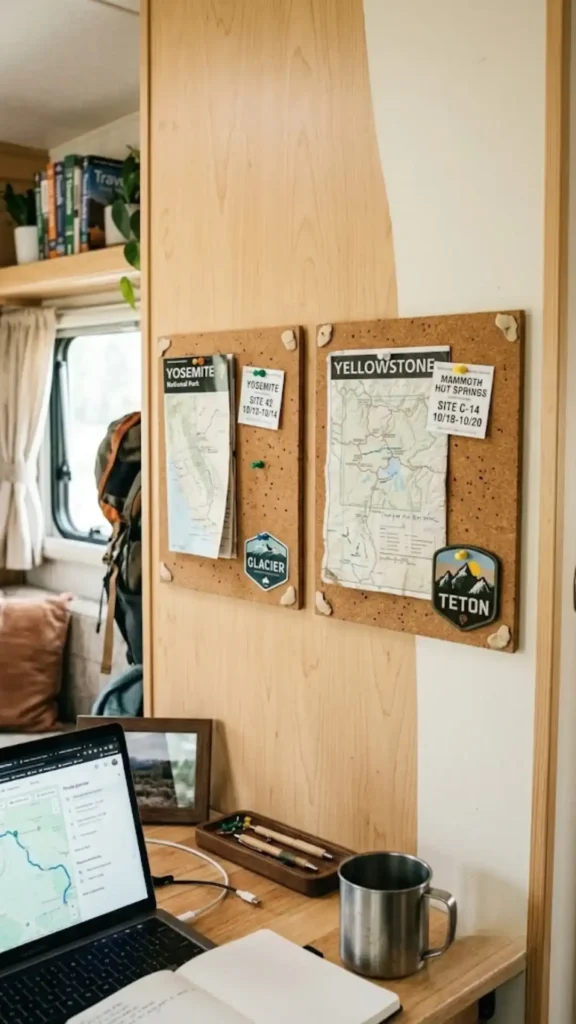
Thick cork squares give you a great spot to pin up park maps, campsite tickets, and grocery receipts without punching holes through your rig panels.
Standard white or blue mounting putty distributes the tile weight perfectly across the surface and rolls off the wall without staining when you pack up the vehicle. Press the putty firmly into all four corners and the dead center of the cork tile to ensure it stays anchored during long travel days.
- ▸Select frameless, thin 12-inch cork squares to minimize total weight.
- ▸Knead the mounting putty in your hands for a few seconds to warm it up before applying.
- ▸Use short map pins so they do not push all the way through the cork into the wall behind.
10. Drape Battery-Powered Fairy Lights Across Window Frames Using Clear Wire Clips
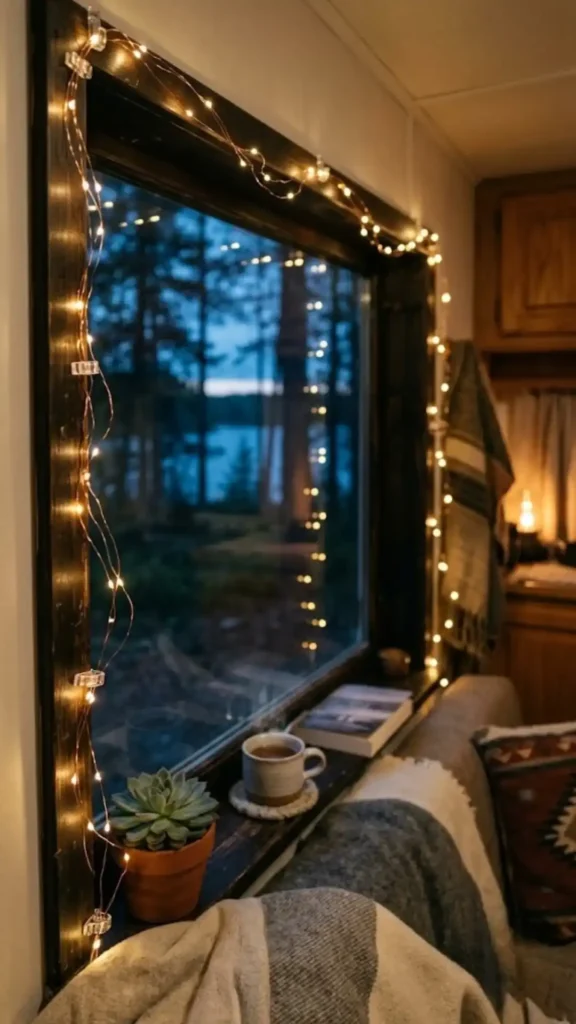
Overhead camper lighting often feels harsh and industrial after a long afternoon spent behind the wheel. Stringing up warm copper wire fairy lights around your main window trim instantly softens the atmosphere of the interior living area.
Small plastic wire clips use a clear adhesive that blends seamlessly into the trim, letting the fairy lights drape elegantly around the glass frame without drooping down.
Opt for battery-powered string lights with built-in automatic timers so you do not drain your rig house batteries while enjoying cozy evening lighting.
11. Install Hexagonal Felt Wall Tiles to Create an Instant Textured Headboard
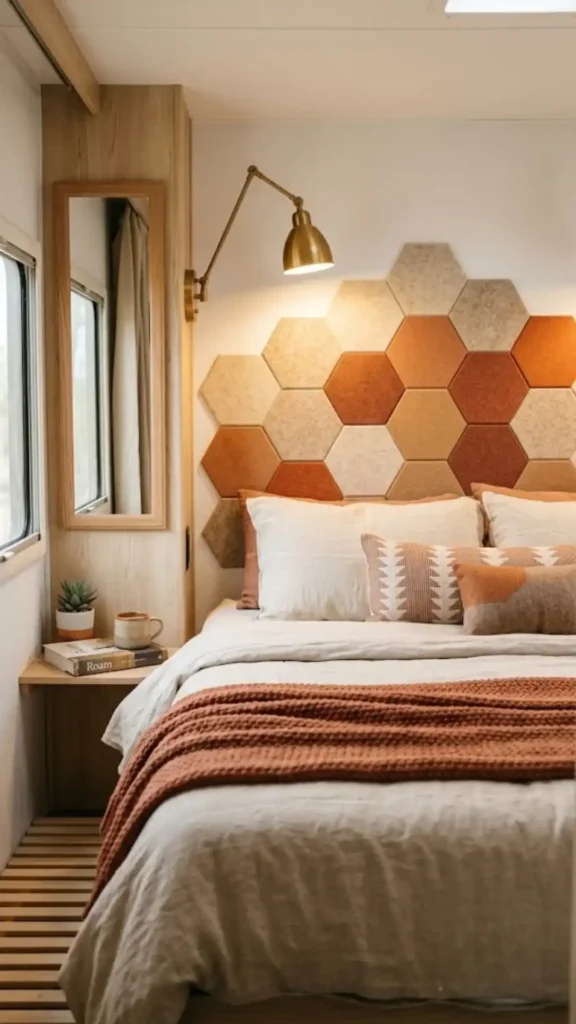
Many travelers believe that building a cozy headboard in a camper trailer requires heavy plywood, a staple gun, and deep structural screws. That aggressive approach ruins the bedroom wall panels and will quickly forfeit your security deposit.
Felt wall tiles offer a smart alternative that mimics high-end custom upholstery. They press on easily and provide a soft surface to lean against during late-night reading sessions.
⚠️ Watch Out
Avoid tiles with pre-applied commercial permanent glue. Look specifically for tiles that accept gentle hook-and-loop tape, or use low-tack squares to avoid tearing the vinyl wall finish later.
12. Mount Lightweight Plastic Backsplash Tiles Using Low-Tack Removable Adhesive Backing
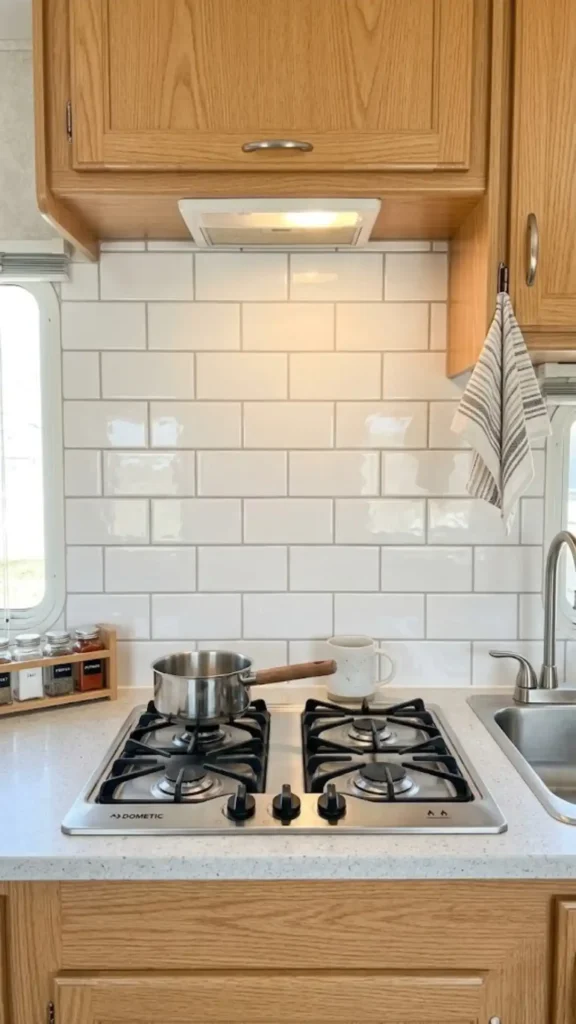
Kitchen grease from morning sausage skillet breakfasts can leave permanent stains on dull factory wallpaper. Real ceramic tile adds way too much physical weight for a lightweight trailer slide to handle safely. Faux plastic tiles give you the look of premium ceramic subway tiling without the structural weight or the messy grout.
These thin sheets provide excellent protection for your kitchen area:
- They shield the original wallpaper from hot oil splatter.
- They wipe completely clean with a damp sponge.
Stained, bare vinyl paneling right behind the propane stove burner top.
A bright, clean faux-subway tile layout that protects the kitchen wall from cooking grease.
13. Hang Lightweight Engineered Wood Pennants Using Soft Poster Putty
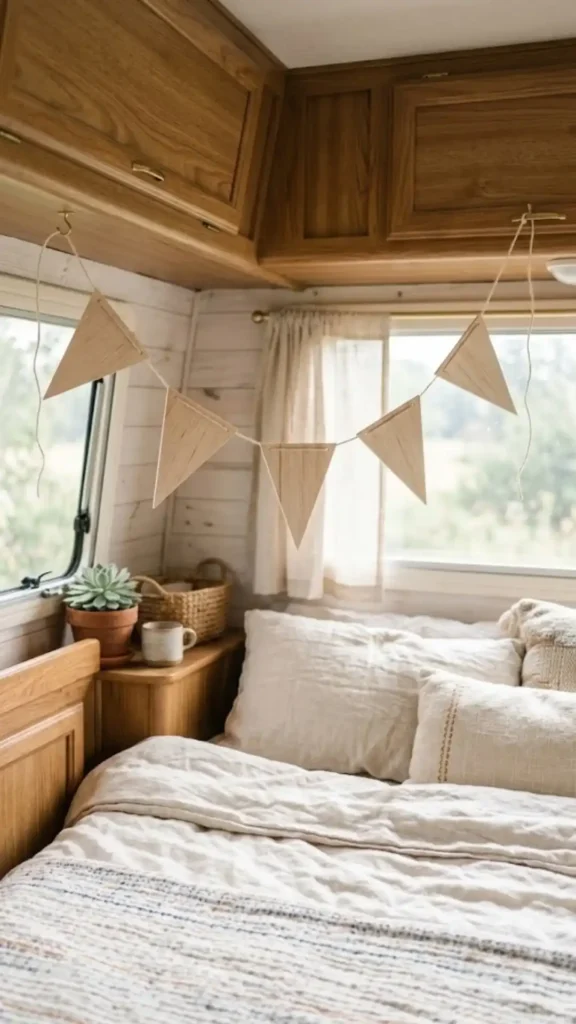
I always notice how cold and stark the empty corner above the master bed looks when you first step inside a rental rig. Hanging a string of vintage-style wooden pennants instantly softens those rigid, industrial lines.
Soft poster putty keeps the wooden triangles from tapping loudly against the wall panels whenever the air conditioner kicks on. This simple styling choice injects a sense of adventure into the bedroom without adding bulk to narrow walking spaces.
What to grab first
14. Anchor a Lightweight Accordion Hat Rack with Heavy-Duty Mounting Strips
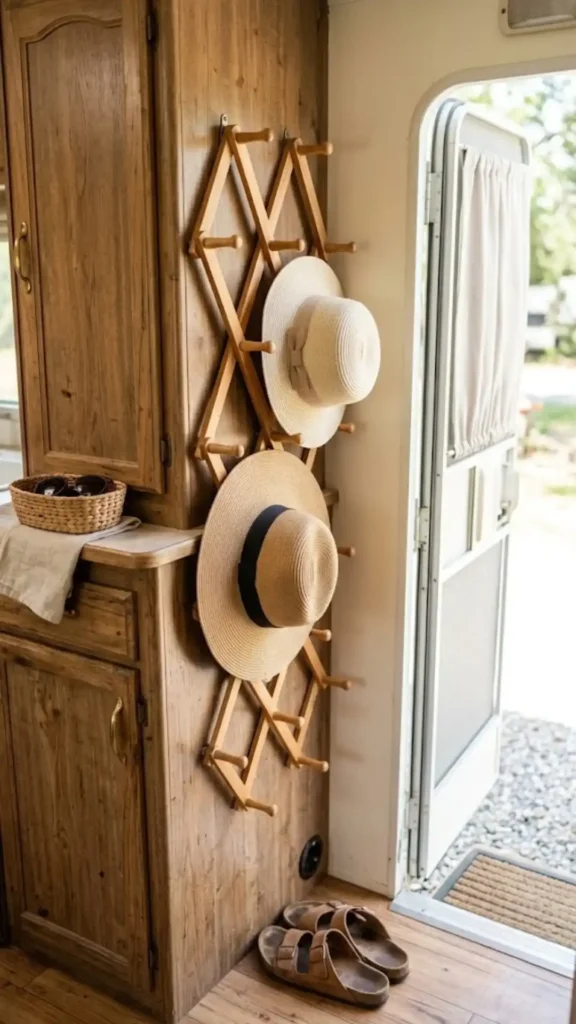
To clear annoying clutter from the limited counter space near your main entry door, mount an expandable wooden accordion rack directly onto the side of your kitchen cabinet. This creates an immediate, dedicated zone for sun hats, pet leashes, and light jackets without drilling a single pilot hole into the woodwork.
Be careful to respect the limits of the adhesive strips. Keep the rack functional but safe by avoiding heavy leather coats or loaded backpacks.
15. Use Suction-Cup Flower Pockets on Window Glass to Bring Nature Indoors
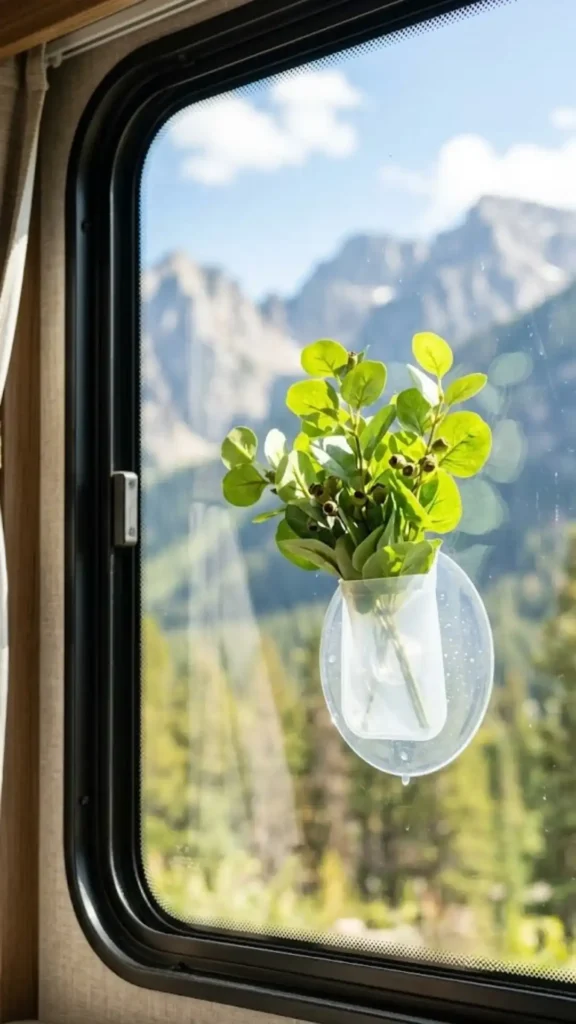
Looking out at a beautiful mountain range through a clean camper window is wonderful, but adding greenery directly onto the glass frames your daily view perfectly.
Suction-cup pockets attach straight to the window glass, completely bypassing the delicate wall laminates. This layout works beautifully because it utilizes zero wall surface area and keeps your living spaces entirely free from sticky tape.
- Clean the interior window glass with standard rubbing alcohol.
- Wet the silicone suction cup slightly to ensure a powerful grip.
- Drop a lightweight stem of artificial eucalyptus into the pocket.
Scrub the inner window pane with alcohol to remove fingerprints and dust film.
Press the high-grade silicone suction base firmly against the glass to lock out air bubbles.
Insert ultra-lightweight faux floral stems or air plants into the clear pocket basin.
16. Display Ultra-Light Plastic Poster Frames Secured with Removable Corner Tabs
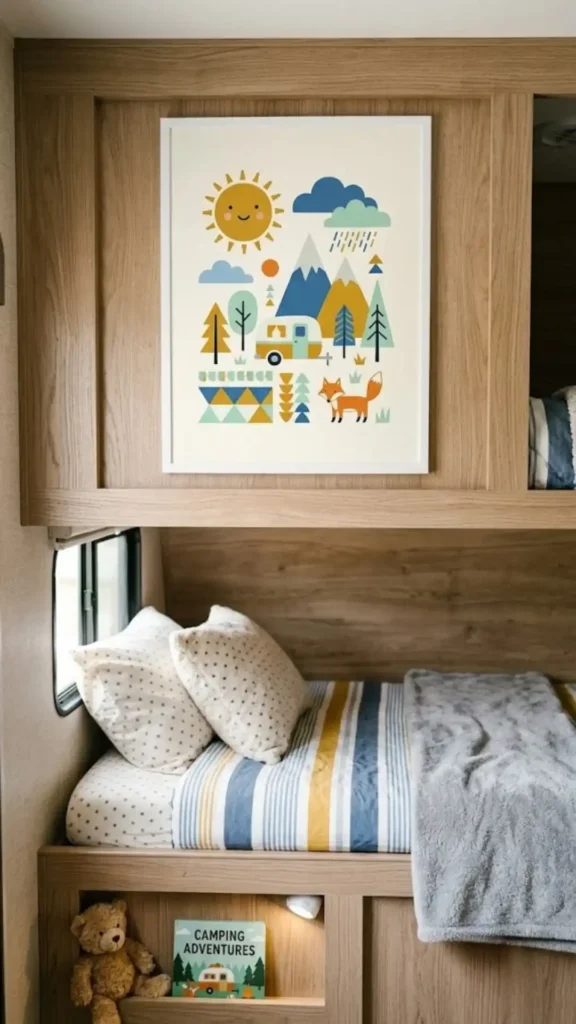
Empty wall spaces around the rear bunk beds can quickly make kids or guests feel homesick. You do not have to settle for bare walls just because heavy wooden frames are a safety hazard while moving down bumpy roads. Instead, switch out heavy glass for ultra-light plastic poster frames that flex slightly without snapping.
To secure them properly without risking the wallpaper:
- Apply low-tack corner mounting tabs directly to each of the four outer corners.
- Press firmly against the laminate surface for twenty seconds to lock the frame completely flush.
Use lightweight plexiglass or thin plastic frame liners instead of glass fronts.
Anchor all four corners so the frame cannot swing like a pendulum when driving.
Avoid heavy metal or solid oak frames which easily tear away from thin panels.
Do not use wire hanging loops that bounce against the walls.
17. Fix a Magnetic Key Strip to the Entryway Using Heavy-Duty Removable Tape
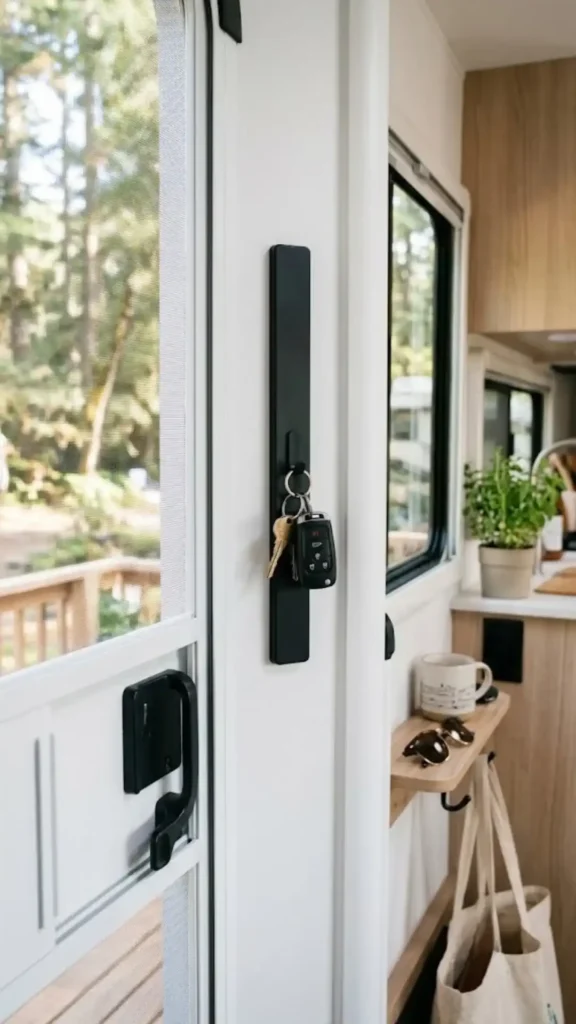
Misplacing keys inside a small camper trailer can derail a morning travel schedule instantly.
The small wall space right next to the screen door is the perfect spot to build an organized drop zone. A lightweight plastic magnetic bar can hold your main truck keys and campground gate cards right where you can see them. Fix the bar in place using double-sided removable mounting tape that peels away cleanly when your rental agreement ends.
| Magnetic Strips | Standard Utility Hooks |
|---|---|
| Keys snap on instantly without needing precise loops or small grommets. | Requires keys to have a dedicated ring to dangle from the small hook. |
| Keeps items completely flush so they will not rattle against the paneling. | Items swing freely back and forth while the vehicle is in motion. |
18. Mount Light Fabric Pocket Organizers Along the Bed Frame Using Hook and Loop Fasteners
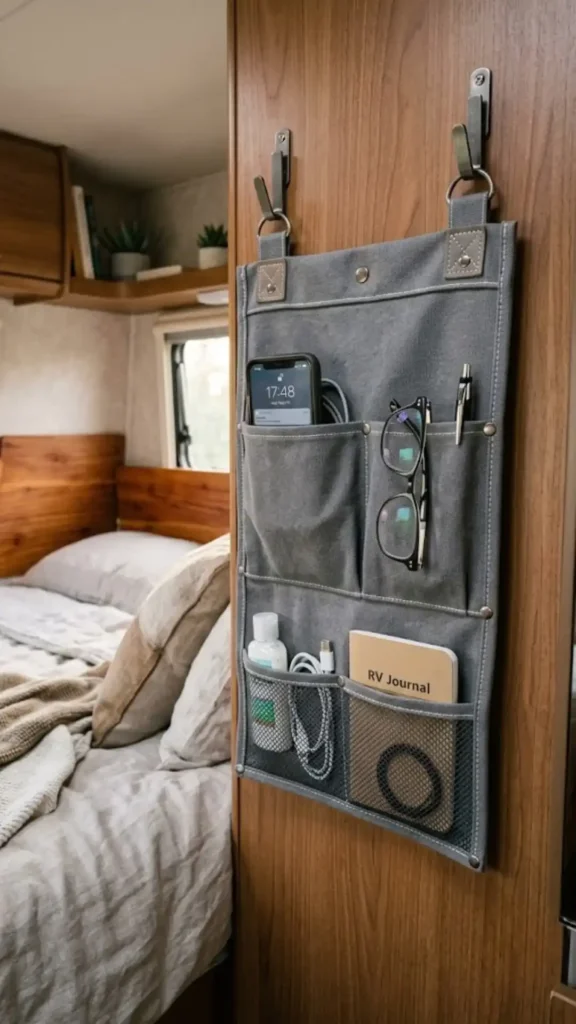
Bedside tables are a luxury that most compact camper bedroom layouts simply do not have. This lack of space usually leaves your glasses, phone chargers, and books cluttering the mattress or falling into the gaps by the wall. Canvas hanging pockets offer an easy solution that attaches right to the exposed wooden framing or trim panels.
To install this setup:
- Line the top lip of the fabric organizer with industrial hook-and-loop tape strips.
- Press the companion sticky strip onto a flat section of the wall or partition.
19. Hang a Lightweight Frameless Mirror Using Extra-Wide Grip Adhesive Strips
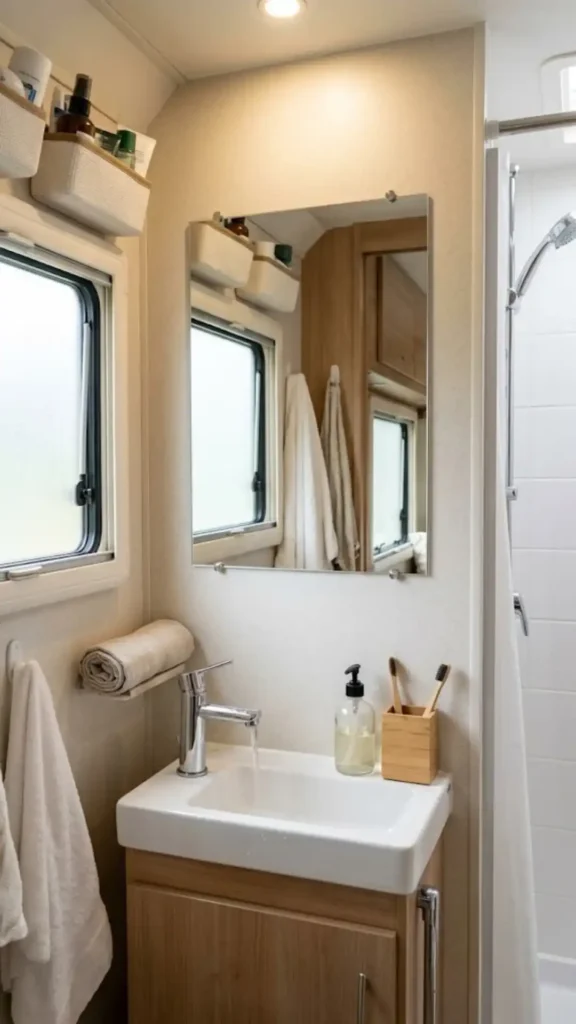
Small camper bathrooms can feel incredibly cramped and dark without an extra reflective surface to bounce light around the room.
Standard glass mirrors are far too heavy and dangerous to hang with simple tape, but a frameless acrylic sheet mirror weighs next to nothing. Use wide, foam-backed interlocking strips around the entire border to prevent the mirror from wobbling during long travel days. The extra width of the adhesive balances the load beautifully across the wall without tearing the underlying vinyl skin when it is time to pack up.
📌 Good To Know
Acrylic mirrors can occasionally flex and show a slight distortion if the wall surface underneath is uneven. Placing adhesive strips evenly across the back keeps the reflection straight and true.
20. Secure a Lightweight Wood Bead Garland Across Cabinets Using Adhesive Toggles
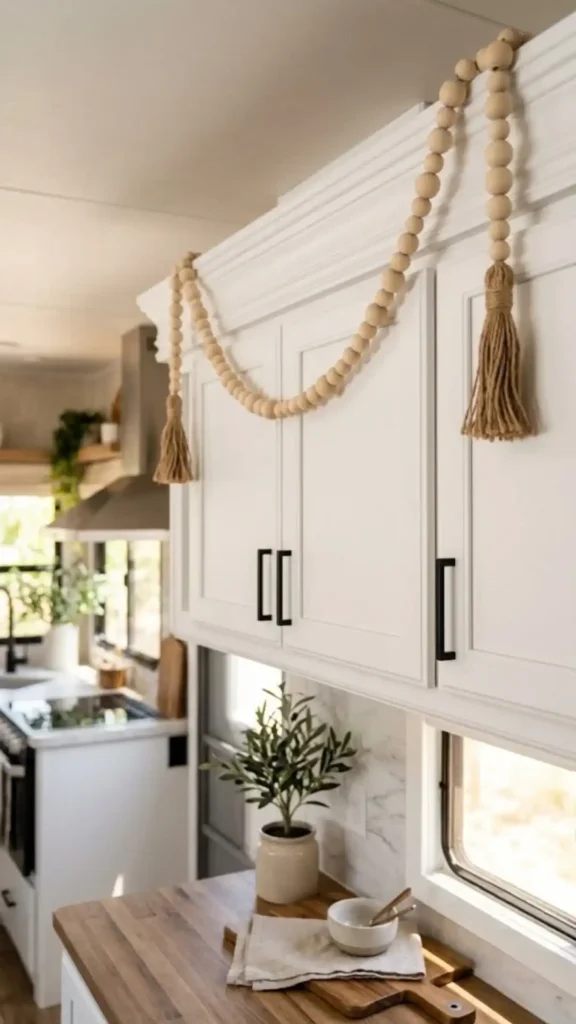
Many people think wall decor has to be a flat frame or a vinyl sticker to stay safe inside a moving vehicle. A flexible wood bead garland breaks up that flat look by draping beautifully across bare cabinet headers or window tops.
You can attach the ends of the garland to tiny, clear adhesive toggle hooks tucked just out of sight behind the cabinet trim. The natural wood texture instantly breaks up the stark look of generic white laminate cabinetry while remaining completely damage-free.
Always drape garlands with a bit of slack so the moving components do not pull hard against the adhesive anchor anchors when the trailer chassis twists on rough roads.
Conclusion
Personalizing your rental camper or new travel trailer does not mean risking your security deposit or ruining the original walls. With these smart, temporary styling options, you can create an inviting home on wheels that reflects your personal taste throughout your road trip adventures.
When your journey comes to an end, everything peels away smoothly, leaving the interior exactly the way you found it. Finding the right balance of texture, light, and clever placement makes all the difference.