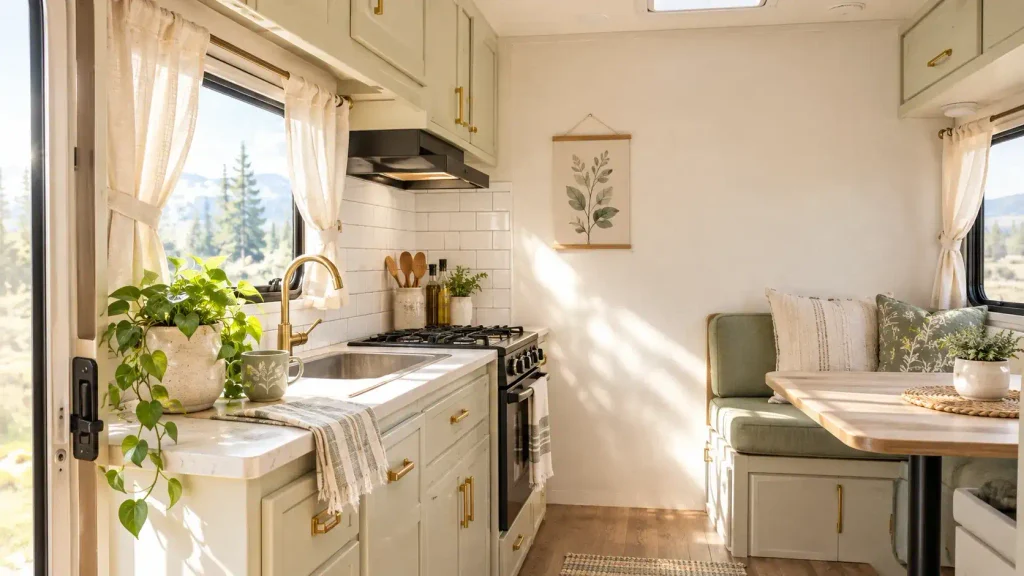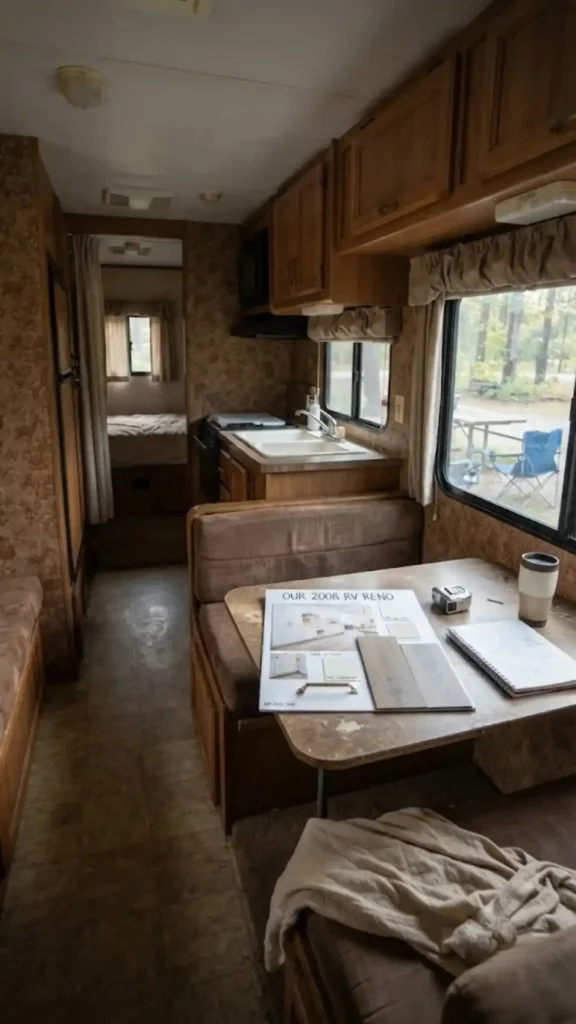
You just bought a 2008 travel trailer off Facebook Marketplace. It smells faintly of old campfire, and every surface is covered in brown floral wallpaper. You have a massive vision board filled with bright, airy camper interiors, and you are ready to get to work.
I completely understand that urge to start ripping out the ugly window valances immediately. But you need to pause. An RV is essentially a tiny house experiencing a continuous 6.0 earthquake while traveling down the highway at sixty miles an hour. You cannot renovate a camper the exact same way you renovate a brick-and-mortar house. We have to design for the road.
The Reality of RV Weight Limits (And Why You Can’t Just Use Tile)
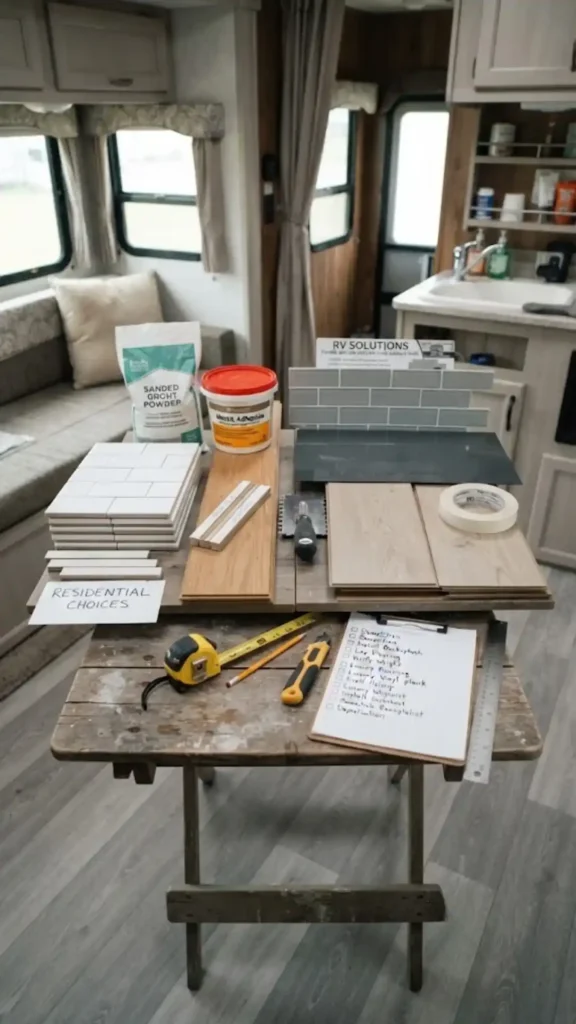
Every single RV has a Gross Vehicle Weight Rating. This GVWR number is printed on a sticker near the driver’s seat or stamped on the exterior metal frame. That number tells you the absolute maximum weight your camper can safely carry. This limit includes your freshwater tanks, your camping gear, your family, and every new piece of decor you bring inside.
Weight adds up incredibly fast during a remodel. You might love the look of real ceramic subway tile in a residential kitchen. If you put that same heavy tile and grout inside a moving vehicle, the weight will drastically cut into your cargo capacity. The rigid grout will also crack into dust after your rig hits its first major pothole on the interstate.
You have to use lightweight alternatives that flex with the walls. Swap ceramic for high-quality peel-and-stick vinyl tiles. Smart Tiles and Tic Tac Tiles make fantastic gel-coated options that look shockingly real and weigh almost nothing.
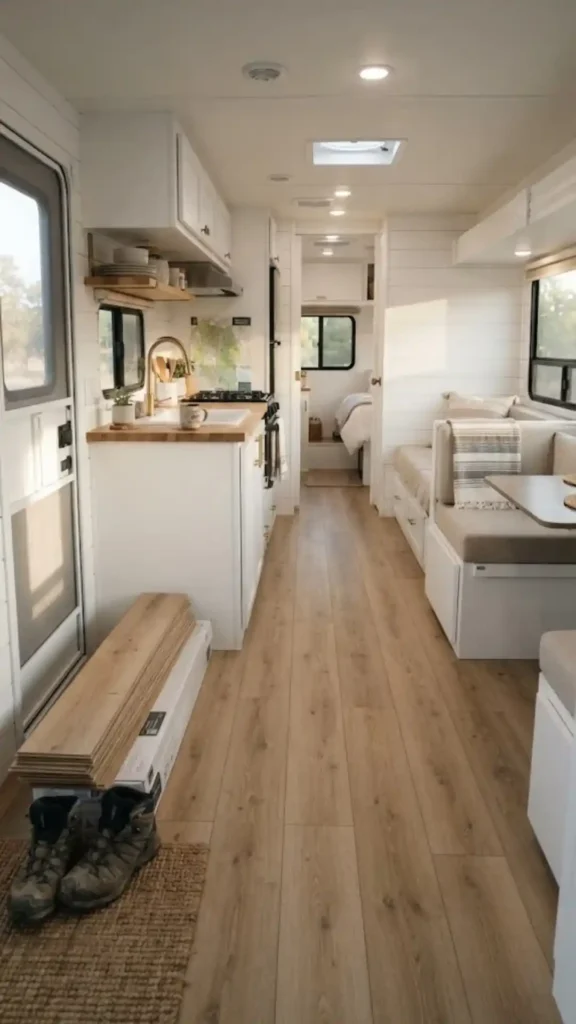
The exact same rule applies to your flooring choices. Solid oak hardwood planks are far too heavy for a camper. You want Luxury Vinyl Plank flooring instead. LVP gives you that beautiful wood look while remaining thin, completely waterproof, and light enough to keep your rig safe on the highway. Your tires will absolutely thank you.
Finding the Water Damage Before You Spend a Dime on Decor
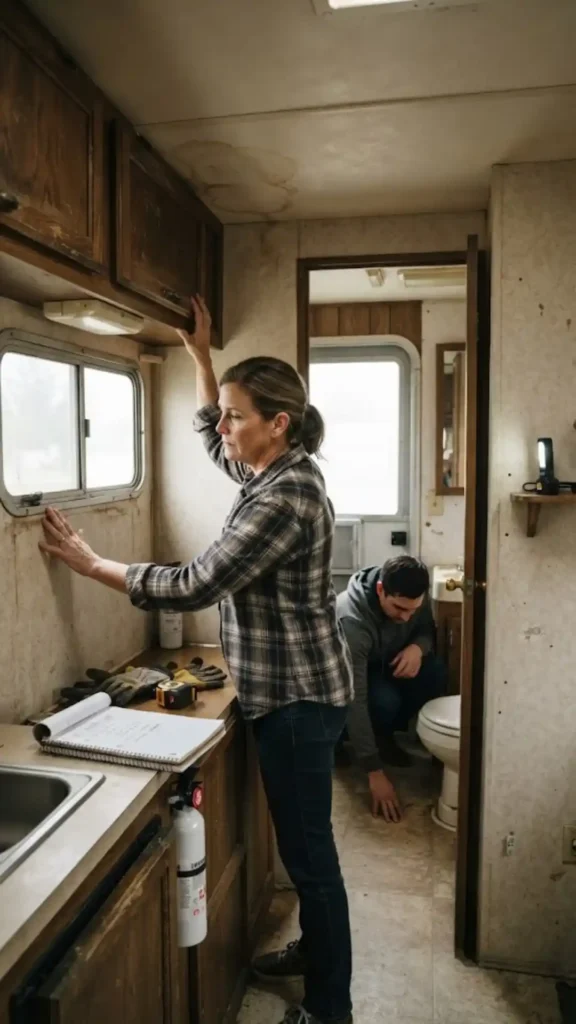
Water is the absolute worst enemy of any camper. RV walls and floors are often made of luan plywood and Styrofoam. They act like a giant sponge the second a roof seal fails. You must hunt for water damage before you buy a single throw pillow. Try checking these three specific spots right away.
- Walk heavily around the base of the toilet and the shower pan to check for soft spots in the subfloor.
- Look inside every upper cabinet for dark brown stains on the ceiling panels.
- Press your thumb firmly into the wallpaper right below the windows and along the four corner seams.
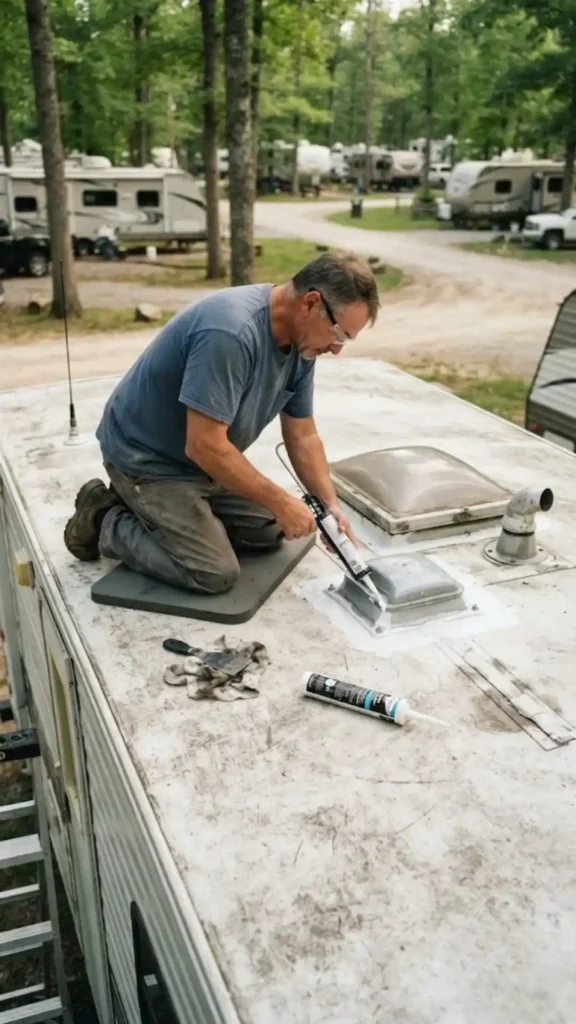
If any of these areas feel like a damp cardboard box, water is actively getting inside. You have to stop the leak before fixing the cosmetics. Climb up on the roof and check the seals around the vents and skylights.
Scrape away the old flaky caulk and apply a thick bead of self-leveling Dicor lap sealant. Dicor is the gold standard for RV roofs. It flexes with the movement of the rig and seals out moisture completely. Taking care of this nasty chore first saves your beautiful new interior from ruin during the first rainstorm.
Sanding, Priming, and the Nightmare of Vinyl-Coated RV Walls
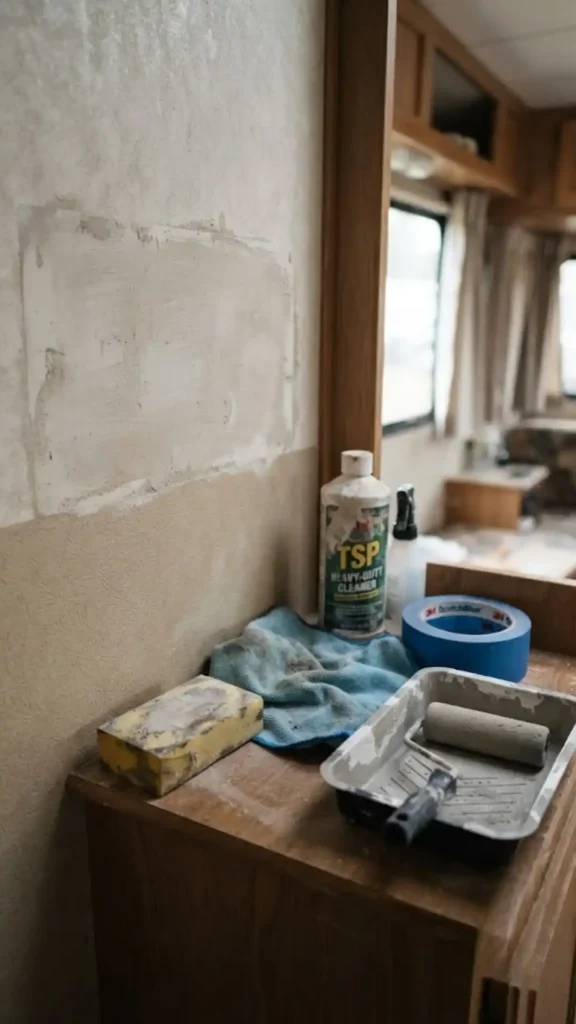
Those beige, textured camper walls are not made of standard residential drywall. RV manufacturers use a thin wood called luan, and they cover it with a slick vinyl paper. This vinyl coating is designed to repel moisture. It will also repel standard interior latex paint perfectly.
If you just slap a coat of white paint directly over those walls, you will have a disaster. The paint will literally peel off in sheets after ninety days of drastic temperature changes. You have to prep the surface aggressively. Follow this exact sequence for a permanent finish.
- Scrub every square inch of the walls and ceiling with a heavy-duty TSP cleaner to remove grease.
- Lightly scuff the walls with a 120-grit sanding block to give the slippery vinyl some texture.
- Wipe away all the sanding dust with a damp rag.
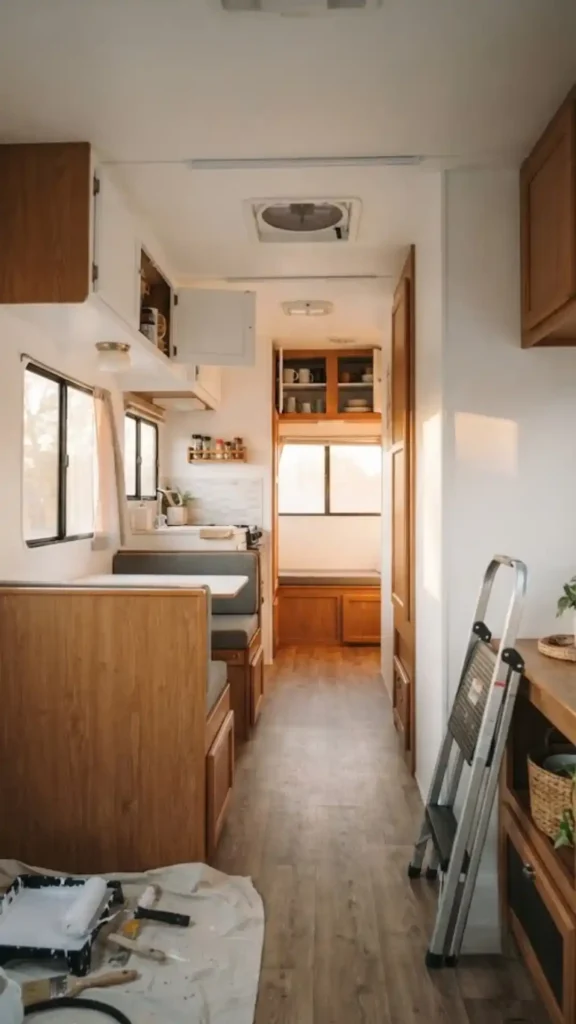
Now you need an extreme bonding primer to seal the deal. Standard drywall primer will fail here. You must use a product formulated to stick to glossy surfaces. Kilz Adhesion or Insl-X Stix are the exact products you want.
They grip the vinyl and create a solid base. Once that primer cures, you can finally roll on your favorite interior paint. Getting rid of that brown wallpaper feels like a massive victory.
12-Volt vs. 110-Volt: Translating RV Electrical for Lighting Swaps
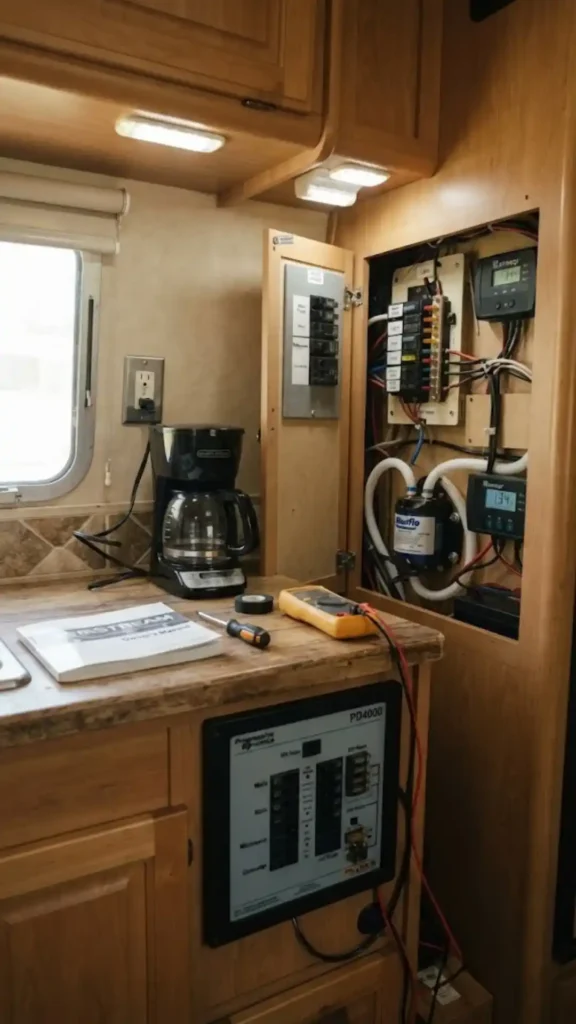
Replacing the ugly, yellow-tinted factory dome lights is a huge visual upgrade for any camper. But camper electricity works on two entirely different systems simultaneously. You have 110-volt power and 12-volt power running through the walls.
Your 110-volt system runs your heavy appliances like the air conditioner, the microwave, and standard wall outlets. This system only works when you are plugged directly into a campground power pedestal. This connection is called shore power.

Your 12-volt system runs off your camper’s deep-cycle battery on the tongue of the trailer. This battery powers the water pump, the slide-out motors, and almost all the built-in lighting.
Most of your ceiling puck lights and reading sconces are 12-volt fixtures. You cannot wire a standard residential 110-volt light fixture directly into a 12-volt wire. Doing so will blow a fuse immediately.
If you want to use a cute brass sconce you found at a hardware store, you have to modify it. You can wire the residential fixture normally, but you must screw in a 12-volt LED lightbulb instead of a standard bulb.
Alternatively, you can shop for lighting specifically manufactured for RVs. Brands like RecPro sell beautiful, modern 12-volt fixtures that wire right into your existing system. Good lighting makes a tiny metal box feel like an actual home.
Furniture Swaps: Getting New Pieces Through a 26-Inch Door
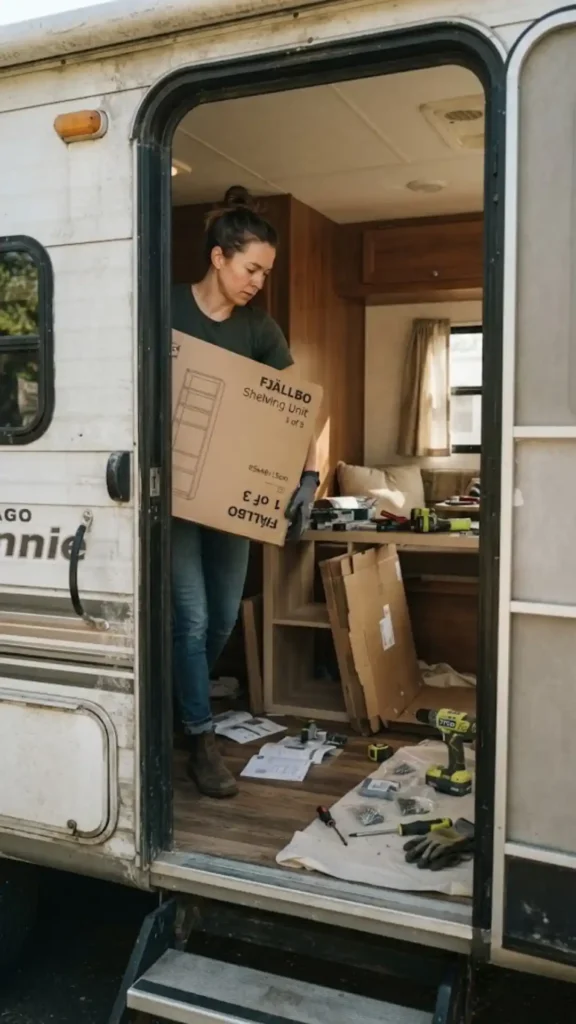
Tossing out the bulky, patterned camper dinette is incredibly satisfying. Replacing it is a serious logistical challenge. A standard residential front door is thirty-six inches wide. An RV entry door is usually between twenty-four and twenty-six inches wide.
That plush sectional couch you love will never fit through your camper door. You have to shop for pieces that arrive in flat boxes. Modular flat-pack furniture from places like IKEA is perfect for camper renovations. You can carry the individual pieces through the narrow doorway and assemble the couch inside the rig.
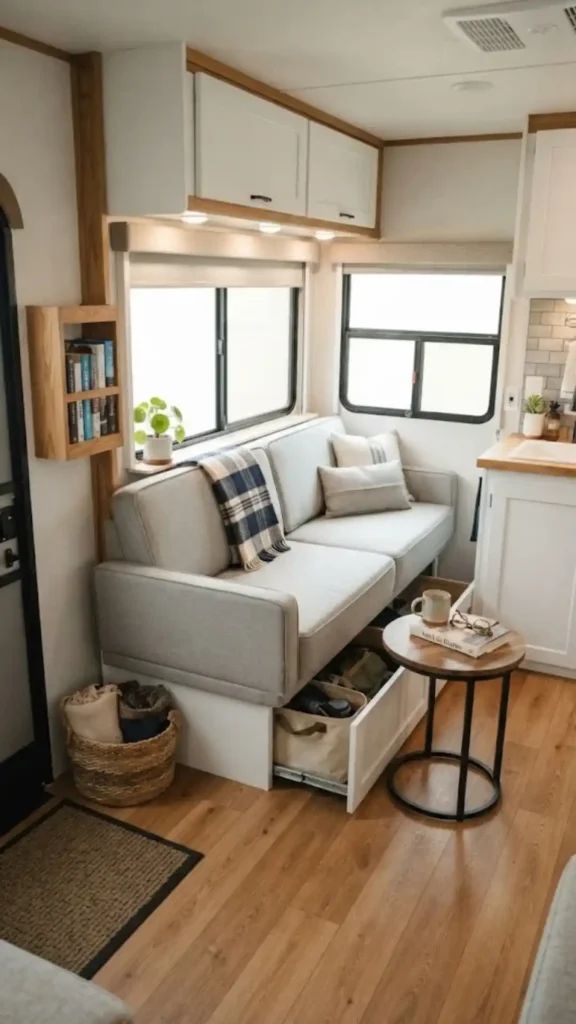
You must also consider the specific weight limits of your slide-outs. Slide-outs have strictly rated motors, and a heavy residential sleeper sofa can strip those gears. You might want to buy a lightweight RV jackknife sofa designed specifically for camper slides.
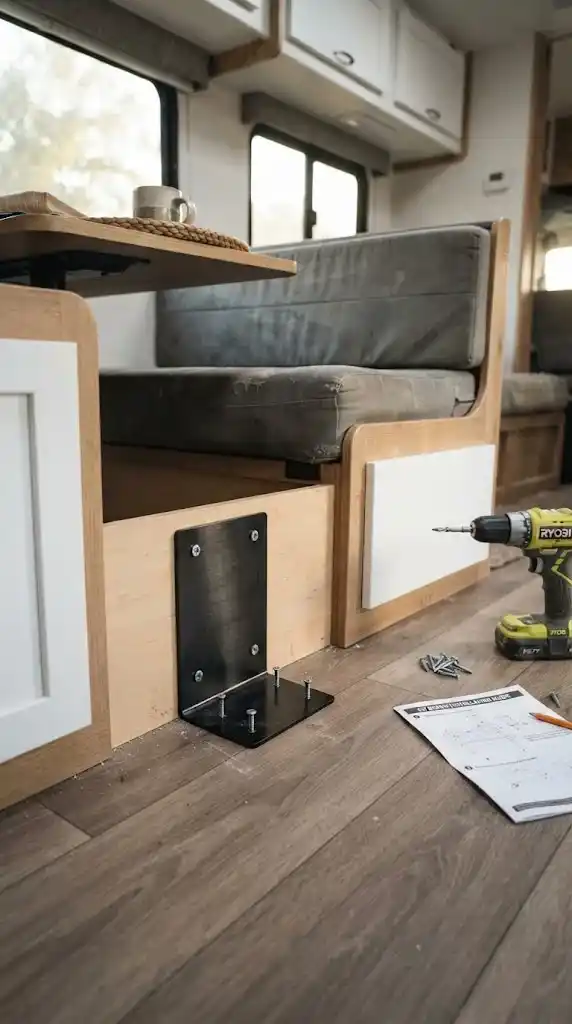
Finally, you cannot just set a chair in the living area and drive away. Every single piece of furniture must be physically secured to the floor or the wall with sturdy L-brackets and wood screws.
A loose dining chair becomes a dangerous projectile on the highway. Securing everything means you can arrive at your campsite with your living room exactly how you left it.
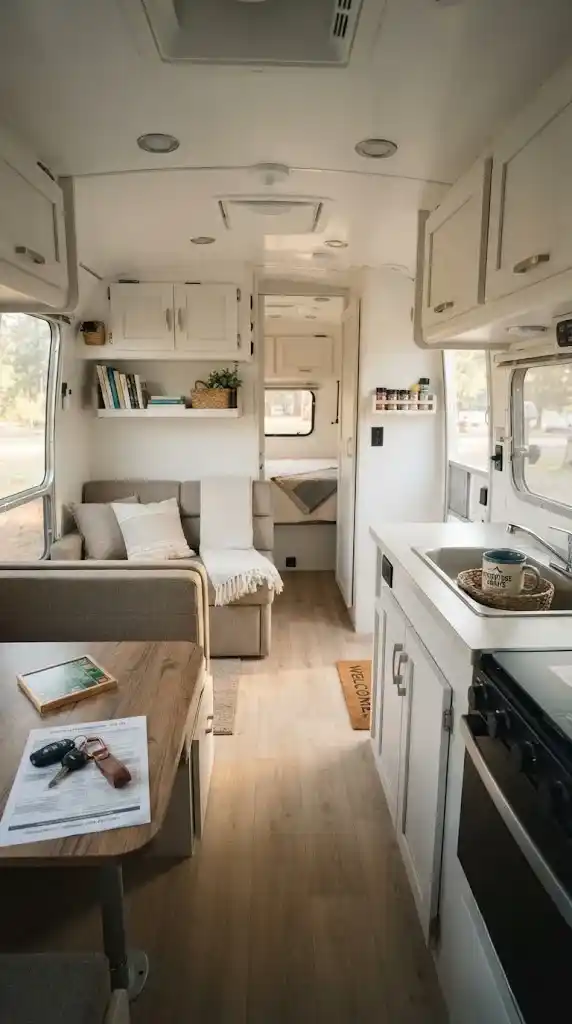
The Payoff
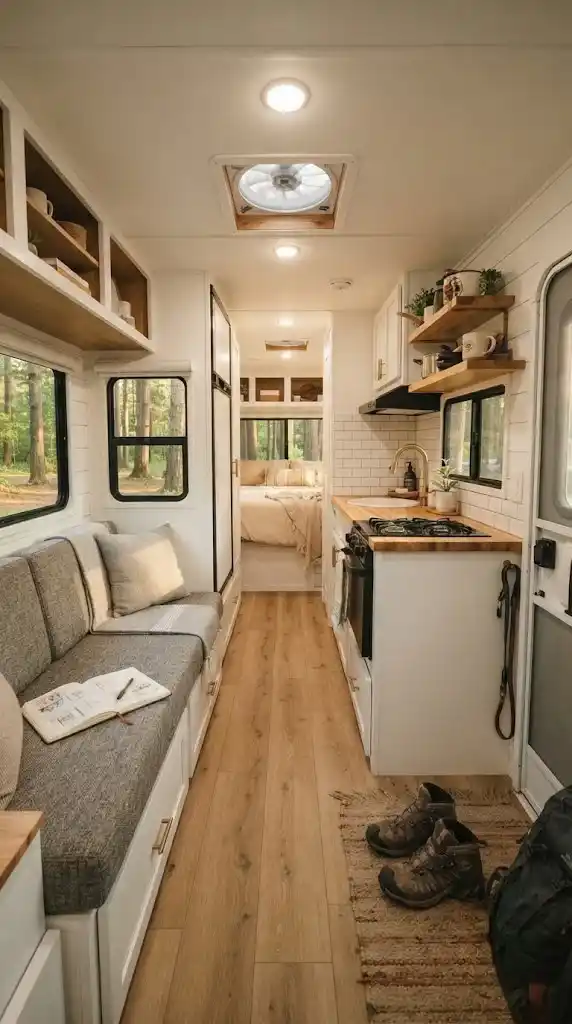
The best camper renovations perfectly balance incredible aesthetics with undeniable road-worthy durability. Doing the unglamorous prep work first guarantees your beautiful design actually survives the trip.
You can totally handle this project one step at a time. If you want more ideas on making small quarters feel huge, check out our guide on choosing the right paint colors for low-light rooms, or read up on our favorite storage hacks for tiny kitchens.