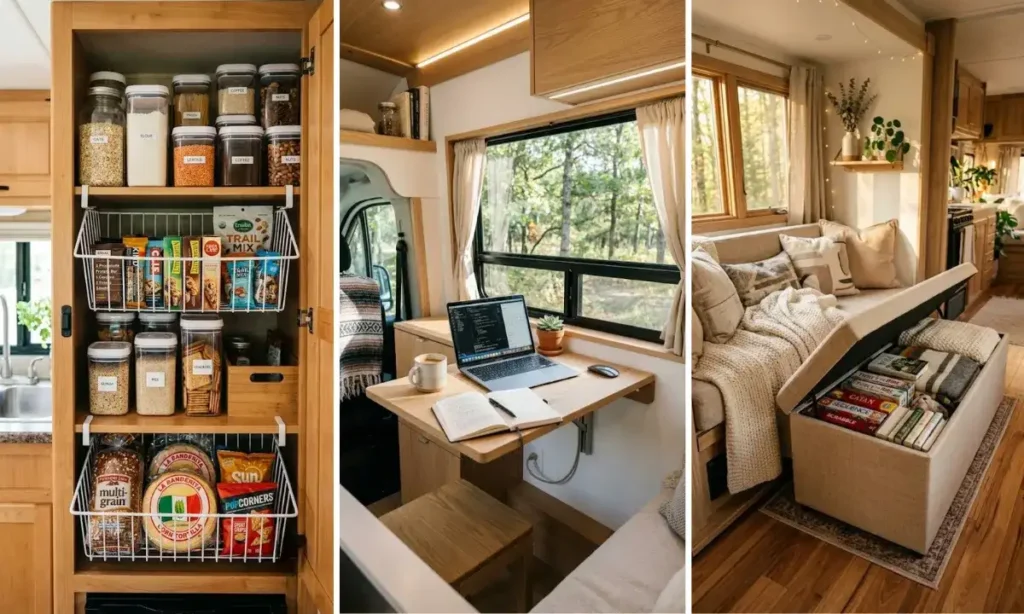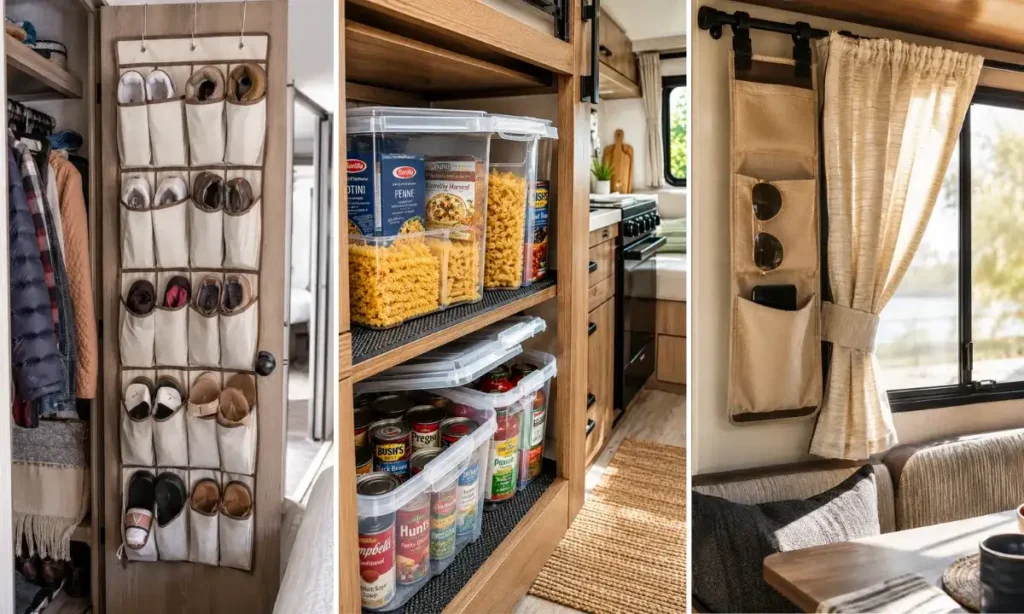
Every RV owner hits the same wall eventually. Literally.
You want more storage, but the walls are thin, the resale value matters, and one bad drill hole can turn into a leak nobody notices until it’s too late.
The good news is you don’t need a single screw to fix it.
These 16 no drill rv storage ideas use tension, adhesive, magnets, and hardware you already have on the rig. Under-sink shelves, closet dividers, cabinet knobs, even the factory grab handle by your door all pull double duty here.
Nothing on this list needs a drill, a stud finder, or a trip to a hardware store’s fastener aisle.
Just fifteen minutes, a few cheap accessories, and a rig that finally has a place for everything.
1. Over-Door Shoe Pockets For Closets
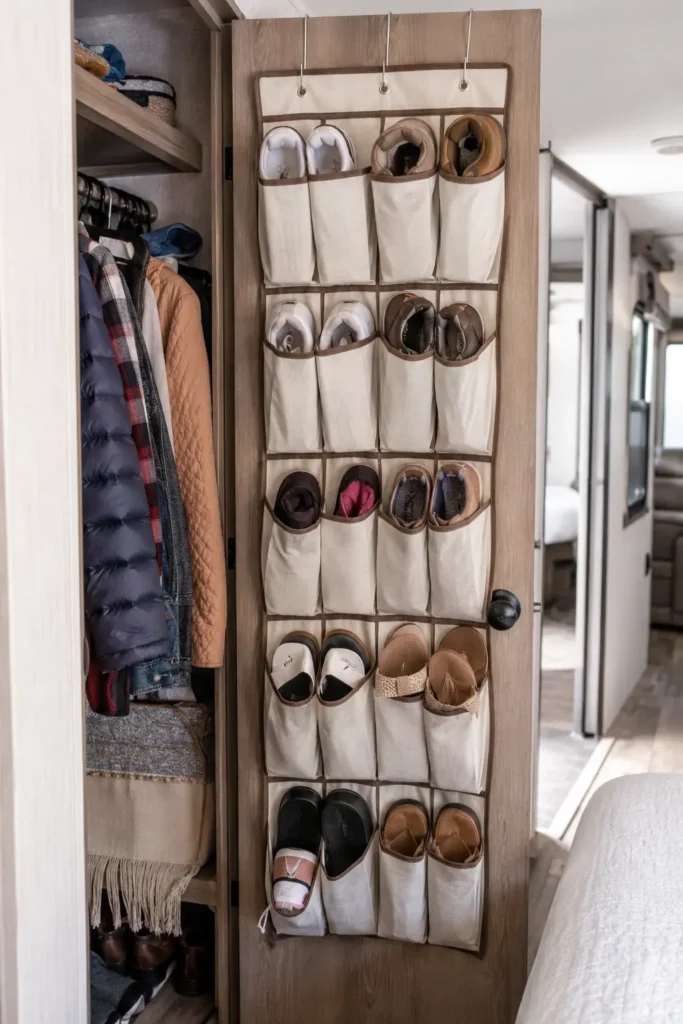
RV closets rarely have floor room for shoes once a suitcase or two gets stashed inside. An over-the-door fabric pocket organizer solves this by using the one surface nobody else touches: the closet door itself.
Here’s how it goes up.
- Hook the top bar over the door edge, no screws or adhesive involved
- Let the fabric hang flat against the door face
- Load pockets bottom to top so the door swings without dragging
Weight matters here more than people expect. RV doors are lighter than home doors, so an organizer packed with boots on every hook can start to pull the hinges over months of driving. Stick to lighter shoes on the bottom rows and it holds up fine.
Sneakers, sandals, and slippers.
Solid-core interior doors.
Heavy winter boots on every row.
Hollow, lightweight accordion doors.
2. Tension Rod Under Sink Shelf
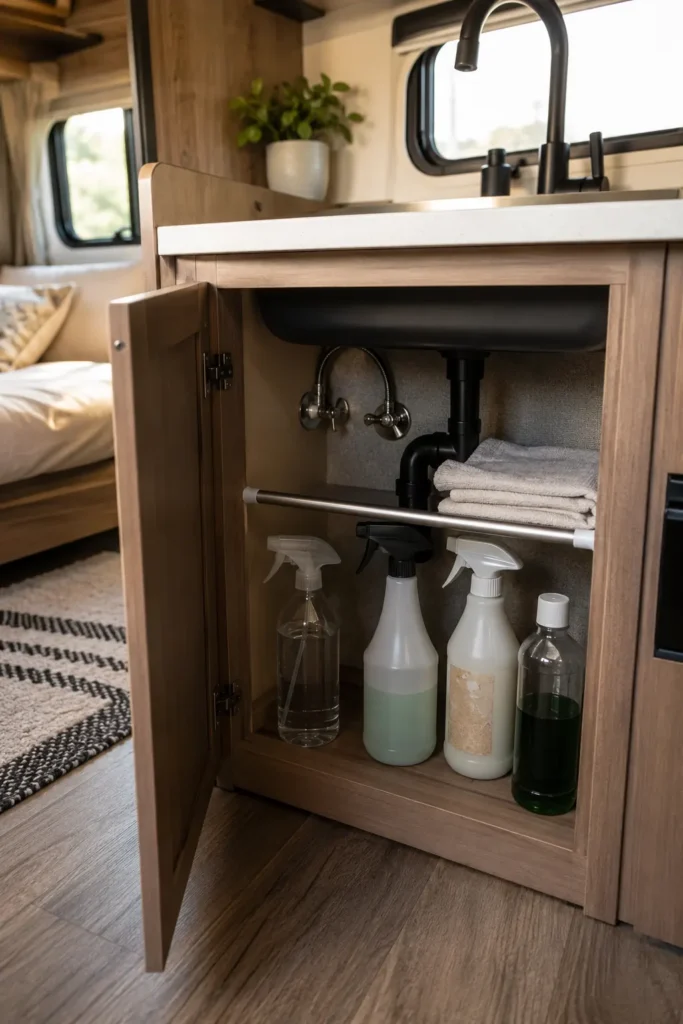
Most RVers pile cleaning sprays and rags in one messy layer under the sink and call it storage. A tension rod wedged sideways changes that instantly, without touching the cabinet walls.
- Grab a spring loaded curtain rod sized to your cabinet width
- Wedge it about halfway down, clear of the water shutoff valve
- Rest a small tray or lay bottles across it like a shelf
The trick works because it borrows tension, not screws, so nothing punctures the thin cabinet backing. Cleaning night gets faster since sprays sit at eye level instead of buried behind a mixing bowl.
3. Magnetic Strip For Spice Tins
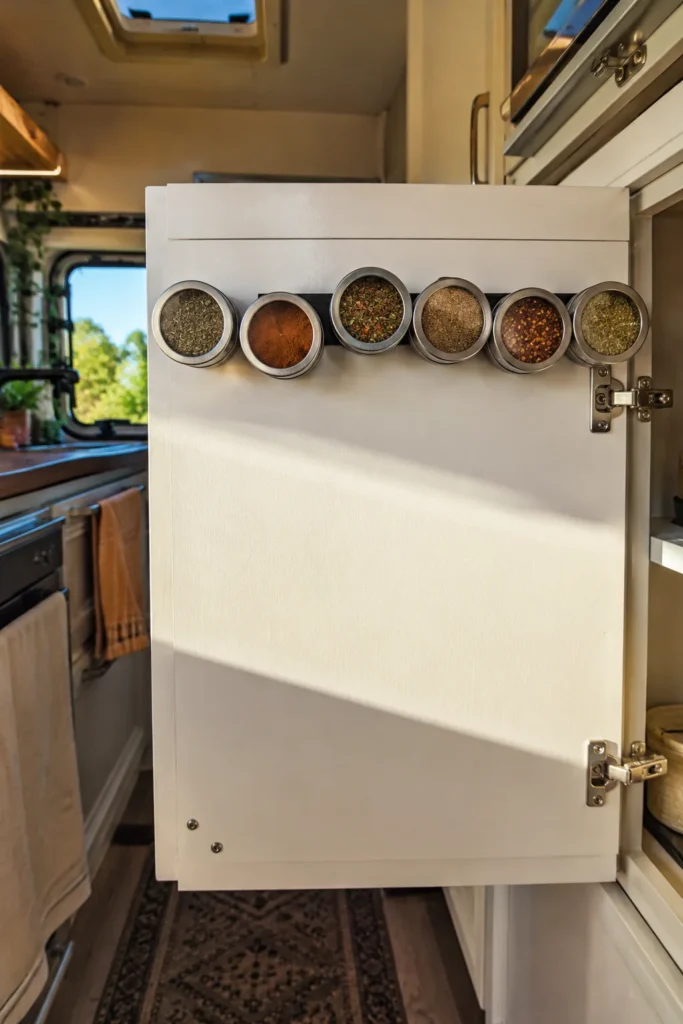
Magnetic strips are usually saved for kitchen knives, but the same strip works just as well laid along the inside of a cabinet door. Stick it near the top edge, then let small metal spice tins hang there instead of rolling around a drawer.
The exception is weight. Anything heavier than a light spice tin risks pulling loose once the rig hits a bumpy road, so keep it to tins and light metal containers only.
What changes day to day is prep time. Reaching for cumin means opening one door instead of digging through a drawer that never stays organized for long.
⚠️ Watch Out
Wipe the cabinet door with rubbing alcohol before sticking the strip. Magnets grip through RV humidity swings a lot better on a clean, oil-free surface.
4. Tension Rod Closet Divider
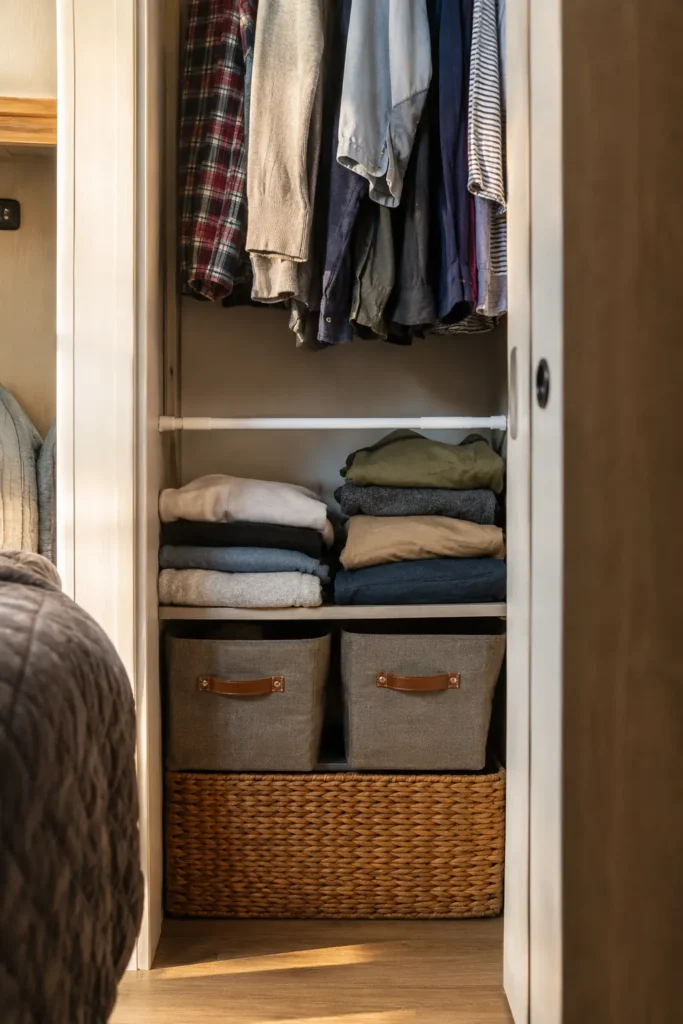
RV closets are often one tall open cube with a single rod, so folded clothes and hanging items fight for the same space. A second tension rod set lower, running front to back instead of side to side, splits the closet into two working zones.
No drilling required since the rod wedges between the two side walls under its own spring tension. Skip this one on especially narrow closets though, since a rod under about sixteen inches wide tends to bow instead of holding firm.
hanging shirts and dresses
set front to back, low
bins and folded stacks
5. Stackable Bins On A Non-Slip Liner
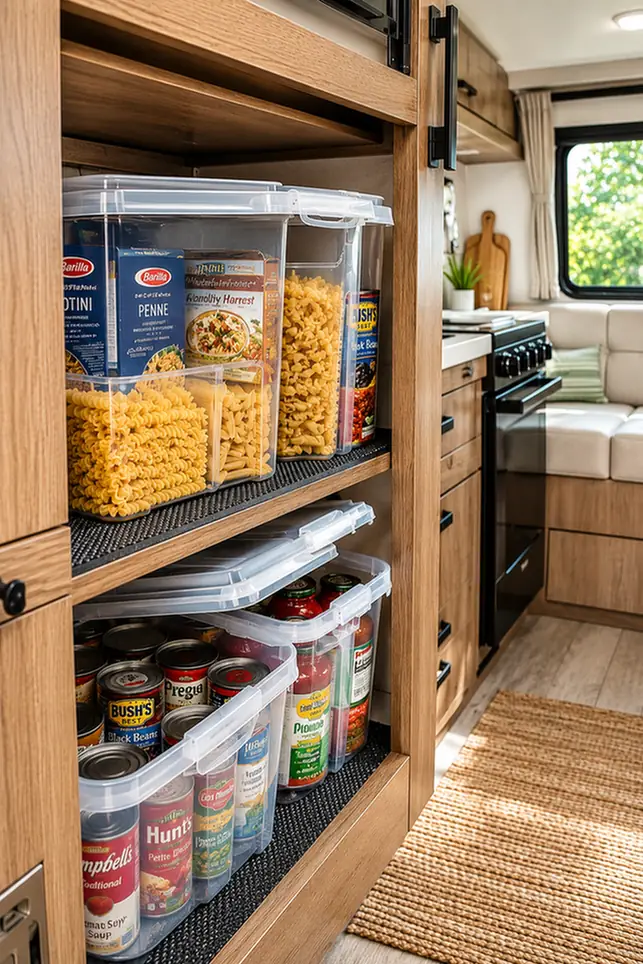
Pantry cabinets take the worst of the shaking on rough roads, and boxed goods slide into a jumbled pile within a few miles. A strip of rubber non-slip shelf liner under a set of stackable bins solves it through friction alone, no adhesive or hardware involved.
Cut the liner to shelf size, set the bottom row of bins directly on top, and stack a second row only if the bins have a locking lip. Loose stacking without that lip tends to topple the moment the rig takes a sharp turn.
Leave a thumb’s width of clearance above the stack.
Bins packed tight to the shelf above rattle and chip at every seam during transit.
6. Fabric Pocket On The Curtain Rod
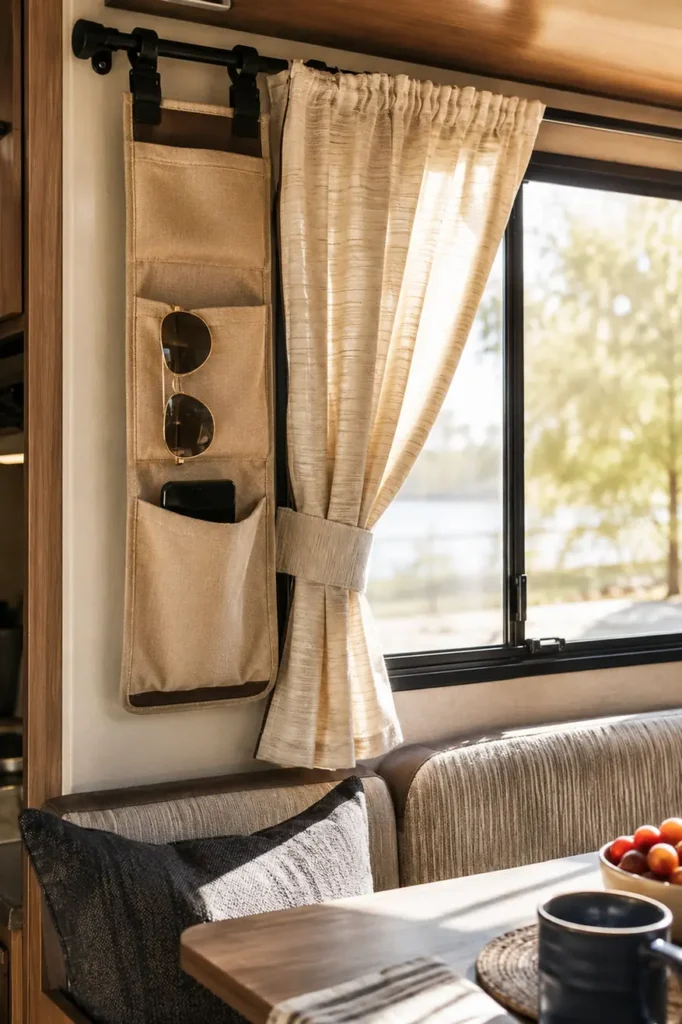
Most RV windows already have a curtain rod doing exactly one job. A slim fabric pocket organizer clipped onto that same rod adds a second job, holding sunglasses, a phone, or a charging cord right at arm’s reach from the dinette seat.
- Clip the pocket’s rings onto the existing rod, beside the curtain
- Keep it to lightweight items only, since the rod isn’t rated for real weight
- Slide it toward the wall side so the curtain still slides freely
7. Adhesive Broom Grip Clip
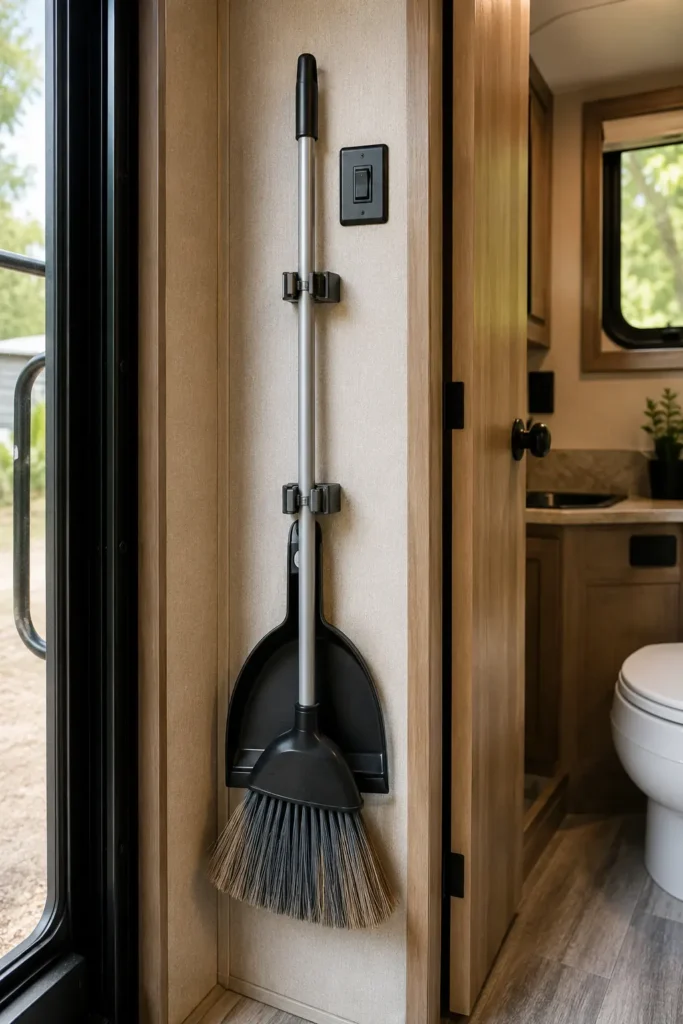
A broom and dustpan usually end up wedged behind the toilet or leaned in a corner where they fall over every time the rig hits a bump. A spring-loaded broom grip with adhesive backing holds the handle flat against the wall instead.
The quick version takes thirty seconds. The full version takes a bit more care, and holds up noticeably longer.
Two clips beat one. A single clip lets the handle pivot and eventually peel the adhesive loose, while a pair spaced a foot apart keeps everything rigid through rough roads.
Press one clip on a flat wall, snap the handle in, done.
Clean the wall first, use two clips spaced apart, cure overnight before loading.
8. Hook-And-Loop Remote Caddy Zone
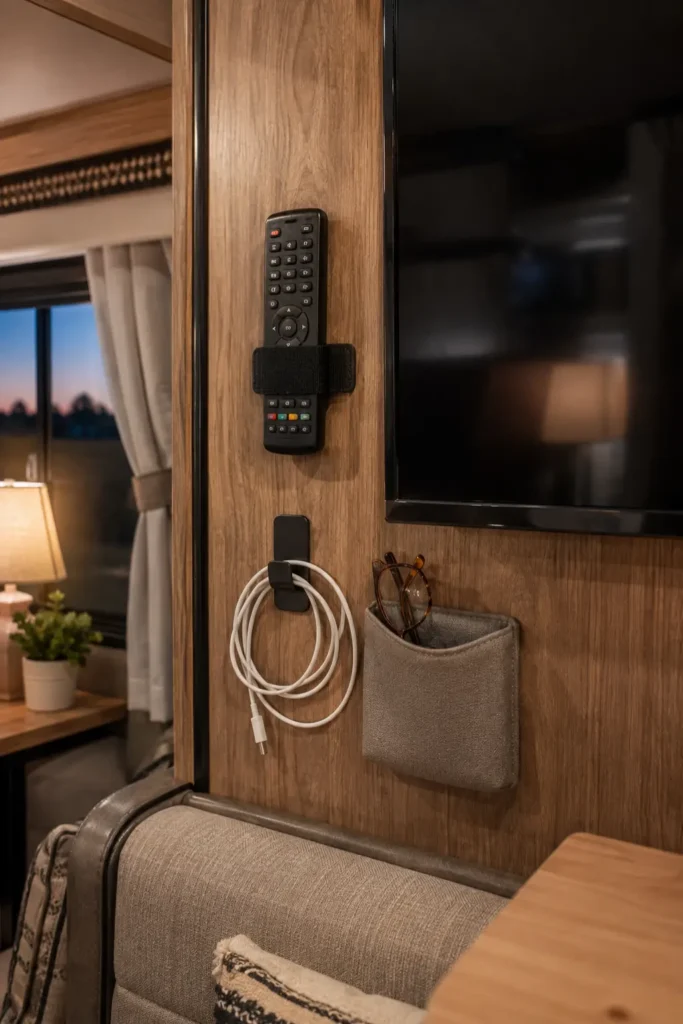
Remotes and chargers vanish between dinette cushions the moment the rig starts moving. Splitting the entertainment nook into small hook-and-loop zones keeps each item clipped in its own spot instead of sliding loose.
Each strap presses on with adhesive backing, no tools involved. The real win shows up during setup and teardown, when nothing needs a five minute search under the cushions before pulling out of the campsite.
| Zone | Job | Anchor piece |
|---|---|---|
| Left of the TV | holds the remote | hook-and-loop strap |
| Below the shelf | coils the charger | adhesive cord clip |
| Right side panel | stores glasses | soft loop pocket |
9. Adhesive Hook Towel Line
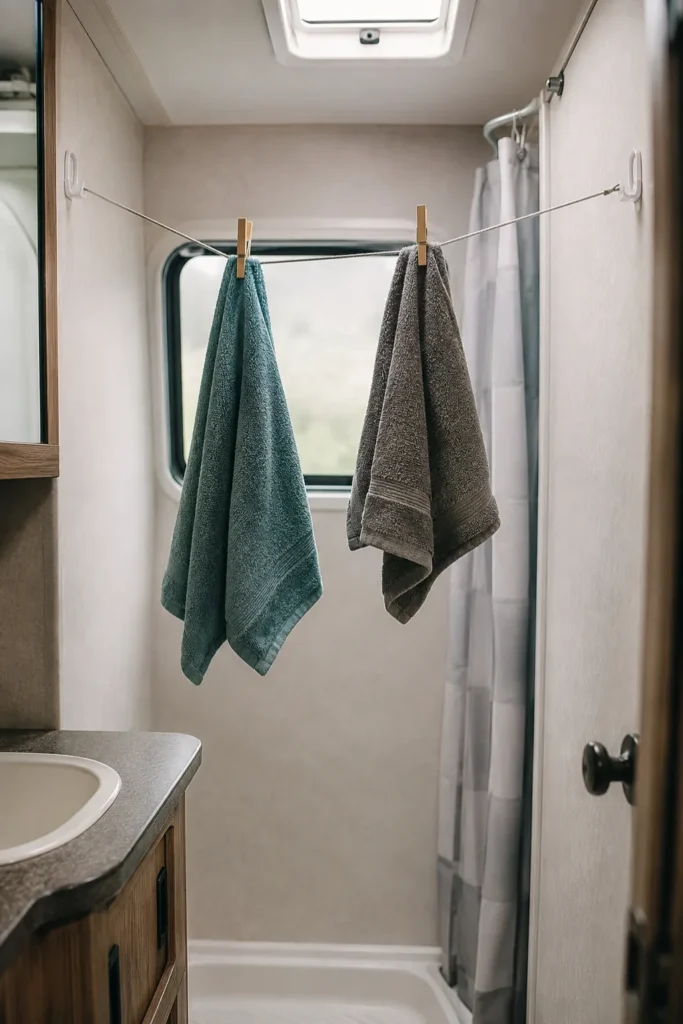
Wet towels draped over a shower door block the path in and out for hours. Two small adhesive hooks and a length of thin cord solve it without a single hole in the wall.
Mount the hooks on opposite walls at shoulder height, tie the cord taut between them, and clip towels on with small clothespins. Keep the span under about four feet, since a longer stretch of cord starts to sag under wet towel weight.
A stretched line dries towels flat and off the floor, using two anchor points instead of one bulky rod.
10. Bungee Net Over The Helmet Hooks
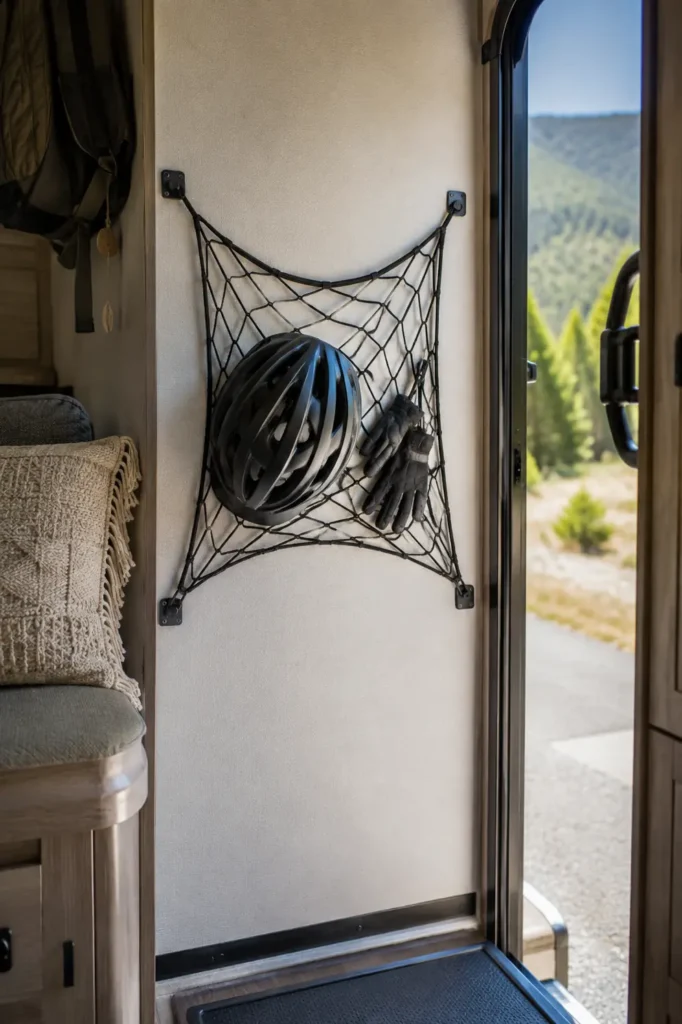
Helmets and gloves pile onto the entry step the second everyone climbs out of the rig. A stretch of bungee netting mounted with adhesive hooks catches all of it before it hits the floor.
Screw-free hooks anchor each corner of the net, and the elastic weave stretches to fit whatever gets tossed in. Once loaded, gear stays put even through washboard roads that would otherwise scatter it across the entryway.
Helmets and gloves land on the step or floor near the door.
Mount four adhesive hooks in a square, stretch a bungee net between them.
A clear path through the door, even right after unloading.
11. Command Hook Rail For Coats
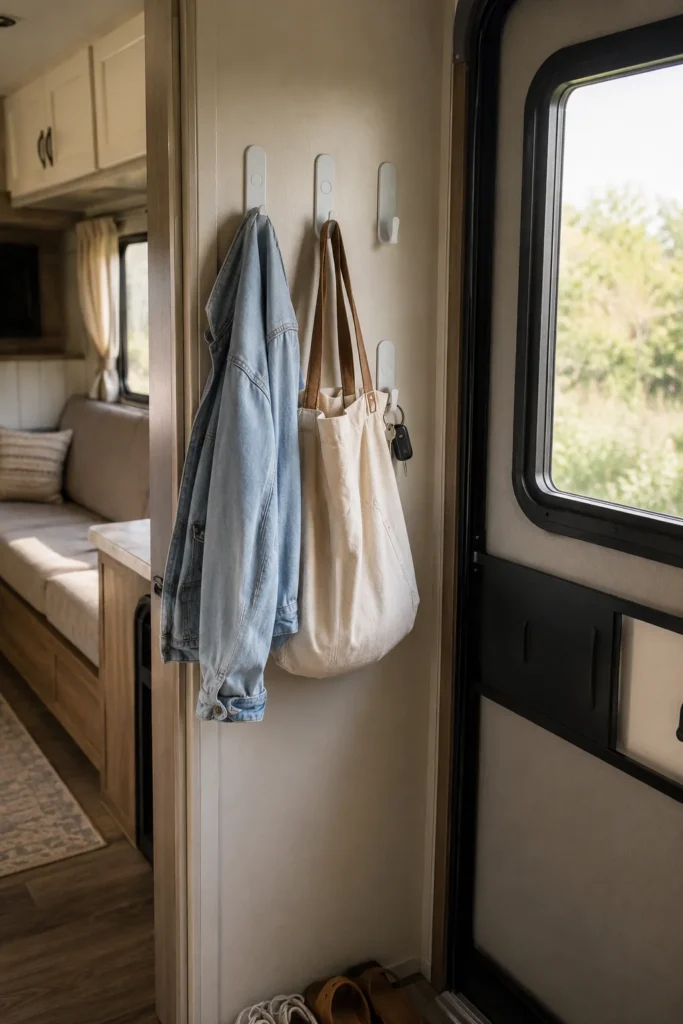
Coats pile onto the passenger seat, keys vanish into a cup holder, and bags land wherever there’s floor space. A short row of adhesive hook strips near the entry door gives everything one home instead of five.
Press three or four hooks in a line at coat height, then add a lower one just for keys. The rail holds up fine on painted RV paneling, as long as the surface gets a quick wipe down and stays fully dry before mounting.
Each hook gets one job, so items stop competing for the same open surface.
Nothing sits on a seat or counter, so the entry reads as clear the moment you step in.
12. Stick-On Pocket For Loose Papers
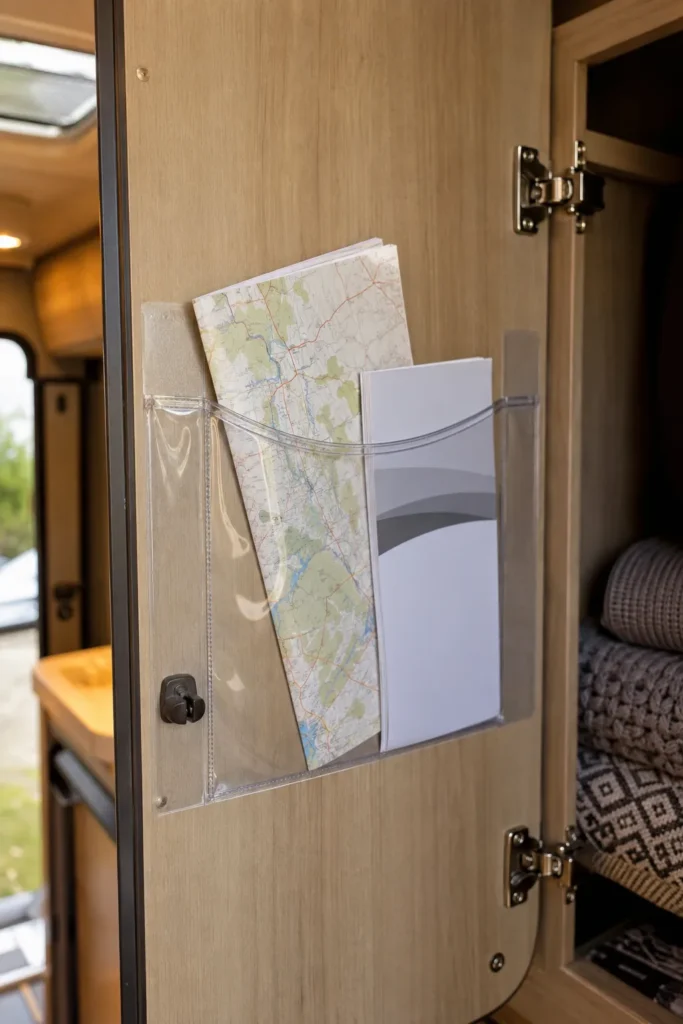
Registration, the owner’s manual, and a folded campground map end up loose in a junk drawer, half torn from being shuffled around on every trip. A clear vinyl pocket stuck to the inside of a cabinet door keeps them flat and in one spot.
Pick a door that opens toward you when parked, not one that swings against a wall or counter. That way the pocket stays reachable instead of getting crushed shut every time the door closes.
13. Wire Basket On A Cabinet Knob
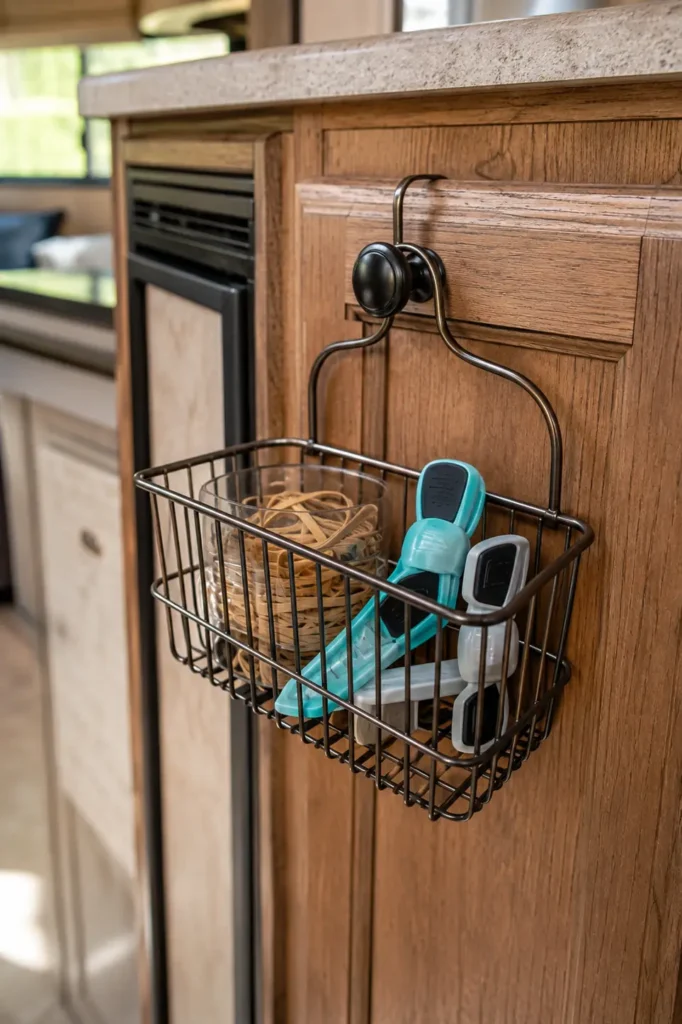
Rubber bands, twist ties, and loose chip clips migrate into a junk drawer and stay lost there. A small wire basket hooked over an existing cabinet knob gives them a home without adding new hardware to the wall at all.
Slide the basket’s back hook over the knob shank, let it hang flush against the cabinet face, and drop in whatever small items keep drifting loose. The whole thing lifts off in seconds if the cabinet needs to be wiped down or repainted later.
Uses a knob you already have, nothing new to mount.
Lifts off in one motion for cleaning or repainting.
Keeps loose items visible instead of buried in a drawer.
14. Grab Handle Rain Gear Bag
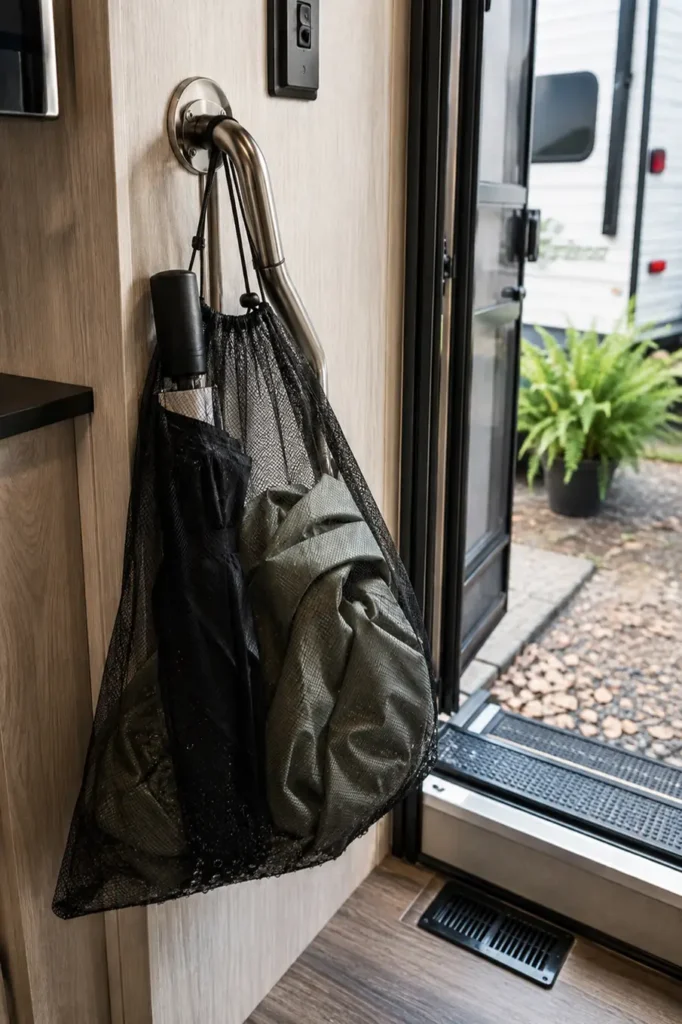
Most RVs already have a factory grab handle mounted beside the entry door for climbing in and out. That handle doubles as an anchor point for a mesh drawstring bag, which catches wet umbrellas and rain jackets before they drip across the floor.
Nothing gets added to the wall itself since the bag simply loops over hardware that’s already there.
Mesh beats solid fabric here, since it lets a soaked umbrella actually drip dry into a floor mat instead of soaking through the bag itself.
The factory assist handle by the door.
A drawstring bag from a closet somewhere.
A mesh bag, if none is on hand.
Nothing else at all.
15. Suction Caddy For Shower Corners
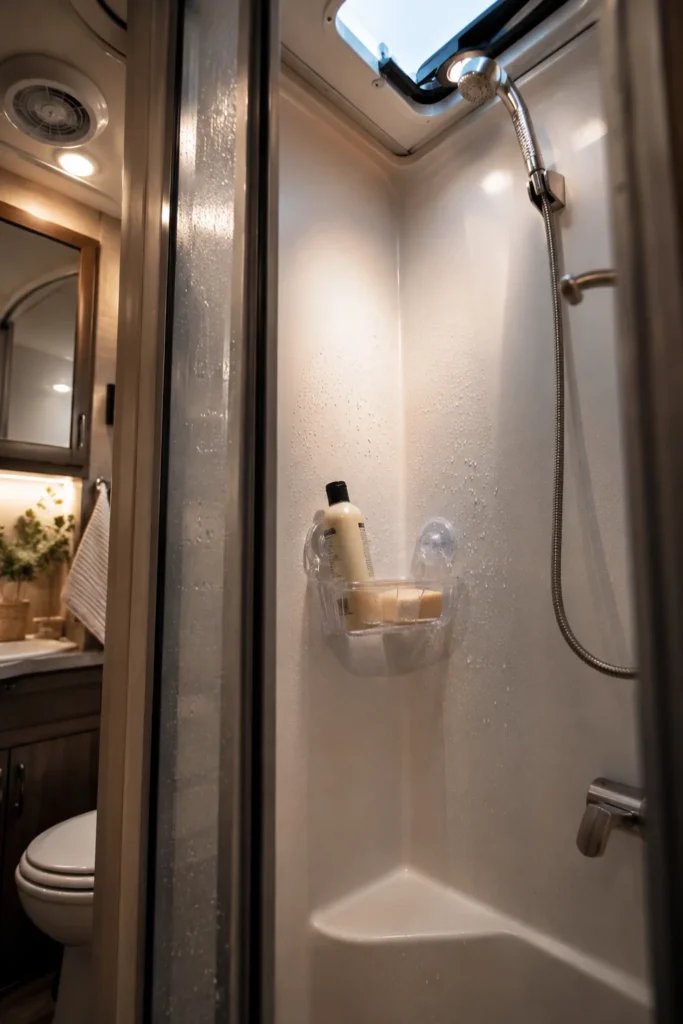
Bar soap sliding across a wet shower floor is a daily annoyance in most RVs. A suction cup caddy fixes it without a single hole in the fiberglass shower wall.
Press it into a flat corner section, hold for thirty seconds, and it’s done. The one tradeoff worth knowing up front: suction weakens in steamy showers over time, so it needs an occasional re-press rather than a set-it-and-forget-it install.
16. Hidden Bin Behind Seat Cushions
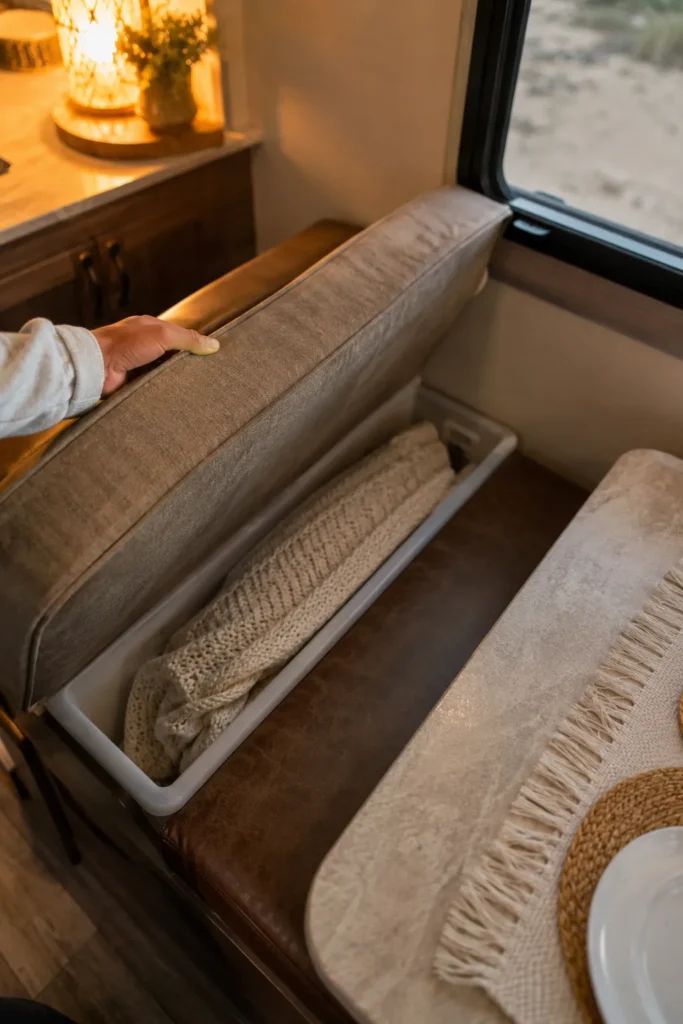
Dinette benches in most RVs hide a few inches of dead space behind the seat back cushion, and almost nobody uses it.
There’s nothing to buy if a slim bin or an old shoebox is already sitting around. Lift the cushion, slide the container into the gap standing on its side, then let the cushion drop back into place.
Board games and extra blankets stop crowding the closet shelf, and the seating area looks exactly the same from the front.
A slim bin, tote, or shoebox.
A dinette bench with cushion backs.
Nothing, in most cases.
A shallow container only if none is on hand.
Conclusion
Small space storage doesn’t have to mean permanent changes.
Every idea here presses on, hooks over something that already exists, or holds itself in place with simple tension. Nothing here voids a warranty or scares off a future buyer walking through at resale.
Start with whatever’s bothering you most today. The wet towel on the shower door, the mugs stuck in a stack, the shoes taking over the closet floor.
Pick one, try it this weekend, and see how much calmer the rig feels with one less thing out of place.
Save this for your next trip prep, and come back for more once the next annoyance shows up.