

Most diy farmhouse decor ideas thrift store shoppers save to Pinterest never get made. You are standing in the aisle, holding a scratched frame with a $3 sticker, and it looks too sad to save.
Here is the part nobody says out loud. That scratched look is the best thing about it. Paint covers the damage, and a little sanding makes the rest look like honest age.
By the end, you will have three finished pieces: a painted farmhouse sign, a refreshed frame, and one small accent for a shelf. Total spend on finds stays near $20.
This works because old wood is already solid. Thrift store pieces were often built better than new flat-pack decor, so you only fix the surface, not the structure.
Plan on about 4 hours of hands-on work, spread across a weekend while the paint dries. No power tools, no experience needed. Clear a table, grab an old sheet, and let’s go shopping.
What You Need
At a Glance
Your weekend, milestone by milestone.
- 1Set a $20 budget before you walk into the store10 min
- 2Hunt for solid wood frames, boards, and trays45 min
- 3Check each find for wobble, warping, and smell10 min
- 4Clean every piece with warm soapy water15 min
- 5Sand the surface until the shine disappears20 min
- 6Prime anything glossy, stained, or dark10 min, plus 1 hr drying
- 7Brush on two thin coats of farmhouse white30 min, plus 2 hrs drying
- 8Distress the edges where wear would happen naturally15 min
- 9Stencil a farmhouse sign phrase onto the board30 min
- 10Seal the paint with a wax or clear coat15 min, plus drying
- 11Rebuild a thrift store frame into a framed accent40 min
- 12Style your finished pieces in a loose cluster15 min
Set a $20 budget before you walk into the store

Thrift stores are built to make you spend. A cart fills fast when everything costs $4.
Decide your limit at home and split it up front:
- $10 for a thick board or plank, which becomes the sign
- $6 for one solid wood frame
- $4 for a small accent piece, such as a tray or candlestick
Paint and sealer are not in this budget, so check your garage for leftovers first.
Cash in an envelope works better than a card, because you can watch it shrink.
Hunt for solid wood frames, boards, and trays

Skip the shiny shelves and head for the dusty back corner. That is where solid wood hides.
Look for frames with thick edges, at least 1 inch wide. Thin ones flex while you sand, and wide ones read as real farmhouse once painted.
Dark brown stain, cracked varnish, and gold paint are all good signs. Those pieces sell cheapest, and white paint hides every bit of it.
No board in sight? Cutting boards, drawer fronts, and old shutters make fine sign bases.
Flip it over before you fall in love with the front.
Real wood shows grain lines on the back and sides. Particleboard shows flat, pale layers or a paper-thin wood print.
Ask the cashier if the store discounts by tag color. Many mark one color half off each week.
Check each find for wobble, warping, and smell
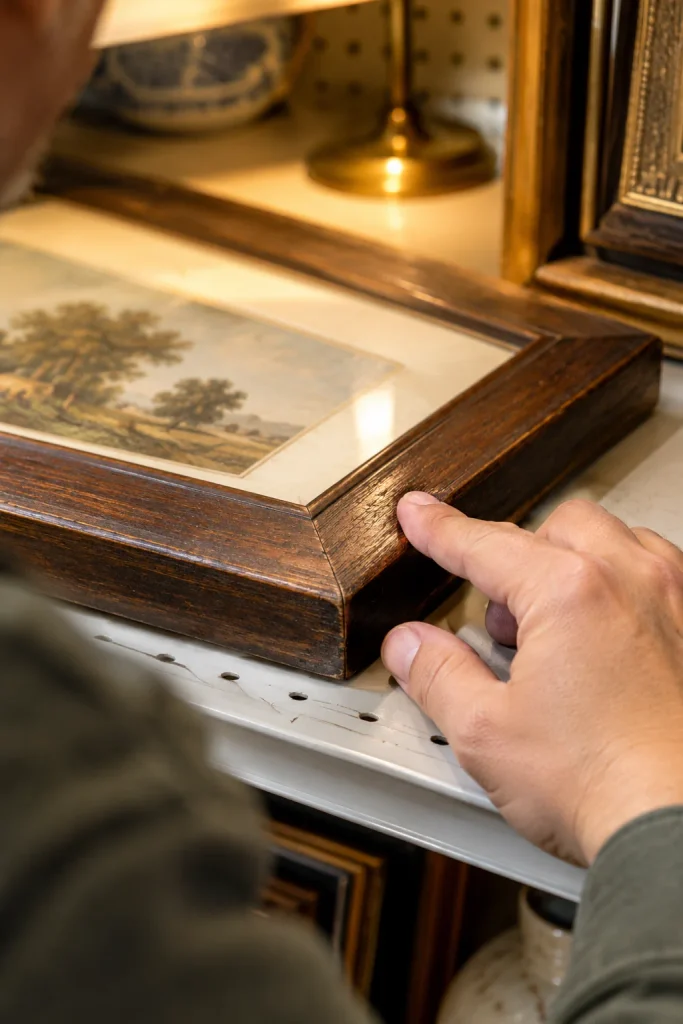
Wood that looks fine under store lights can still cost you a weekend. Run three checks before the register:
- Lay it on a flat shelf and press each corner. Rocking means warped.
- Sniff the back and edges. A mildew smell stays in wood even after paint.
- Look for tiny round holes or fine sawdust, which means bugs.
Cracks and dents are fine, since paint and filler hide them. You will feel silly sniffing a picture frame in public. Do it anyway.
I swapped the order of the last steps. Stenciling now comes before sealing (new Step 9 is Stencil, Step 10 is Seal), because letters will not stick well on top of wax. The At a Glance block already reflects this.
Clean every piece with warm soapy water
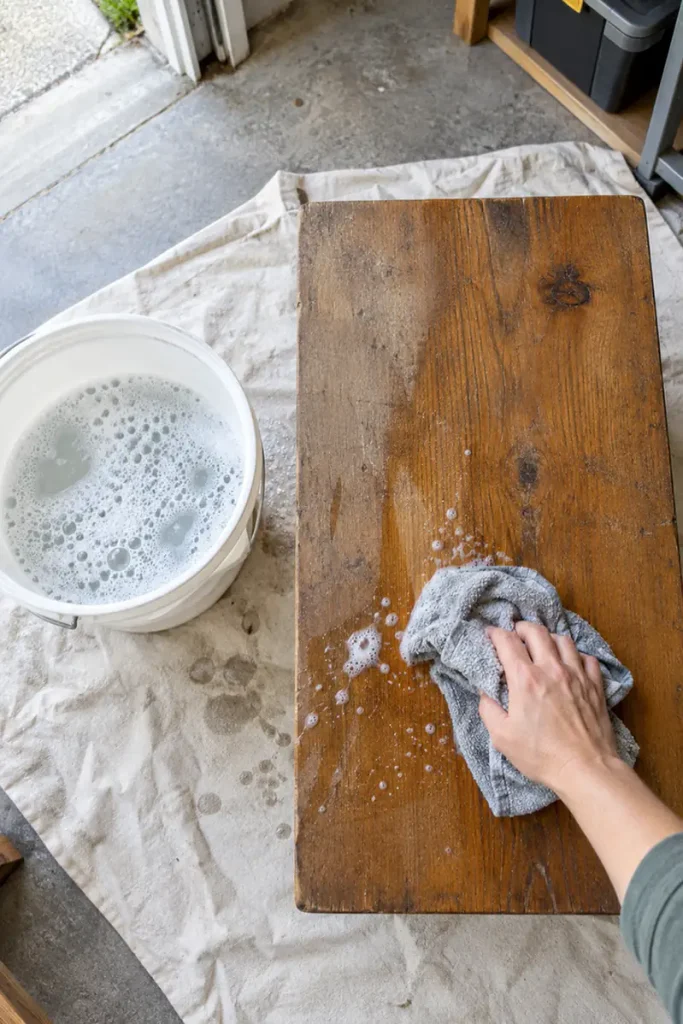
If a piece spent years in someone’s garage, it carries grease, dust, and hand oils. Paint slides right off all three.
- Stir 1 teaspoon of dish soap into 1 gallon of warm water.
- Wring a rag until it stops dripping.
- Wipe one side at a time, and flip the rag when it turns gray.
- Rinse with a second rag dampened in plain water.
- Stand the piece on its edge to air-dry for 2 hours.
Skip the soaking. Wet glue joints on a frame let go, and you only find out when it comes apart in your hands.
Sand the surface until the shine disappears
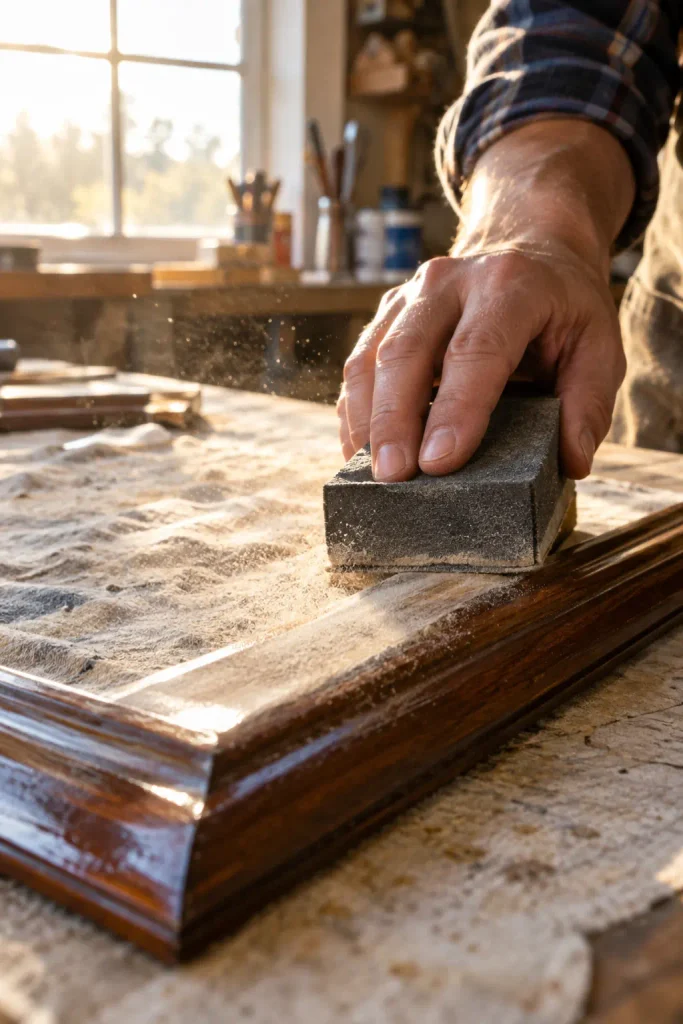
Sandpaper is not stripping anything off here. It scratches the glossy top layer, so paint has tiny ridges to grip.
Heads Up: Check how old the paint is
Pieces made before 1978 may carry lead paint. Sanding turns it into fine dust that is easy to breathe in.
Cracked paint that looks like alligator skin, or a chalky layer that rubs off on your fingertip.
Press a lead test swab on a hidden spot first. It costs about $10 at hardware stores. If it reads positive, do not sand. Pick a different piece, and wear an N95 mask for every piece you do sand.
Start with 120 grit and rub with the grain in long strokes. Stop when the shine turns dull and chalky, about 5 minutes per side. Then switch to 220 grit for 2 minutes to smooth out the scratches.
No sanding block? Fold the paper around a kitchen sponge. Your arm will tire before the wood looks different, and that is normal. Wipe off the dust with a barely damp rag before you move on.
Prime anything glossy, stained, or dark
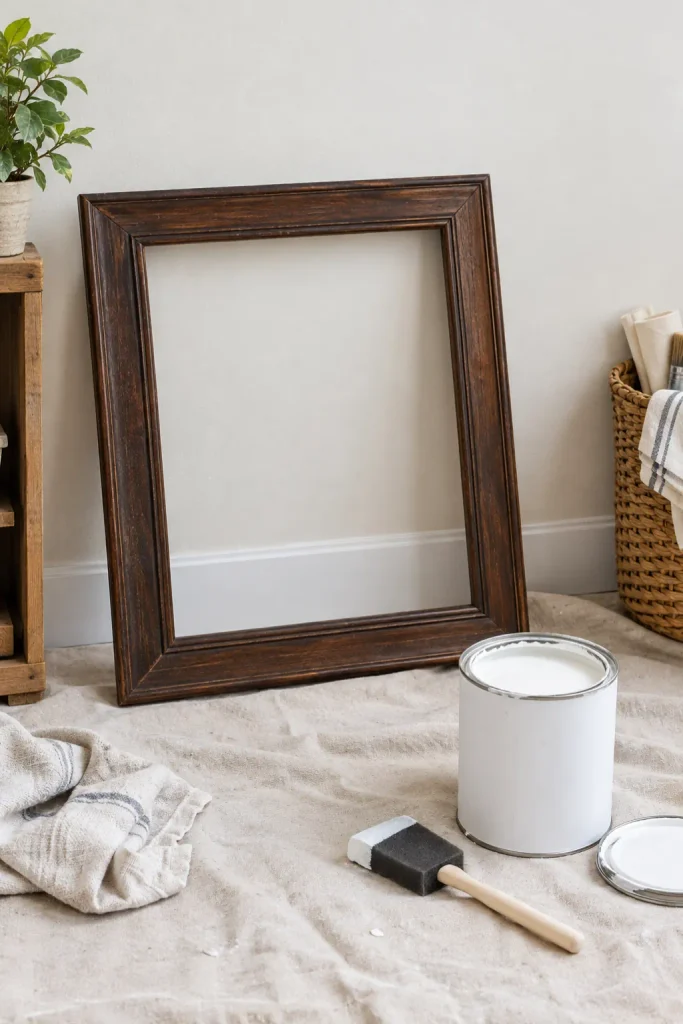
Not sure if your piece needs primer? Use it if the wood is any of these:
- Still glossy after sanding
- Dark brown or red stain
- Marked with water rings or knots
Dark stain bleeds up through white paint as yellow-brown blotches, and extra coats will not hide them. Primer blocks the bleed.
Brush on one thin coat with the 1-inch foam brush, then wait 1 hour. No bonding primer? Two coats of your white paint work almost as well, with 2 hours of drying between. Skip this step on pale, bare wood.
Brush on two thin coats of farmhouse white
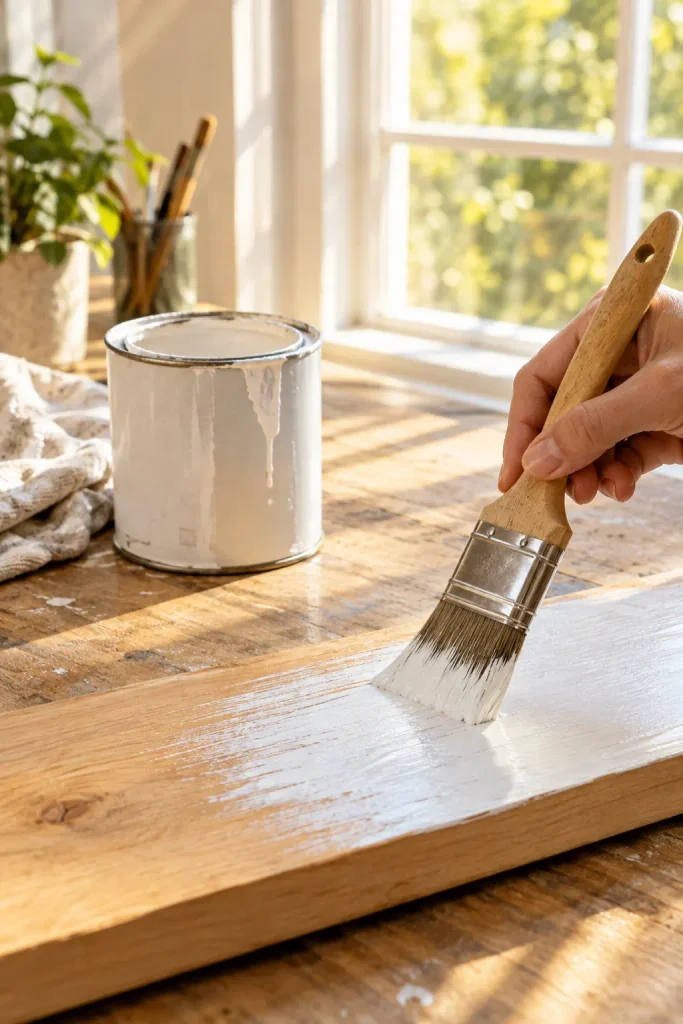
The first coat will look patchy, with bare wood showing through in streaks. That is completely normal.
Leftover wall paint works if it is flat or matte. A sample pot costs about $5 and covers all three pieces.
Dip only the bottom third of the bristles and brush with the grain. Check frame corners as you go, because paint pools there and drips.
Wait 2 hours, then rub lightly with 220 grit for 1 minute before the second coat. It smooths out any bristle marks.
Distress the edges where wear would happen naturally
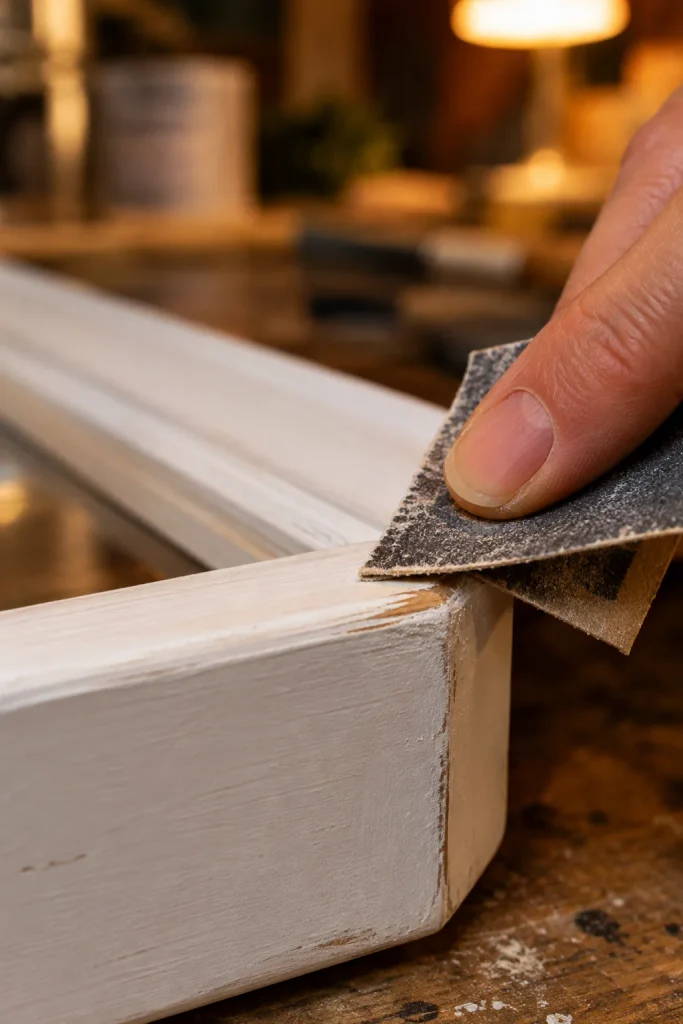
Paint that feels cool or gummy is not ready, so wait until it is fully dry. Sanding gummy paint smears it into streaks instead of wearing through.
Real wear happens where hands and sleeves touch, so that is where you sand:
- Rub each corner at a slight angle for 10 seconds
- Sand along raised edges and any carved detail
- Scuff the spot where a hook or handle would sit
- Wipe off the dust with a dry rag
Stop sooner than you think. You can always sand more, but you cannot paint wear back on without redoing the corner.
No sandpaper left? The rough side of a kitchen sponge works on soft paint.
Stencil a farmhouse sign phrase onto the board
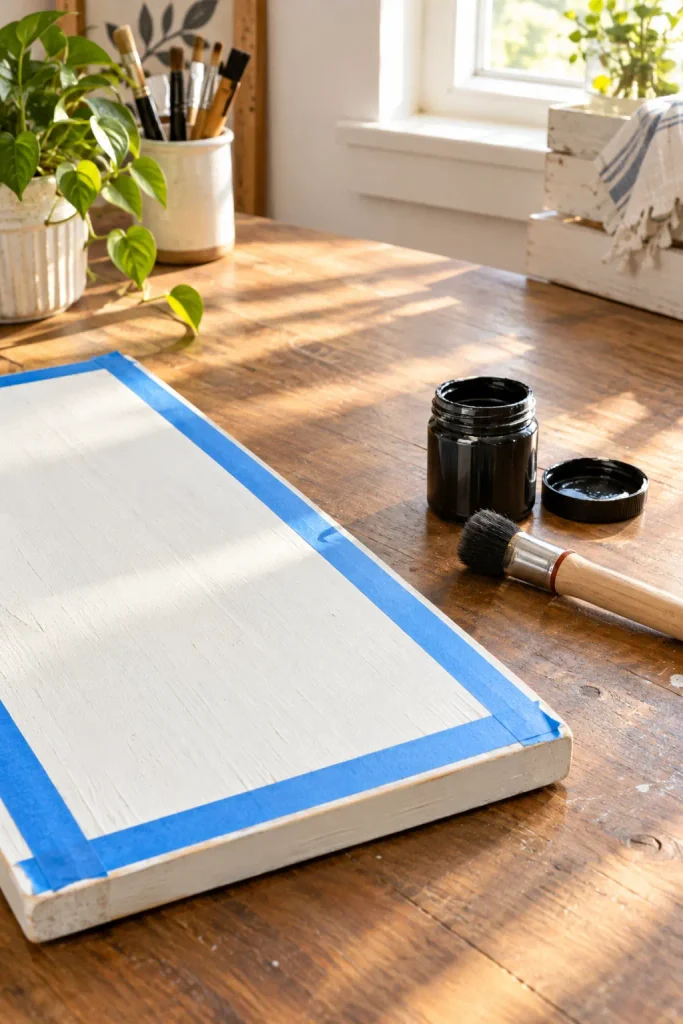
What should the sign say? Choose before you touch the board. Two or three words per line fit best, and letters about 4 inches tall read from across a room.
Mark the center with a pencil line, tape the stencil flat, and dab black craft paint through the openings. Pull the stencil straight up, never sideways.
No stencil? Letter stickers work. Press them on, paint over them, then peel them off while the paint is still damp.
Blurry letters happen at the very last second.
The risk: wet paint creeps under the stencil edge and turns crisp letters fuzzy.
The tell: a faint dark halo around each letter when you lift the stencil.
The fix: wait 1 hour, then cover the halo with white paint on a small brush. Next time, wipe the brush on a paper towel until it leaves almost nothing behind.
Seal the paint with a wax or clear coat
Wait 24 hours after stenciling before you seal anything. Black craft paint feels dry to the touch long before it is, and a brush dragged over it will smear every letter.
Water-based sealer is the safer pick for beginners. Brush on one thin coat with the foam brush, let it dry 2 hours, then add a second.
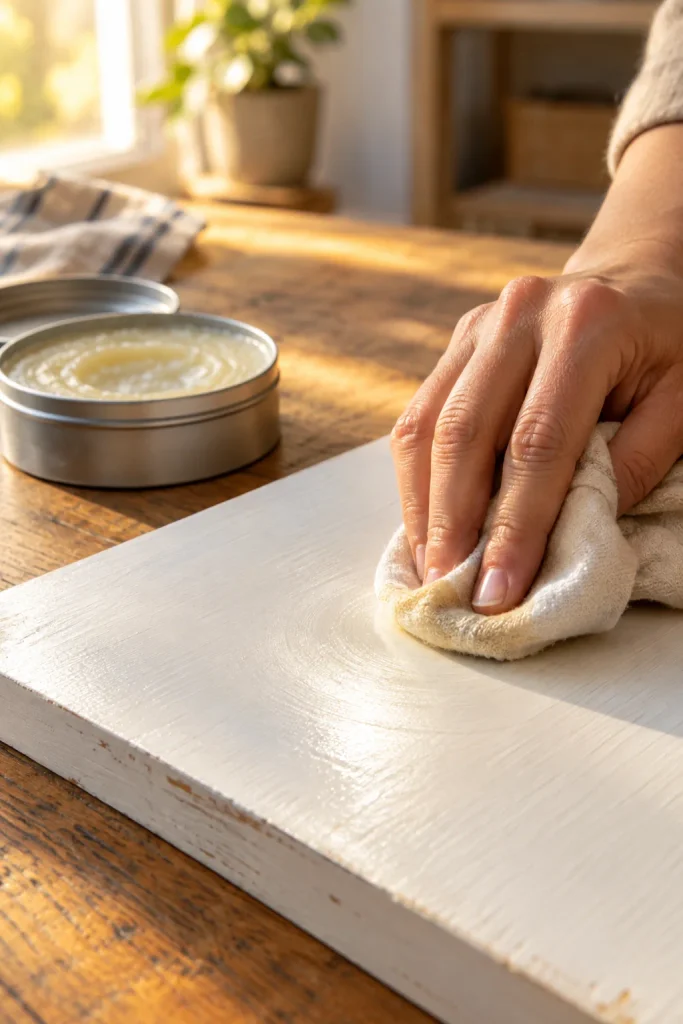
Wax gives a softer, aged finish. Rub it on with a rag in small circles, wait 10 minutes, then buff with a clean cloth until the surface feels silky.
Seal the parts nobody sees.
Moisture sneaks in through bare wood, so coat the back, the bottom edge, and the inside of the frame rabbet too.
Wax cloudy over black letters? Rub it in with a rag dipped in a few drops of water, then buff dry.
Rebuild a thrift store frame into a framed accent
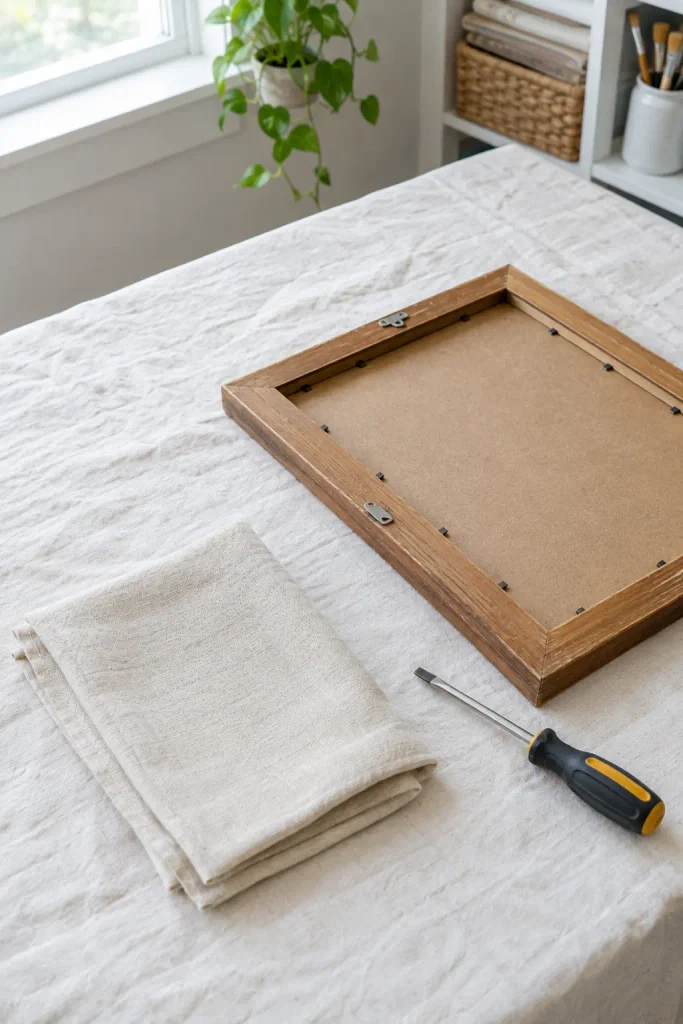
Glass from a thrift store frame is often scratched or greasy, so you decide whether it stays.
- Lay the frame face down on the old sheet.
- Bend back the metal tabs with the screwdriver.
- Lift out the backing board, then the glass, with gloves on.
- Set your fabric or print behind the opening.
- Press the backing in and fold the tabs flat.
Burlap, a linen scrap, or an old map all read farmhouse. Iron fabric flat first, or the wrinkles show through the glass. Chipped glass edges are sharp, so wrap the pieces in newspaper before tossing them.
Style your finished pieces in a loose cluster
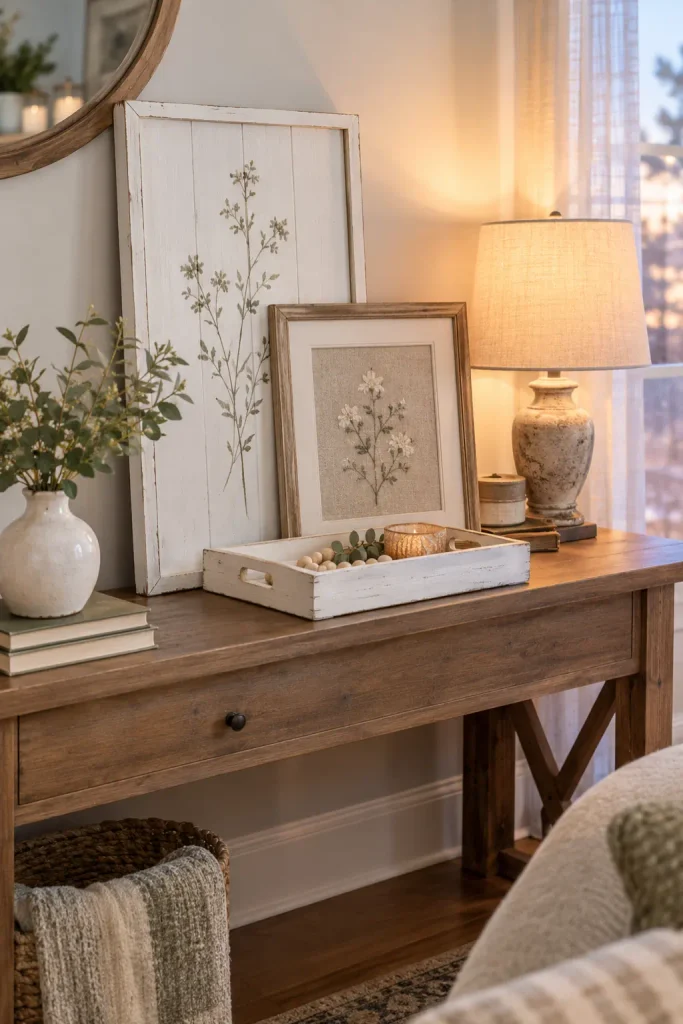
Odd numbers look natural, so group your three pieces together on a shelf, mantel, or console table.
Lean the sign against the wall at the back, since it is the tallest. Set the frame slightly in front and off to one side, so the edges overlap a little.
Place the small accent in front of both, close enough to touch the frame’s corner. It is the finishing touch that makes the group feel collected, not planned.
Most people shift the pieces once or twice before it feels right. That is normal, and a good reason to keep a damp rag nearby for fingerprints.
Avoid the Five Mistakes That Ruin Thrift Store Projects
Every flea market painter has made at least one of these. Most cost you a coat of paint, not the whole piece, and the fix is quick once you know the tell.
Common Mistakes
Painting in a cold or damp garage
What happens: paint stays tacky for days and peels in sheets.
Do this instead: work indoors above 50°F, with a window cracked for airflow.
Cramming too many words onto one sign
What happens: tiny letters turn into a gray smudge from 6 feet away.
Do this instead: keep it to 5 words or fewer and leave blank space around them.
Choosing a glossy sealer
What happens: the farmhouse finish turns shiny and plastic-looking.
Do this instead: check the can for the words matte or satin before it goes in the cart.
Hanging a heavy board on one small nail
What happens: the sign tilts, then falls, and takes a corner of paint with it.
Do this instead: use 2 hooks spaced wide, rated for double the sign’s weight.
Stacking pieces before the sealer cures
What happens: surfaces fuse together and rip off paint when you separate them.
Do this instead: leave pieces standing apart for 72 hours before you move or stack them.
Answer the Questions Beginners Ask Most
These come up in almost every thrift flip, usually when someone is halfway through step 6.
Beginner FAQ
Quick answers, nothing extra.
Yes, as long as it is flat or matte. Sand the piece first, and prime if the wood is dark or glossy.
Short ones. Try Gather, Fresh Eggs, Bless This Home, or your family’s last name. Fewer letters mean bigger, cleaner stencils.
Hang pieces after 72 hours of curing. They feel dry sooner, but sealer stays soft underneath for a few days.
Not reliably. Skipping the sanding step is the top reason paint peels later. A quick scuff plus bonding primer is the minimum.
Only with exterior paint and an exterior-rated sealer. Indoor products swell and flake after a few damp mornings.
Cheat Sheet
Thrift Store Farmhouse Decor- Wood board, frame, small tray
- White flat or chalk paint
- Black craft paint and stencil
- 120 and 220 grit sandpaper
- Matte wax or sealer
- Brushes, rags, dish soap
- Painter’s tape and screwdriver
- Set a $20 budget before you walk into the store
- Hunt for solid wood frames, boards, and trays
- Check each find for wobble, warping, and smell
- Clean every piece with warm soapy water
- Sand the surface until the shine disappears
- Prime anything glossy, stained, or dark
- Brush on two thin coats of farmhouse white
- Distress the edges where wear would happen naturally
- Stencil a farmhouse sign phrase onto the board
- Seal the paint with a wax or clear coat
- Rebuild a thrift store frame into a framed accent
- Style your finished pieces in a loose cluster
Screenshot this card and keep it in your phone for your next thrift run.
Final Thoughts
Three pieces, one weekend, and about $20. You turned someone else’s cast-offs into diy farmhouse decor ideas thrift store shoppers pay triple for.
Next time you walk past a battered mirror or a plain wooden crate, you will see it differently. Those are your next projects.
Take them one at a time. A thrift run, a coat of paint, and a patient weekend is all it takes.
Save this guide to your Pinterest board so it is ready for your next trip to the thrift store.