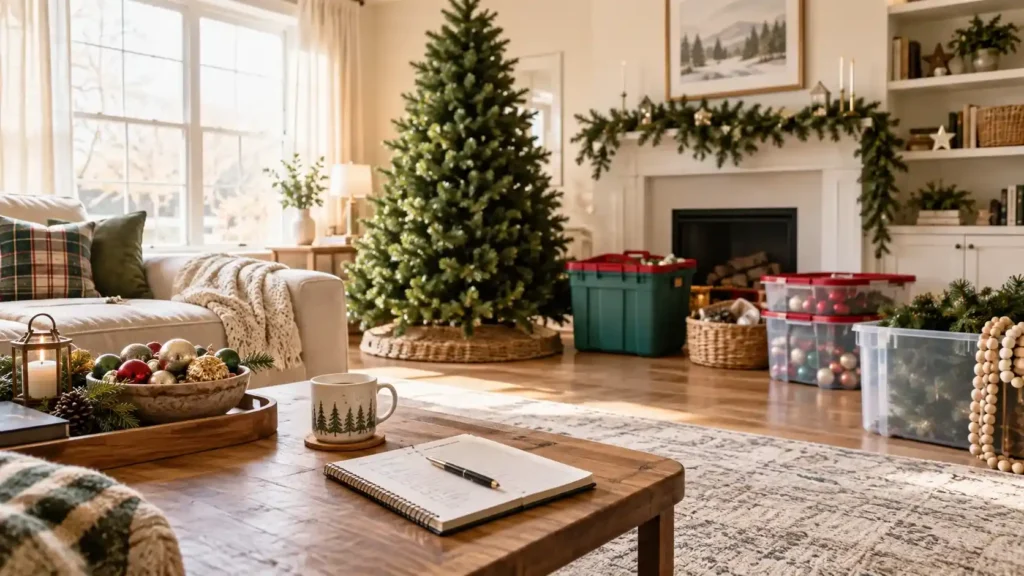
Every box of ornaments comes out of the attic on the same day. Garland tangles with string lights. By hour three, half the living room floor is buried, and nothing looks finished.
That chaos isn’t bad taste. It’s a missing plan.
This guide breaks down how to plan Christmas decorations the easy way, so you go from boxes on the floor to a finished, cohesive home without the 11 pm meltdown.
The system works because it separates decisions from decorating. You pick your theme, budget, and shopping list before a single ornament comes out of storage.
Planning takes about an hour. Decorating still takes a weekend. But every hour of planning saves you two hours of second-guessing once the boxes are open.
Grab a notebook or your phone’s notes app. Let’s map out your Christmas before you touch a single box.
- ✓Notebook or notes app
- ✓Phone camera
- ✓Tape measure
- ✓Calendar or planner app
- ✓Storage bins, labeled
- ✓String lights
- ✓Ornaments and tree topper
- ✓Extension cords
Pick Your Christmas Theme First
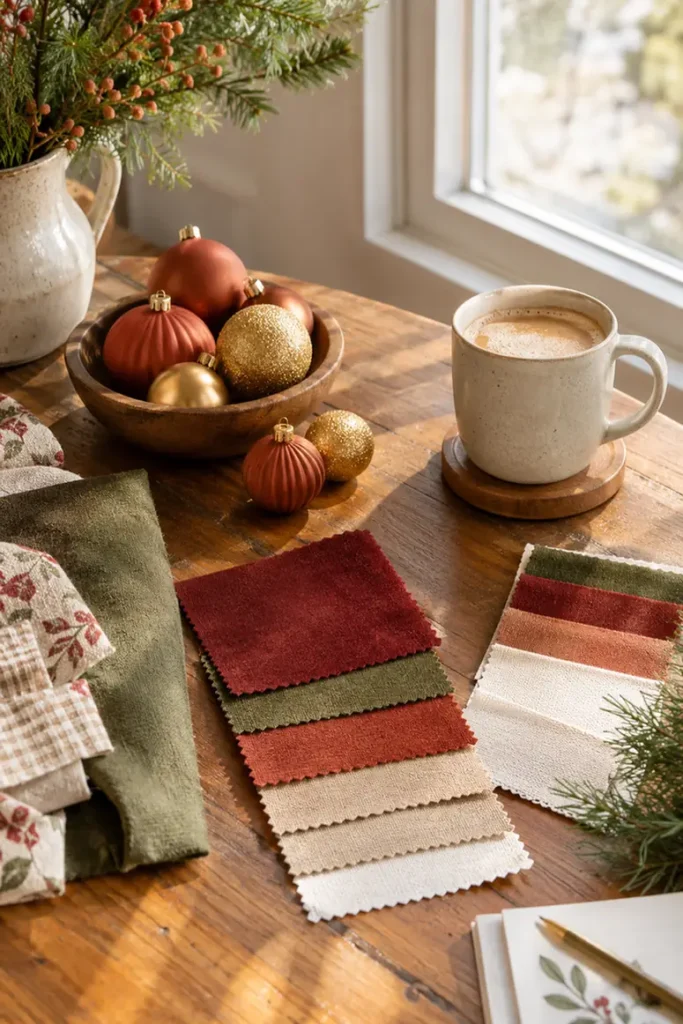
Most people buy decorations one piece at a time, then realize nothing matches once it’s all out on the table.
Pick one style before you buy anything else. Classic red and gold, coastal blue and silver, and cozy neutral with warm wood tones all work well.
Limit yourself to 2 to 3 main colors. Any more than that and the space reads cluttered instead of festive.
Set a Realistic Decorating Budget

If you don’t set a number first, the dollar bins near the front of the store will happily spend it for you.
Decide on a total budget for the whole house before shopping for anything new. Split it roughly in half: one part for the tree and main living space, the other for everything else.
Write the number down somewhere you’ll actually see it again, like the notes app on your phone.
Walk Through Every Room and Make a List

Grab your phone and walk through the house like a stranger seeing it for the first time.
Check these spots as you go:
- Entryway and front door
- Living room and mantel
- Dining table
- Kitchen counters or windows
- Front porch or yard
Write down every surface that needs something. Skip any room you don’t actually want to decorate this year. Not every space needs the full treatment.
Sort Through What You Already Own

Before you add a single item to your list, empty out last year’s storage bins on the floor.
You’ll almost always find more than you remember. That box of ornaments buried in the back? It counts.
Sort into three quick piles as you go:
- Keep and reuse this year
- Donate or toss (broken, faded, or just not your style anymore)
- Not sure yet, decide later
Anything in pile one gets crossed off your shopping list before you even open a store app. That alone usually cuts the budget by a noticeable chunk.
Build a Shopping List by Room

Take your empty spots from Step 3 and your leftover items from Step 4, and line them up side by side.
Whatever’s still missing is your real shopping list. Nothing extra, nothing guessed.
Organize it by room instead of by item type. A list sorted this way is faster to shop from, especially on your phone in a crowded store aisle.
Keep the list to specific things. “Something for the mantel” isn’t useful. A 6-foot garland and three pillar candles is.
Pick a Weekend and Block Off the Time

A plan without a date attached rarely happens. Decorations sit in boxes in the hallway for another two weeks instead.
Look at your calendar and pick one weekend, start to finish.
Block off at least 3 to 4 hours for the main push. That’s usually enough time to get the tree, mantel, and entryway done in one go.
Smaller rooms can wait for a second, shorter session later in the week. You don’t have to finish the whole house in one sitting.
Decorate the Tree Before Anything Else
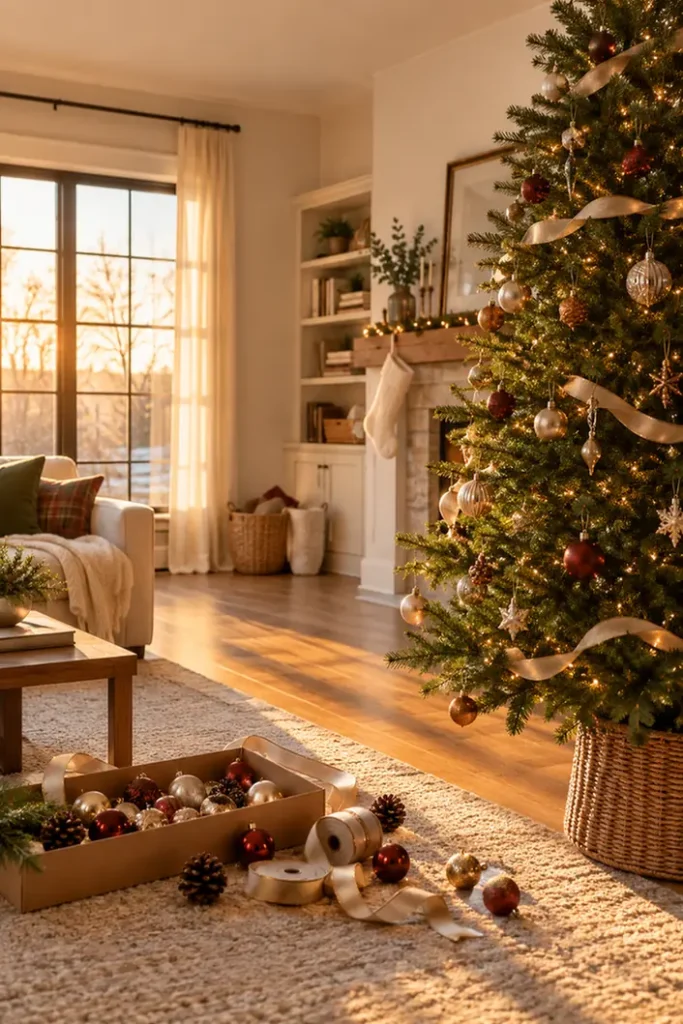
The tree sets the tone for every other room, so it goes first.
Start with the lights, working from the trunk outward in loose loops rather than wrapping branch by branch. This gives you an even glow instead of dark gaps near the center.
Add ornaments next, largest pieces first. Save small or fragile ones for last, once the bulk of the tree is already shaped.
If you don’t have a tree skirt yet, a folded blanket in a matching color works just as well for this year.
Layer In Lighting Room by Room

Once the tree is lit, walk through the rest of the house room by room, adding light before anything else.
Lighting does more to set the mood than any single decoration. A dim mantel with one small strand of warm lights feels more festive than a bright one with none at all.
Stick to one light temperature throughout the house, warm white is the easiest to work with. Mixing warm and cool bulbs in the same room reads as unfinished, even when everything else is done.
Finish With Small Accent Touches
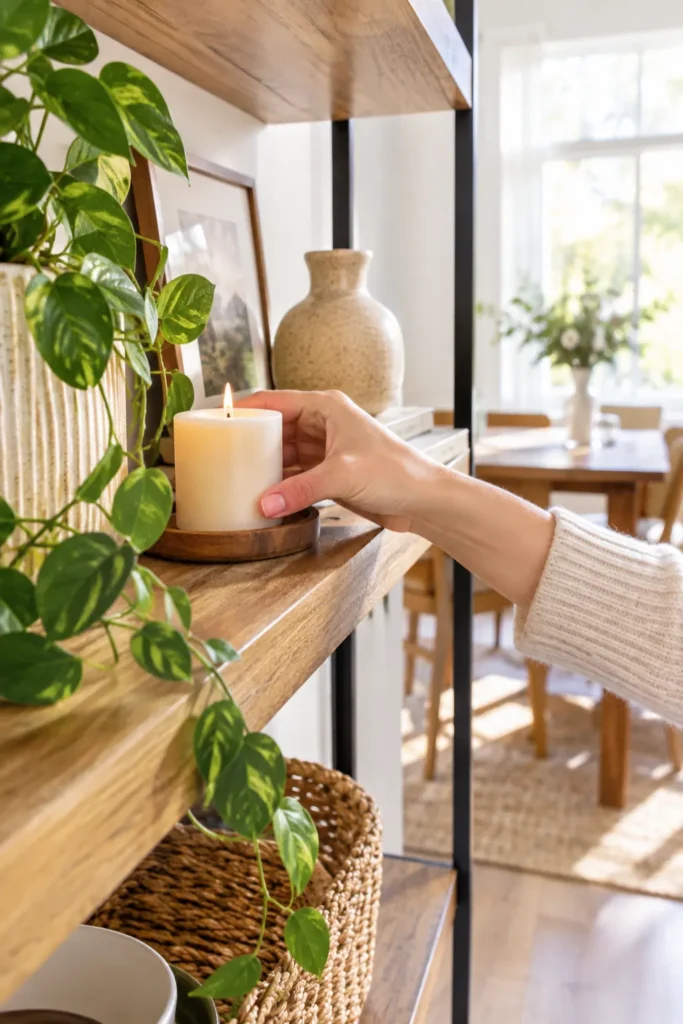
The last step is the easiest one to rush, but it’s also what makes a room feel finished instead of half done.
Walk back through each space and add the small stuff: a candle here, a stack of ornaments in a bowl there, a sprig of greenery tucked into a shelf.
These pieces don’t need a plan. Add them by eye, standing back after each one to check if the room still feels balanced.
Two or three small touches per surface is usually enough. More than that starts to look cluttered instead of cozy.
Label and Store Everything for Next Year

Once the season winds down, how you pack things away decides how easy next year’s setup will be.
Sort decorations back into bins by room, not by type. A bin labeled “living room” saves far more time next December than one labeled “ornaments.”
Label each bin clearly on two sides, not just the top. Bins get stacked, and a top-only label becomes useless once something’s sitting on it.
Before sealing anything, jot a quick note of what worked and what you’d change. Future you will thank present you for it.
2. Set a budget
3. Walk and list every room
4. Sort what you own
5. Build a shopping list
6. Block off a weekend
7. Decorate the tree
8. Layer in lighting
9. Add accent touches
10. Label and store
You now have a full plan instead of a pile of boxes and a guess. Every room has a place in the system, and nothing gets bought twice.
Make it yours by leaning into whatever color already lives in your home, matching your Christmas palette to it makes the whole house feel pulled together, not just decorated.
Save this guide now so you have the full plan on hand when the boxes come down from the attic.