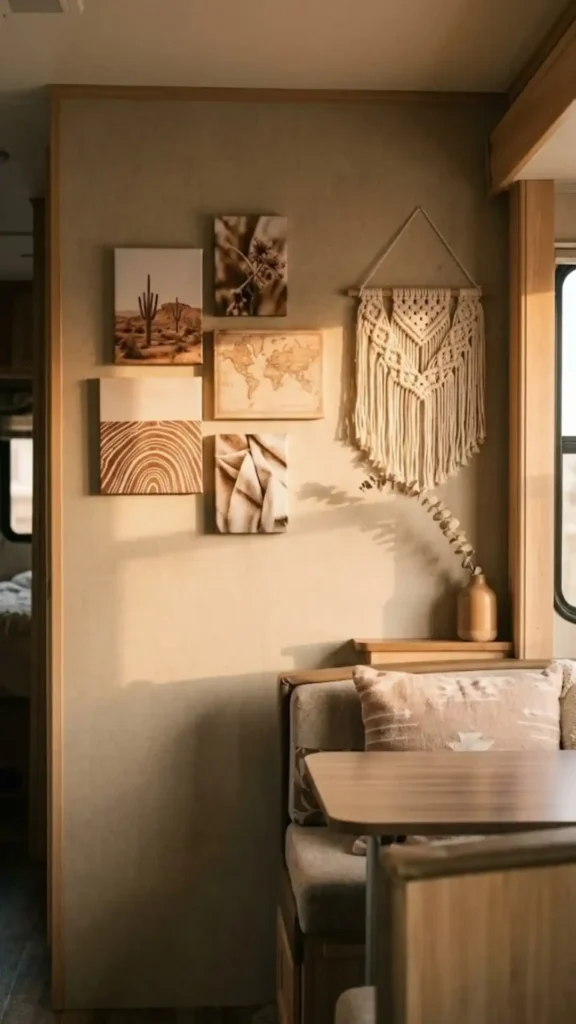
You wake up at 2am needing the bathroom. Your partner is asleep two feet away, behind nothing but a thin curtain that barely reaches the wall.
That gap along the side lets in every bit of light. It lets in every sound too.
Most RV bedrooms were never built with real privacy in mind. The manufacturer curtain is thin, it’s narrow, and it does almost nothing once someone in the front seat is watching a movie at 9pm.
This guide is about fixing that properly. Not a quick fabric swap, but an actual barrier system that blocks light, muffles sound, and closes the side gaps that let everything through.
You’ll walk away with a bedroom that feels closed off, even though there’s no door frame anywhere near it.
The hands-on work here fits into one afternoon. Most of that time goes into measuring and mounting the track correctly, since that’s the part that makes or breaks the whole rv bedroom privacy setup.
Grab a tape measure and a stud finder before you start. Everything else builds off getting that first measurement right.
Total Time
2.5 hours
Active Time
90 minutes
Difficulty
Beginner
Est. Cost
$45 to $90
What You Need
Tools
- Tape measure
- Stud finder
- Cordless drill
- Small level
- Scissors
Materials
- Bendable ceiling curtain track
- Blackout curtain panel, sized to opening
- Thermal lining fabric (optional layer)
- Self-adhesive magnetic tape strips
- Curtain clips or rings
- Tie-backs or a hook
At a Glance
- 1Measure the opening before you buy anything
- 2Choose a track system over a tension rod
- 3Install the curtain track along the ceiling
- 4Hang a blackout curtain rated for the space
- 5Add a lining layer for sound, not just light
- 6Close the side gaps with magnetic or Velcro seals
- 7Add a second layer for daytime sightline privacy
- 8Finish with a tie-back or soft-close system
Measure the opening before you buy anything
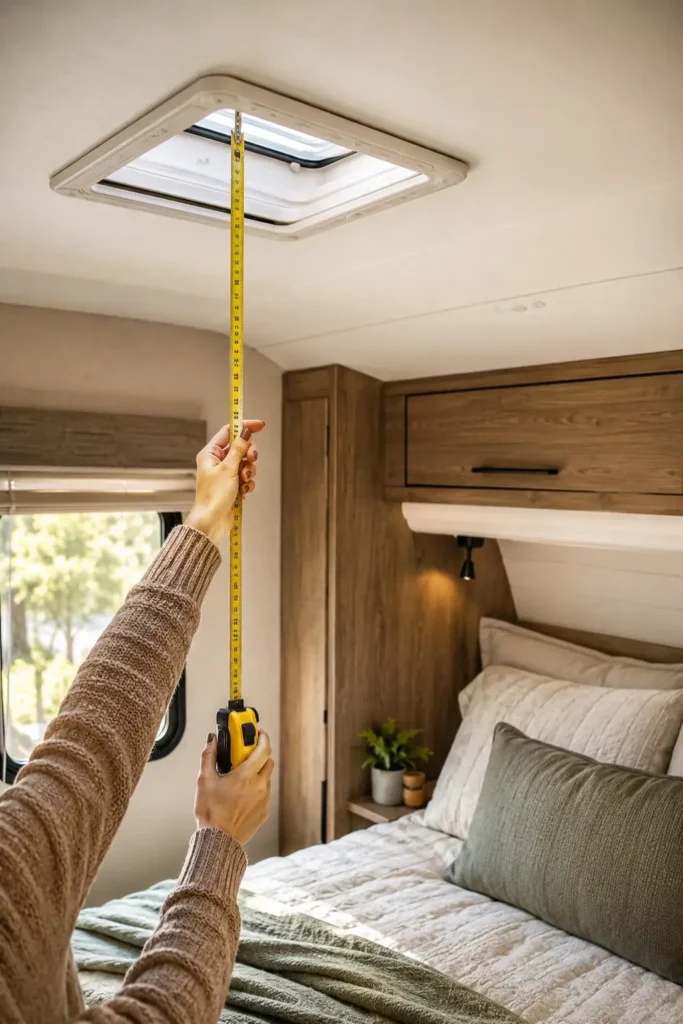
Grab your tape measure and run it along the ceiling where the barrier needs to sit.
Measure wall to wall, not just the visible gap. Most RV bedrooms sit a few inches wider than they look.
Add 6 inches to that width. That extra fabric is what closes the side gaps later, and skipping it is the single biggest reason curtains end up too narrow.
Write the number down. You’ll need it again for the track and the panel, and guessing from memory later almost always costs you a return trip to the store.
Choose a track system over a tension rod for the main barrier
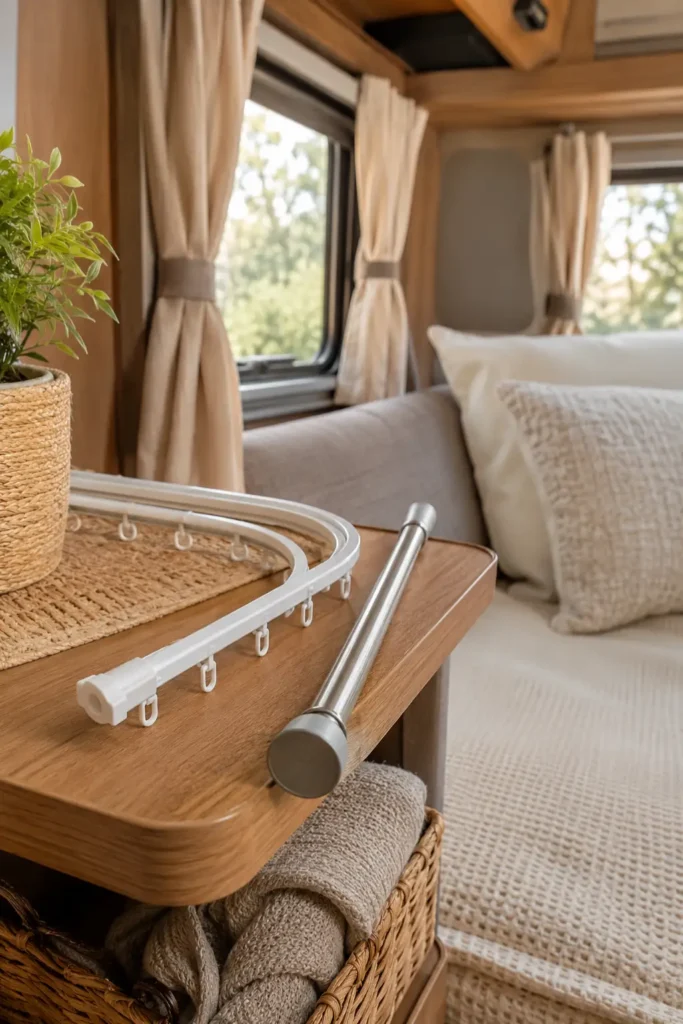
A tension rod sags under a heavy curtain. It also can’t follow a curved ceiling, which most RVs have somewhere along that opening.
A bendable ceiling track solves both problems. It mounts flush, it holds real weight, and it can curve around a corner without pulling loose.
If a full track feels like too much for now, a straight rod mounted into the ceiling with brackets works as a middle option. It won’t bend, but it holds firm.
Skip anything that clips onto the wall with adhesive strips. Those release under the weight of a lined blackout curtain, usually within the first month.
Install the curtain track along the ceiling or wall studs
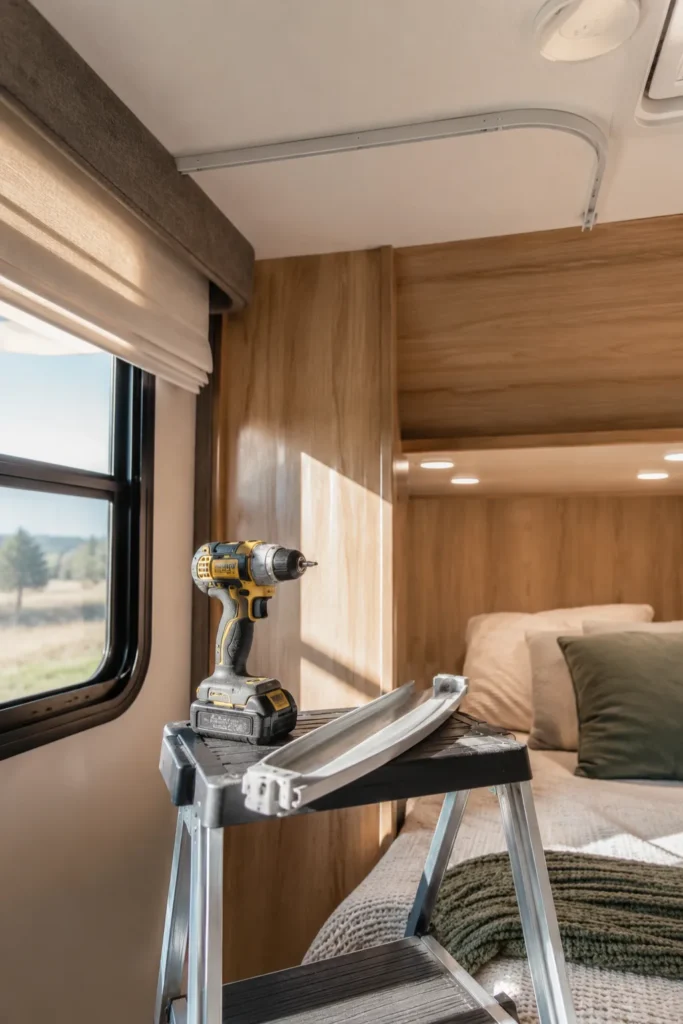
Run the stud finder along your marked line first. A track screwed into open paneling will eventually pull loose, especially with regular use.
Mark each screw point every 12 inches along the track’s length. More points means more support once the curtain and lining are hanging.
Drill pilot holes before driving the screws in. This keeps the thin RV paneling from cracking, which is a common mistake with anything mounted overhead. <br>
Pro Tip
A cordless drill on a low torque setting is less likely to strip thin ceiling paneling than a full-power setting. If the drill starts spinning without biting in, that’s your sign to switch to a slightly larger drill bit for the pilot hole.
Level the track before the final screw goes in. A slightly crooked track is easy to miss until the curtain hangs and pools unevenly on one side.
Hang a blackout curtain rated for the space
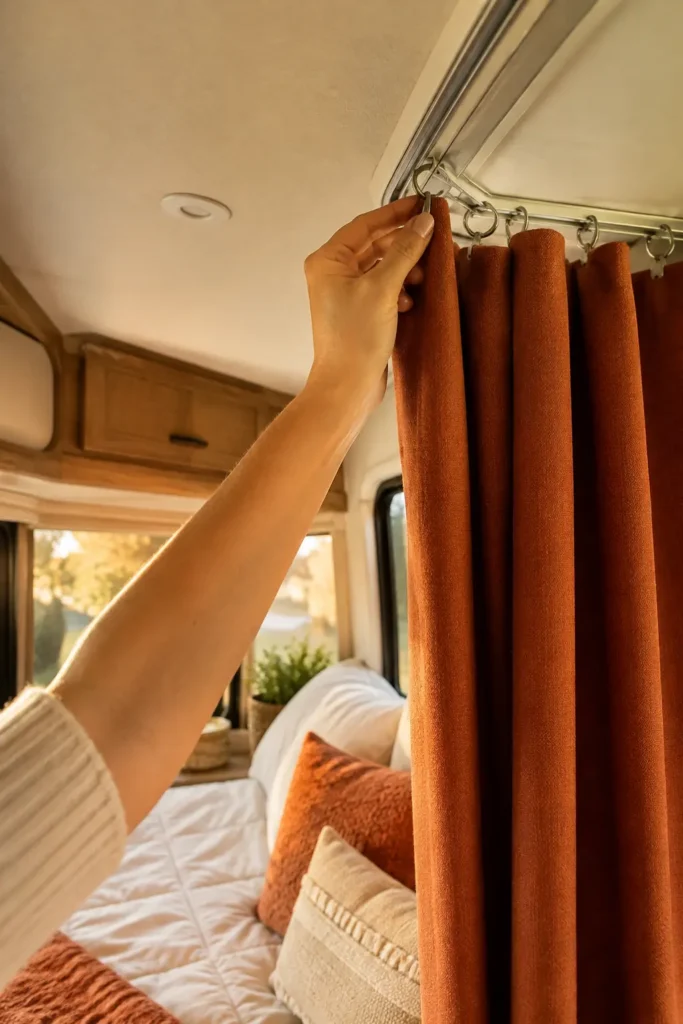
Not every curtain labeled “blackout” actually blocks light completely. Some only reduce brightness by half, which defeats the purpose here.
Look for one rated 99% to 100% light blockage on the tag. That percentage matters more than the fabric weight or the price tag.
Clip the panel onto the track using curtain rings, not the fabric loops that come pre-sewn into some panels. Rings glide smoother and won’t bunch up over weeks of use.
Slide the panel across the full track once before you settle on a final position. If it catches anywhere, that’s a sign the track needs another support screw.
Add a lining layer for sound, not just light
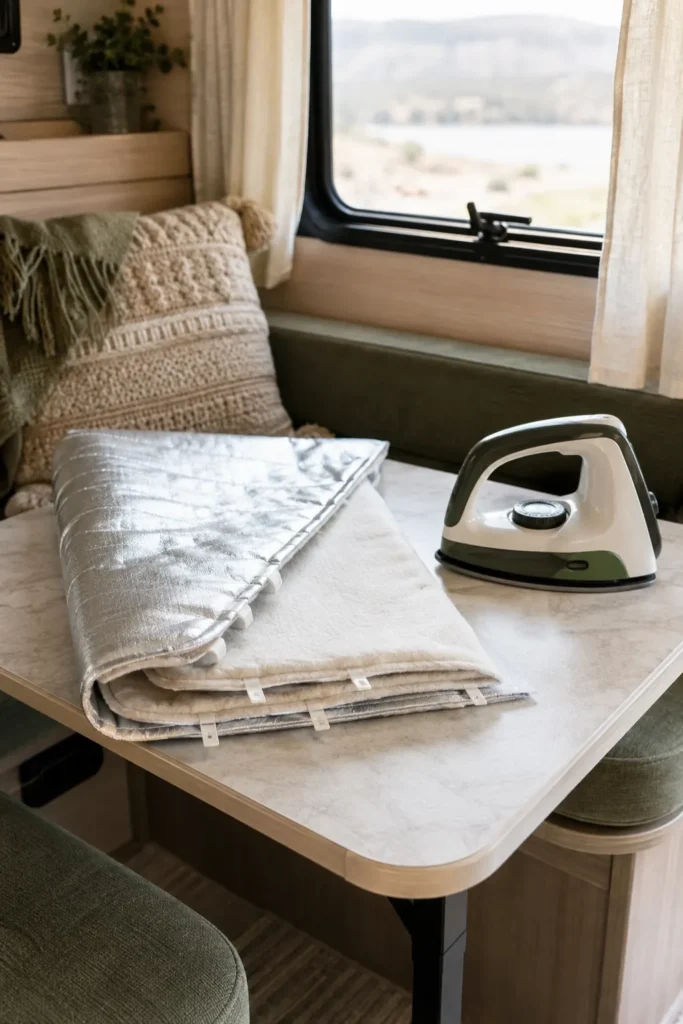
A blackout curtain blocks light well on its own. Sound is a different problem, and one layer of fabric rarely muffles much of it.
A second, heavier lining sewn or clipped behind the main panel changes that. Thermal lining fabric works well here since it’s dense enough to dampen noise too.
You don’t need to sew anything if that’s not your thing. Iron-on hem tape attaches a lining layer to the back of an existing curtain in about 15 minutes.
Two things this layer actually does:
- Cuts down on voices carrying through at night
- Blocks the glow of a phone screen or reading light from the other side
Heads Up
The risk: a blackout lining pressed flat against a window overnight can trap condensation in humid climates.
The tell: a musty smell or damp fabric near the bottom hem after a few weeks.
The fix: leave a small gap between the lining and the window rather than pressing it flush.
Close the side gaps with magnetic or Velcro seals
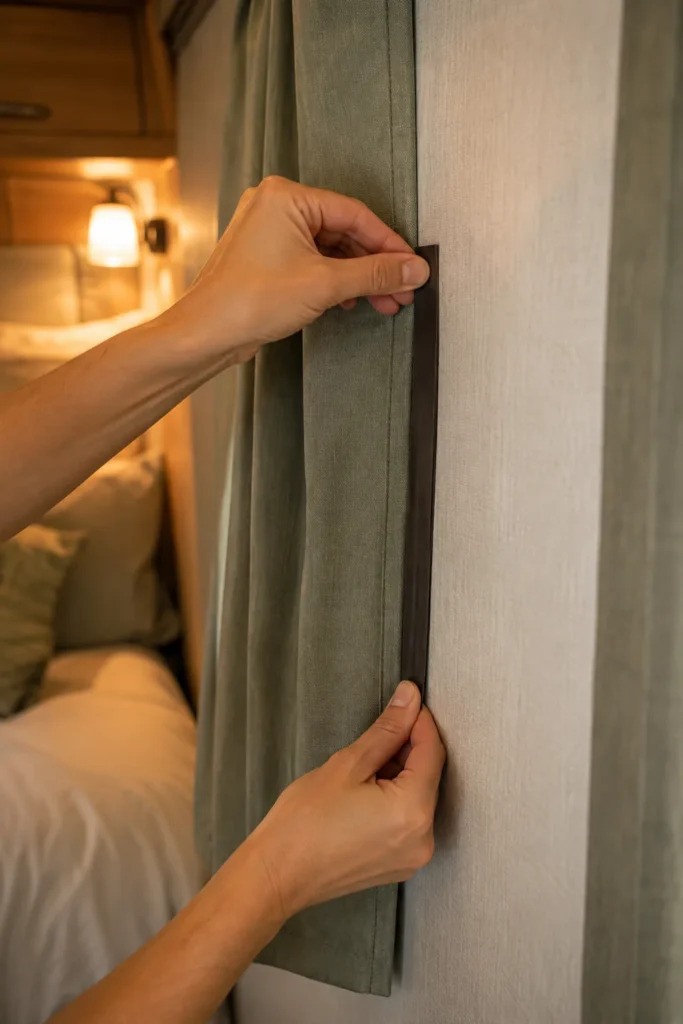
Even a well-measured curtain leaves a sliver of a gap where it meets the wall. That sliver is where most of the leftover light sneaks through.
Self-adhesive magnetic tape fixes this fast. Stick one strip along the wall edge and a matching strip along the curtain hem, spaced every 8 inches.
Velcro works the same way if you’d rather avoid anything magnetic near electronics or a compass mounted nearby.
Press the strips together once the curtain is hanging in its final position, not before. Lining it up on a flat table almost never matches the actual gap once it’s mounted.
Add a second layer for daytime sightline privacy

Blackout fabric handles nighttime. Daytime is different, since a thick dark curtain closed at noon makes the whole bedroom feel like a cave.
A lighter sheer or linen-blend panel hung on a second, inner track solves this. It blocks the direct sightline while still letting daylight through.
This step is easy to skip, and a lot of people do. But it’s the difference between a bedroom that feels shut off and one that feels livable during the day.
Mount the second track about 2 inches in front of the first one. That spacing keeps both panels sliding freely without snagging on each other.
Finish with a tie-back or soft-close system
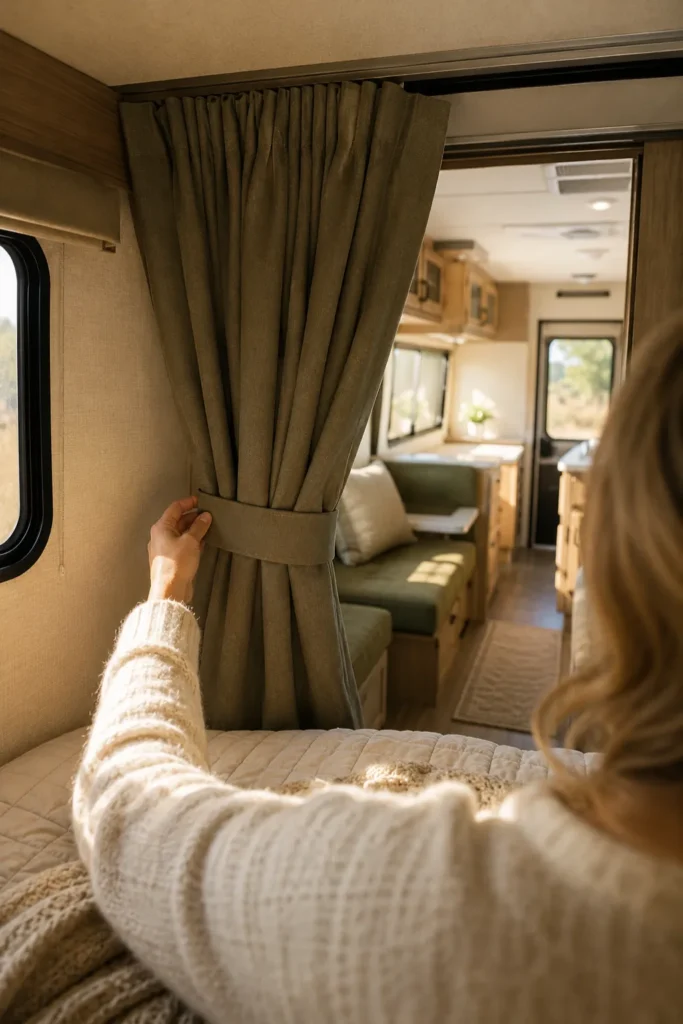
A curtain that won’t stay open is almost as annoying as one that won’t stay closed. Fabric ties or a small hook solve this in seconds.
Mount a hook at hip height on the nearby wall. Loop the curtain back when you want the space open during the day, then release it in seconds at night.
Magnetic tie-backs work well here too, and they release with a light tug instead of fumbling with a knot in the dark.
One small detail worth doing now: test the full open-to-closed motion a few times before calling the project finished. A track that sticks halfway is easier to fix today than after you’ve unpacked everything back into the bedroom.
Common Mistakes to Avoid
A few mistakes come up again and again with no-door RV bedrooms, mostly because they’re easy to miss until the curtain’s already hanging.
Where Beginners Go Wrong
Buying the curtain before measuring the wall-to-wall span
Result: a panel that’s inches too narrow and leaves a permanent light gap on one side.
Mounting the track without finding studs or ribs first
Result: the track pulls loose within weeks under the weight of a lined curtain.
Skipping the daytime sheer layer entirely
Result: the bedroom feels sealed off and dark even at noon, so the curtain stays open and privacy disappears.
Sealing the lining flush against a window
Result: trapped condensation and a musty smell showing up along the hem within a month.
Frequently Asked Questions
Questions People Ask
Will a curtain track damage RV ceiling paneling?
Not if it’s screwed into studs or ceiling ribs rather than the thin paneling itself. Pilot holes also lower the risk of cracking.
Do I really need two curtain layers?
One layer works for nighttime privacy. Two layers keep the room usable and bright during the day, which most single-curtain setups sacrifice.
Can this setup handle a curved RV ceiling?
Yes, as long as you use a bendable track rather than a straight rod. The flexible track follows the curve without gapping.
How much noise does the lining actually block?
It won’t make the room soundproof, but it noticeably softens voices and footsteps compared to a single thin panel.
Is magnetic tape strong enough to hold the seal shut overnight?
Yes, standard self-adhesive magnetic strips hold through normal movement and airflow inside an RV without separating.
Save This
Quick Reference Card
Grab
Bendable ceiling track, blackout panel, thermal lining, magnetic tape, curtain rings, tie-backs
Do
- Measure opening, add 6 inches
- Pick a bendable track over a rod
- Mount into studs, level it
- Hang a 99%+ blackout panel
- Add lining for sound
- Seal side gaps with magnetic tape
- Hang a sheer layer for daytime
- Add a tie-back and test the motion
Bring Real Privacy to Every Corner of Your RV
You’ve gone from a thin, gapped curtain to a full system that blocks light, muffles sound, and actually stays closed when you need it to.
Make it yours by matching the panel color to your existing textiles rather than sticking with plain white or black.
This same track-and-lining method works just as well for a bunk area or a shared living space, so keep the leftover magnetic tape on hand.
Save this one now. It’s the kind of project that’s easy to forget about until you’re standing in a hardware store trying to remember what size track you needed.