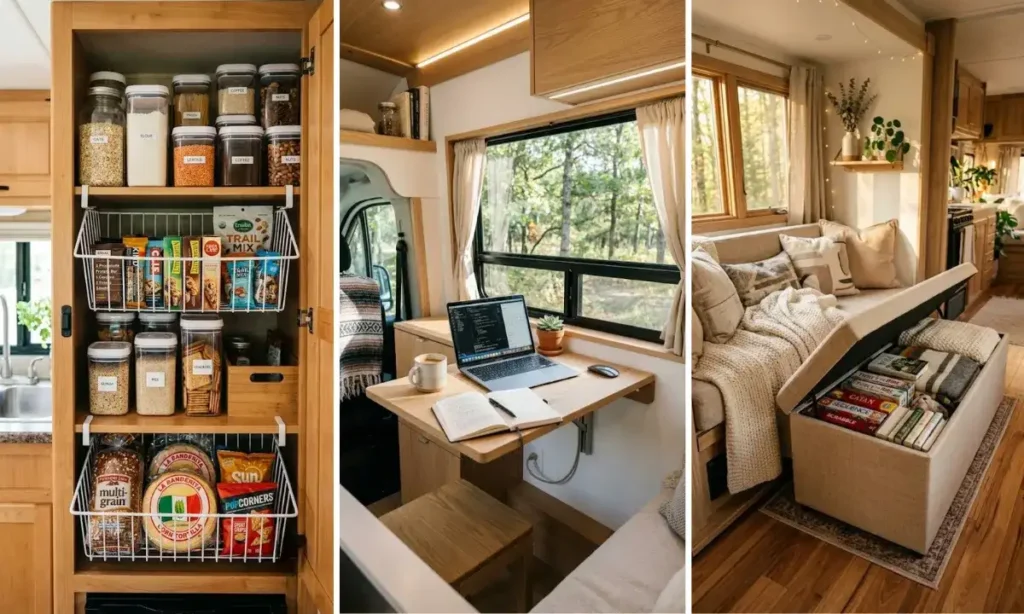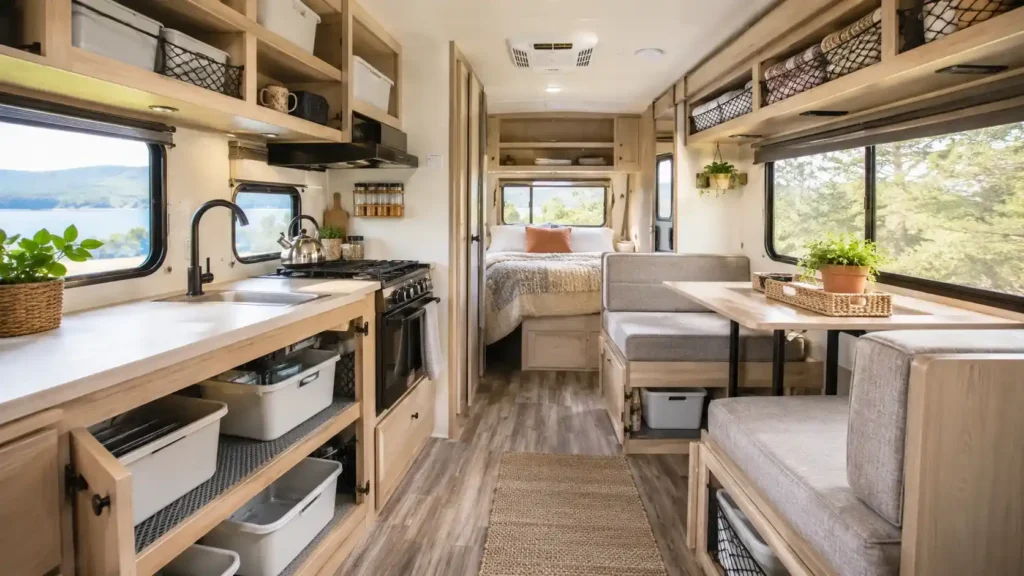
You pull out of the driveway feeling good. Everything is packed, the cabinets are full, and you are finally on the road.
Then you hit the first sharp turn.
A cabinet door pops open. A bin of canned food slides out and dumps across the floor. Something in the back thumps against the wall hard enough to make you flinch.
This is what happens when RV storage systems get built around “it fits” instead of “it holds.” Beginners load their rig the way they’d load a closet, then wonder why nothing survives the drive.
This guide walks through building storage that actually stays put. You’ll sort your gear, pick the right bins for your actual cabinets, lock everything down with liners and tension rods, and check your weight distribution before you ever leave the driveway.
None of this is complicated. Most of it is patience.
Plan on a weekend afternoon, not a rushed hour before departure. Grab a notebook, clear some floor space, and let’s get your RV ready to actually drive the way it’s packed.
What You Need
- ▸Tape measure
- ▸Scissors
- ▸Notebook or phone notes app
- ▸Painter's tape, for labeling
- ▸Bathroom or luggage scale (optional)
- ▸Non-slip drawer liner, 10 ft roll
- ▸Adjustable tension rods, 4–6, 12–20 in
- ▸Stackable storage bins, mixed sizes
- ▸Cargo netting or bungee cords
- ▸Over-door organizer (optional)
At a Glance
- 1Empty every cabinet and take inventory first
- 2Sort your gear into keep, store, and leave behind piles
- 3Choose RV storage systems that actually fit your cabinets
- 4Line every shelf with non-slip drawer liner
- 5Add tension rods to stop items from sliding in transit
- 6Use wall and door space for lightweight items
- 7Secure heavy or loose items with cargo netting or straps
- 8Weigh your loaded RV at a public scale
- 9Redistribute weight between front, back, and side storage
- 10Build a simple storage map so you can find anything fast
Empty Every Cabinet and Take Inventory First

You can’t design a storage system around a mystery. Pull every single item out of every cabinet, drawer, and under-seat compartment, and lay it all out somewhere flat.
It will feel like a mess before it feels useful.
That’s normal. Give yourself a full hour just for this step, because rushing it means you’ll miss things tucked in corners.
Write down what you have as you go. A quick phone note works fine. This list becomes the baseline for every decision in the steps ahead.
Sort Your Gear Into Keep, Store, and Leave Behind Piles
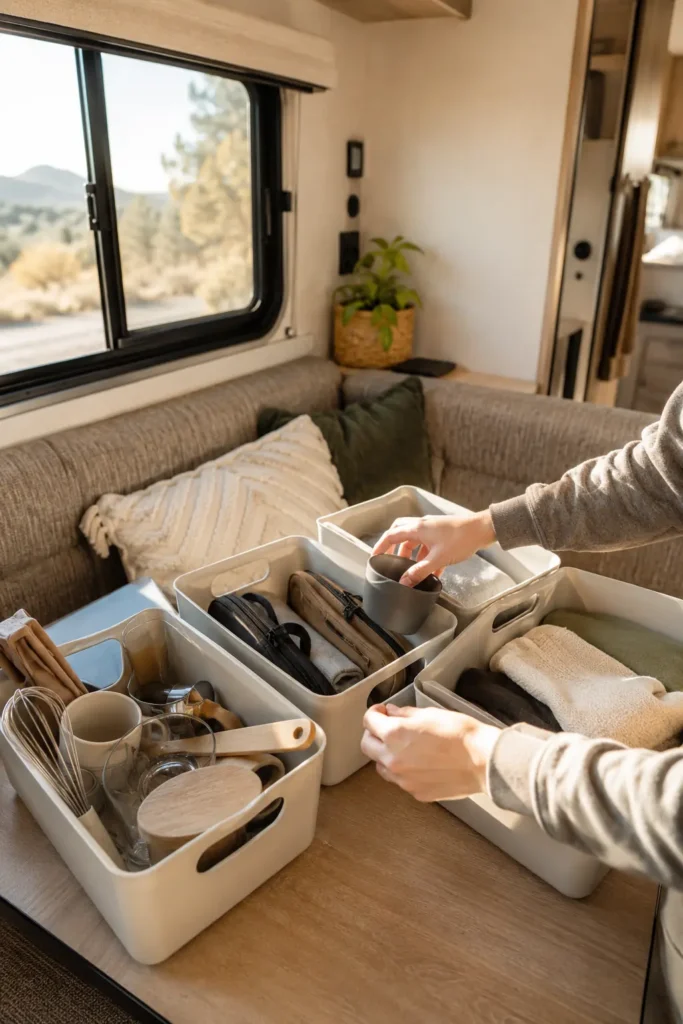
Not everything that made it into your RV needs to stay there. Some of it got packed out of habit, not necessity.
Make three piles as you work through your inventory:
- Keep: used weekly, stays in an easy-reach cabinet
- Store: used occasionally, goes in a less accessible spot
- Leave behind: hasn’t been touched in months, goes back home
Be honest with the “leave behind” pile. Extra weight you never use is space you’ll wish you had later.
Choose RV Storage Systems That Actually Fit Your Cabinets
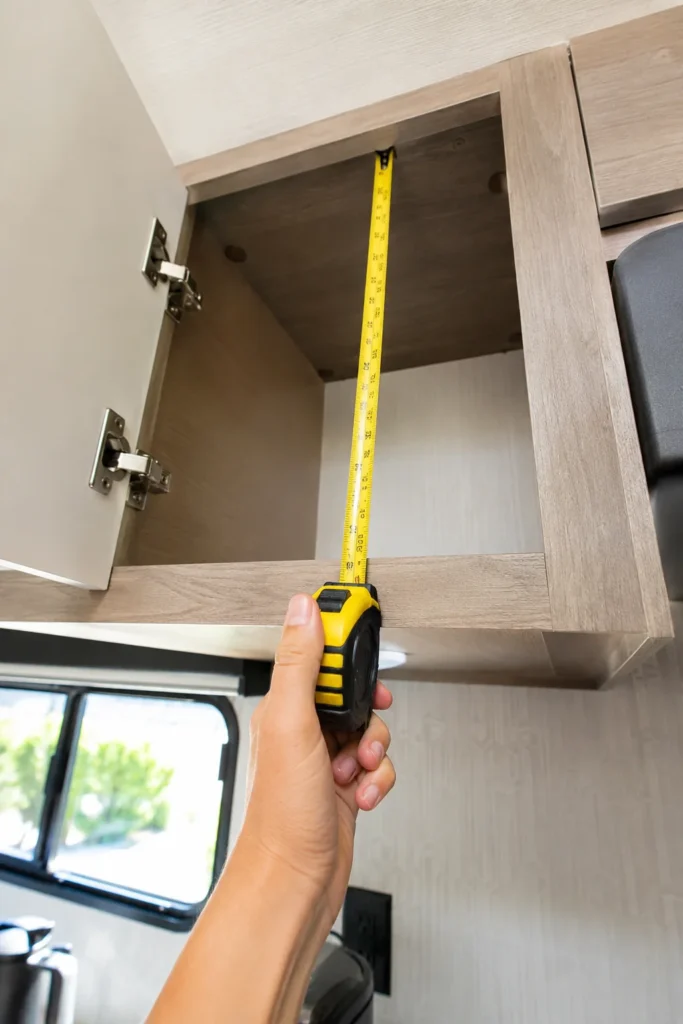
Ordering bins online before measuring is the single most common mistake beginners make here. A bin that’s a quarter-inch too wide simply will not go in.
Measure the height, width, and depth of every cabinet you plan to use. Write these numbers next to your inventory list from Step 1.
Look for stackable bins in two or three standard sizes rather than a different container for every item. Fewer sizes means easier restacking later, and it keeps your whole system predictable.
If a cabinet has an odd shape, a collapsible fabric bin flexes into the gap that a rigid plastic one won’t fit.
Line Every Shelf With Non-Slip Drawer Liner
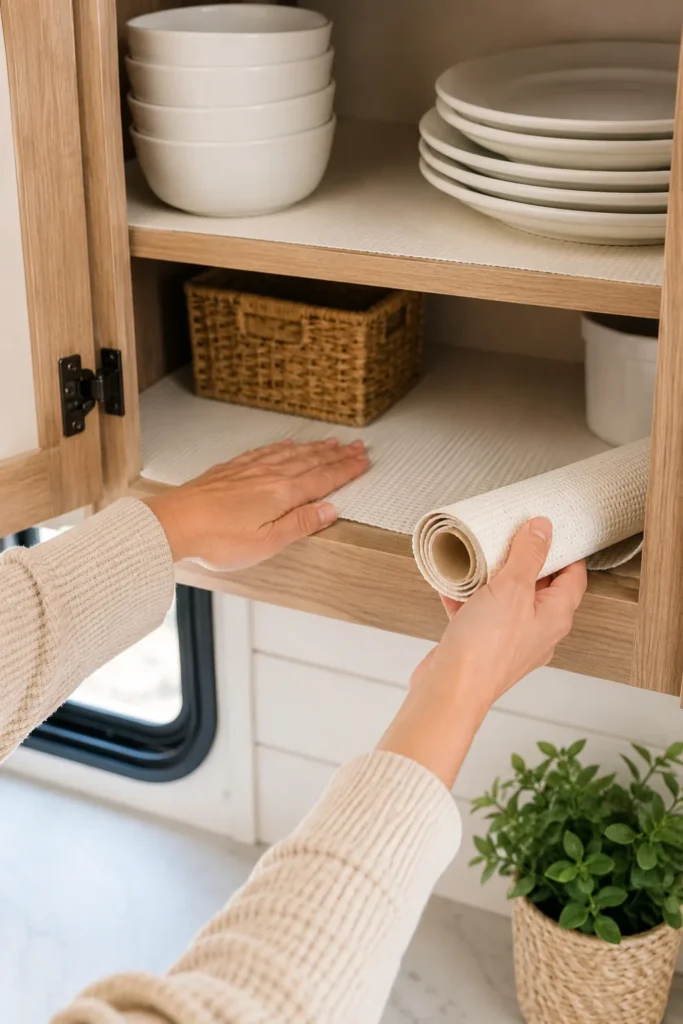
Cut liner to fit each shelf before anything goes back inside. A bare shelf lets bins slide the second you take a turn.
Measure each shelf, then cut the liner about 1/2 inch short of the edges. This keeps it from bunching up when you push bins in and out.
Press it down firmly, especially at the corners. Liner that lifts at the edges catches on bin lips and tears within a few trips.
Rubber shelf liner grips harder than the foam kind but costs a little more.
If your rig runs hot in storage, skip anything with adhesive backing. It softens and leaves residue on wood shelving.
Add Tension Rods to Stop Items From Sliding in Transit
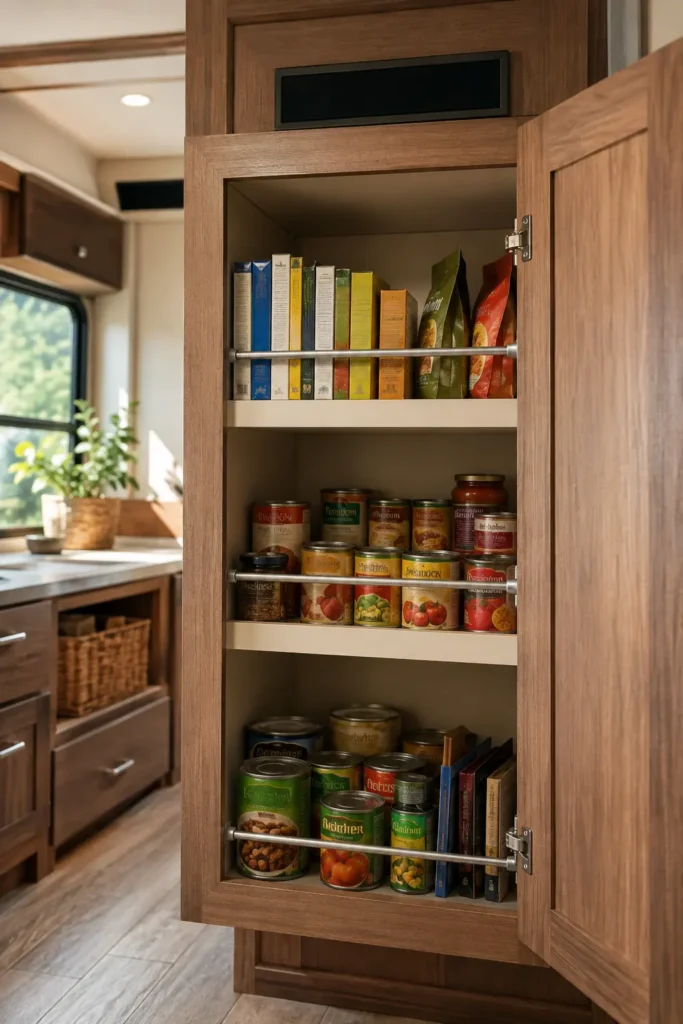
Bottles, cans, and boxed goods still shift even on lined shelves once the road gets bumpy. Tension rods split a cabinet into smaller sections so nothing has room to travel.
Wedge a rod across the shelf about 2 inches in front of your items, pressing against the back wall and a stable front point.
Test it by pushing the items forward hard with your hand. If the rod slips, you’ve picked one that’s too short for the gap.
A second rod stacked above the first works well for tall, narrow cabinets holding cereal boxes or canned goods.
The risk: a rod under too much tension can bow and pop free mid-drive.
The tell: the rod curves visibly instead of sitting flat and straight.
The fix: size down slightly and add a second rod instead of over-tightening one.
Use Wall and Door Space for Lightweight Items
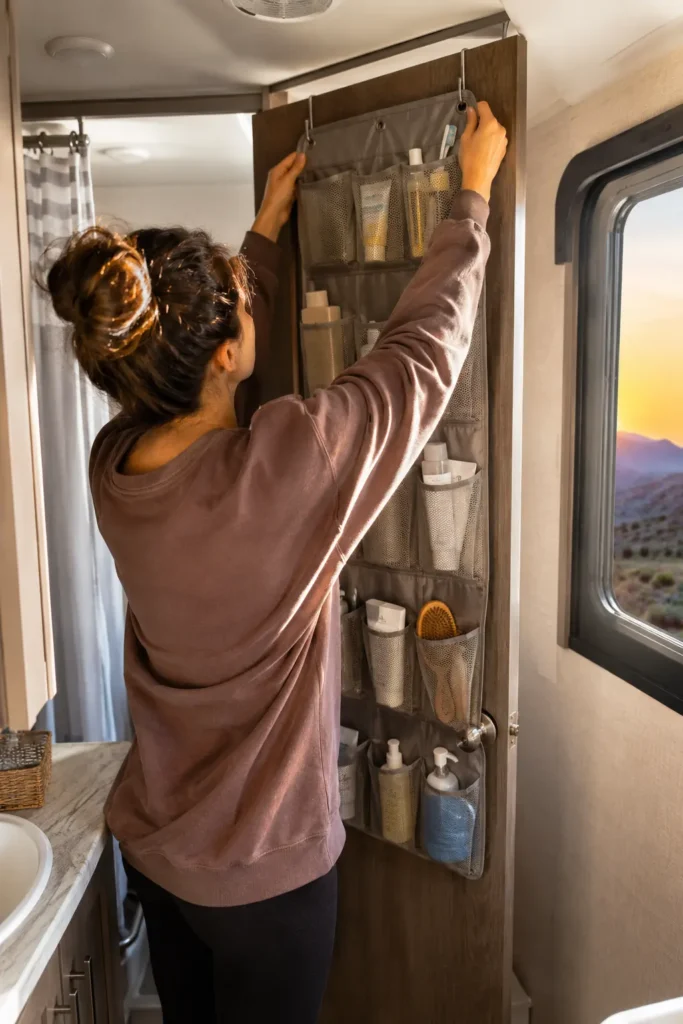
Floor space in an RV disappears fast. Wall space, on the other hand, usually sits empty the whole trip.
An over-door organizer with mesh pockets holds toiletries, chargers, and small tools without eating into a single cabinet. Command hooks work well too, but check the weight rating first.
Most standard adhesive hooks max out around 5 pounds each. Anything heavier needs a screw-mounted hook instead, since vibration on the road weakens adhesive faster than it would in a house.
Keep an eye on what you hang near windows or vents. Swinging items can scratch glass or block airflow when the RV is in motion.
Secure Heavy or Loose Items With Cargo Netting or Straps
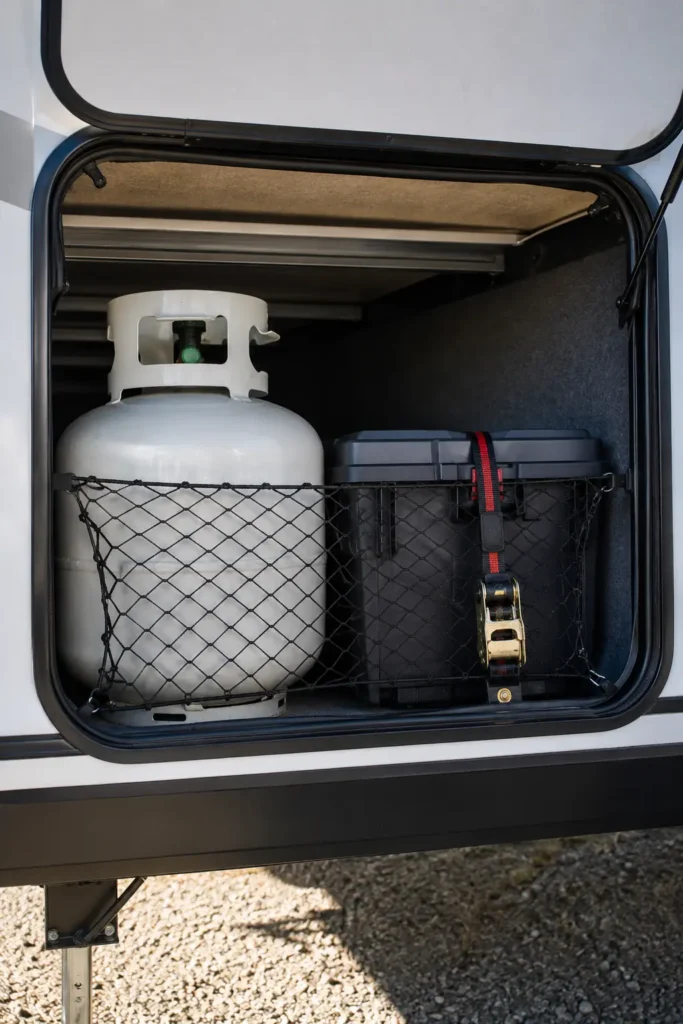
Anything that couldn’t go into a bin or behind a rod still needs to be pinned down. Think propane tanks, tool boxes, or bulky camp chairs riding in an exterior bay.
Cargo netting works for irregular shapes since it stretches around whatever you’re covering instead of needing a fixed size.
For a single heavy item, a ratchet strap holds tighter than bungee cords. Bungees stretch under sustained vibration and loosen over a long drive.
Check every strap and net again the morning you leave. Straps that felt tight last week sometimes settle overnight.
Weigh Your Loaded RV at a Public Scale
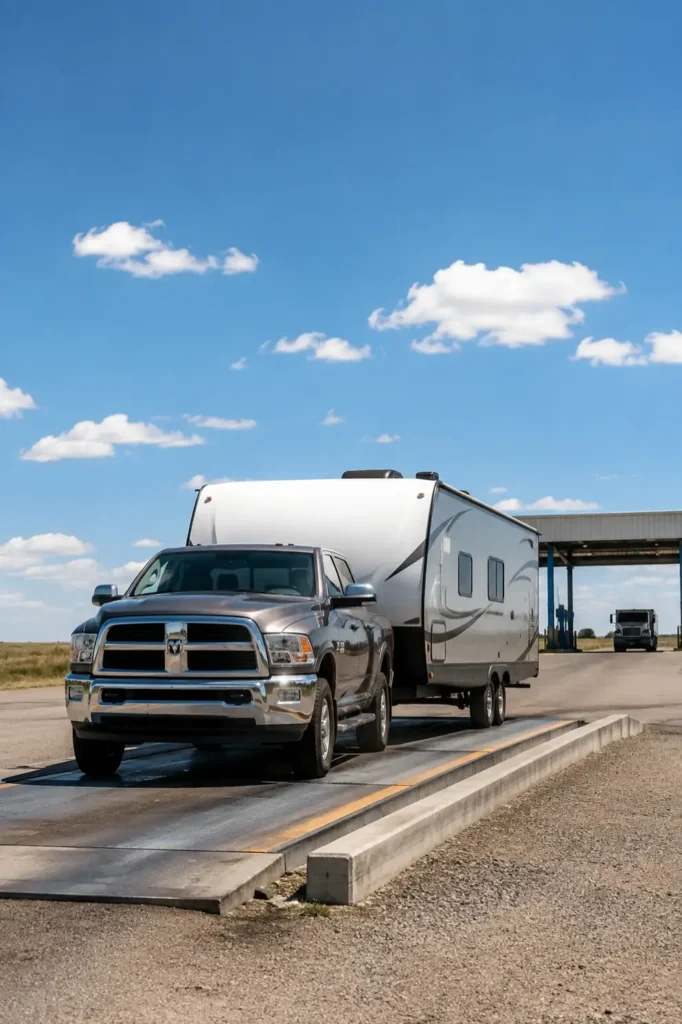
This step gets skipped constantly, and it’s the one that actually keeps you safe on the highway. An overloaded RV handles differently, especially in wind or on a downhill grade.
Most truck stops and many CAT scale locations let you weigh a loaded RV for a small fee, usually under $15.
Drive on with all your gear loaded exactly as you plan to travel. Weighing an empty or partially packed rig tells you nothing useful.
Compare your total to the Gross Vehicle Weight Rating printed on your RV’s data plate, usually near the driver’s door.
- Ask the scale attendant for axle-by-axle numbers, not just a total.
- Side-to-side imbalance matters as much as front-to-back.
- Keep the receipt. It’s a useful reference the next time you repack.
Redistribute Weight Between Front, Back, and Side Storage
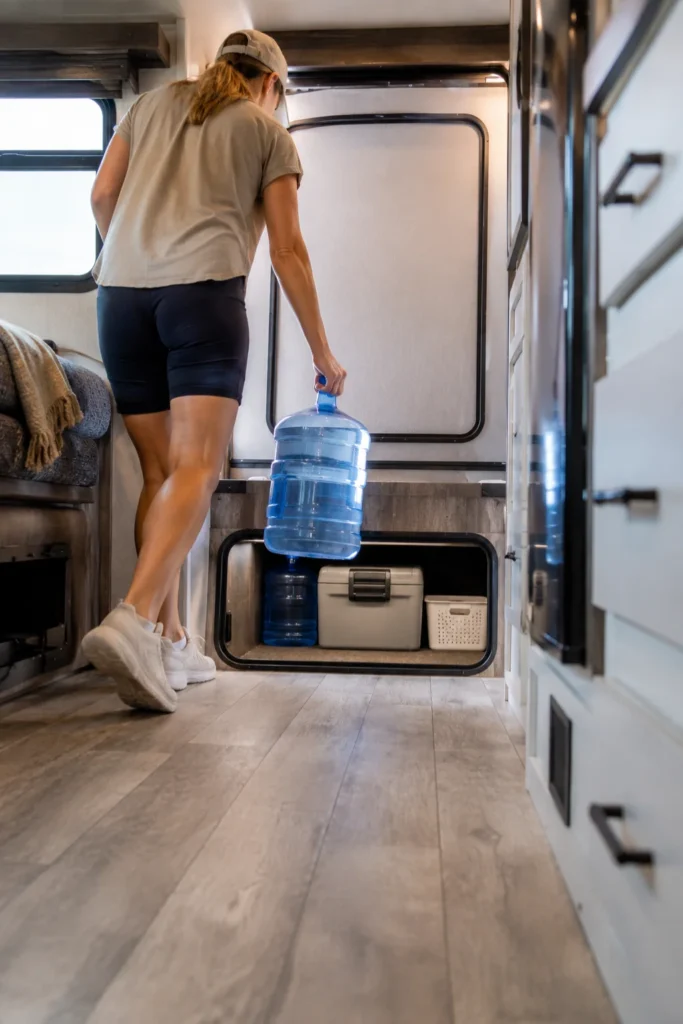
If the scale showed an imbalance, this is where you fix it. Heavy items sitting all on one side make an RV pull toward that side, especially in crosswinds.
Move dense items, water jugs, tools, canned goods, toward the center of the rig and as low as possible. Low, centered weight keeps the RV more stable through turns.
Avoid loading heavy gear far behind the rear axle. Even a modest amount back there can affect how the RV handles under braking.
Most people need to weigh and rebalance twice before the distribution actually feels right. Don’t expect to get it perfect on the first pass.
Build a Simple Storage Map So You Can Find Anything Fast
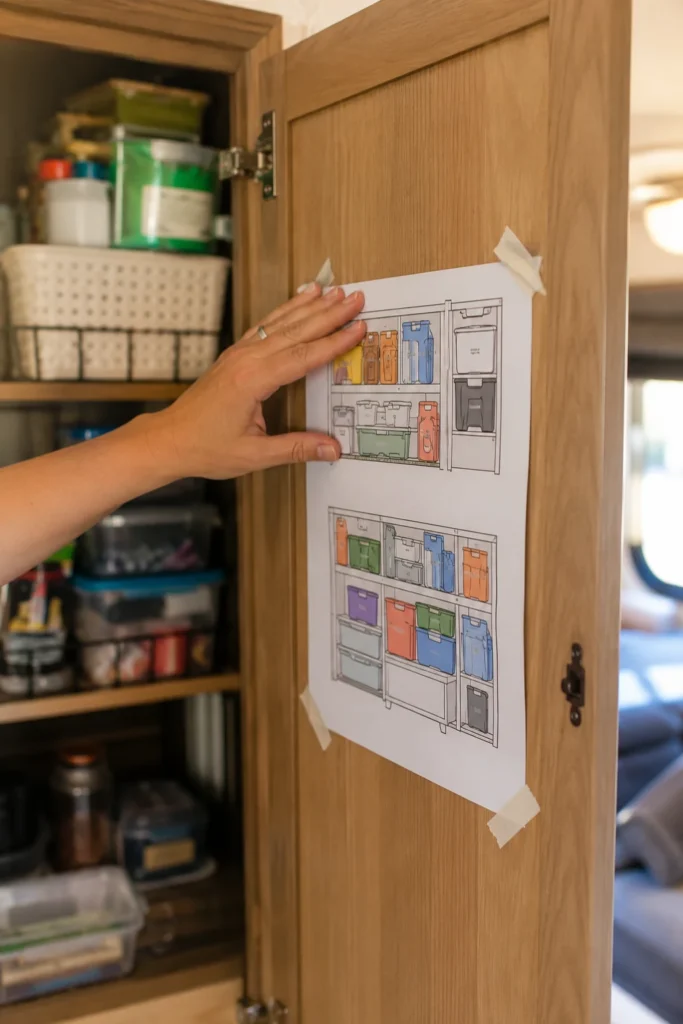
A system only helps if you can remember it three weeks into a trip. A storage map solves that without relying on memory.
Sketch a rough layout of your RV, or use a printed floor plan if your manufacturer provides one.
Label each cabinet, drawer, and bay with a short code, A1, A2, B1, and so on. Match those codes to your inventory list from Step 1.
Tape a small printed copy inside a cabinet door. It saves you from digging through four compartments looking for the can opener.
Common Mistakes
Consequence: bins that don’t fit end up returned or wedged in crooked.
Fix: measure every cabinet first and shop with those numbers in hand.
Consequence: you find out you’re overweight from a rough highway ride, not a number.
Fix: weigh fully loaded before your first real trip, not after.
Consequence: the RV pulls to that side, especially in crosswinds.
Fix: center dense items and keep them as low as possible.
Consequence: bungees stretch and loosen over long drives.
Fix: switch to a ratchet strap for anything heavy or oddly shaped.
Frequently Asked Questions
Quick Reference: RV Storage Setup
Screenshot this and keep it on your phone
Liner, tension rods, stackable bins, cargo netting, an over-door organizer
- Empty and inventory
- Sort keep / store / leave
- Measure and match bins
- Line shelves
- Add tension rods
- Use wall and door space
- Net or strap heavy items
- Weigh loaded at a public scale
- Redistribute weight
- Build a storage map
Your RV is packed, secured, and weighed, and you know exactly why each item lives where it does. That’s the difference between a rig that holds together and one that surprises you at the next turn.
Make it yours by swapping in bin colors or labels that match your rig’s interior. The function stays the same either way.
Give the whole system a shakedown drive around your neighborhood before the real trip. It’s the easiest way to catch a loose strap while you’re still ten minutes from home.
Save this one now so it’s easy to find the night before you pack.