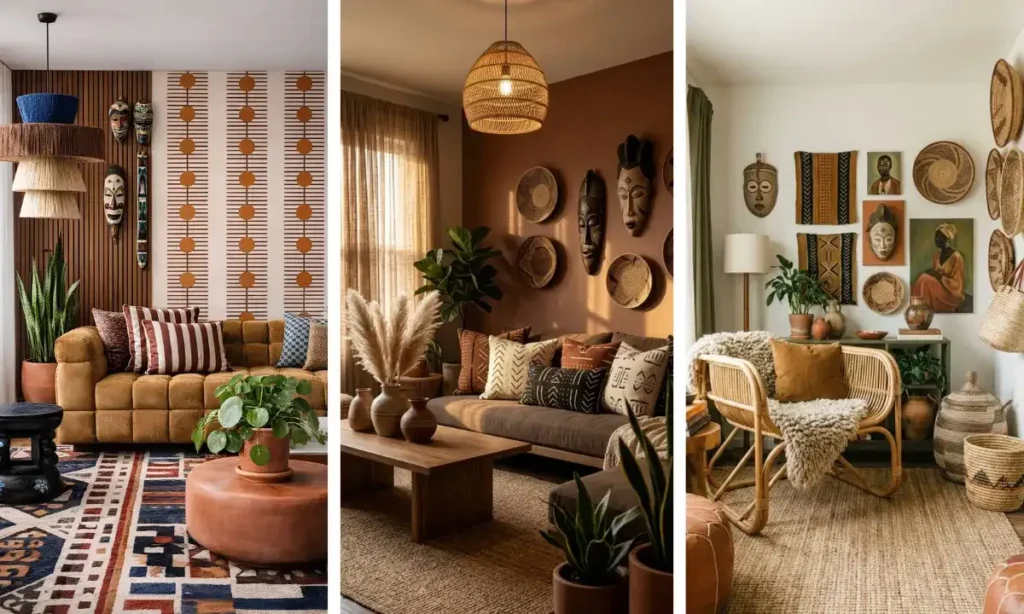
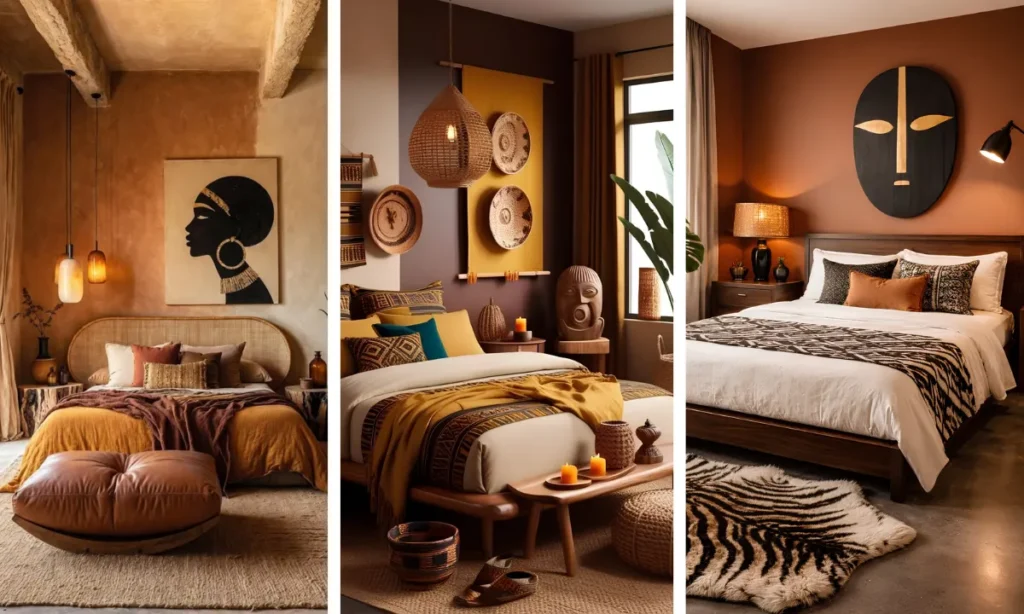
You cleared out the clutter. Maybe you even painted a wall. But the room still feels like a hotel, not a home.
That is the gap most beginners hit. You have the bones of the space, but nothing pulling it together.
Afrocentric bedroom ideas step by step work best when you follow an order, not a shopping spree. Buying ten things at once and hoping they click rarely works. Building one layer at a time does.
This guide walks you through nine steps, starting with color and ending with the small living touch that makes a room feel finished. Each step builds on the one before it.
You do not need a big budget or a design degree. You need a plan, and about a weekend of focused effort spread across a few sessions.
By the end, your bedroom will have a clear color story, layered textures, real art on the walls, and lighting that actually flatters the space. Let’s start with the one decision that shapes everything else.
🛍️ What You Need
Tap each item as you check it off your list
📋 At a Glance
Pick Your Color Anchor First
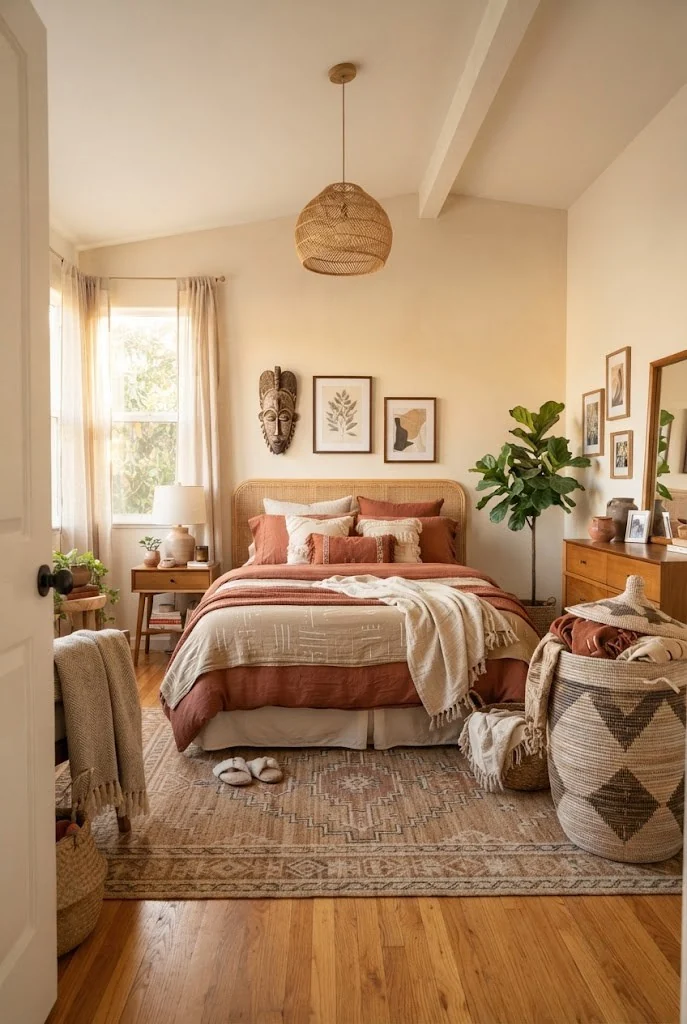
Choose one item before anything else. That could be a textile, a rug, or a piece of art.
Pull two to three colors straight from it. Everything else in the room will pull from that same small set.
Skipping this step is why rooms end up feeling random. A rust throw next to a green pillow next to a blue lamp, with nothing tying them together.
Ground the Room With a Statement Rug
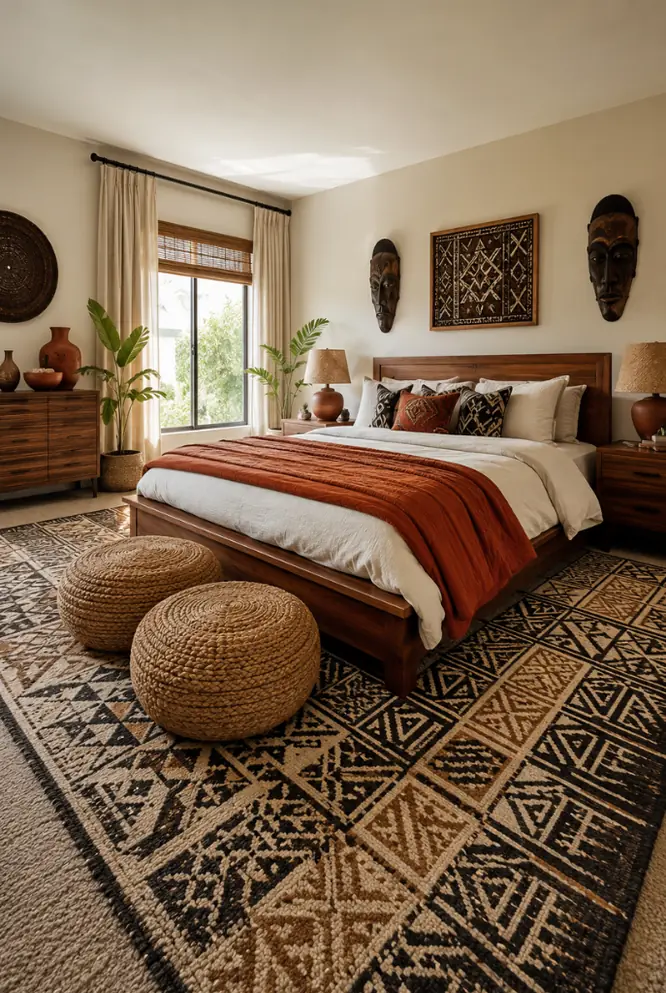
Measure your floor space before you shop. As a rule, leave 12 to 18 inches of bare floor between the rug edge and the wall.
A rug that is too small floats in the middle of the room and shrinks the whole space visually.
- Measure wall to wall, not just the open floor
- Aim for the rug to reach under the bed by at least 2 feet
- When between two sizes, size up
Dress the Bed in Layers, Not One Blanket
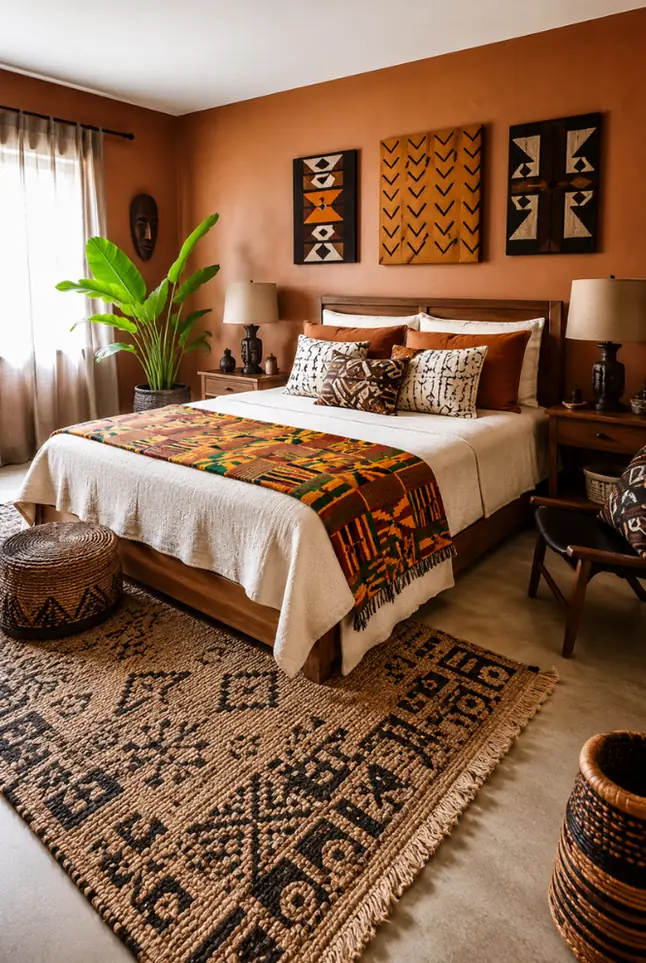
Start with a fitted sheet in your lightest anchor color. Add a top sheet next.
Layer a woven blanket or mudcloth throw across the foot of the bed. Fold it in thirds so the pattern shows, not just a plain edge.
Finish with pillows in two different textures, like a nubby knit next to a smooth cotton. Texture contrast does more work than color contrast at this stage.
Hang One Large Textile Piece Above the Headboard
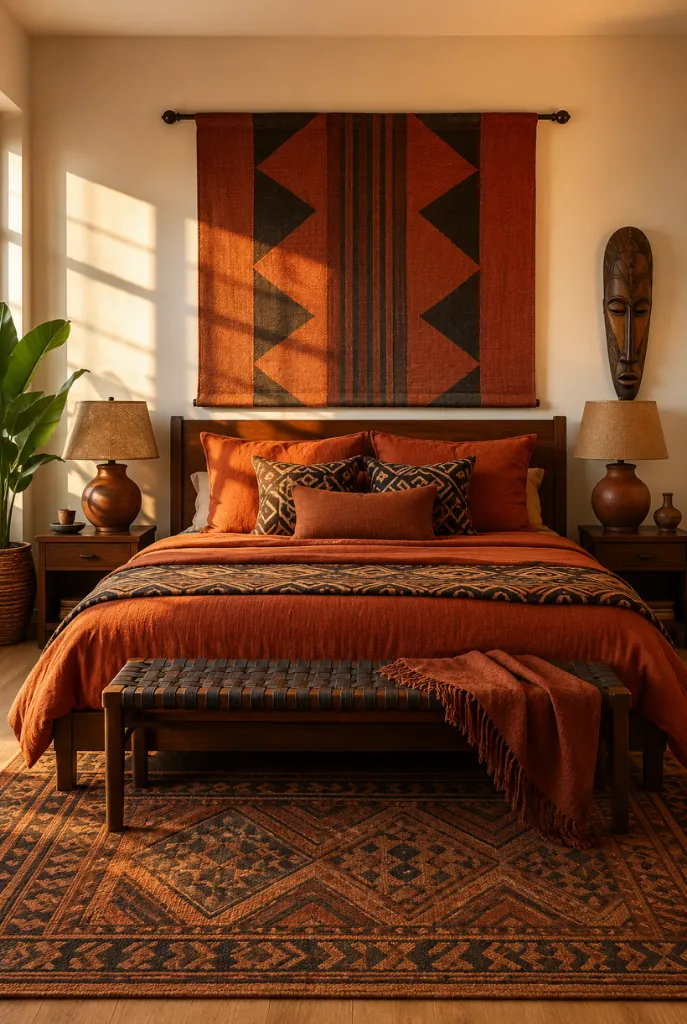
One oversized piece does more than five small ones scattered around.
Center it above the headboard, hanging the bottom edge about 6 to 8 inches above the mattress line.
A mudcloth panel, kente-inspired throw, or woven wall hanging all work well here. If you do not want to drill into a rental wall, a tension rod mounted on removable adhesive hooks holds most fabric panels just fine.
This piece should pull directly from your color anchor. It becomes the visual anchor for everything hung near it.
Build a Small Gallery Wall of Prints
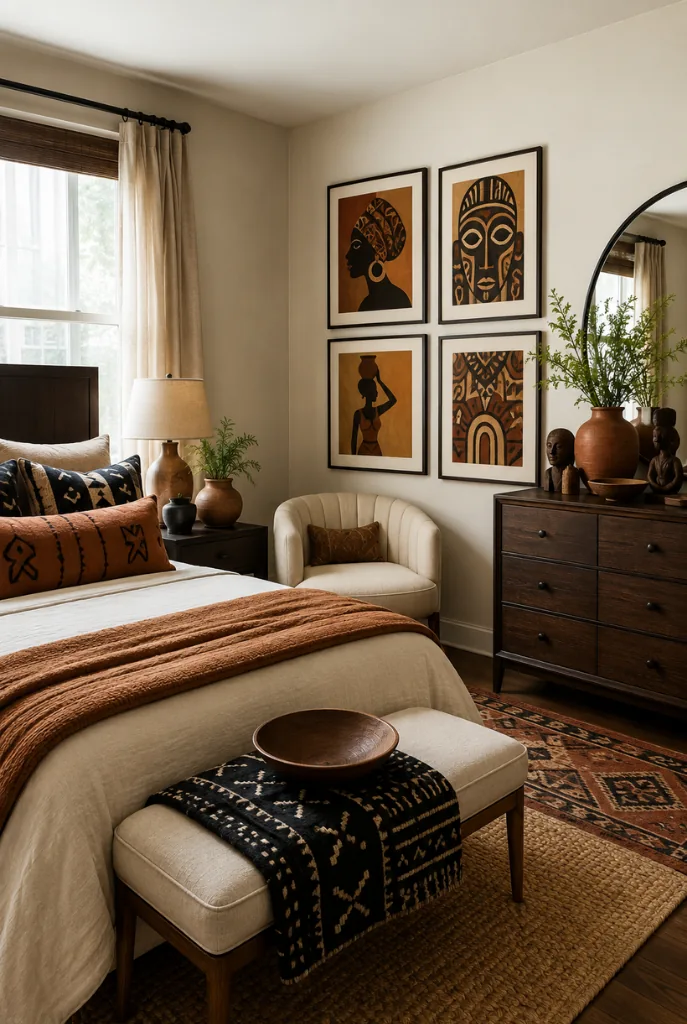
Lay your prints on the floor first. Arrange them before a single nail goes in the wall.
Three to five prints is the sweet spot for a beginner gallery wall. Any more and the grouping starts to feel busy instead of intentional.
Keep spacing consistent. 2 to 3 inches between frames reads as neat. Wider gaps start to look like separate, unrelated pieces.
💡 Pro Tip: Get the layout right before hanging
Add Sculptural Accents on Open Surfaces
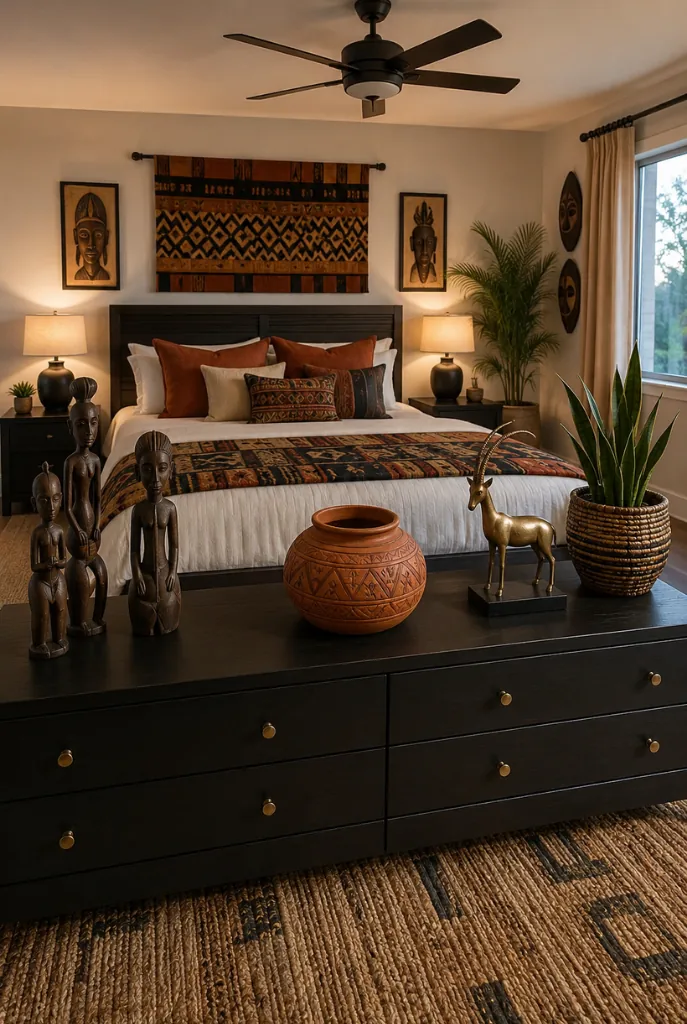
Empty dressers and shelves read as unfinished, even in a well decorated room.
Group objects in odd numbers, usually three. A carved wood bowl, a small clay vessel, and one taller brass piece work as a set.
Vary the height across the group. Nothing at the exact same level looks intentional. Something a little taller in the back and shorter pieces up front creates visual depth on a flat shelf.
Layer Three Light Sources Instead of One
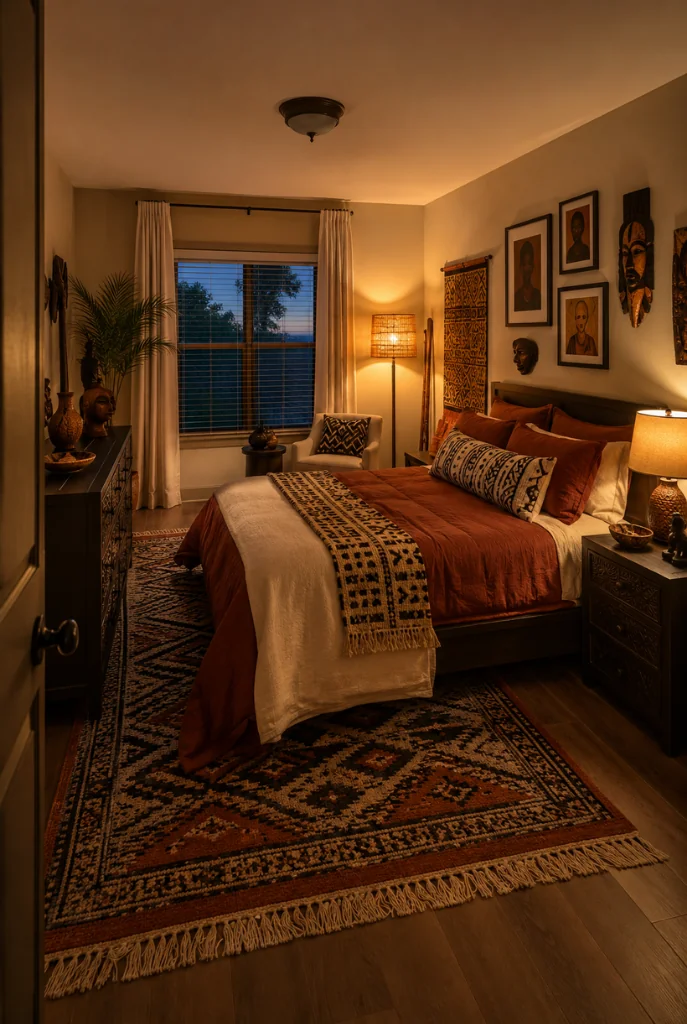
A single overhead fixture flattens a room and casts hard shadows.
Add a table lamp on the nightstand and a floor lamp in a reading corner. Between the three sources, aim for warm bulbs around 2700K, which reads as amber and cozy instead of stark white.
Turn off the overhead light some evenings and rely only on the lamps. That single change often makes the room feel finished in a way daytime light never shows.
Style the Nightstand With Meaning, Not Clutter
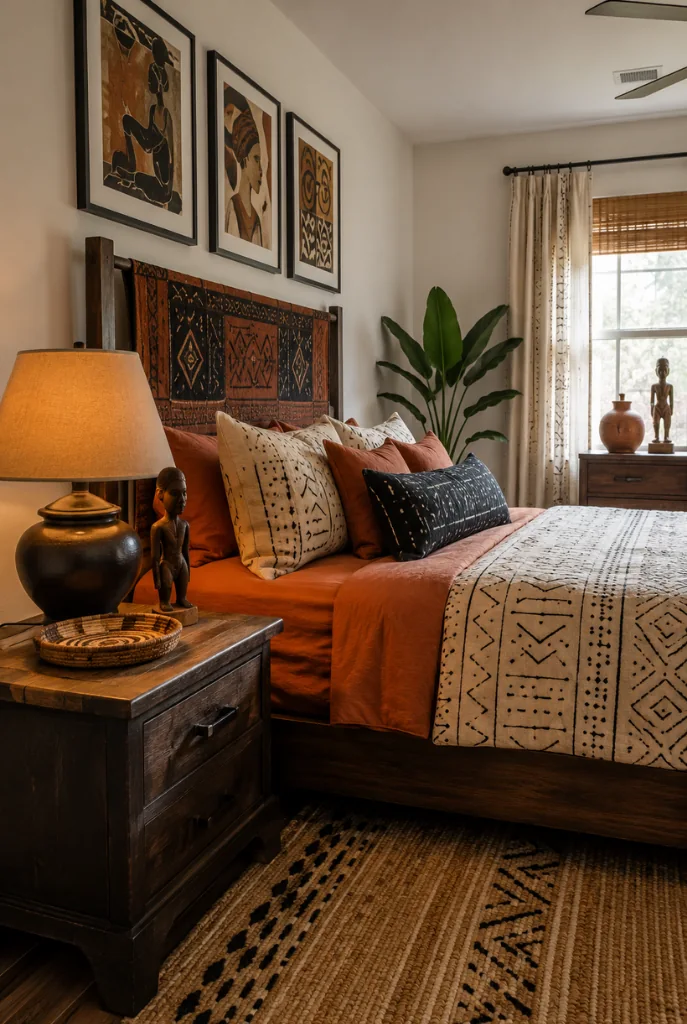
Three items is the limit for a nightstand surface. A lamp, one small tray, and one object with real meaning to you, like a carved figure or a small framed photo.
Everything else belongs in a drawer.
A nightstand that is too full does not read as decorated. It reads as a place where things get dumped at the end of the day.
Finish With One Living Plant
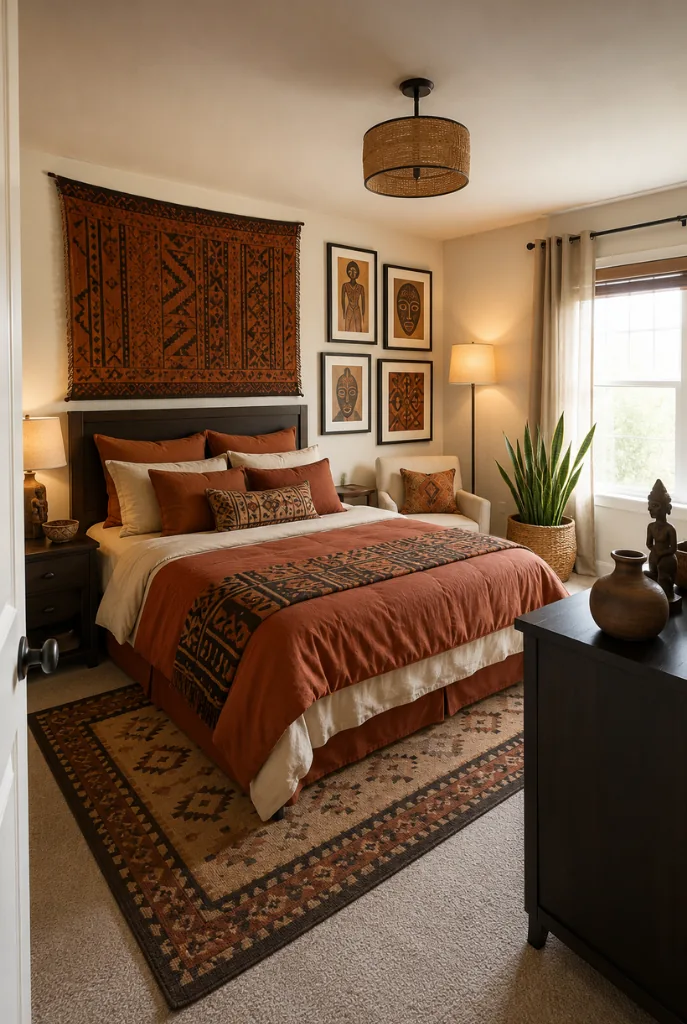
A single plant softens every hard edge in the room, from picture frames to dresser corners.
Snake plants and pothos both tolerate low light and irregular watering, which makes them forgiving for a first plant. If you would rather skip the maintenance entirely, a well-made faux fiddle leaf fig in a woven basket planter looks convincing from across the room.
Place it in a corner that still felt empty after every other step. That gap is usually exactly where it belongs.
⚠️ Common Mistakes
Tap each one to see the fix
Buying a rug that is too small
A small rug floats in the middle of the floor and makes the whole room look smaller. Measure the space first and size up when you are between two options.
Hanging art too high above the bed
Eye level for a standing person, not the ceiling, is the real reference point. Keep the bottom edge of your textile about **6 to 8 inches** above the mattress line.
Matching everything instead of layering it
A room where every pillow and blanket is the exact same fabric looks flat. Pull colors from one anchor piece, but vary the textures so the room has depth.
Relying on one overhead light only
A single ceiling fixture casts flat, harsh light. Add a table lamp and a floor lamp so the room has warmth from more than one direction.
Overcrowding the nightstand
More than three items on a nightstand starts to look like clutter, not styling. Keep it to a lamp, a small tray, and one meaningful object.
❓ Frequently Asked Questions
Do I need to buy everything at once?
No. Spread purchases across a few weeks. Starting with your color anchor and rug, then adding the rest, keeps the room from feeling rushed or mismatched.
Can I do this in a rental?
Yes. Tension rods, adhesive hooks, and freestanding lamps mean almost every step here works without drilling a single hole.
What if I can’t find authentic textiles nearby?
Look for small online shops and artisan marketplaces that sell direct from makers. Buying from the source usually costs less than big retail versions and supports real artisans.
How much should I expect to spend?
A full refresh can run anywhere from budget thrifted finds to a few hundred dollars for new pieces. The rug and large textile are usually the biggest costs, so prioritize those first.
Do I have to follow the steps in this exact order?
The color anchor and rug should come first since everything else pulls from them. After that, the wall art, lighting, and accent steps can flex a little based on what you find while shopping.
📌 Quick Reference Card
Save or screenshot this for shopping day
- Pick your color anchor
- Ground the room with a rug
- Layer the bed, not one blanket
- Hang one large textile above the bed
- Build a small gallery wall
- Add sculptural accents
- Layer three light sources
- Style the nightstand simply
- Finish with one plant
Conclusion
Your bedroom now has something it didn’t before: a plan behind every piece in it.
You picked a color story, built texture in layers, and let one big textile and a small gallery wall do the visual heavy lifting. The lighting change alone probably shifted how the whole room feels at night.
The next natural step is swapping out seasonal accents, like a different throw or tray, without touching the bones you just built.
Save this guide to Pinterest so you can walk through it room by room when you’re ready.