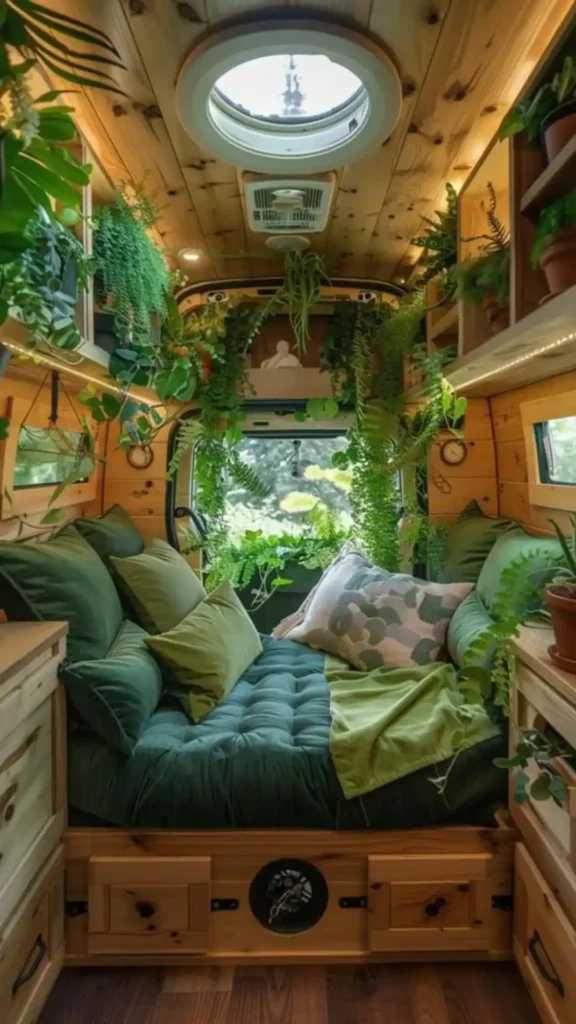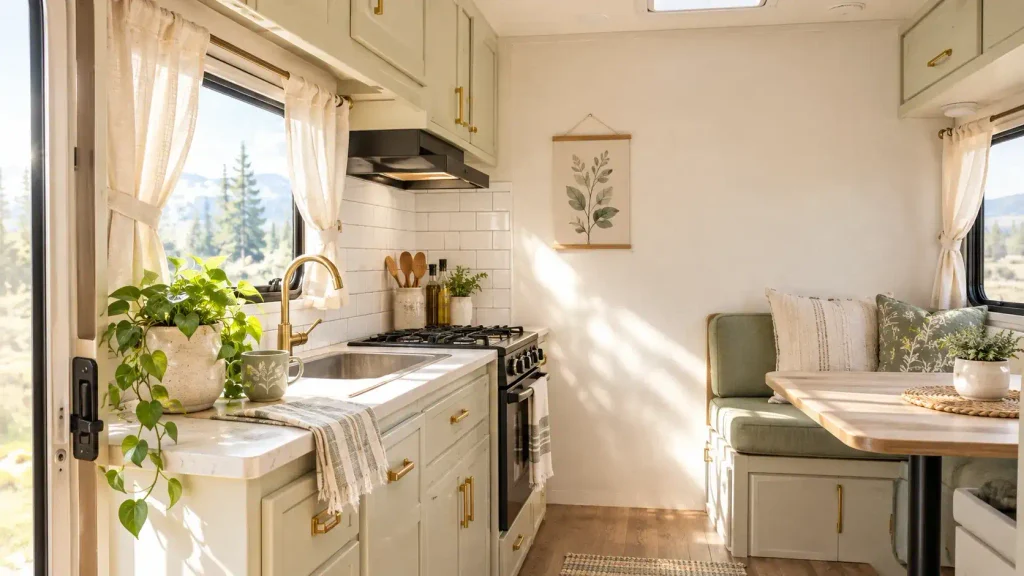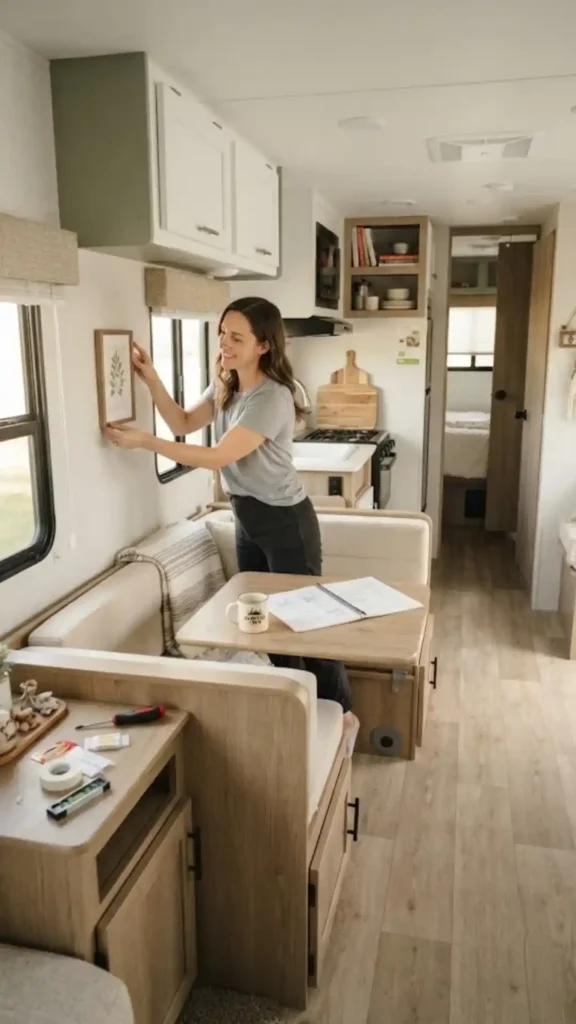
You scroll through photos of bright, airy campers and think this will be an easy weekend project. Then you try to hang a picture frame and realize the walls are basically hollow paper.
RV decorating is not just a tiny house project. It requires navigating strict weight limits, paper-thin walls, and the constant stress of movement on the highway.
Here is the practical, no-nonsense roadmap to making a rig beautiful without ruining its functionality.
Are you ready to build a space that actually survives the road?
The Weight Limit Reality Check: Why Solid Wood is Your Enemy on the Road
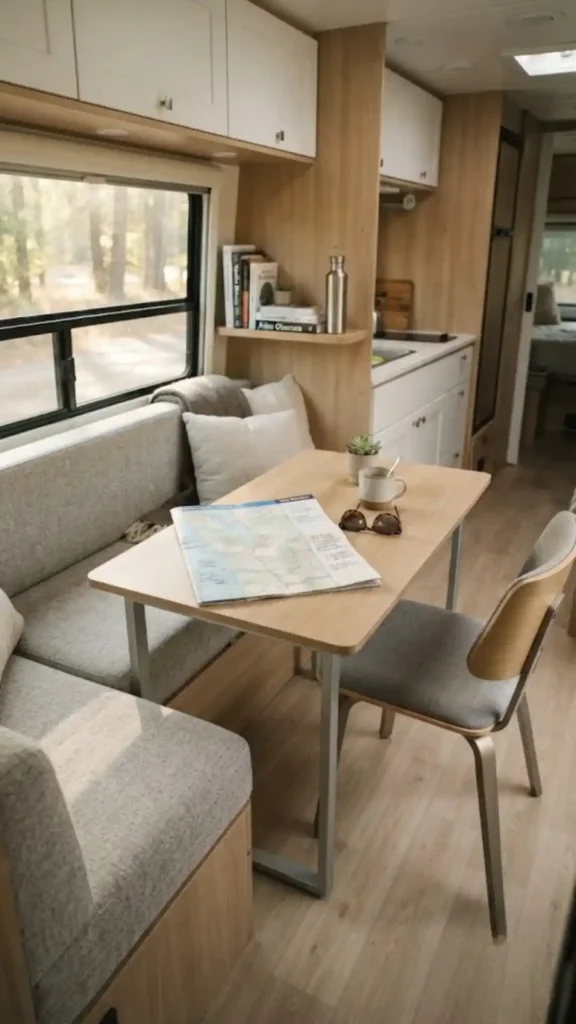
Imagine finding the perfect solid oak dining table to replace that clunky factory booth. You load it in, feeling like a design genius. Then you hit the highway weigh station.
Every RV has a Cargo Carrying Capacity, often called the CCC. This number tells you exactly how much weight you can safely add to the rig. This limit includes your clothes, your full water tank, and your heavy decor.
Heavy ceramic dishes and solid wood furniture eat up your CCC faster than you think. A set of thick stoneware plates can weigh twenty pounds. You need to swap them out for lighter alternatives to stay safe.
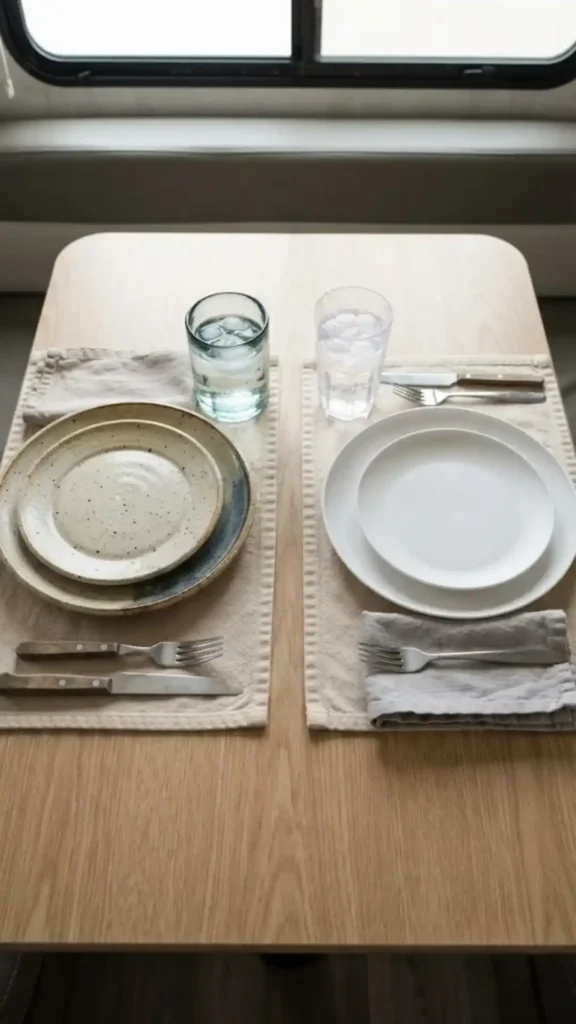
Look for high-quality melamine plates instead of thick stoneware. Melamine sets weigh less than five pounds. Choose acrylic glasses that look like crystal but weigh a fraction of the amount. If you replace large furniture, use hollow-core pieces or lightweight aluminum frames.
However, the trade-off is that melamine and hollow-core items might not give you that heavy, luxurious feel of real wood and stone.
But sacrificing a little heft keeps your rig safe and saves you money at the gas pump. A lighter camper is a happier camper.
Surviving Travel Day: Mounting Art Without Destroying Paper-Thin RV Walls
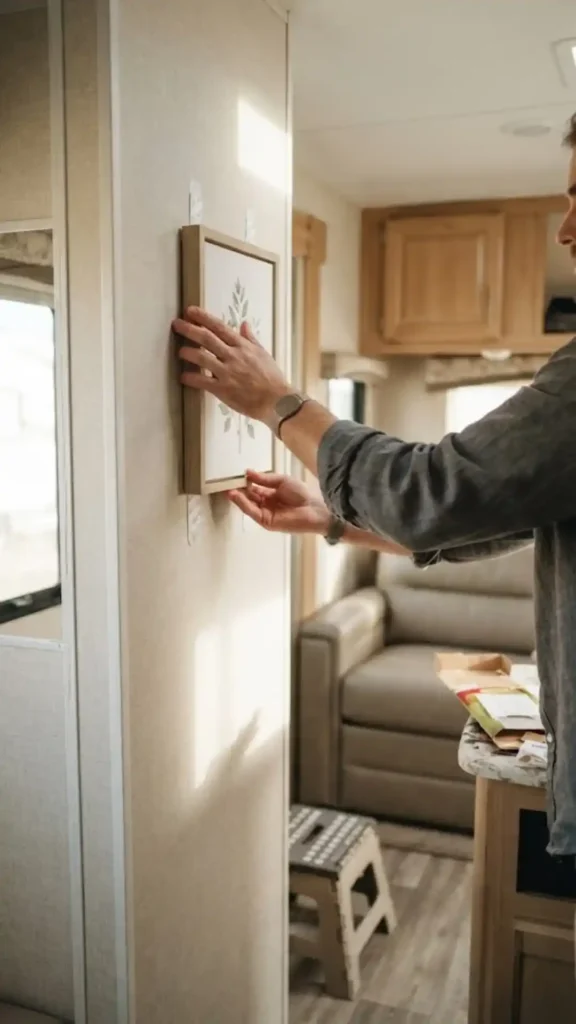
You cannot treat your camper like a traditional apartment. Standard drywall anchors will fail instantly on an RV wall.
Manufacturers build most modern rigs using 1/8-inch luan board for the interior walls. If you drill into this thin material with standard heavy-duty hardware, you will just create a giant, crumbly hole.
Instead, you have to rely on strong adhesive solutions. For hanging light frames and mirrors, 3M Command Strips are your best option. For keeping heavy items like coffee makers on your countertops during travel, use Museum Putty.
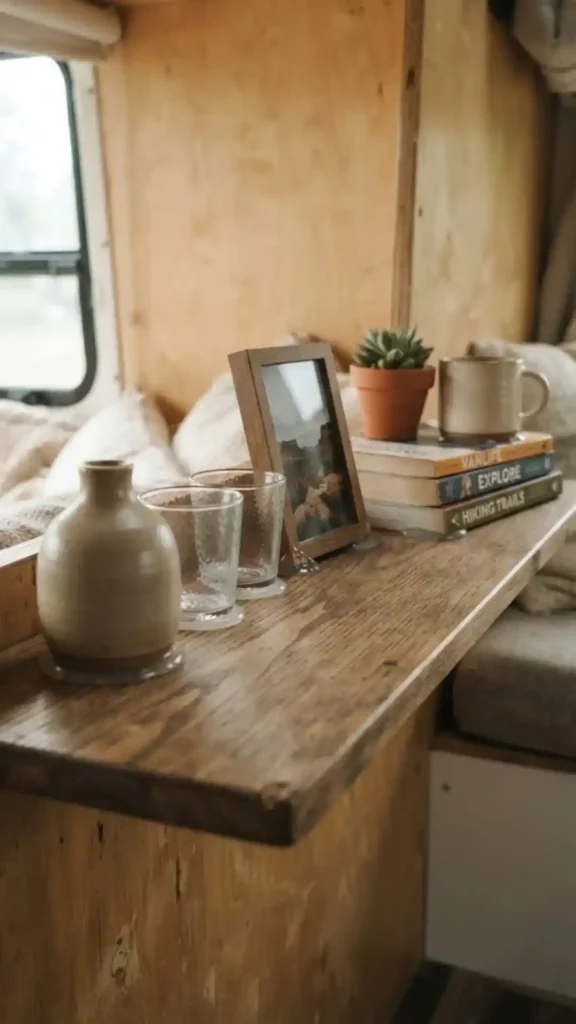
Here is what you actually need for travel day security:
- Heavy-duty Command Strips for framed canvas art.
- Museum Putty under the corners of vases and small appliances.
- Clear acrylic museum gel for securing glass items to shelves.
But there is a catch. Command Strips are famous for damaging RV walls during removal.
However, cheap factory RV wallpaper is notorious for peeling right off when you try to remove an adhesive strip. You must pull the adhesive tab straight down against the wall, very slowly, to avoid tearing the paper finish.
Getting your favorite art on the wall makes the rig finally feel like yours.
The Humidity Trap: Choosing Textiles That Won’t Mold in a Damp Camper
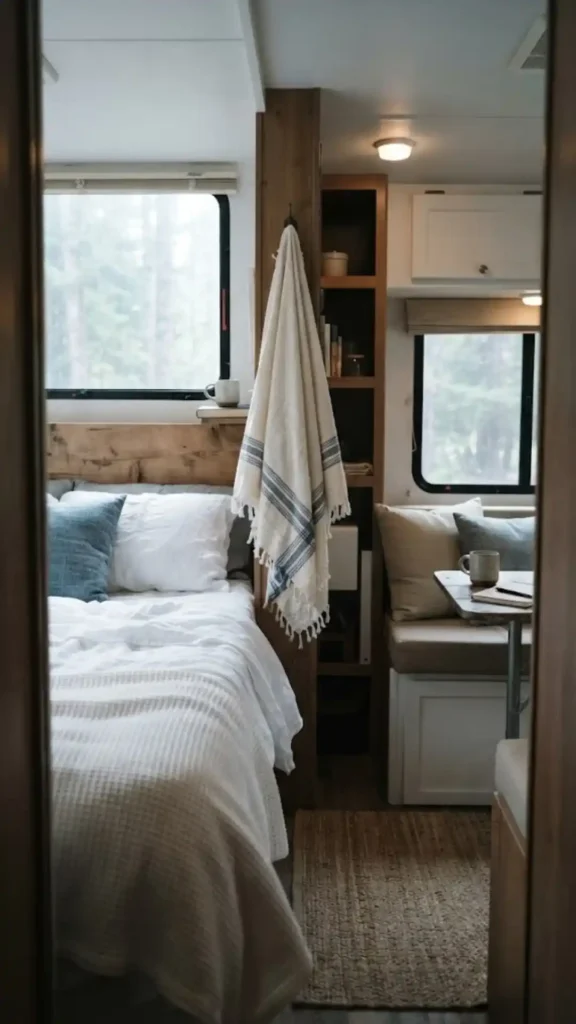
Imagine waking up in your cozy new bed, only to find the wall next to you dripping with water.
RV condensation is an annoying reality. Campers are small, enclosed boxes. Every time you cook, shower, or even breathe, you add moisture to the air. If you ignore this daily sweating, your new decor will quickly turn into a moldy mess.
You have to choose your textiles carefully. Swap heavy cotton bath towels for Turkish cotton towels. They dry incredibly fast and take up much less space in a tiny bathroom cabinet.
For your living area, choose outdoor-grade fabrics for throw pillows and seat cushions. Look for brands like Sunbrella. These materials resist moisture and fade less in the bright camper windows.
However, the biggest hidden danger is under your bed. Condensation easily builds up between a warm mattress and a cold plywood platform.
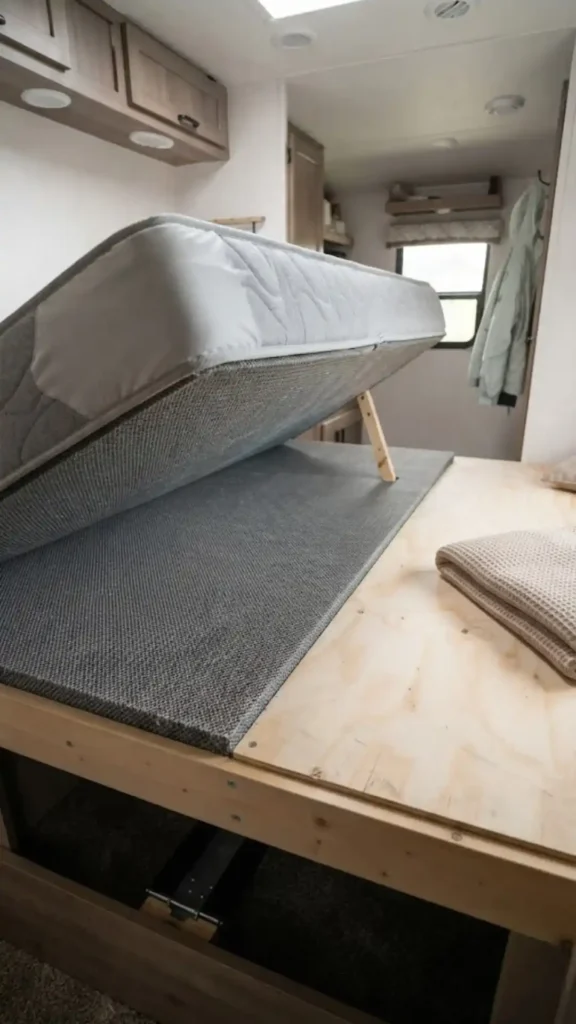
You absolutely must use an airflow underlayment, like Den-Dry, beneath your mattress and under any heavy area rugs. This creates a tiny gap for air to circulate and blocks mold from growing.
Who wants to spend their vacation cleaning mold out of a mattress?
Ditching the Factory Brown: The Brutal Truth About Painting RV Cabinets
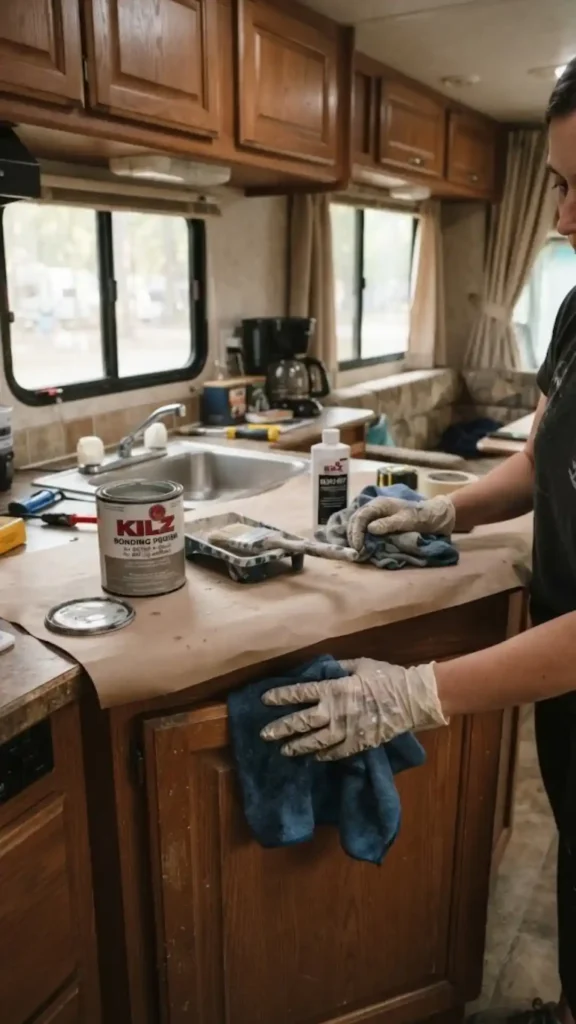
Painting those dark, peeling factory cabinets is the fastest way to brighten up your rig. It is also the easiest project to completely ruin.
Most RV cabinets are not real wood. Factories build them using medium-density fiberboard, or MDF. Then, they wrap the MDF in a thin paper printed with a fake wood grain.
If you grab a piece of heavy grit sandpaper and aggressively sand those cabinet doors, you will shred the paper wrap. The doors will look furry, and your expensive paint will never sit smoothly on them.
Instead, you need a chemical solution. Start by wiping every surface down with a liquid deglosser. This removes years of camping grime and slightly etches the smooth surface.
Next, apply a high-adhesion bonding primer. Brands like STIX or Kilz Adhesion are mandatory here. They grip the shiny paper wrap without needing a rough sanded surface.
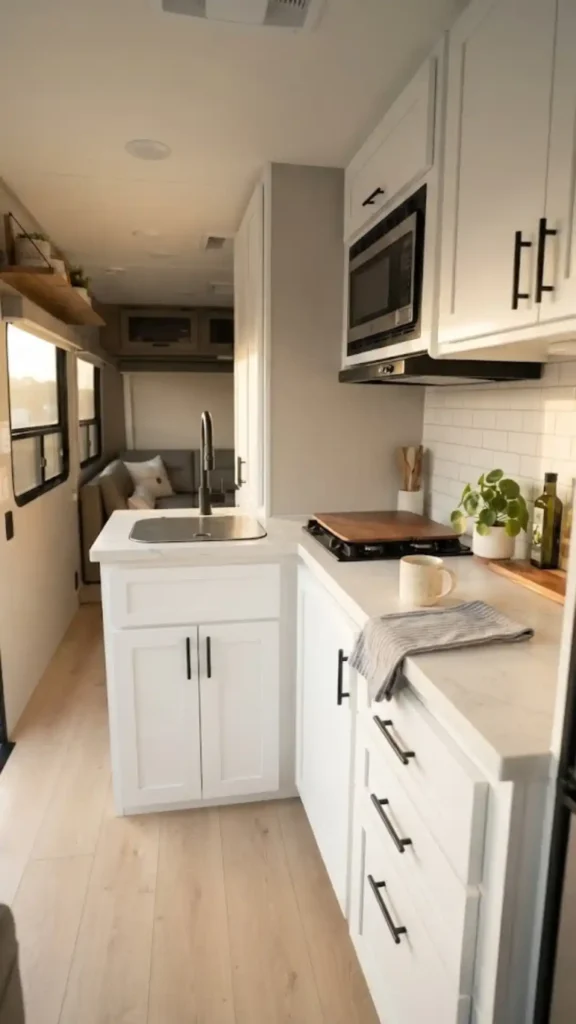
But this method does require extra patience. You should let the bonding primer cure for at least forty-eight hours before applying your topcoat, or the paint will easily scratch off.
Doing the prep work correctly means your bright white cabinets will actually survive the next bumpy road trip.
Banish the “Boob Lights”: Navigating the 12-Volt Lighting Upgrade
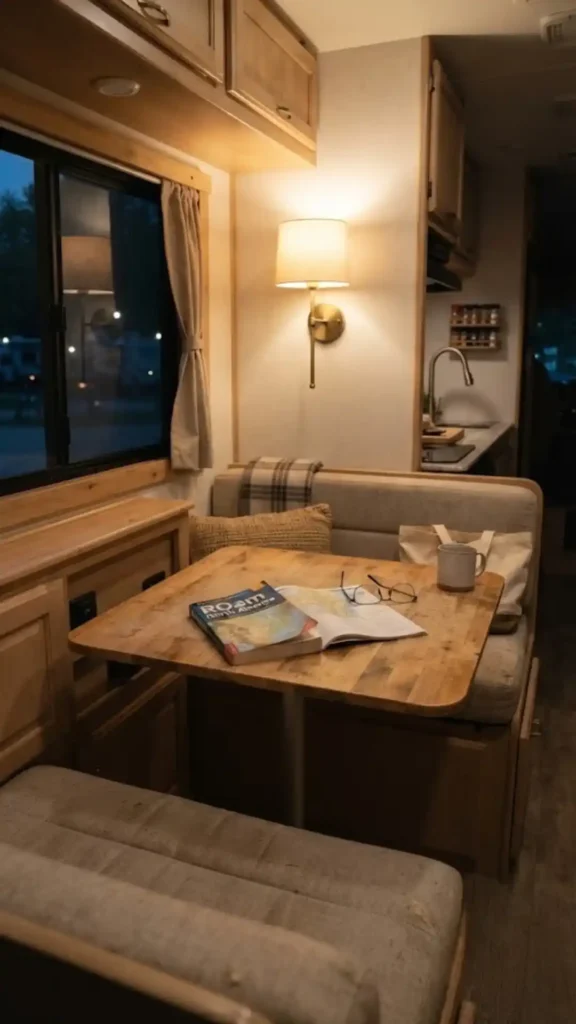
Imagine sitting down to relax under a gorgeous brass wall sconce instead of a harsh, plastic dome light.
Replacing those ugly factory lights changes the entire mood of your camper. But RV electrical systems are confusing. You are dealing with two different power sources.
Shore power is the 120-volt system that runs your microwave and air conditioner when you plug in at a campground. Your battery runs the 12-volt system, which powers your overhead lights and water pump.
You do not have to buy expensive, ugly lights from a specialty RV store. You can buy any standard, stylish residential light fixture from a regular hardware store.
However, there is one critical rule you cannot break. You must throw away the standard lightbulbs that come with the fixture.
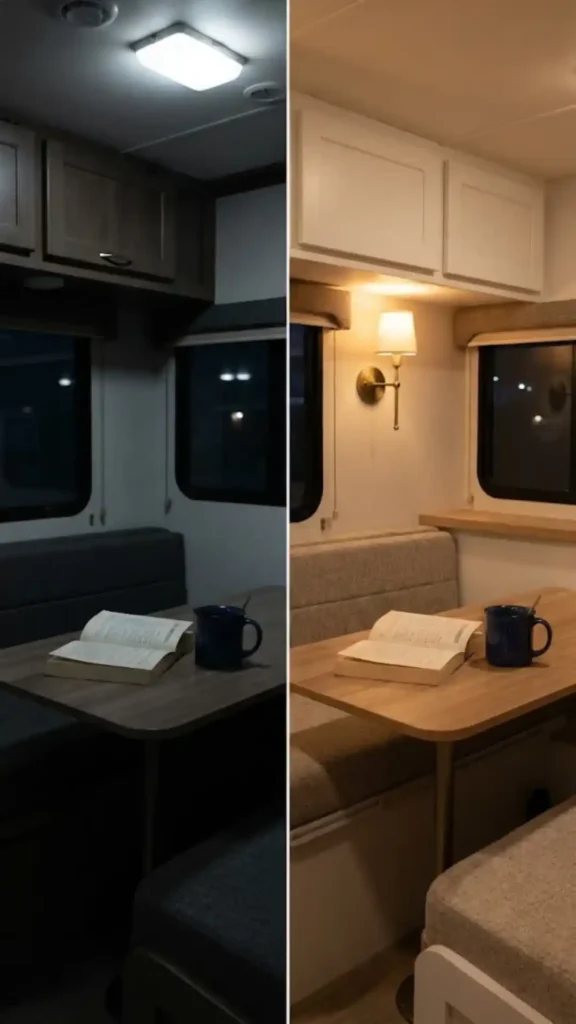
You have to strictly outfit those new residential fixtures with 12-volt LED RV bulbs. If you put a regular 120-volt bulb into a 12-volt fixture, it will simply fail to turn on.
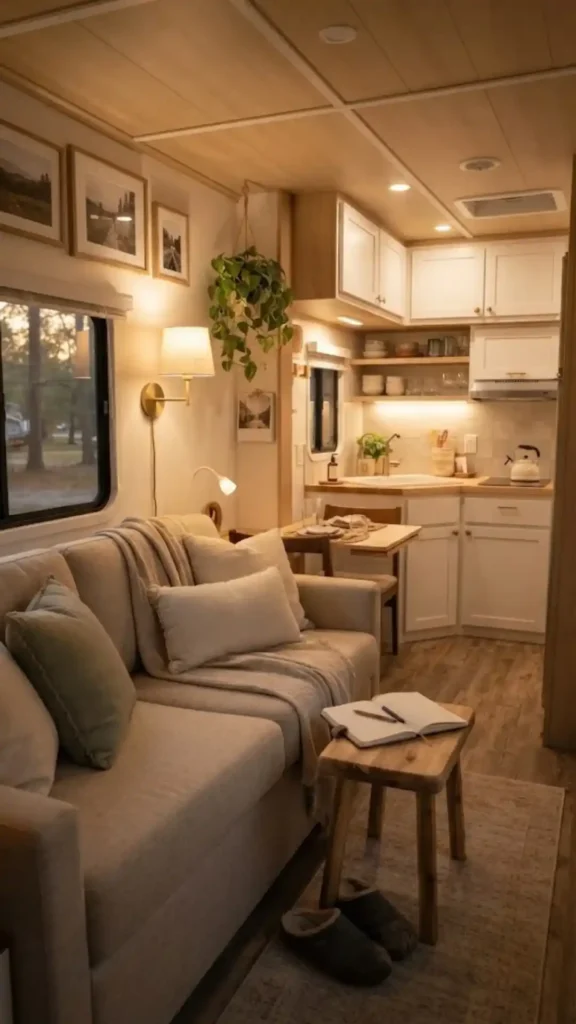
Upgrading your lighting makes the space feel like a custom home instead of a generic travel trailer.
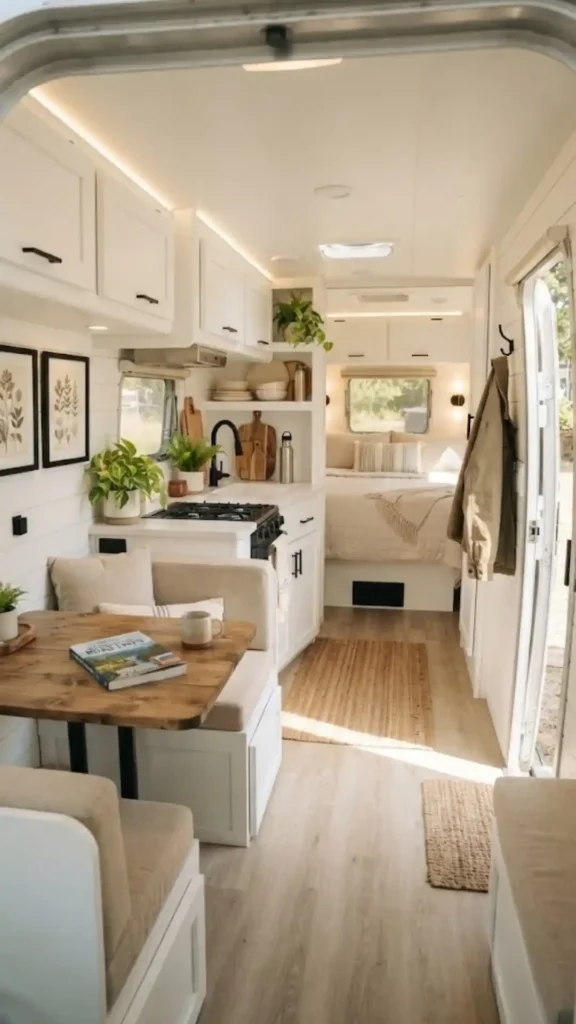
Decorating an RV comes with a lot of frustrating rules, but those structural limitations are actually creative boundaries that force you to make the space cozier and more intentional. Tackling the whole rig at once is overwhelming, so pick just one zone to upgrade first before you hit the road for your next trip.
Go order that bonding primer or swap out your heavy dishes today. If you want to keep improving your small space, check out our guide on maximizing storage in tiny kitchens. You might also like our tips for creating a cohesive color palette in studio apartments.