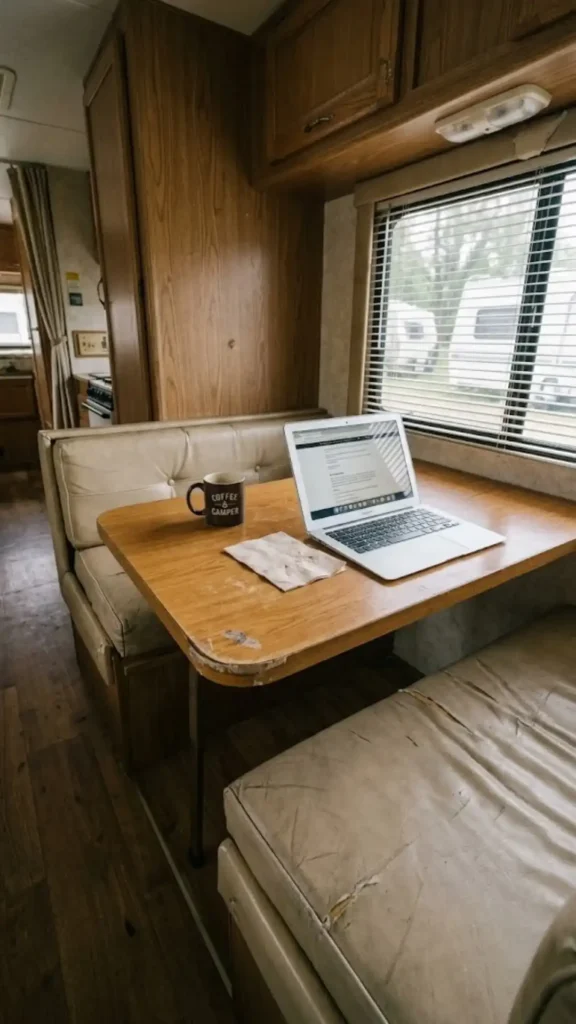
Most RV offices are just laptops balanced on wobbly, oversized dinette tables. They look fine in a brochure, but they are a nightmare for your back by Wednesday afternoon.
You deserve a setup that actually supports forty-hour workweeks without ruining your interior design. We are going to build a workspace that balances your posture, secures your tech, and keeps your tiny home feeling like a home rather than a cubicle.
Ready to stop slouching over your steering wheel or kitchen table?
Ergonomics Over Aesthetics: Nailing Desk Height and Seating in a Slide-Out
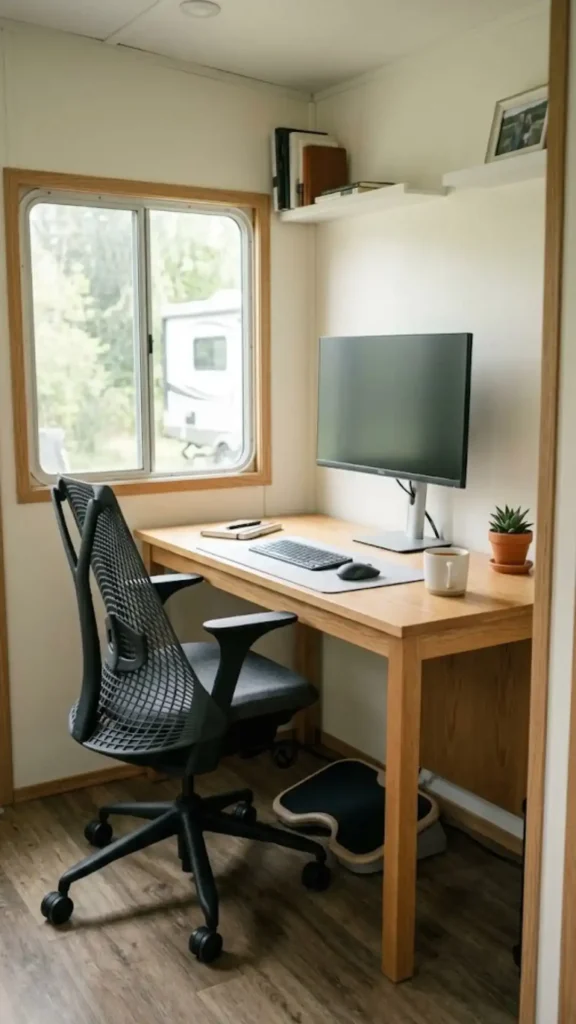
Imagine sitting down for an eight-hour shift. Your feet are flat, your monitor is at eye level, and your lumbar is fully supported. This is rarely the case in a standard RV. Factory dinette booths are usually built for short meals, not deep work. They will destroy your posture in record time.
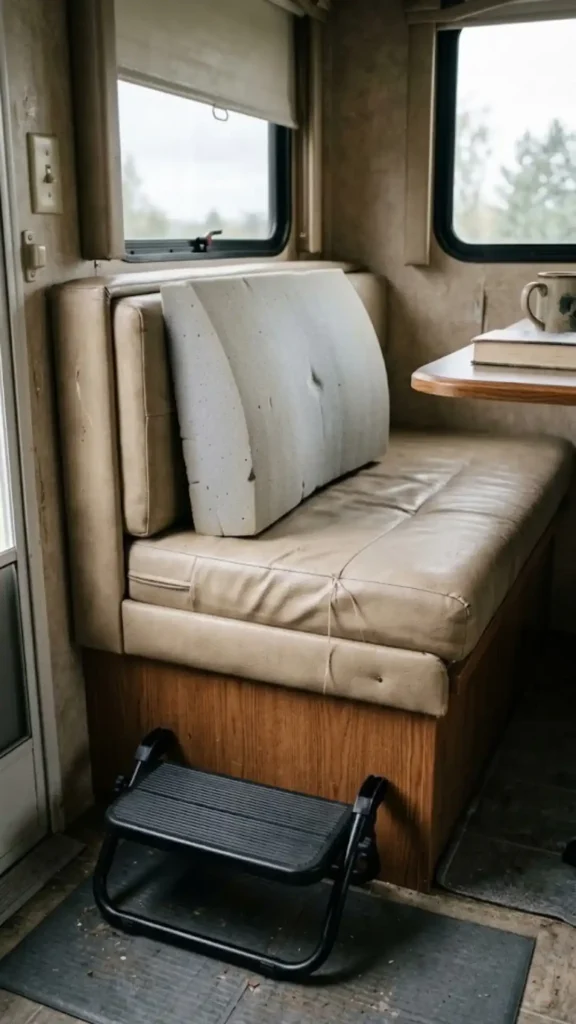
A standard desk height should sit between 28 and 30 inches. If you are stuck using a booth, you must address the lack of support. Start by adding a piece of high-density upholstery foam to the seat back to mimic a proper chair curve. You should also add an adjustable footrest underneath to keep your knees at the right angle.
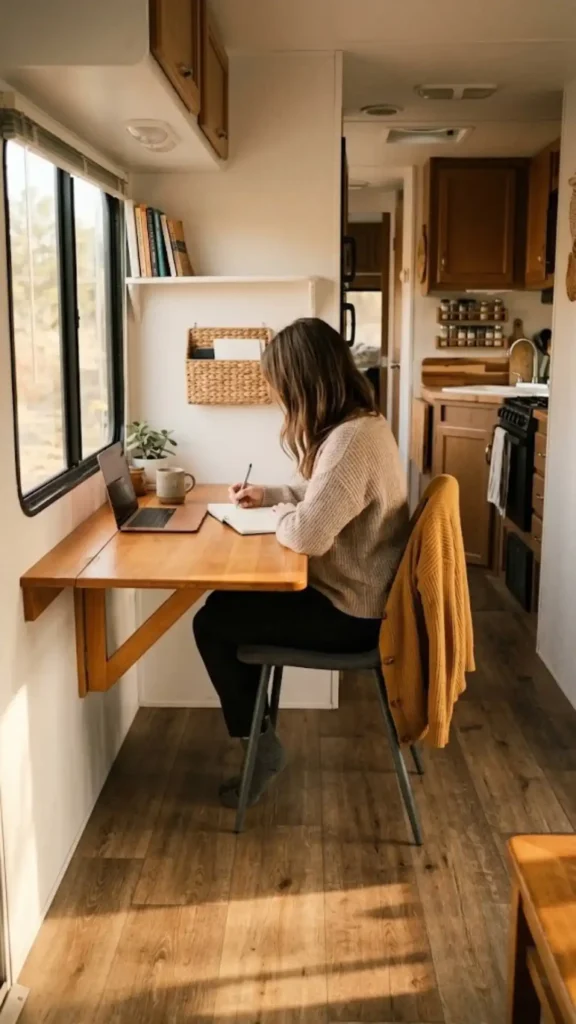
However, the best solution is often to replace the booth entirely. If you have the space, swap that heavy bench seating for a wall-mounted drop-leaf desk. Pair it with a slim-profile task chair.
Look for models with a narrow base so you can tuck them into a closet or secure them against a wall when you move. If your chair is too bulky, you will be tripping over it every time you need to reach the fridge.
Is the trade-off of losing your dinette seating worth the gain in pain-free productivity?
Mounting Monitors and Taming the Cable Chaos for Travel Days
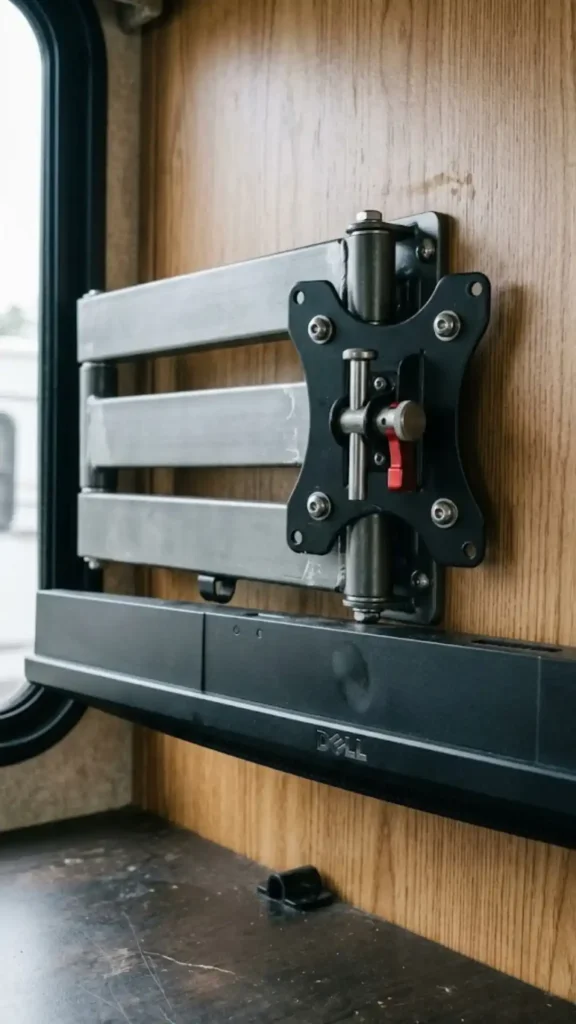
Visualizing your monitors dancing across the interior during a sharp turn is enough to make anyone nervous. A major mistake many owners make is mounting heavy screens directly to the RV’s walls.
RV luan paneling is thin and will tear under the weight of a monitor arm. You must find the aluminum or wooden studs behind the wall before you drill. Use a stud finder or check your RV manufacturer’s schematics to be certain.
Once you have located a stud, use a heavy-duty VESA mount that features a locking mechanism. This ensures the screen stays retracted and tight against the wall while you drive.
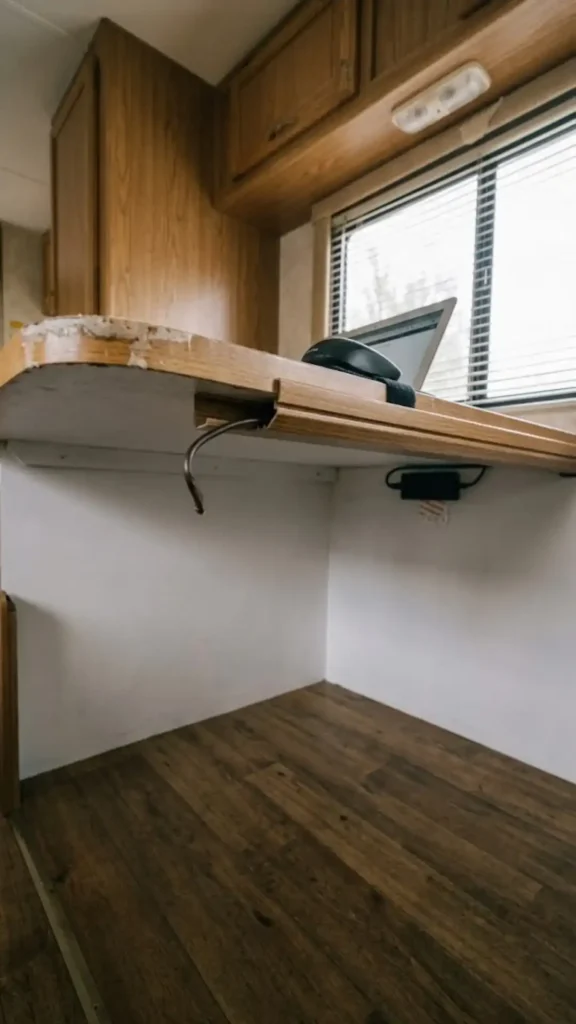
Now, look at the floor. If you have a tangled mess of power cords, you are asking for trouble. Use white or wood-toned J-channels to hide cables along the edge of your desk or wall. For items like your mouse or keyboard, use heavy-duty 3M Velcro strips. These allow you to stick your gear to the desk surface so nothing slides around.
Avoid using bulky floor power strips. They take up precious floor space and are difficult to secure. Use a command-strip-mounted power block under the desk instead.
The Power and Connectivity Reality Check: Off-Grid vs. Shore Power
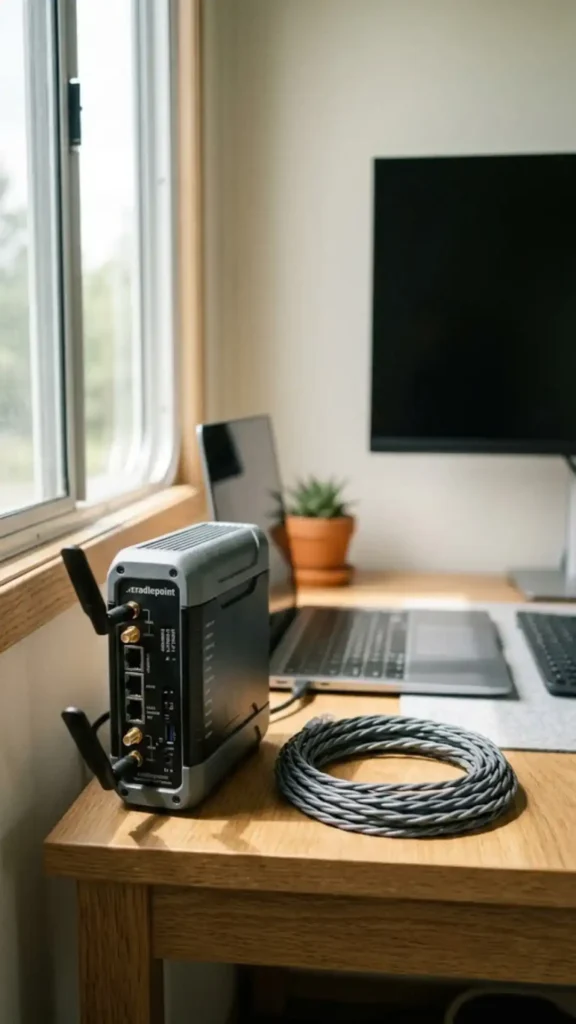
Your office is only as good as your connection. Campground Wi-Fi is rarely fast enough for Zoom calls. You need a dedicated, bonded mobile router like a Peplink. This device lets you combine signals from multiple cellular providers to keep your connection stable even in remote areas.
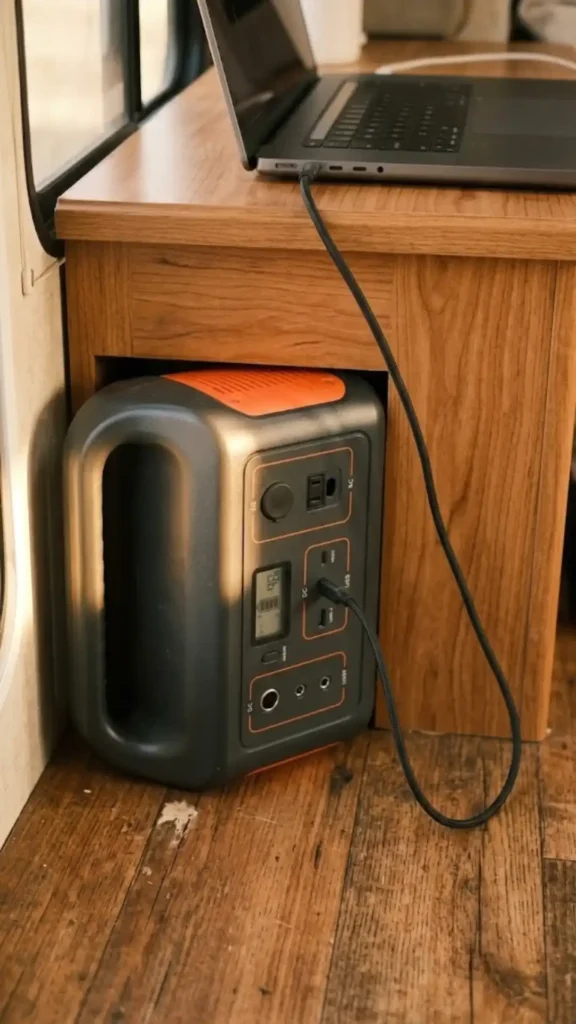
However, you have to manage your power consumption. Dual monitors and a Starlink dish pull a surprising amount of juice from your battery bank. If you rely on the RV’s internal power, you might find yourself in the dark if a generator trips or your batteries drain during a cloudy week.
Keep a portable power station like an EcoFlow or a Jackery tucked under your desk. You can plug your most sensitive tech directly into the station. If your RV power dips, your laptop will not flicker or crash. It is a vital safety net for anyone working remotely.
Think of this station as your digital insurance policy for those days when the shore power just does not cut it.
Space-Saving Lighting That Won’t Vibrate Off the Wall
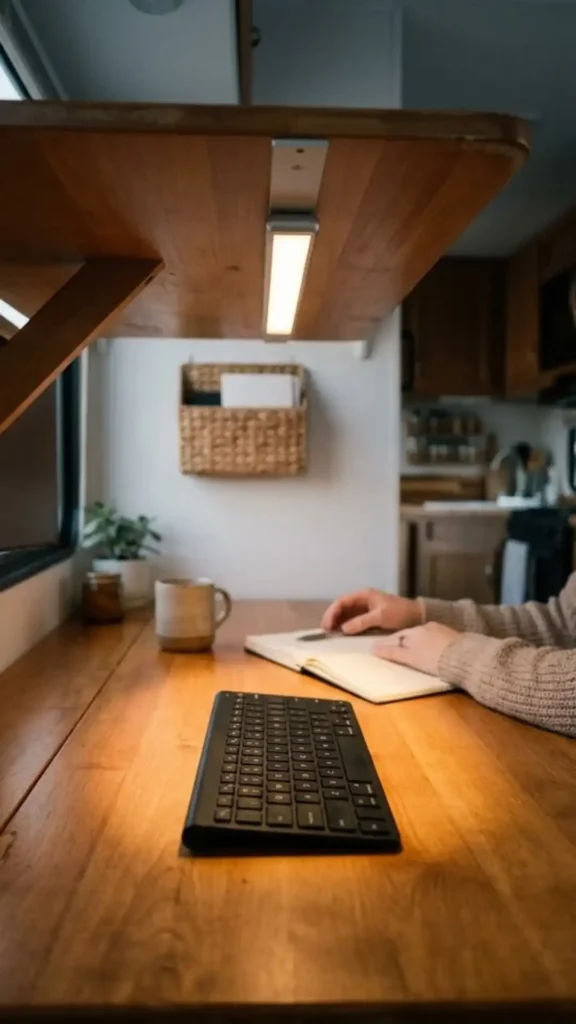
Lighting in an RV is notoriously harsh. Those overhead puck lights are great for cleaning, but they are terrible for focus. You need task lighting that stays put. Do not buy standard floor lamps or cheap clip-on lights. These are prone to shattering or snapping off their hinges when you hit a pothole on the highway.
Instead, use rechargeable magnetic LED light bars. These are slim and mount easily under overhead cabinets using the included metal strips. They cast a soft, downward glow directly onto your keyboard without taking up a single square inch of your desk surface.
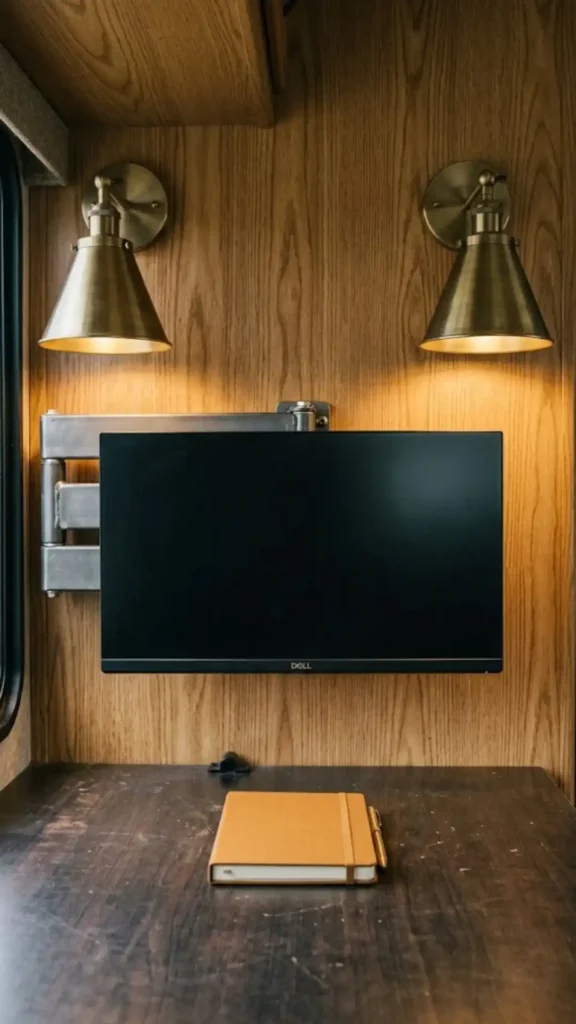
If you prefer a more permanent look, consider hardwired 12V brass sconces. You can mount these to the wall above your monitor. Because they are wired into the RV’s 12V system, you never have to worry about charging them. They add a sophisticated, home-like warmth that makes your office feel like a intentional design choice.
Does your current lighting make you feel like you are working in a breakroom or a cozy study?
Packing It Up: The 5-Minute “Transition to Travel” Routine

The honest truth about working from your RV is that your office needs to vanish before you hit the road. If you spend an hour packing your desk every time you move, you will grow to hate your workspace. You need a transition routine that takes five minutes or less.
Use Quakehold! Museum putty for small decor items like frames, clocks, or pencil cups. It keeps them securely stuck to the desk surface during the ride.
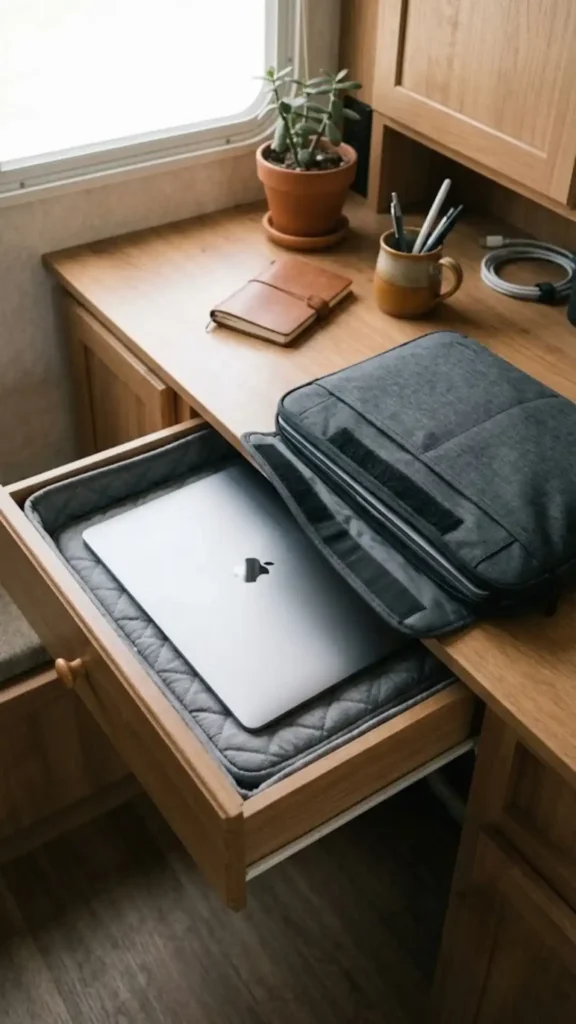
For your laptop, use a dedicated, padded drawer or a strap-down system. If you do not have a dedicated drawer, a sturdy, Velcro-backed laptop sleeve is a lifesaver. It stays on the desk, but the laptop inside is protected from vibration and heat.
If you have to put your monitor in a box to travel, it will eventually stay in that box. Make sure your “packing” process is just a matter of locking a mount and closing a drawer.
Dedicated office space in an RV is a balance between utility and the freedom of the road. By investing in the right mounts and secure storage, you can close your laptop at the end of the day and know your setup will be ready for the next destination. Take the time to secure your gear properly this weekend so your next travel day is about the view, not the cleanup.
You might also enjoy our guides on choosing the right RV flooring for long-term wear or our tips for maximizing kitchen storage in tight quarters.