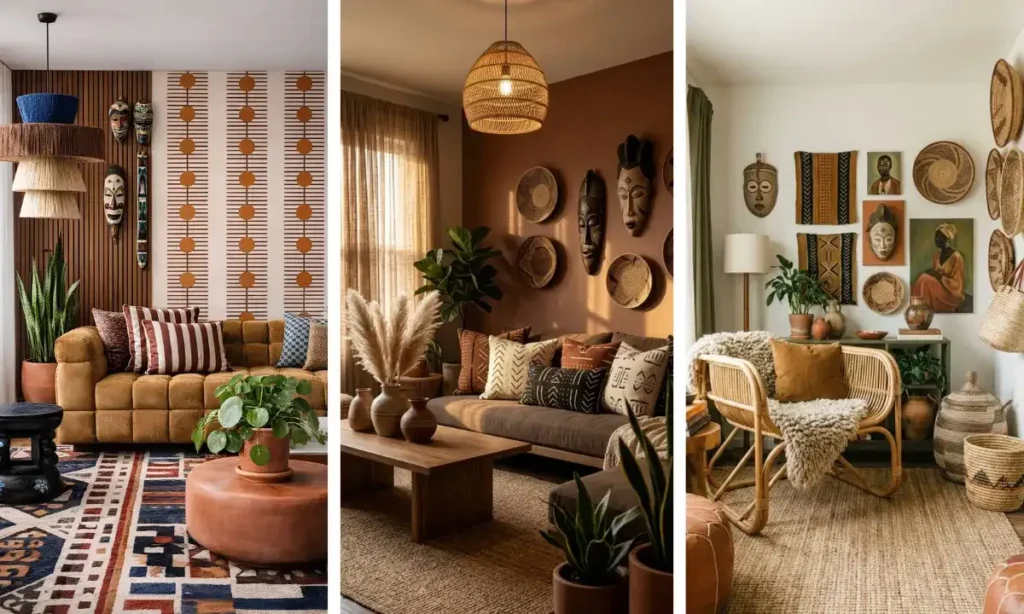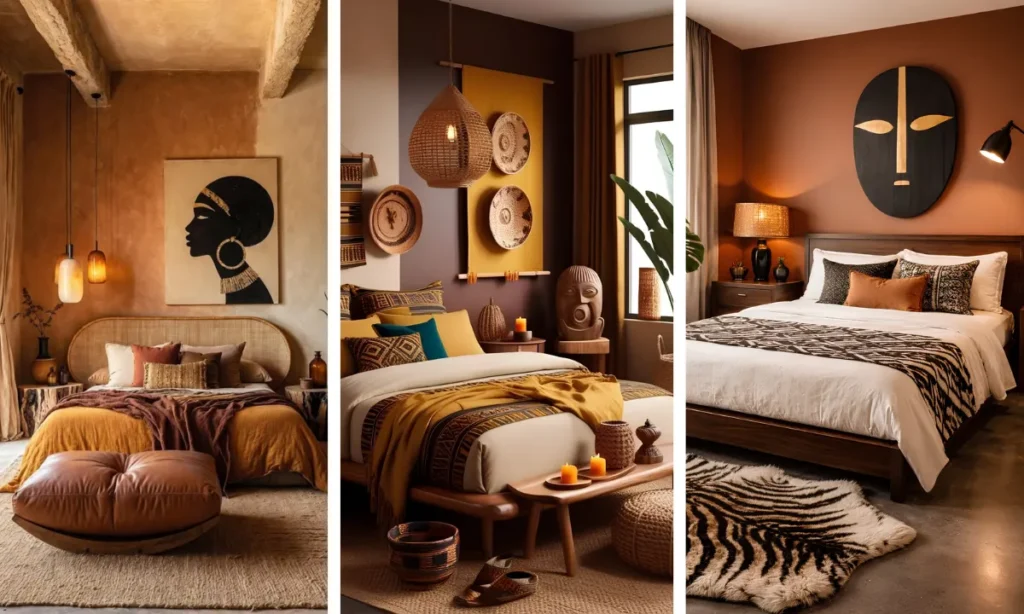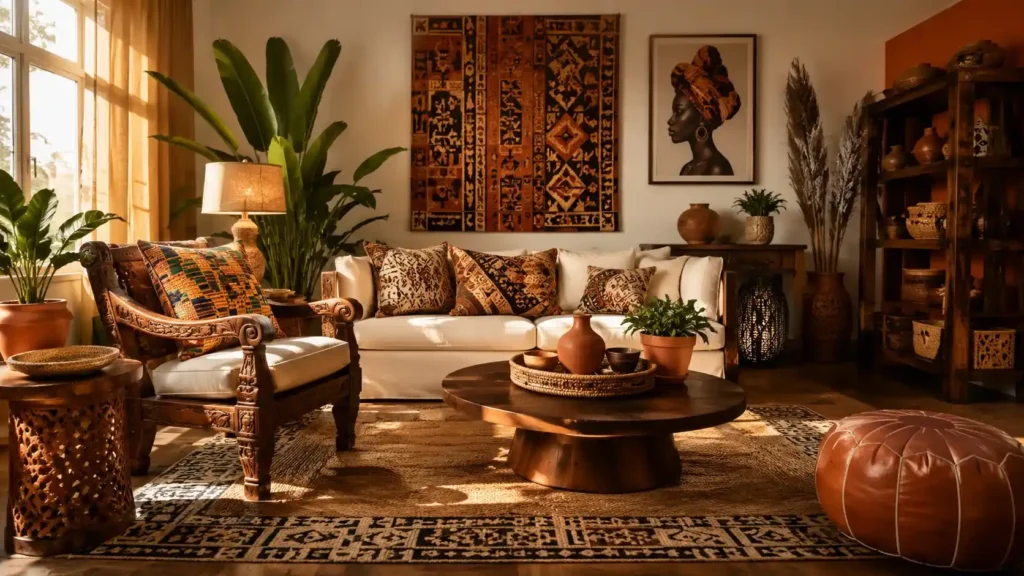
Most people start decorating an Afrocentric living room by grabbing a few throw pillows and calling it done.
Then it still feels like a regular room with a couple of extra accents.
If you have ever wondered how to decorate an Afrocentric living room in a way that actually feels intentional, the order you do things in matters more than the items you buy.
This guide walks you through the exact sequence: color first, then furniture, then texture, then art, then the smaller layers that pull it all together.
Skipping ahead to accessories before your color story and textures are set is the number one reason rooms end up looking scattered instead of styled. The good news is you do not need a full renovation.
Most of this can be done over a weekend, using pieces you already own plus a handful of new additions.
By the end, you will have a living room with a clear color palette, at least one bold statement piece, layered texture, meaningful wall art, and lighting that makes the whole space feel warm at night, not just during the day.
Let’s start with the decision that shapes everything else.
🧺 What You Need
- ▸2 to 3 accent paint colors or fabric swatches
- ▸One statement chair or sofa
- ▸Layered rug (jute or woven base + patterned top)
- ▸2 to 3 throw blankets, mixed textures
- ▸Mud cloth, kente, or Ankara textile panel
- ▸2 to 4 pieces of wall art or framed prints
- ▸Wood or rattan accent pieces (stool, tray, shelf)
- ▸1 to 2 sculptural objects or carvings
- ▸1 to 2 potted plants
- ▸Warm-toned floor or table lamp
📋 At a Glance
- Choose your core color palette first
- Select one statement furniture piece
- Layer in textured rugs and throws
- Hang bold wall art and textiles
- Mix in natural wood and woven pieces
- Style your shelves with meaningful objects
- Add live plants for warmth
- Layer your lighting for mood
- Finish with personal accessories last
Choose Your Core Color Palette First
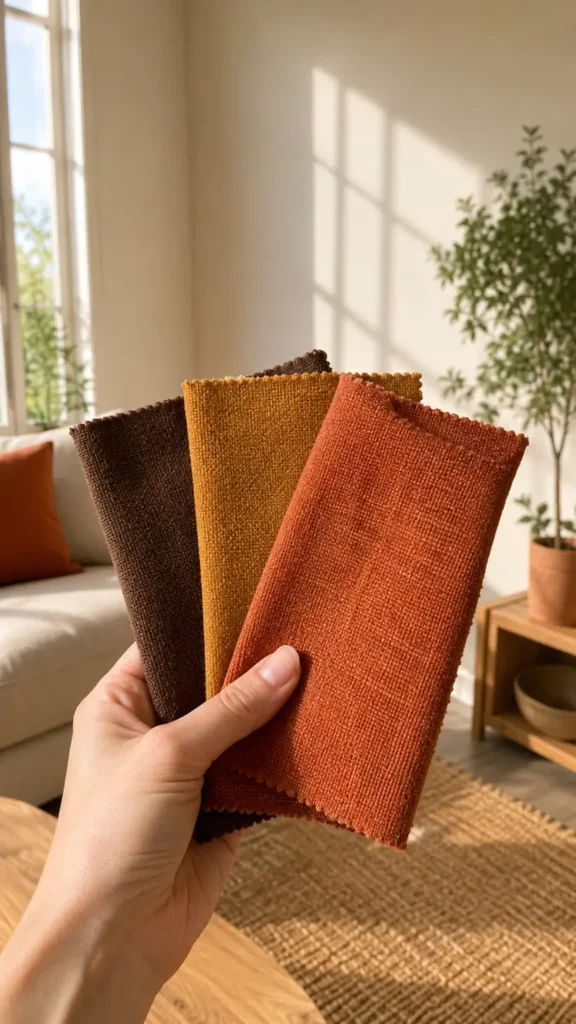
Pick your palette before you buy a single item. Terracotta, deep browns, mustard, and forest green are classic Afrocentric anchors, but the palette only works if you limit it.
Choose 2 to 3 main colors, then treat everything else in the room as a neutral that supports them.
Pull swatches or fabric samples and hold them against your existing wall color in daylight, since lighting changes how warm tones read.
Pro Tip:
- Photograph your swatches in morning and evening light
- Compare them side by side on your phone before committing
- If two colors compete for attention, drop one
Select One Statement Furniture Piece
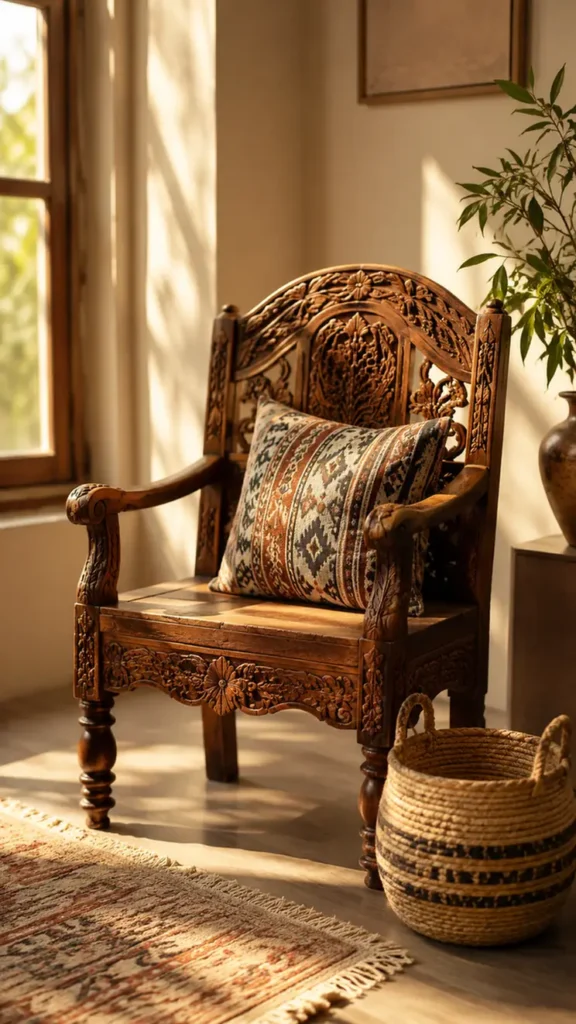
A single bold piece does more work than five small ones.
This could be a carved wood chair, a low sofa in a rich jewel tone, or a patterned accent chair.
Place it where it is the first thing seen when entering the room, since that placement signals it is the focal point rather than an afterthought.
Everything you add after this step should visually support this piece, not compete with it for attention.
Layer In Textured Rugs and Throws
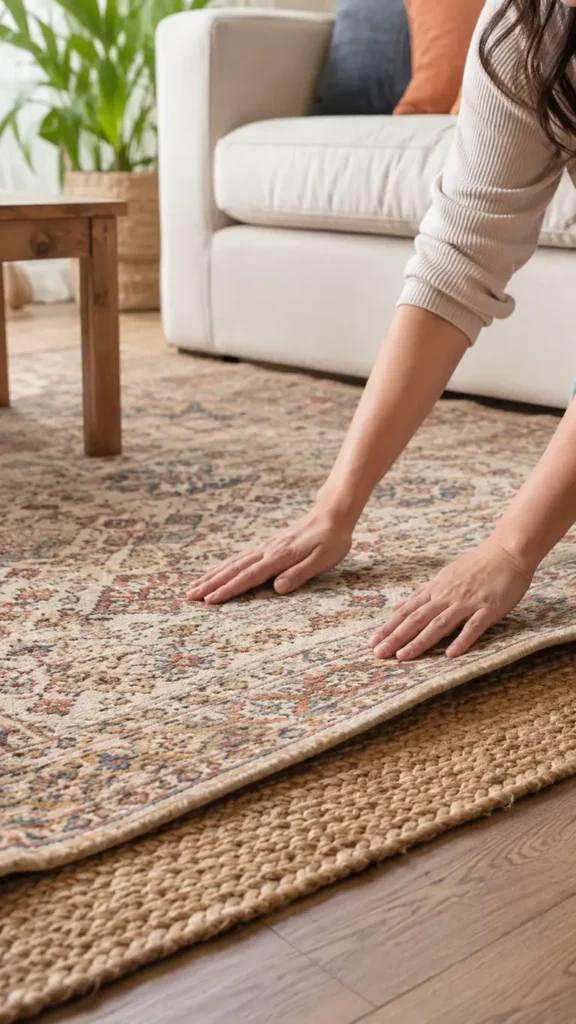
Texture is what separates a styled room from a matched one.
Start with a natural woven base layer like jute or sisal, then add a smaller patterned rug on top, offset slightly rather than centered.
This layering trick instantly adds depth on camera and in person.
Drape one or two throw blankets over your statement piece, mixing a nubby weave with a smoother woven cotton so the textures read as intentional rather than random.
Heads Up: Avoid stacking two busy patterns directly on top of each other. If your base rug has a bold geometric print, keep the top layer solid or subtly textured instead.
Previous batch opened with an instruction, a noun-phrase, and an abstract statement this batch will open with a number, a question, and a condition instead.
Hang Bold Wall Art and Textiles
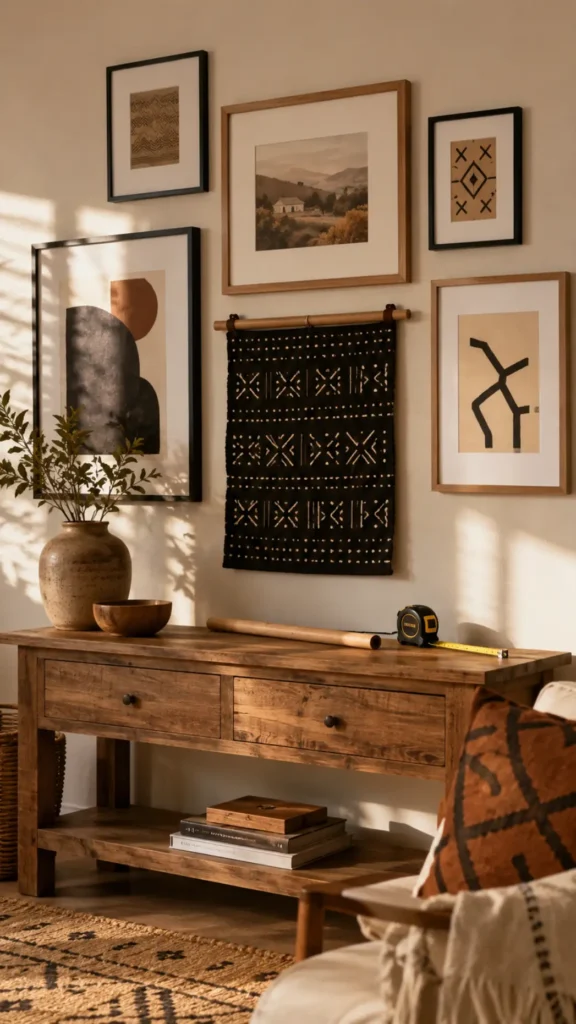
Three pieces is the minimum for a wall to read as curated instead of empty.
Mix scale: one larger framed print or textile panel, then two smaller pieces at slightly different heights around it.
Mud cloth, kente, and Ankara fabric can be stretched over a canvas frame or hung directly with a wooden dowel rod, no framing needed.
Hang the largest piece at 57 inches from the floor to its center, which is standard eye level, then build the smaller pieces around that anchor point.
💡 Pro Tip
Odd numbers of framed pieces almost always look more intentional than even numbers. If you’re stuck between three and four pieces on a wall, go with three.
Mix In Natural Wood and Woven Pieces
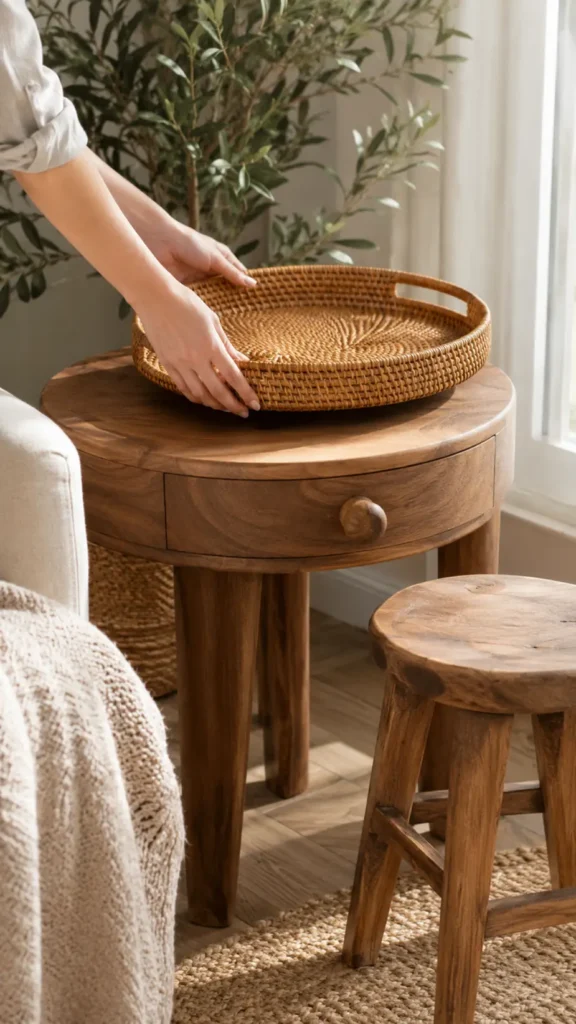
Does the room feel a little flat once the art is up? That usually means every surface is either fabric or paint, with nothing in between.
Add a wood side table, a rattan tray, or a woven storage basket to break up the softness.
These natural materials reflect light differently than fabric does, which is what gives a room visual depth instead of a flat, staged look.
Aim for 2 to 3 wood or woven pieces total, placed at different heights across the room.
💡 Pro Tip
- Group wood and woven pieces in odd numbers, like a stool plus a tray plus a basket
- Place them at three different heights: floor, seat, and tabletop
- Avoid buying them all from the same set, slight variation looks more collected over time
Style Your Shelves With Meaningful Objects
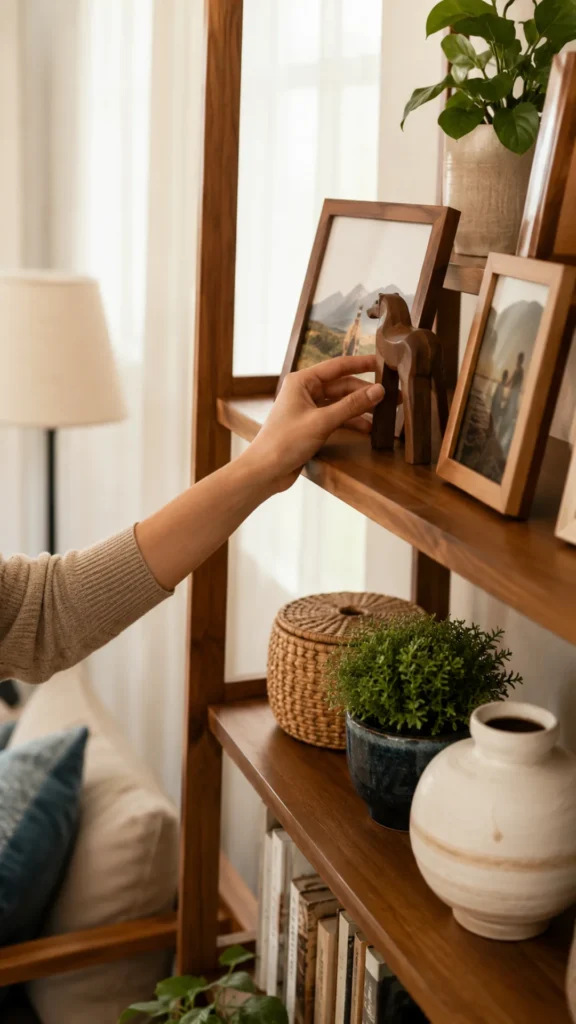
If you have open shelving or a console table, this is where personal history enters the room.
Sculptural carvings, family photos, pottery, and small textile scraps all work here, but only if you resist filling every inch.
Leave visible negative space between groupings of 2 to 3 objects, varying height within each group so the eye has somewhere to land.
A shelf packed edge to edge reads as cluttered no matter how meaningful each individual piece is.
⚠️ Heads Up
The most common shelf styling mistake is filling every open space out of fear it looks unfinished. Empty space is what makes the objects you do have feel chosen, not just accumulated.
Add Live Plants for Warmth
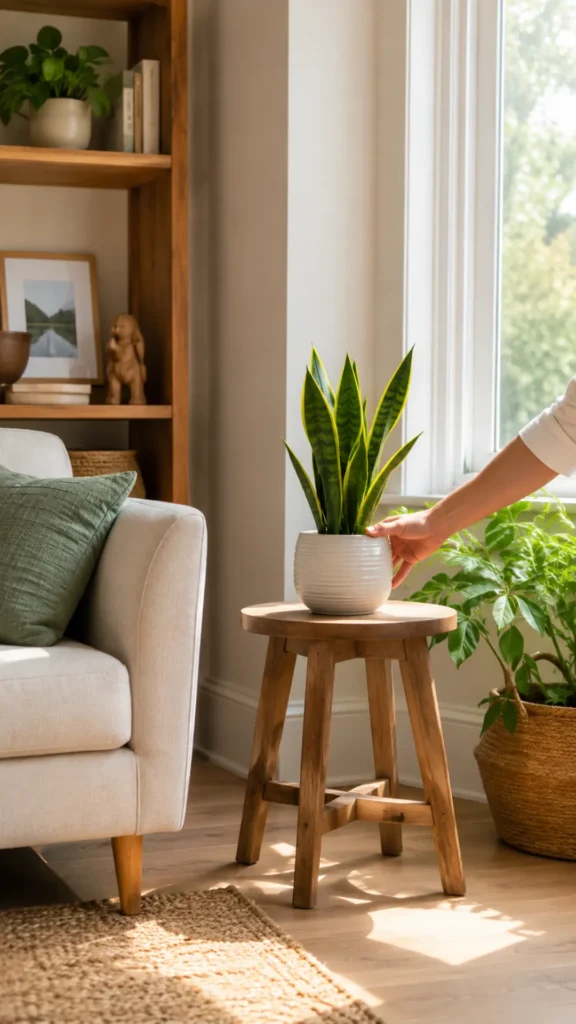
A room full of hard textures, wood, woven baskets, and sculptural art needs something soft and living to balance it out.
One or two plants do this well. A snake plant or pothos are forgiving choices if you are new to plant care, since both tolerate low light and irregular watering.
Place a taller plant in a floor corner and a smaller one on a shelf or side table, rather than clustering both at the same height.
Layer Your Lighting for Mood
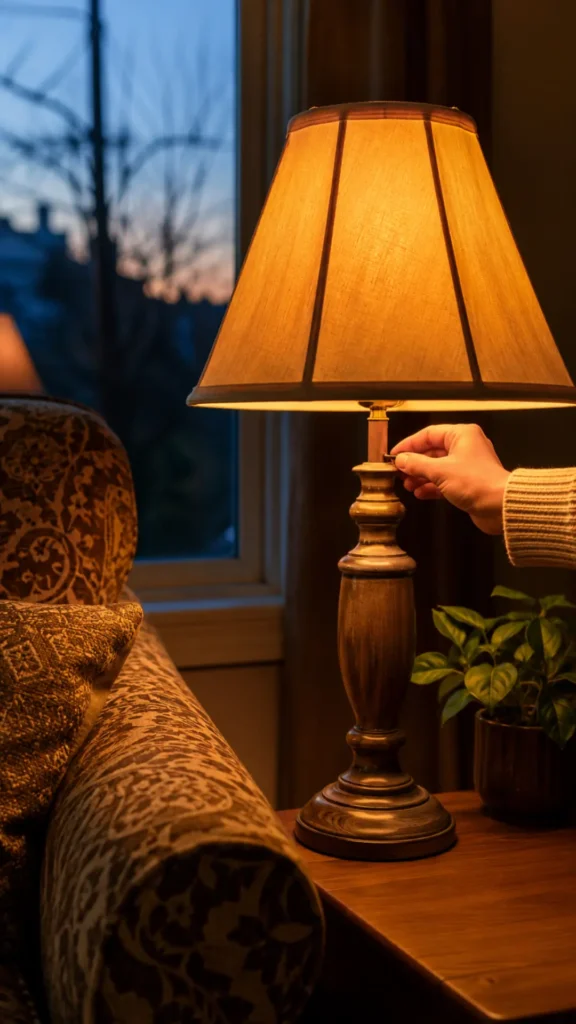
Overhead lighting alone flattens every color and texture you just spent hours layering in.
Add a warm-toned floor lamp or table lamp with a bulb rated around 2700K, which reads as soft and amber rather than white and clinical.
Turn off the overhead light in the evening and rely on lamps instead, then notice how much richer the terracotta and wood tones look.
This single change makes more visual difference than most people expect.
⚠️ Heads Up
Cool white or blue-toned LED bulbs wash out warm palettes fast. Check the packaging for the Kelvin rating before buying, not just the wattage.
Finish With Personal Accessories Last
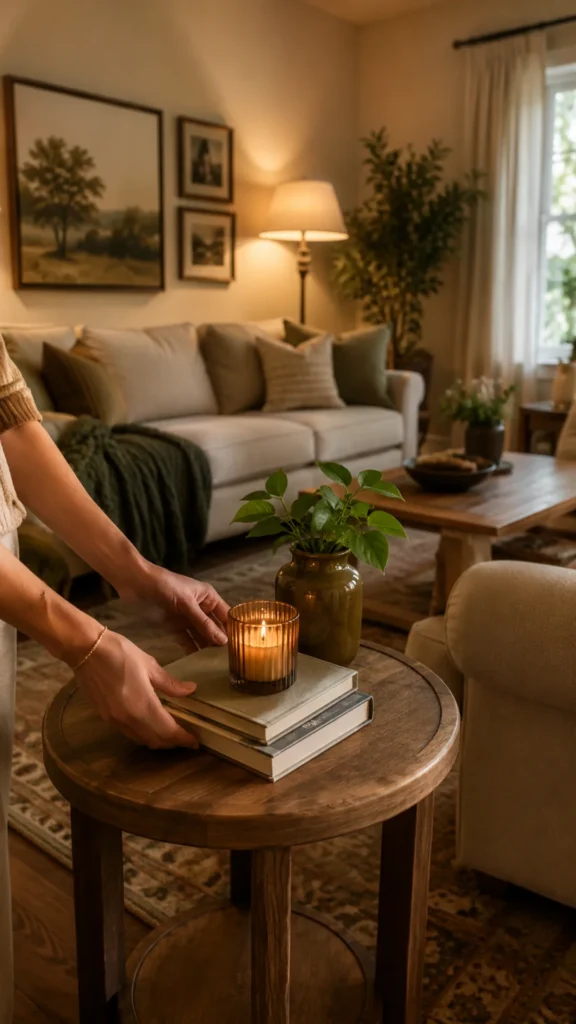
This step comes last on purpose. Once color, furniture, texture, art, natural materials, plants, and lighting are all in place, add the final small layer: candles, books with interesting spines, a small tray of jewelry or keepsakes, a family heirloom. Follow this order:
- Walk the room and note any surface that still feels bare
- Add one small object to that surface, nothing more
- Step back and check if the room feels finished or still busy
- Remove one item if it feels crowded, rather than adding another
Wrapping Up
Your living room now has a real color story, a clear focal point, and layers of texture, art, and light that all support each other instead of competing.
That is the difference between a room that looks decorated and one that just has decorations in it.
If you learned how to decorate an Afrocentric living room step by step here, the same layering approach works in a bedroom or dining space too.
Save this guide to your Pinterest board so you can walk through it room by room whenever you are ready for the next space.
🚫 Common Mistakes
1. Using too many colors
More than 3 main colors makes a room feel busy instead of curated. Pick your palette first, then stick to it.
2. Skipping the base rug layer
A single patterned rug with no woven base underneath looks flat. Layering is what creates depth.
3. Buying accessories before furniture
Small decor bought early often clashes once the statement piece and palette are locked in. Follow the order in this guide.
4. Overfilling shelves
No negative space means no single object stands out. Fewer, well-placed pieces read as more intentional.
5. Relying only on overhead lighting
Overhead light flattens warm tones. Lamps with a warm bulb do most of the work in the evening.
❓ Frequently Asked Questions
Do I need to repaint my walls first?
No. You can build an Afrocentric palette entirely through rugs, textiles, and art on neutral walls. Paint is optional, not required.
Can I do this in a rented apartment?
Yes. Rugs, textiles, art hung with removable hooks, plants, and furniture cover almost everything in this guide without touching walls permanently.
What if I can’t afford authentic textiles right now?
Start with your color palette and one statement piece. Add authentic mud cloth, kente, or Ankara pieces over time as your budget allows.
How many plants do I actually need?
One or two is enough for most living rooms. A tall floor plant and a small shelf plant cover both height levels.
What if my room already has a color I can’t change?
Build your palette around that existing color instead of fighting it. Treat it as one of your 2 to 3 main tones.
📌 Quick Reference Card
What You Need
Color swatches, statement furniture piece, layered rugs, throws, wall art or textile panels, wood or rattan accents, sculptural objects, 1 to 2 plants, warm-toned lamp.
Steps
- Choose your core color palette first
- Select one statement furniture piece
- Layer in textured rugs and throws
- Hang bold wall art and textiles
- Mix in natural wood and woven pieces
- Style your shelves with meaningful objects
- Add live plants for warmth
- Layer your lighting for mood
- Finish with personal accessories last