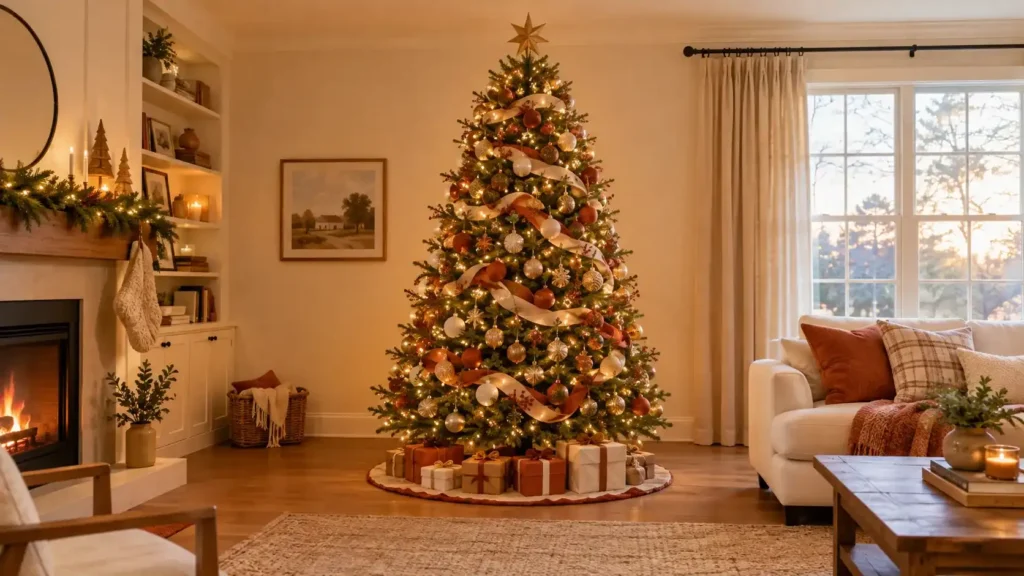
Most people start decorating a Christmas tree the same way. They plug in one string of lights, wrap it around a few times, and start hanging ornaments wherever there’s space.
By the time they step back, the tree looks lopsided. Ornaments clump in one spot. The top third sits empty, and the lights barely show through the branches.
Learning how to decorate a Christmas tree the way professional designers do fixes all of that. It comes down to layering, not luck.
You’ll fluff the branches first, then build depth with lights, then place ornaments in three sizes, largest to smallest. Every layer has a job before the next one starts.
None of this takes special skill. It takes about two to three hours from bare tree to finished, and most of that time goes into fluffing branches and testing lights before a single ornament goes on.
By the end, you’ll have a tree that looks full from every angle, with no bare gaps and no lights buried under ornaments. Let’s start with the branches.
What You Need
- Step stool or small ladder
- Wire cutters (for tucking branch tips)
- Extension cord and outlet timer
- 600 to 700 mini lights (for a 7-foot tree)
- Ribbon or mesh, 2 to 3 rolls
- Ornaments in 3 sizes
- Floral picks or greenery sprigs (optional)
- Tree topper and tree skirt
At a Glance
- Fluff and Shape Every Branch Before You Add Anything
- Test Every Light Strand on the Floor First
- String the Lights in Three Layers, Deep to Shallow
- Wrap Ribbon or Mesh Through the Branches in Diagonal Lines
- Place Your Largest Ornaments First, Deep Into the Tree
- Fill In With Medium Ornaments at Eye Level
- Scatter Small Ornaments to Fill the Remaining Gaps
- Tuck in Floral Picks or Greenery Sprigs for Texture
- Step Back and Check for Bare Spots From Across the Room
- Set the Tree Topper Last
- Finish With a Tree Skirt and Final Styling Pass
Fluff and Shape Every Branch Before You Add Anything
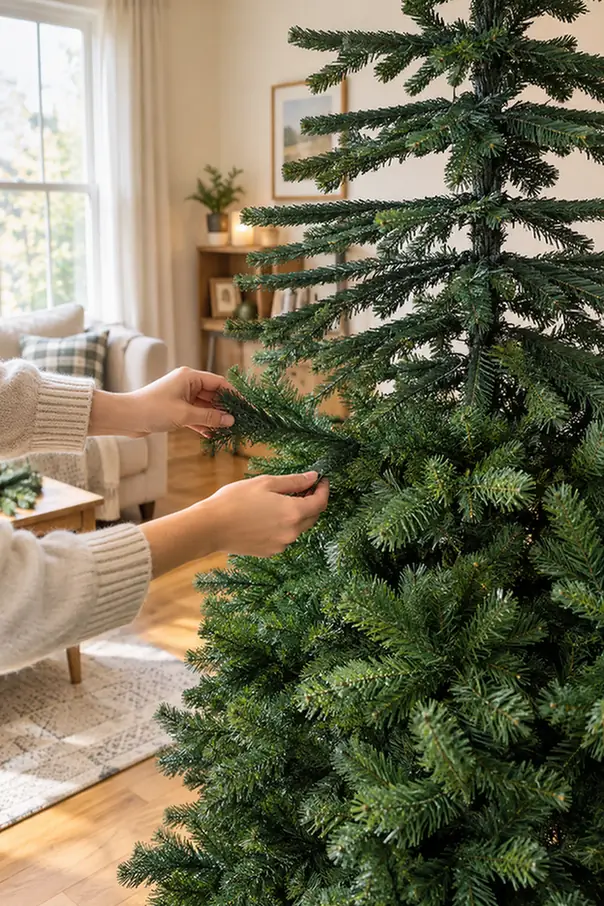
Every fake tree ships flat from the box. Start at the bottom and work up, pulling each branch tip out and slightly downward.
Bend branches at different angles instead of one uniform sweep. A tree with mismatched angles reads more like real pine.
Have a real tree instead? Give it a light shake and trim any branches crossing into each other’s space before you move on.
Test Every Light Strand on the Floor First
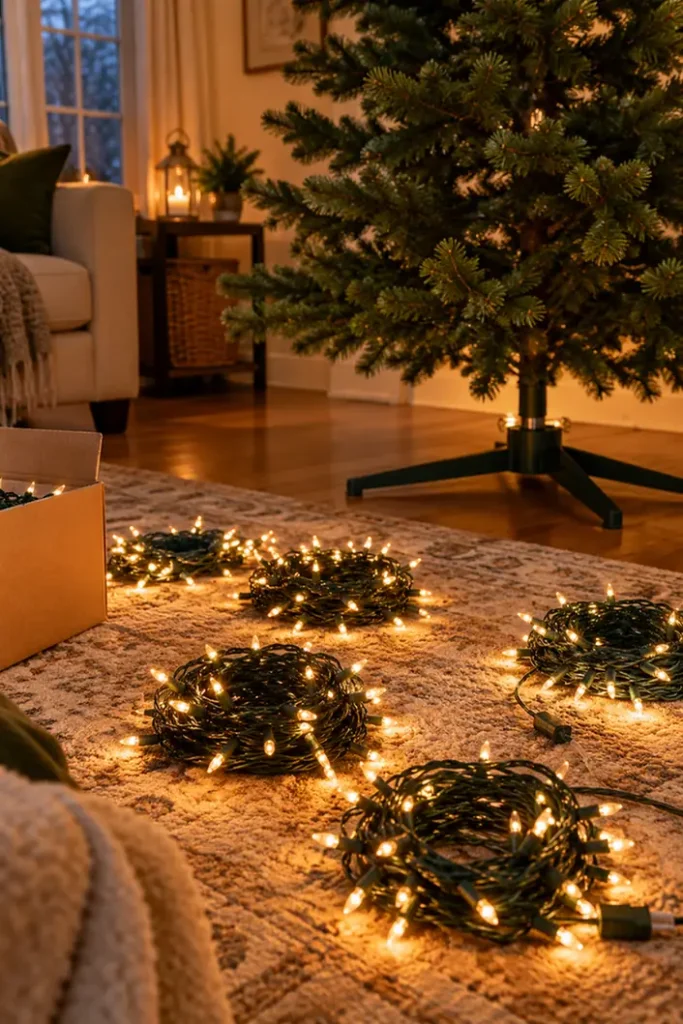
Lay every strand flat on the floor before it touches the tree. Plug each one in on its own and look closely.
While it’s lit, work through these:
- Check for any dark or flickering bulbs
- Confirm both plug ends fit the next strand
- Count your total number of strands
- Set aside anything with more than two dead bulbs
A strand that fails on the floor is a five-minute fix. The same strand failing after the tree is decorated means undoing hours of work.
String the Lights in Three Layers, Deep to Shallow
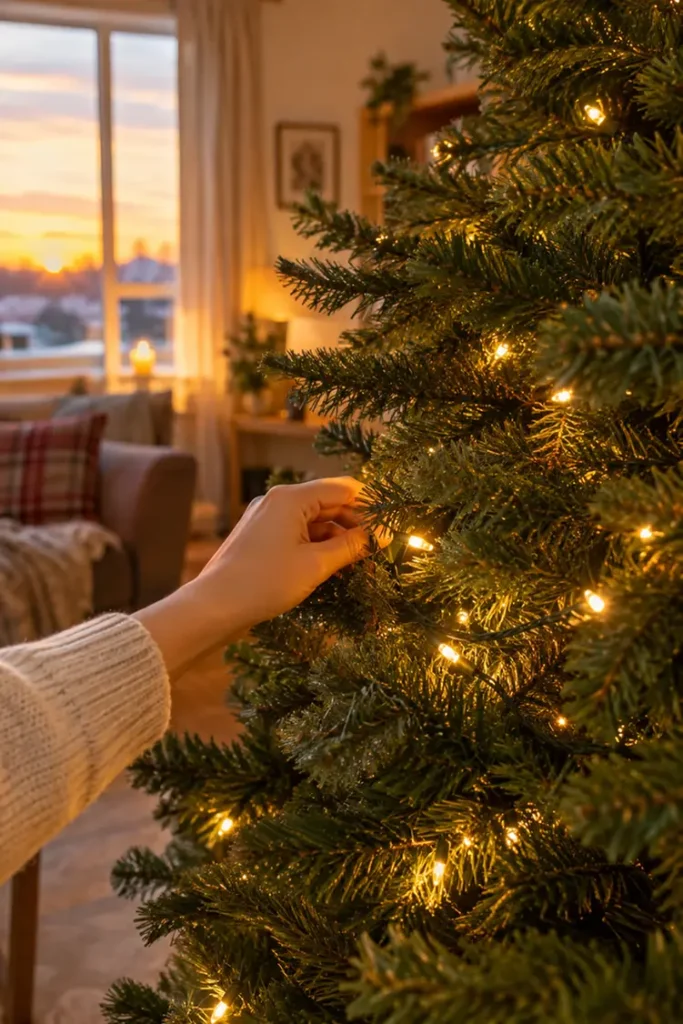
Push about a third of your lights deep into the tree, close to the trunk, instead of wrapping only the outer tips.
This is what makes the light glow from inside the branches instead of sitting on top of them.
Work the middle layer next, slightly further out, then finish with a light outer layer near the tips. Each layer should feel intentional, not identical.
Wrap Ribbon or Mesh Through the Branches in Diagonal Lines
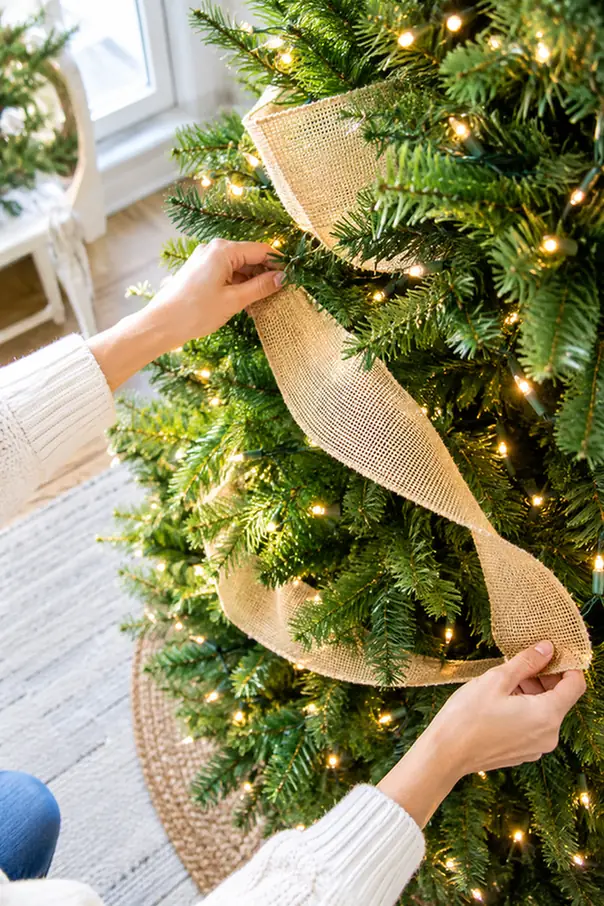
If you’re using ribbon or mesh, this step happens before ornaments, not after. It needs open branch space to move through freely.
Start near the top of the tree and work in a loose diagonal, letting the ribbon dip into the branches every foot or so instead of staying on the surface.
Don’t pull it tight. A relaxed, slightly wavy line looks intentional. A perfectly straight diagonal looks like it was measured with a ruler, and real trees don’t look that precise.
Place Your Largest Ornaments First, Deep Into the Tree
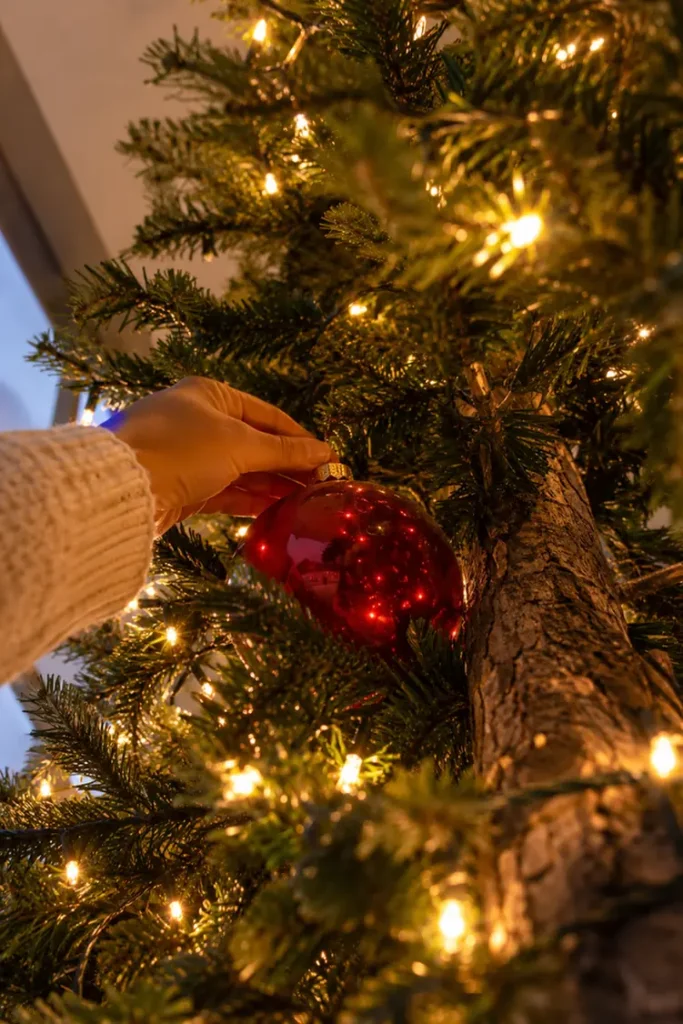
Most beginners save their favorite ornaments for last, then run out of room and hang them near the outer tips instead.
Flip that order. Your biggest, most eye-catching ornaments go in first, pushed deep toward the trunk where the branch is strong enough to hold the weight.
This does two things:
- It anchors the tree’s overall color story early
- It leaves the outer branches free for lighter, smaller pieces
Aim for one large ornament per two feet of tree height, spaced unevenly rather than in a straight vertical line.
Fill In With Medium Ornaments at Eye Level
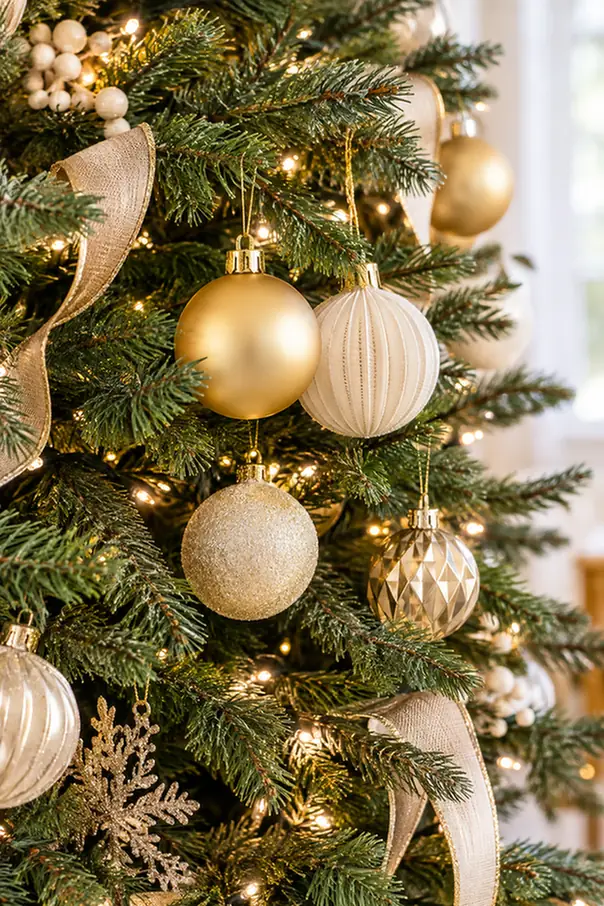
The middle section of the tree gets seen the most, since it sits at eye level for most of the room.
Cluster your medium ornaments here in small groups of two or three rather than spacing every single one perfectly apart.
Real collections never look evenly gridded. A little clumping, with small gaps between clusters, reads as natural instead of assembled.
Watch your color balance as you go. If one shade dominates one side of the tree, pull an ornament or two and move it across before you keep going.
Scatter Small Ornaments to Fill the Remaining Gaps

Look at the tree now. Are there any spots where you can still see bare branch between the larger pieces? That’s where the small ornaments go.
Small ornaments exist to close gaps, not to cover every inch. Tuck them into the shadowed pockets between branches, not on top of the branches themselves.
A few things to check as you go:
- Any spot with two visible inches of bare branch
- Corners near the trunk that got skipped earlier
- The lower third, which tends to get neglected once arms get tired
Resist the urge to add more once the gaps close. A tree with too many small ornaments starts to look cluttered instead of full.
Tuck in Floral Picks or Greenery Sprigs for Texture

This step is easy to skip, and skipping it is why a lot of decorated trees still look flat in photos.
Floral picks and greenery sprigs add texture that ornaments alone can’t. Push the stem in at an angle, following the natural line of the branch instead of straight down.
Space them unevenly around the tree, heavier near the base and lighter near the top. Three to five picks is usually enough for a 7-foot tree.
Step Back and Check for Bare Spots From Across the Room

Every close-up view of a tree lies a little. Walk to the opposite side of the room and look at the whole shape from a distance.
Bare spots hide up close and show up instantly from across a room, especially under bright overhead light.
Take a photo on your phone from across the room. A camera flattens the tree the same way a passing glance does, and it’s often faster at catching gaps than your eyes.
Fix what you find now. It’s much easier to add one more ornament to a bare patch than to notice it a week later.
Set the Tree Topper Last

Most people put the topper on first, which forces every layer underneath to work around it. Save it for the very end instead.
By now, the tree already has its shape, its color balance, and its texture. The topper is the final signature, not the starting point.
Center it directly over the trunk and check it from at least two angles in the room before calling it done. A topper leaning even slightly reads as crooked in photos.
If you don’t have a store-bought topper, a tall spray of curled ribbon loops or an oversized bow works just as well and costs almost nothing.
Finish With a Tree Skirt and Final Styling Pass
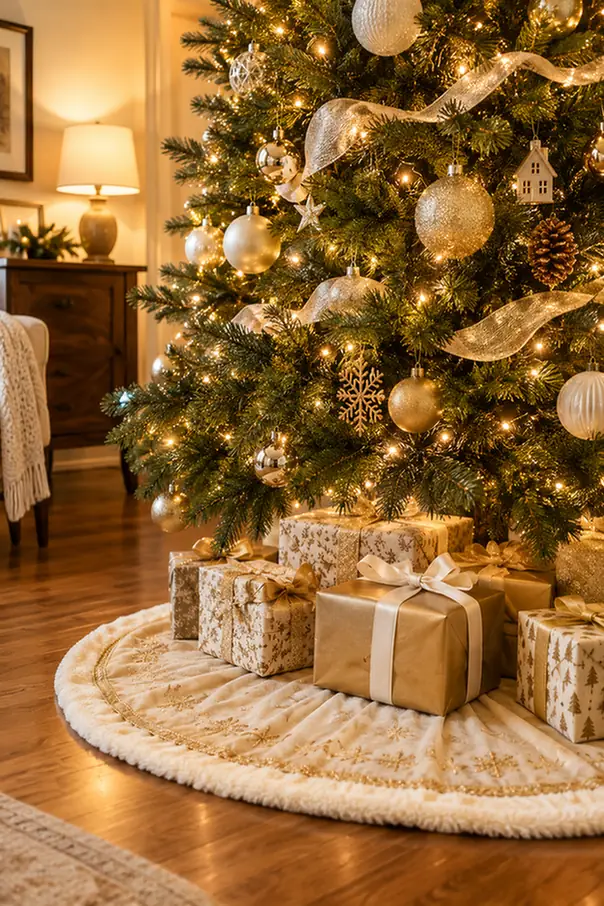
Slide the tree skirt into place last, once the tree itself is finished. Pulling it out earlier just means stepping on it for an hour.
Fan the fabric out evenly around the base, tucking the inner edge close to the trunk so the stand underneath stays hidden.
A short final pass matters here:
- Turn off the room lights and check the tree lit up alone
- Dim any single spot that reads brighter than the rest
- Add one last small ornament if any gap still shows under lamp light
That’s the tree finished, top to base.
Common Mistakes to Avoid
Frequently Asked Questions
Quick Reference Card
2. Test lights on the floor
3. String lights in 3 layers
4. Wrap ribbon diagonally
5. Place large ornaments deep
6. Fill medium ornaments at eye level
7. Scatter small ornaments in gaps
8. Tuck in floral picks
9. Check bare spots from across the room
10. Set the topper last
11. Add tree skirt, final pass
Conclusion
Your tree now has depth, balance, and no bare patches hiding from any angle in the room. That’s the real difference between a decorated tree and one that just has ornaments on it.
Make it yours from here. Swap in ornaments from past years, add a family piece near the trunk, or lean harder into one color family than this guide suggested.
Once you’ve got this method down, it works the same way on wreaths and garland too, just at a smaller scale.
Save this now on Pinterest so you have it pulled up next to the tree instead of trying to remember all eleven steps from memory.