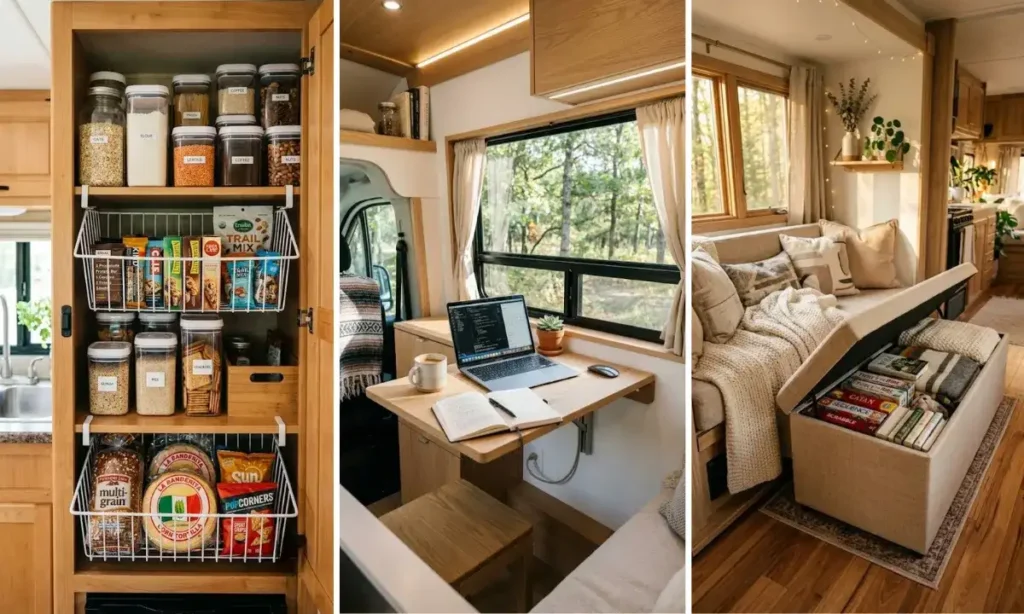
Most road trips do not fall apart because of bad weather or a wrong turn. They fall apart because you cannot find the tire gauge, the cabinet above the stove dumps out three cans of soup at the first pothole, and there is a bag of melted candy from last summer wedged behind the couch cushion.
If you are searching for a way to RV declutter before road trip prep, you already know the feeling of packing a rig that is technically ready but actually a mess.
This guide walks you through a full pre-trip declutter, cabinet by cabinet, bay by bay, so nothing shifts, spoils, or goes missing three hours into your drive. You are not just tidying up. You are resetting your RV so every item earns its spot before the wheels start turning.
Plan on 2 to 3 hours for a mid-size RV, longer if it has been a while since your last real clear-out. None of it is hard work.
It just takes going through everything on purpose instead of shoving the door shut and hoping. By the end, you will know exactly what is on board, where it lives, and that it will still be there when you reach for it.
Time and Difficulty
Clear Every Counter and Flat Surface First
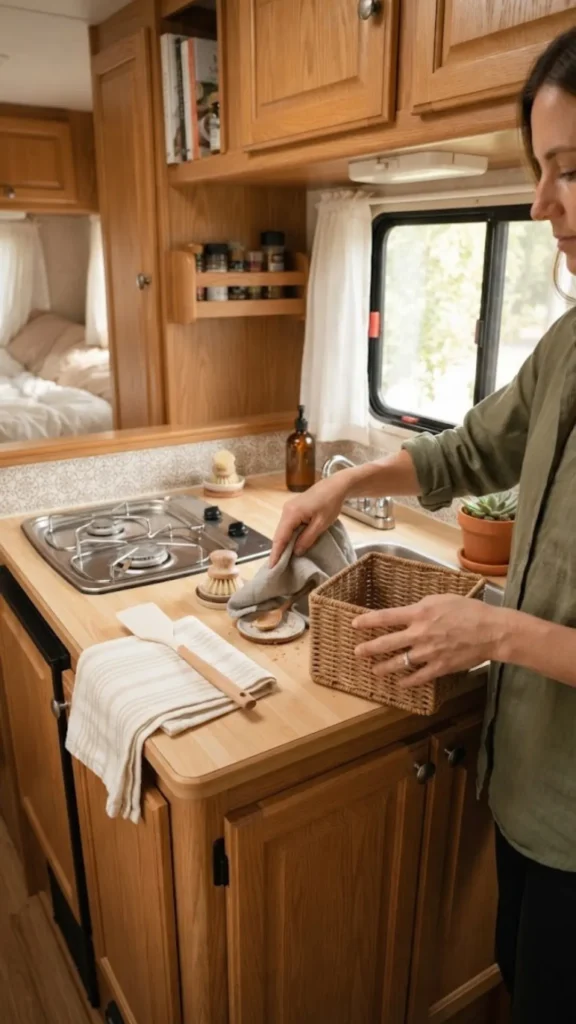
Start with nothing in your hands and no plan except this: everything currently sitting on a counter, table, or dashboard needs to go somewhere or go away.
This includes mail, loose sunglasses, phone chargers, and that one screwdriver nobody remembers pulling out. Clearing flat surfaces first gives you visual proof of progress early, which matters when the rest of the job feels big.
Pick up each item and sort it into one of three piles: put away, donate, or trash. Do not set anything back down “for now.” Five minutes into this step, you should be able to see a bare counter on every surface in the rig.
Empty One Cabinet at a Time and Sort as You Go
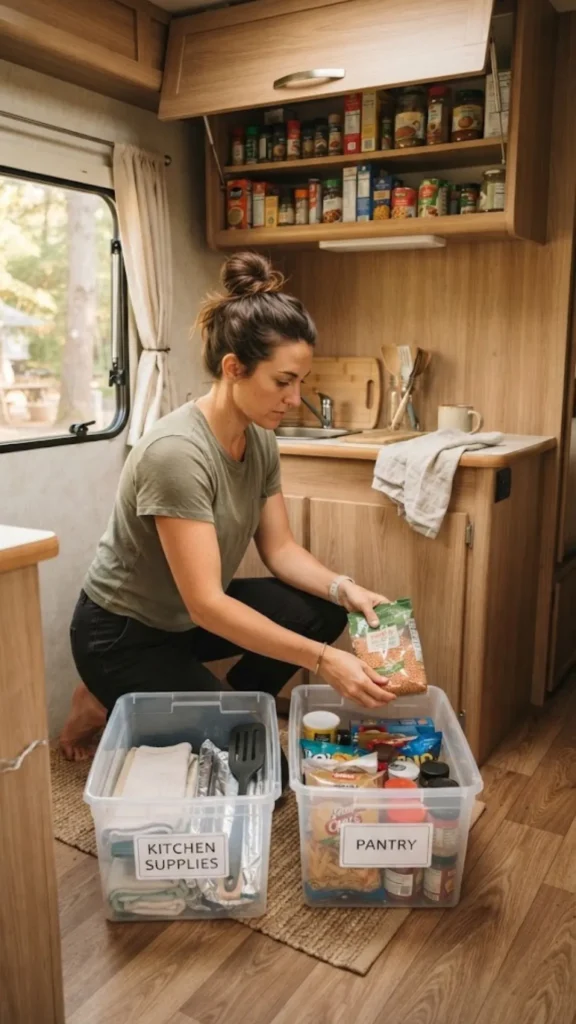
Working cabinet by cabinet, instead of pulling everything out at once, keeps you from ending up with a floor you cannot walk across. Open one door, remove every item inside, and wipe the empty shelf down before anything goes back in.
As you sort, ask three quick questions for each item:
- Have I used this in the last two trips?
- Does it have a home anywhere else in the RV?
- Would I miss it if it disappeared tomorrow?
Anything that fails all three questions goes in the donate or trash pile. Only return items to the cabinet once you have made a decision on every single one.
- Sort one cabinet before moving to the next, never several at once.
- Keep a running donate bag in the doorway so it is never more than a few steps away.
- Photograph an organized cabinet once you finish it, it becomes your reset guide next trip.
Purge Expired Food and Old Toiletries From the Pantry
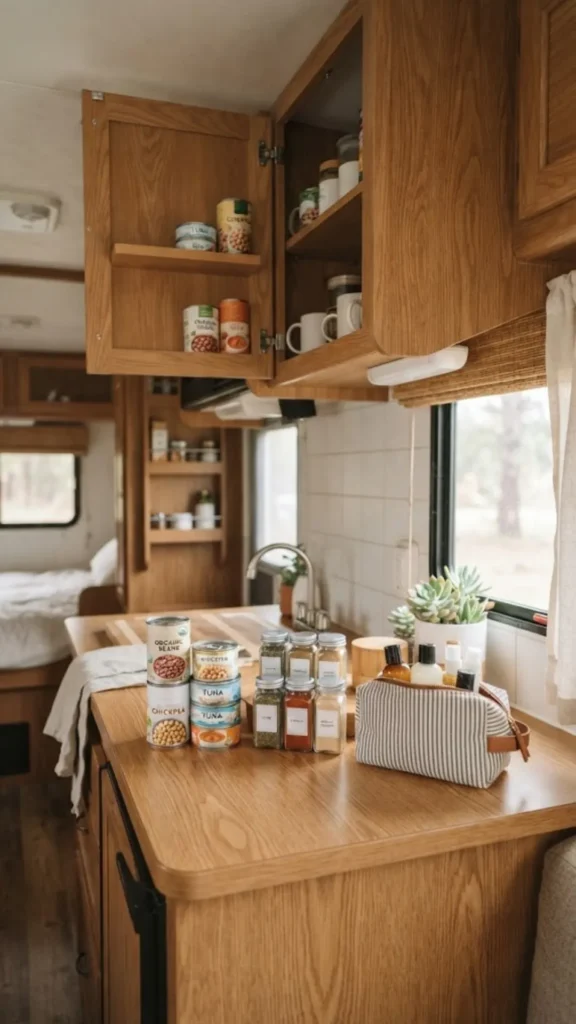
Every RV pantry collects at least one item that has been riding along since a trip two summers ago. Pull everything out onto the counter, not just the front row.
Check expiration dates on canned goods, spices, and snack bags, since heat inside a parked RV speeds up spoilage far faster than a kitchen pantry at home.
Toiletries deserve the same pass. Half-used sunscreen bottles, sample shampoos, and melted lip balm take up space without earning it.
- Canned goods that have swelled or dented badly should be thrown out, not donated.
- Anything melted or leaked in the heat likely contaminated nearby items, check the whole shelf.
- Do not trust a best by date alone in an RV pantry, heat cycles shorten shelf life.
Thin Out Your Clothing and Linen Storage

Clothes packed for a trip two seasons ago do not belong on this one. Pull every drawer and closet section fully open and lay items out where you can actually see all of them at once, not stacked in a pile you are peering into.
Sort by season and by real use, not by sentiment. A jacket you have not worn in a year is dead weight on a road trip, no matter how good it looks. Linens get the same treatment: towels, sheets, and blankets that smell musty or have not been touched since last winter go in the donate pile, not back on the shelf.
Check Under Beds and Benches for Forgotten Items
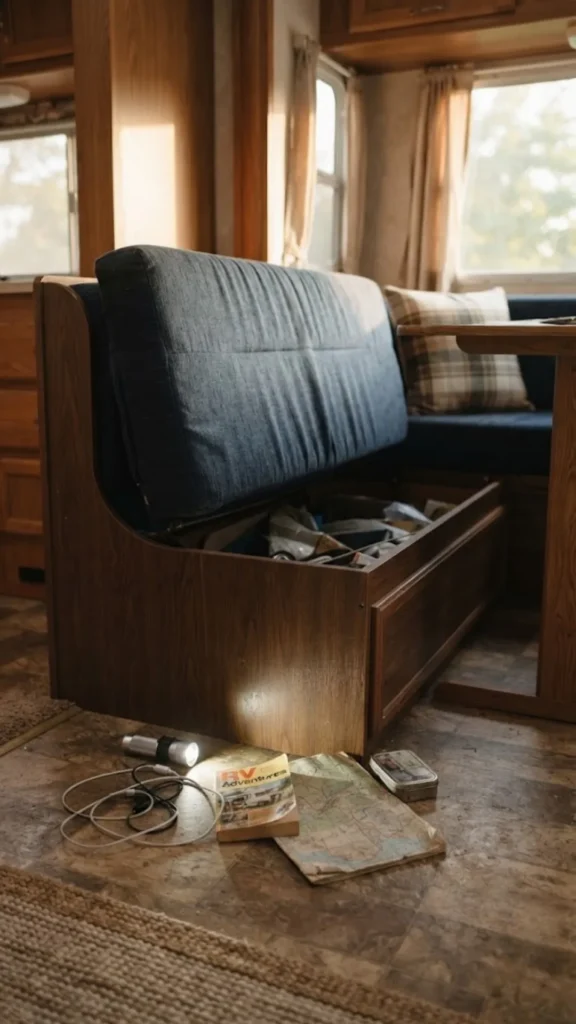
This is where things hide. Under-bed storage and dinette bench seats collect items nobody remembers putting there, from spare cushions to tools to snacks that rolled out of sight months ago.
Pull out everything stored under beds and benches using this quick pass:
- Lift each cushion or mattress fully; do not just peek underneath
- Check corners and edges where small items slide and get stuck
- Vacuum or wipe the space before anything goes back
- Group what you find into keep, relocate, or toss
Ten minutes here usually turns up at least one item you forgot you owned.
Sort Loose Gear in the Entertainment and Electronics Area
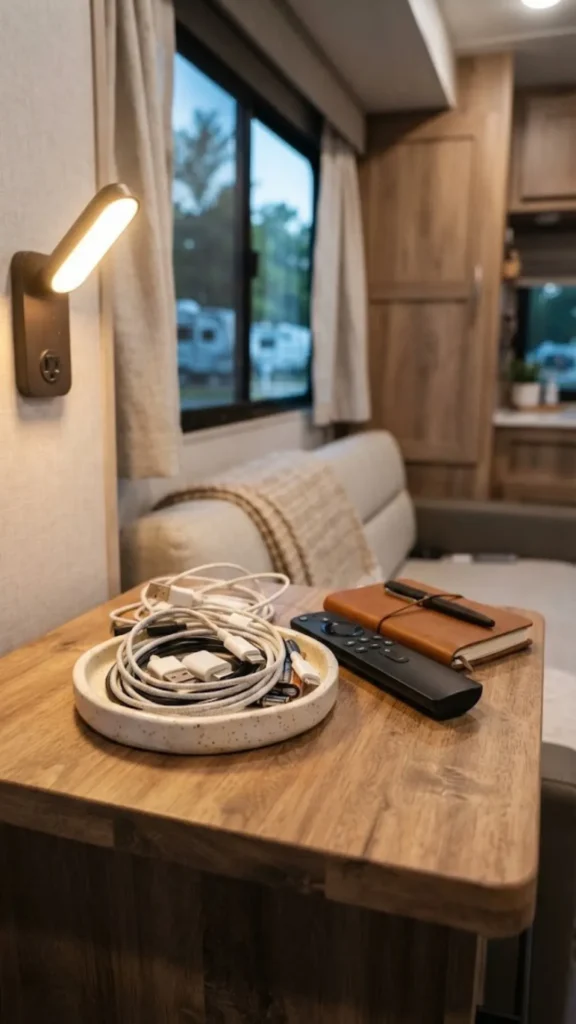
Cables multiply on their own, or at least it feels that way by the time you check this spot. Chargers, old remotes, tangled HDMI cords, and a controller for a game system you no longer own tend to pile up here.
Test anything you are unsure about before deciding its fate. A cord with no clear purpose gets five minutes on the bench, plugged into whatever it might belong to, before it earns a spot back in the cabinet. If it does not power anything you recognize, it goes.
Loose batteries left in remotes or controllers can corrode over time, especially in a parked RV that sits through hot months. Pull batteries from anything not in regular use before you store it back.
Clear Out and Reorganize Exterior Storage Bays
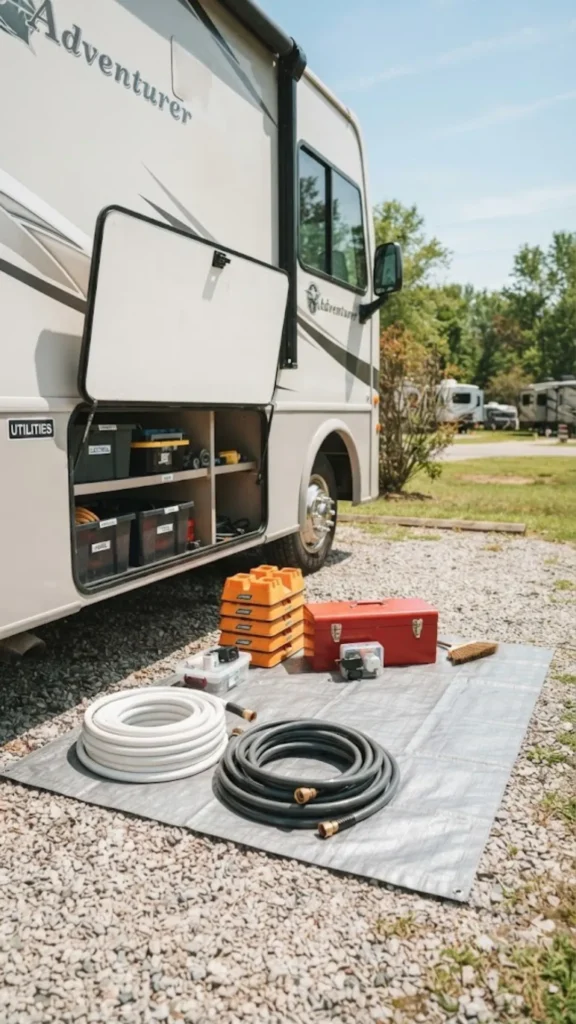
Exterior bays fill up fast because they are out of sight and easy to forget. Hoses, leveling blocks, extra tools, and camp chairs tend to get shoved in wherever they fit, which means the next time you need one, you are digging through everything else to find it.
Pull every item out onto a tarp or blanket on the ground. Group items by function: hoses and connectors together, tools together, outdoor gear together. Before anything goes back, check for a few common culprits:
- Cracked or brittle hoses that need replacing
- Leveling blocks that got left out and warped in the sun
- Tools that have rusted from moisture exposure
- Duplicate items you packed twice out of habit
Store the items you use most often closest to the bay door.
Use bins sized to fit your specific bay depth rather than generic totes. A bin that is even an inch too deep leaves gaps where smaller items slide around and rattle on the road.
Do a Final Walkthrough With a Packing Checklist

Once every cabinet, bay, and hidden corner has been sorted, walk the entire RV one more time with a checklist in hand. This step catches anything that slipped through during the individual sorting passes, and it confirms nothing got left out on a counter after you already declared that surface clear.
Check that cabinet doors latch fully, drawers slide without catching, and nothing was set back down loose. Note anywhere weight feels unevenly distributed, since that can shift during driving. This walkthrough takes fifteen to twenty minutes and is the single best habit for a smooth, rattle-free drive.
Common Mistakes to Avoid When Decluttering Your RV
Frequently Asked Questions
Wrapping Up
Your RV is lighter, your cabinets latch without a fight, and every bay finally makes sense. That is a rig ready for the road, not just packed for it.
Next time, this same walkthrough only takes an hour, since you already know where everything belongs. A little RV declutter before road trip habit now saves you a messy unpack later.
Save this guide to your RV Living board so it is ready before your next departure.