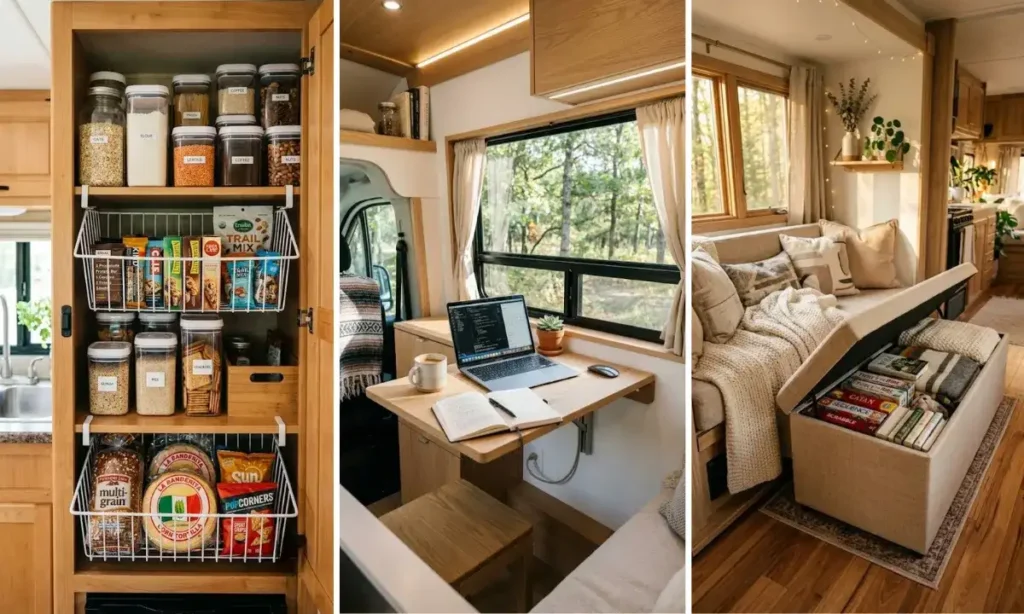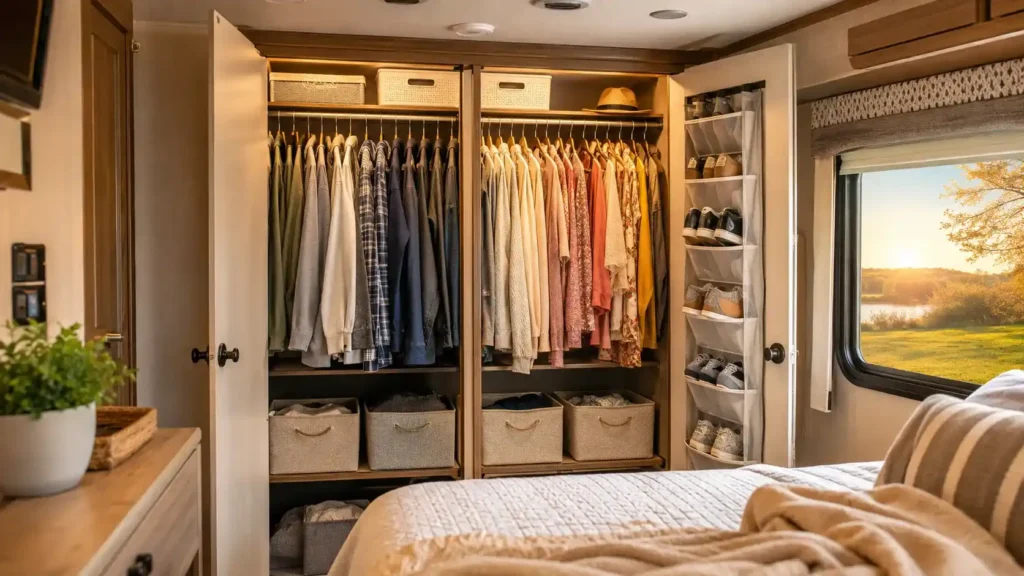
It’s 7 am and you’re both reaching for the same three inches of closet space.
His jacket landed on top of her sweater. Her boots are wedged under his hiking pack. Someone always ends up digging through the other person’s stuff just to find their own shoes.
One tiny RV closet was never built for two full wardrobes. But it doesn’t need to get bigger to work. It needs a system.
This guide covers how to organize an RV closet for two people so each of you has a spot that’s actually yours. No more “have you seen my…” every single morning.
The real fix isn’t more storage. It’s fewer decisions before coffee. Once every item has one home, the scramble stops on its own.
Expect close to two hours of hands-on work, plus a short trial period to see what actually sticks. Grab a laundry basket for sorting, and let’s get your mornings back.
Total Time
2 Hrs + 2-Wk Trial
Difficulty
Beginner
Steps
10 Steps
What You Need
Tools
- Tape measure
- Screwdriver
- Pencil
- Laundry basket (for sorting)
Materials
- Closet rod doubler bar
- Matching slim hangers (set of 20-30)
- 2-3 stackable storage bins
- Hanging shoe organizer
- Label maker or blank labels
- Adhesive hooks (optional)
At a Glance
Pull everything out and sort it into three piles
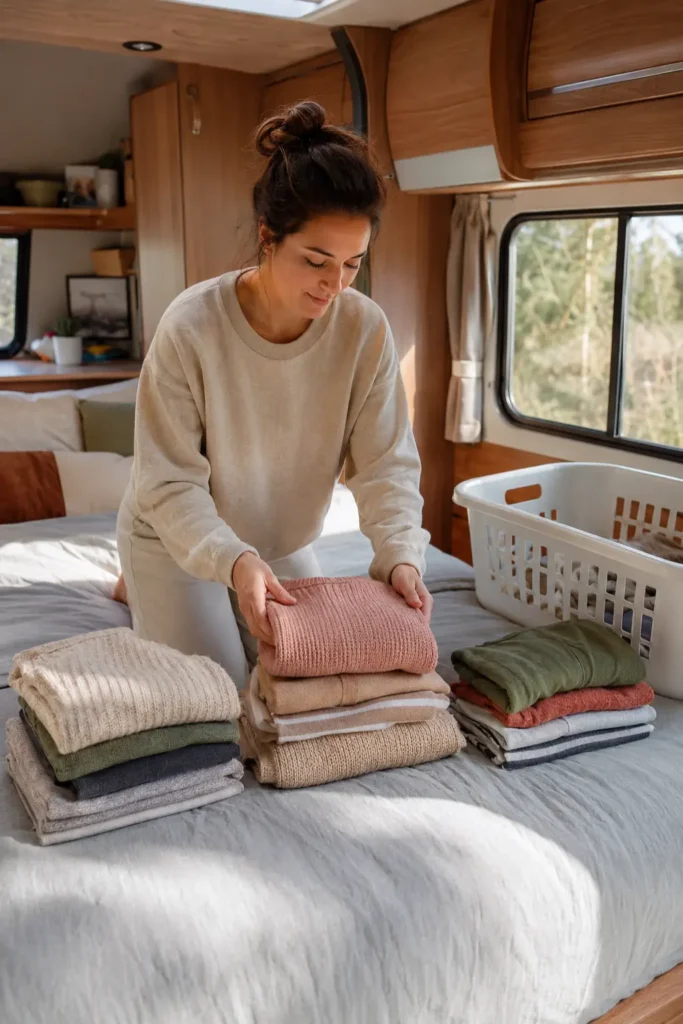
Nothing gets fixed with half the closet still in it.
Grab a laundry basket and take out every single item, both people’s stuff included. Set up three spots on the bed or floor: keep, donate, and “not sure yet.”
Be honest during this part. That fleece you haven’t worn since last winter isn’t earning its spot in a closet this small.
Two people sharing one space means every extra item is stealing room from someone else’s actual needs.
Measure the closet before you buy a single organizer
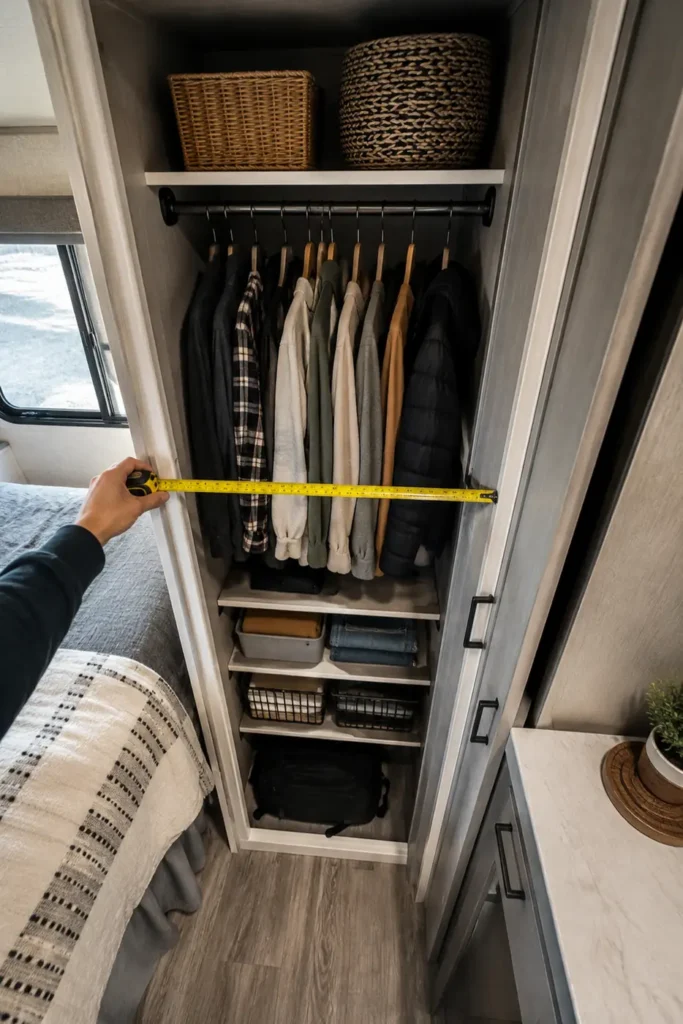
Buying bins before you know your numbers is how half the internet ends up with a return pile.
Measure three things:
- Interior width, side to side
- Height from the rod to the floor
- Depth, front to back
Write these down. You’ll need them again in step 4 and step 6, and guessing from memory rarely matches the receipt.
Heads Up
The risk: RV closets are often narrower at the top than the bottom because of wheel wells or cabinet framing.
The tell: a bin that fits on the floor test but jams halfway up the wall.
The fix: measure the width at the top, middle, and bottom, and shop to the smallest number.
Split the closet into two clear zones
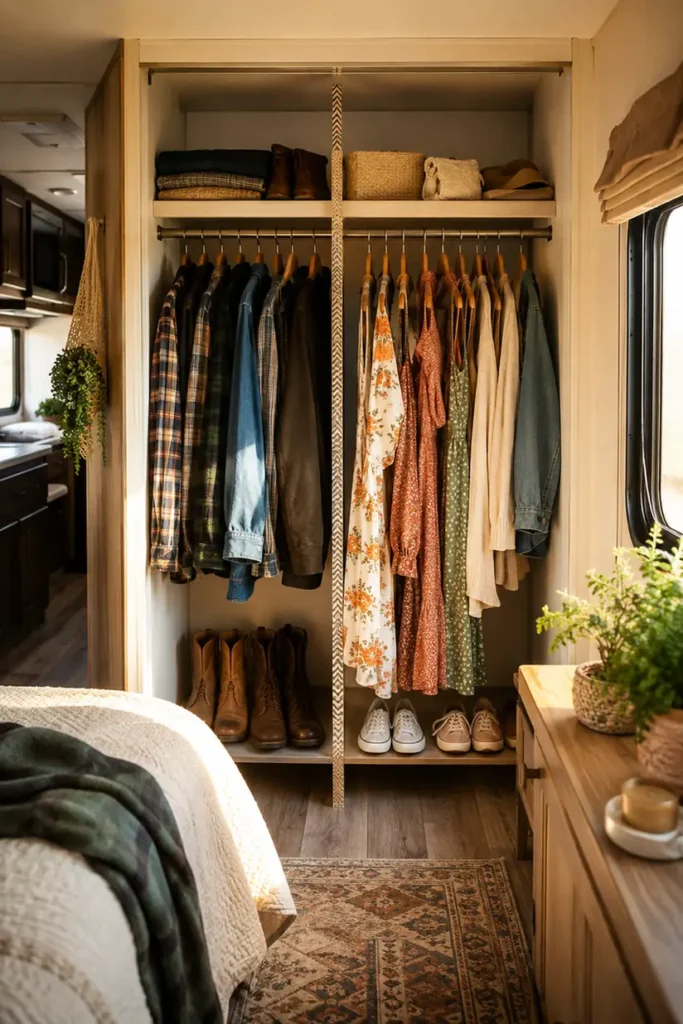
A shared closet without a boundary turns into one big pile within a week.
Pick a natural split point. Most RV closets divide well one of two ways:
- Left side versus right side (best for hanging space)
- Top versus bottom (best when one of you has more folded items than hanging ones)
Whichever split you pick, mark it now with a strip of washi tape on the shelf edge. That line becomes the rule everything else in this guide gets built around.
Add a closet rod doubler for extra hanging space
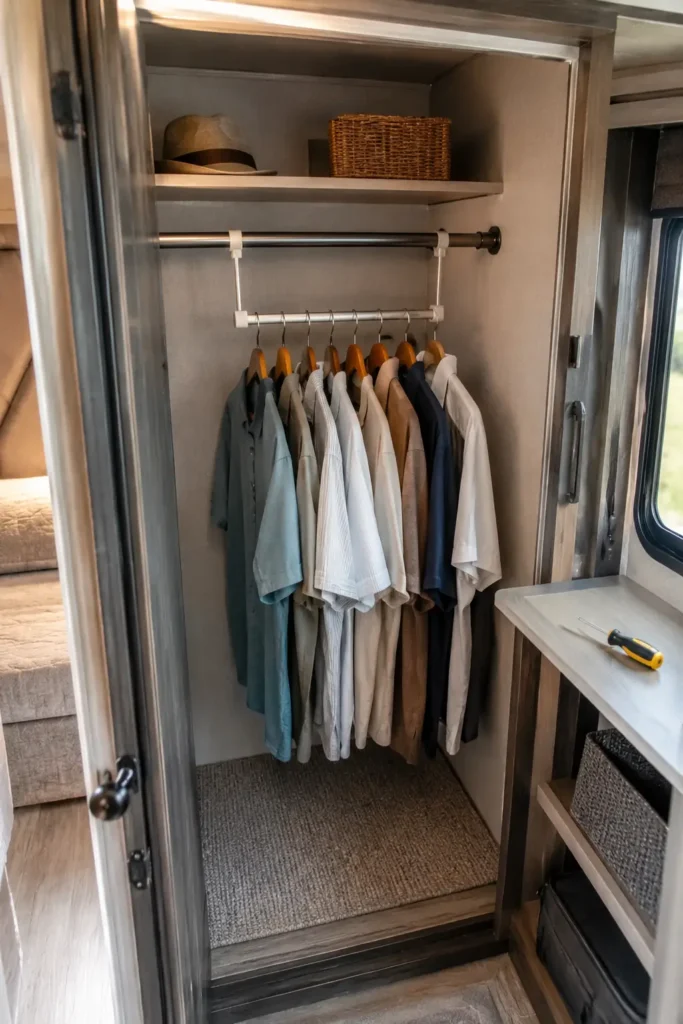
A single hanging rod wastes most of the vertical space above your clothes.
Closet rod doublers clamp or hook onto the existing rod, creating a second bar about 10 to 12 inches below it for shirts and folded pants on hangers.
If you’re renting the RV or don’t want to drill, pick a tension-mounted doubler instead of a permanent clip-on one. It holds surprisingly well for lighter garments.
📌 Pro Tip
Test the doubler with your heaviest jacket before loading it up. Most tension bars max out around 10-15 lbs of total weight, well below what a fully stocked side can weigh.
Switch to slim matching hangers
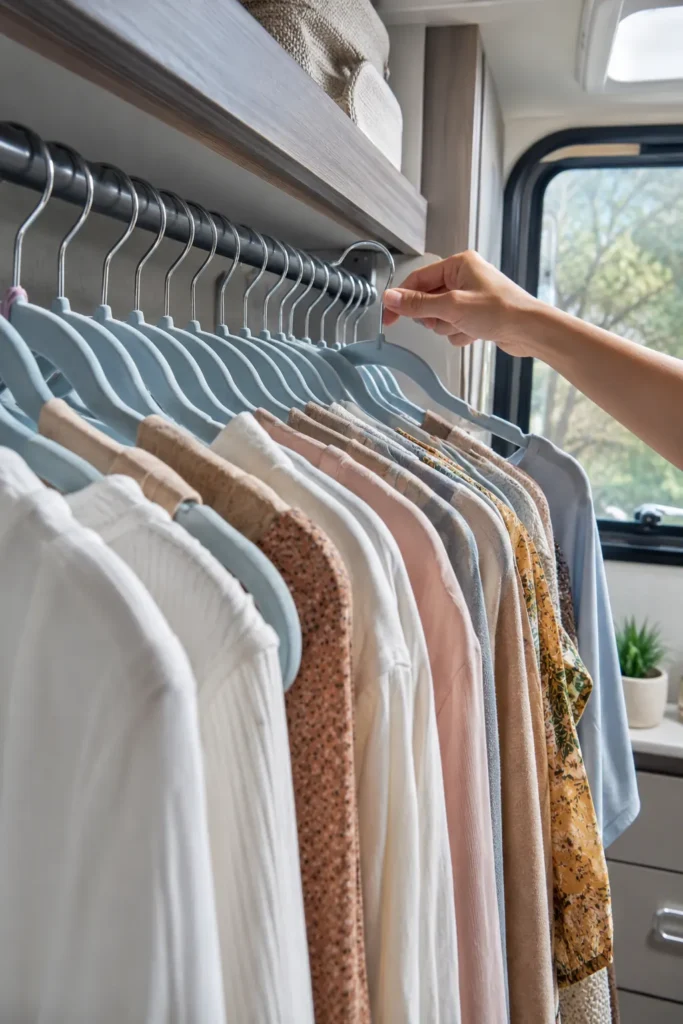
One inch per hanger adds up fast in a two-foot-wide closet.
Standard plastic hangers run about 1.5 inches thick. Velvet-flocked slim hangers cut that down to roughly 0.4 inches, fitting nearly triple the garments in the same space.
Buy one matching set for both of you. It keeps the closet uniform instead of turning into a hanger swap meet every laundry day.
⚠ Heads Up
Wire hangers snag on rod doublers and bend under any real weight. Satin hangers look nice but slide clothes right off a moving RV shelf. Slim velvet is the only style built for both problems.
Add a stackable bin system for folded clothes
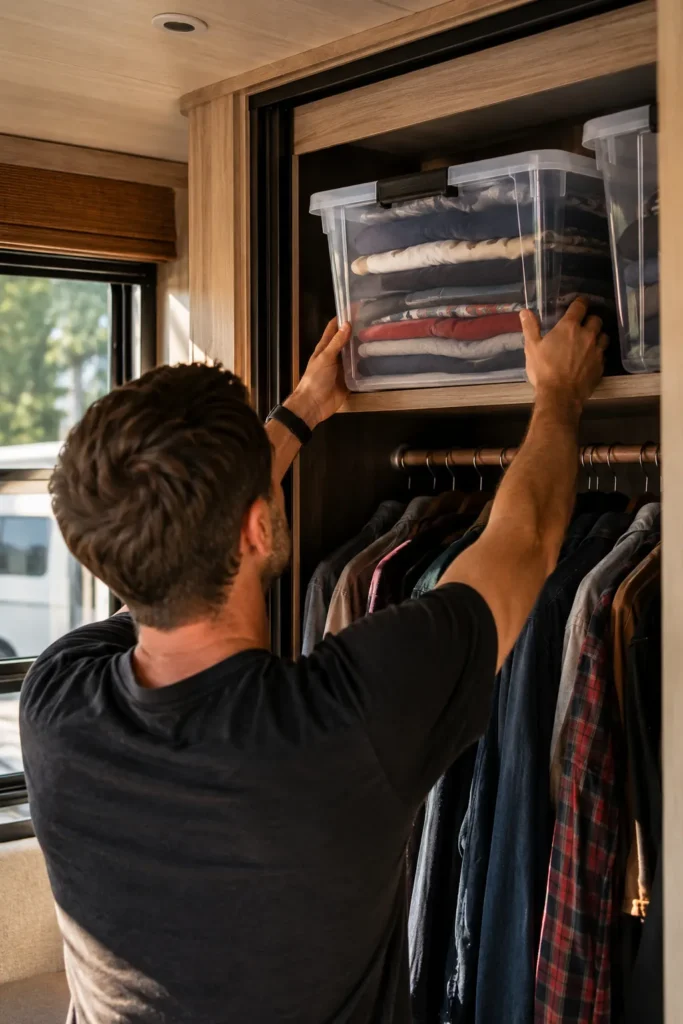
Folded clothes without a bin just become a pile again by day three.
Pick clear stackable bins sized to the depth you measured in step 2, usually around 12 inches deep for most RV closets. Clear sides matter, since nobody wants to unstack three bins hunting for socks.
Give each person their own labeled stack instead of mixing items into shared bins. It’s the difference between grabbing and searching.
Pro Tip: Put the heaviest items in the bottom bin of each stack so the tower doesn’t tip when the RV takes a turn. Small drawer dividers inside the top bin keep socks and underwear from sliding into one messy corner.
Mount a hanging shoe organizer on the door or side wall
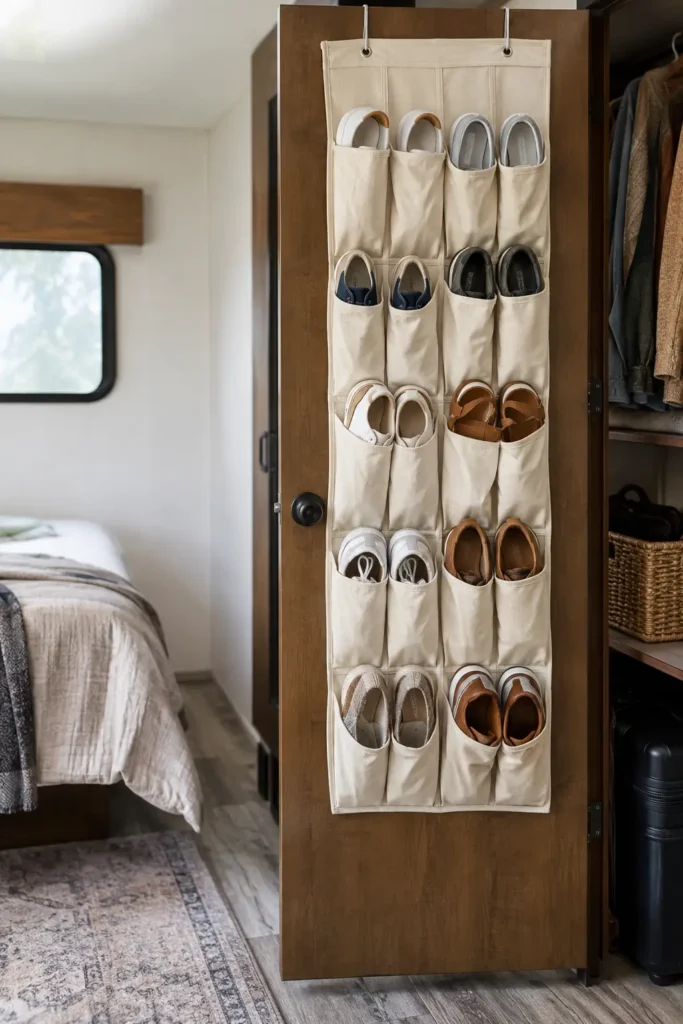
Shoes take up floor space nobody has to spare in an RV closet.
A canvas or vinyl hanging organizer with 6 to 12 pockets solves this without needing a single extra inch of shelf. Mount it on the inside of the closet door if there’s clearance, or on a side wall using adhesive hooks if the door swings too close to the bed.
Will it hold every shoe you own? Probably not, and that’s fine. Reserve it for the pairs you actually wear on the road, and store the rest in an under-bed bin instead.
Label every zone and bin
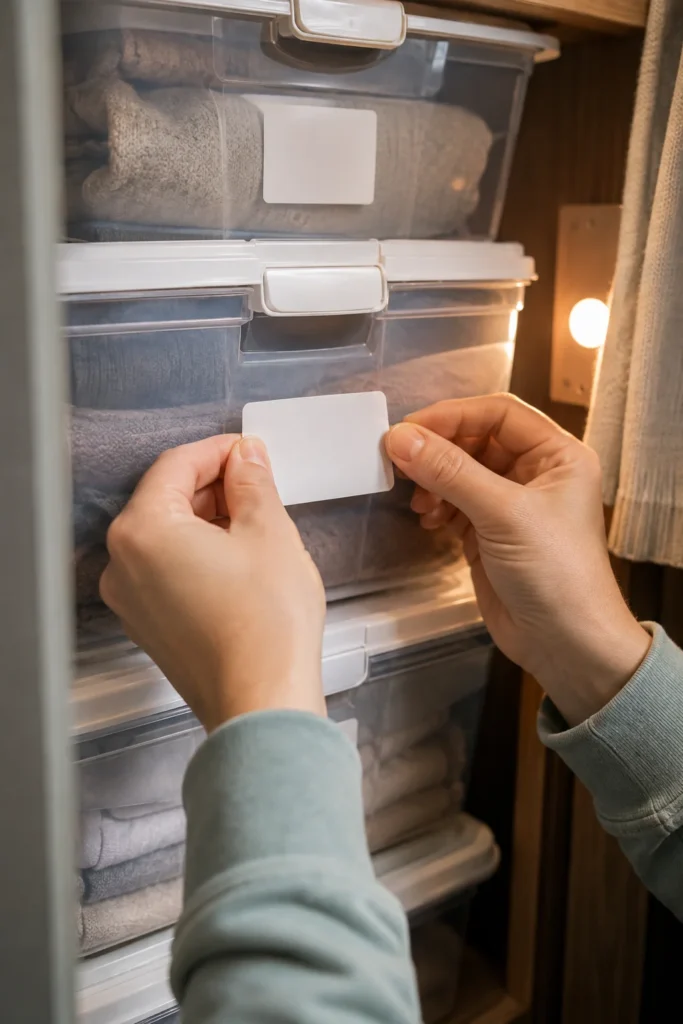
Two people, one closet, zero labels is a system that only works for about a week.
Labels remove the guessing. Print or write them for:
- Each hanging zone (his side, her side)
- Every stacked bin, by category, not just by owner
- The shoe organizer pockets, if you’re splitting those too
Skip the fancy label maker fonts. Big, clear text you can read at 6am matters more than how it looks.
Set one rule for shared items
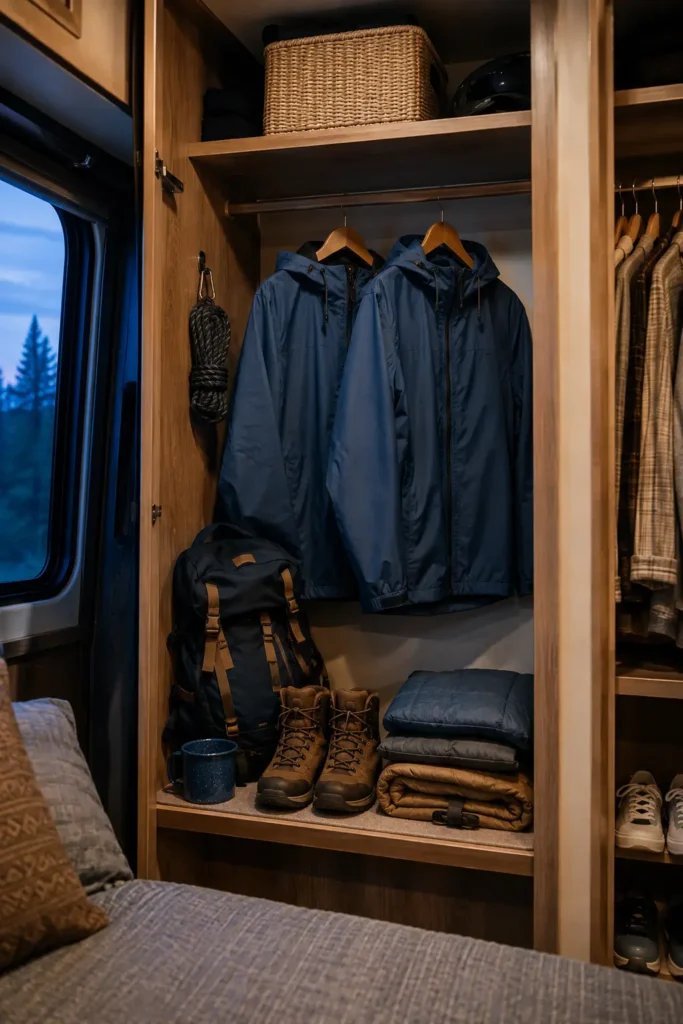
Shared items are where most closet systems quietly fall apart.
Jackets, hiking gear, and anything you both use need one home, not two. Pick a single spot, like the bottom bin or a hook near the door, and agree that shared items always go back there and nowhere else.
The rule works because it removes a decision. Nobody has to think about whose side a shared raincoat belongs on anymore.
✦ Pro Tip
Pick a shared-item spot that’s easy to reach without moving anything else, like the very front of a bin or a hook right inside the door. If it takes effort to put back, it won’t get put back.
Run a two-week trial and adjust what’s not working
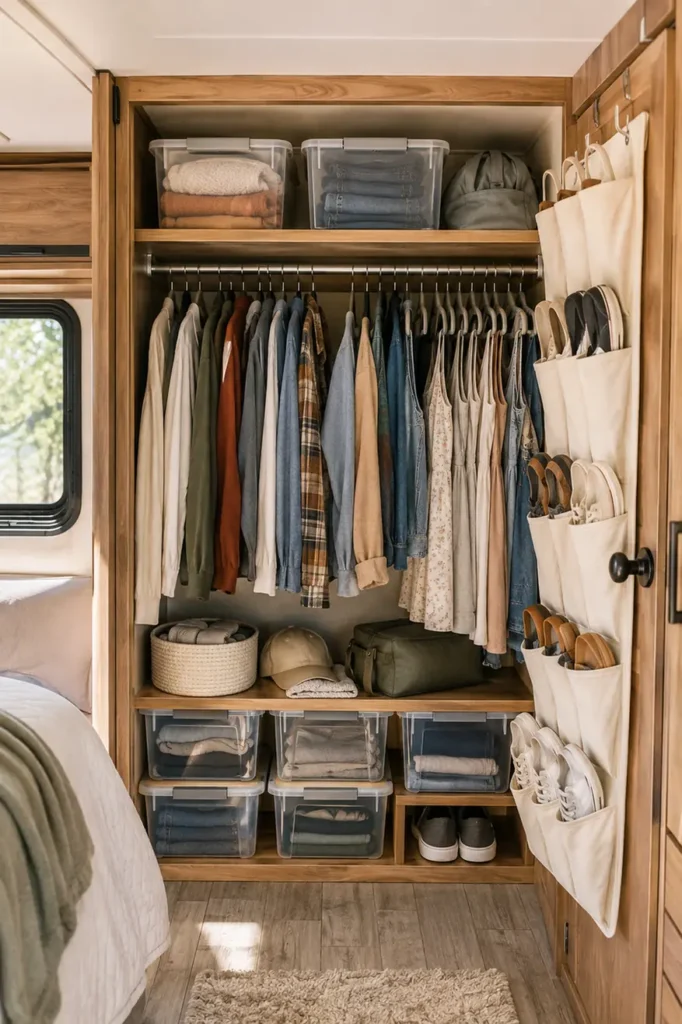
No system is perfect the first time you actually live in it.
Give the new layout two full weeks before changing anything major. That’s enough time to hit laundry day, a travel day, and a lazy Sunday, the three moments that actually stress-test a closet.
At the end of the trial, ask each other one question: what did you reach for without thinking, and what did you avoid using? Adjust the zones based on real habits, not on how the closet looked on day one.
Most people move a bin or two before it feels right. That’s normal, not a sign the system failed.
Common Mistakes Two-Closet Households Make
Most closet systems don’t fail because of bad products. They fail because of small habits that undo the setup within a week.
Here are the five that come up most with shared RV closets, and the quick fix for each one.
Frequently Asked Questions
A few questions come up constantly once people start actually setting this up in their own rig.
FAQ
What if there’s no room for a rod doubler?
Skip it and use the space below your hanging clothes for a short stack of bins instead. You’ll gain most of the same storage without adding hardware.
Where do out-of-season clothes go with such limited space?
Store them under the bed or in an exterior storage bay in a vacuum-sealed bag. Keep only the current season’s clothes in the closet itself.
Does the closet need to be split exactly 50/50?
No. Split it based on who actually has more items, not by an even measurement. A fair split isn’t always an equal one.
One of us has way more clothes. Does this still work?
Yes. Give the person with more items the larger zone or an extra bin, and use the trial period to fine-tune the ratio.
Can this work in a walk-through closet?
Yes, though the split usually works better as front versus back rather than left versus right, since both people need to pass through it.
Quick Reference Card
Screenshot this
Shopping List
☐ Rod doubler bar
☐ Matching slim hangers
☐ 2-3 stackable bins
☐ Hanging shoe organizer
☐ Labels
☐ Adhesive hooks
10-Step Sequence
1. Empty & sort
2. Measure
3. Split into zones
4. Rod doubler
5. Slim hangers
6. Bin system
7. Shoe organizer
8. Label everything
9. Shared-item rule
10. Two-week trial
You’ve got a closet that actually knows whose stuff is whose now, and mornings that don’t start with a search party. Give it the full two weeks before judging it.
Once it clicks, the same zone-and-label approach works for the kitchen cabinets or the bathroom drawer next, any tight shared space in the rig really.
Save this one for closet day, and tag your partner so they know their side is coming.