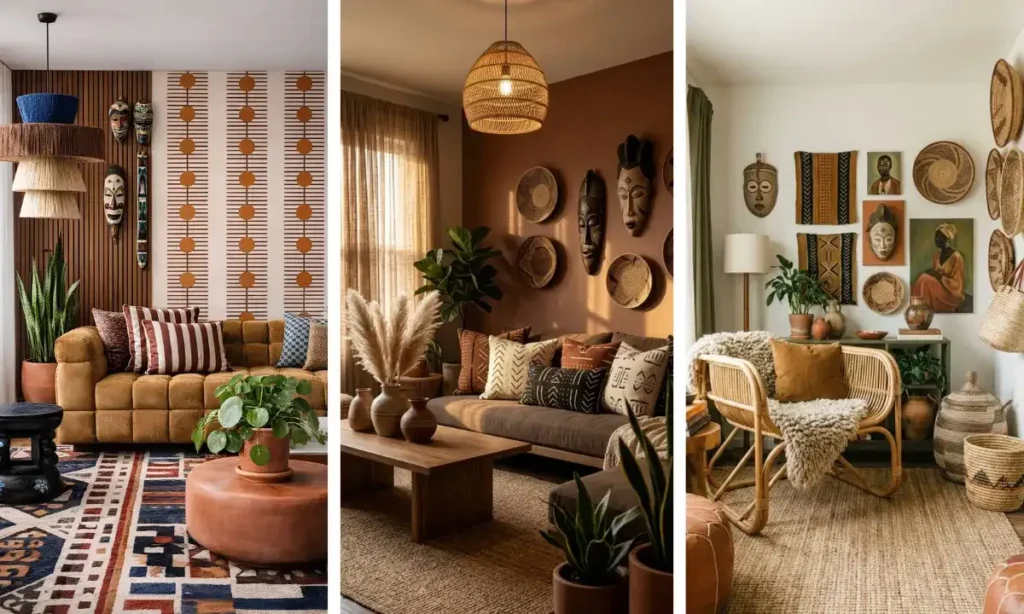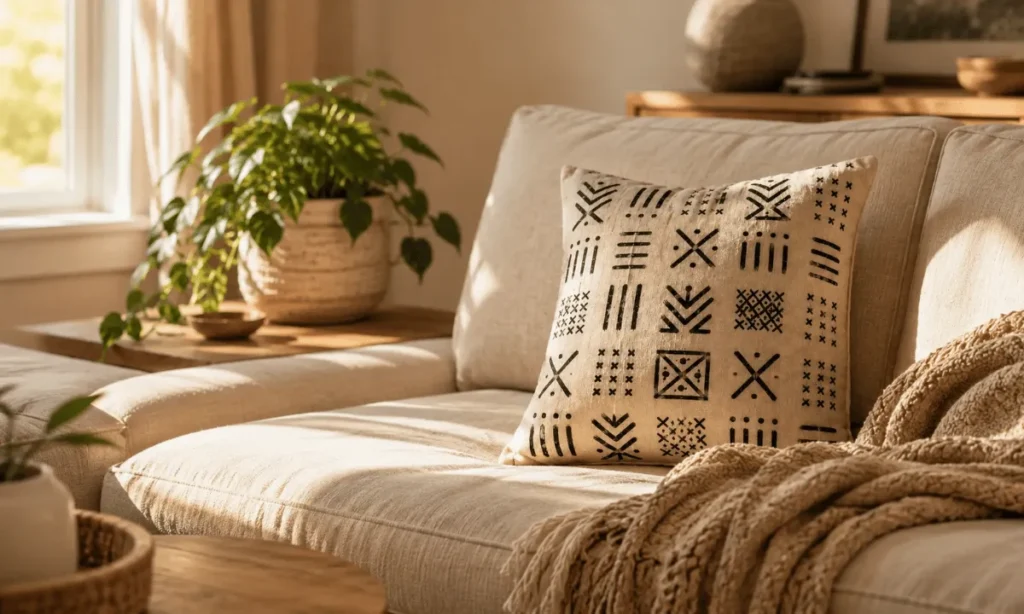
Raw cotton fabric paired with bold, hand-painted geometric symbols brings deep cultural character into any room.
Genuine Malian bògòlanfini uses fermented mud and plant dyes, but you can achieve that same rich, artisanal look at home using simple textile tools.
Skipping the layout plan is where most beginners struggle. When you paint symbols directly onto loose cloth without measuring, the patterns skew sideways, leaving your design looking uneven rather than hand-crafted.
This guide walks you through prepping your canvas, transferring symmetrical grid lines, and stitching a crisp cover that fits tight over your cushion insert.
You do not need an expensive sewing setup or intermediate crafting skills to get a clean, high-end finish.
The hands-on work takes roughly 2.5 hours, split across an afternoon. Gather your supplies, clear a flat table, and let’s turn plain cloth into an eye-catching focal piece.
Materials Needed
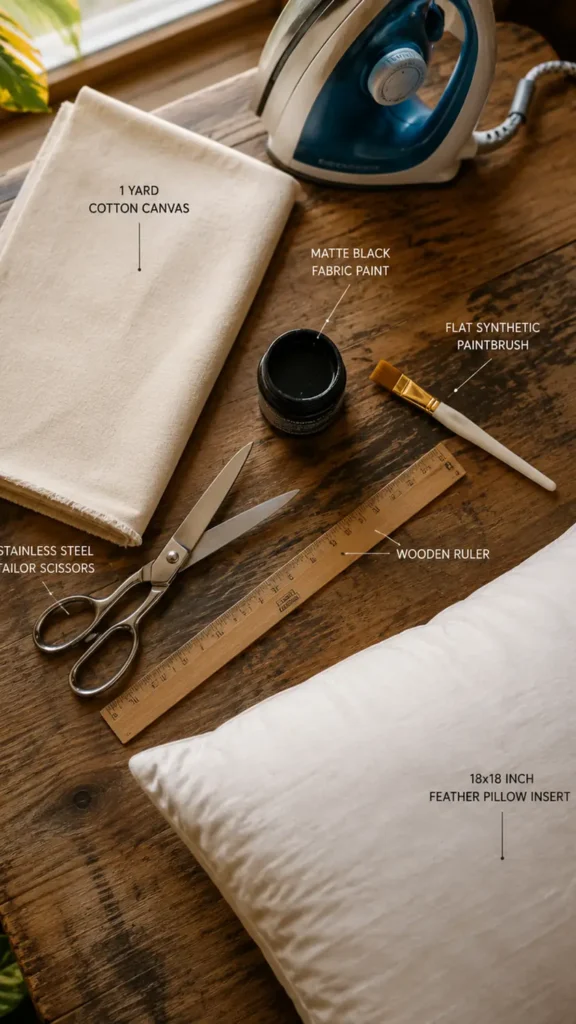
- 1 yard raw drop cloth or canvas
- 1 bottle matte black fabric paint
- 1 insert (18×18 inches down/feather)
- Polyester thread matching fabric
- Cardboard sheet for backing
Tools Needed
- Flat synthetic brush (size 4 or 6)
- Fabric scissors or rotary cutter
- Steam iron and ironing board
- Clear acrylic ruler or tape measure
- Washable fabric marker or chalk
At a Glance: Step Overview
1. Cut your back and front fabric panels to size
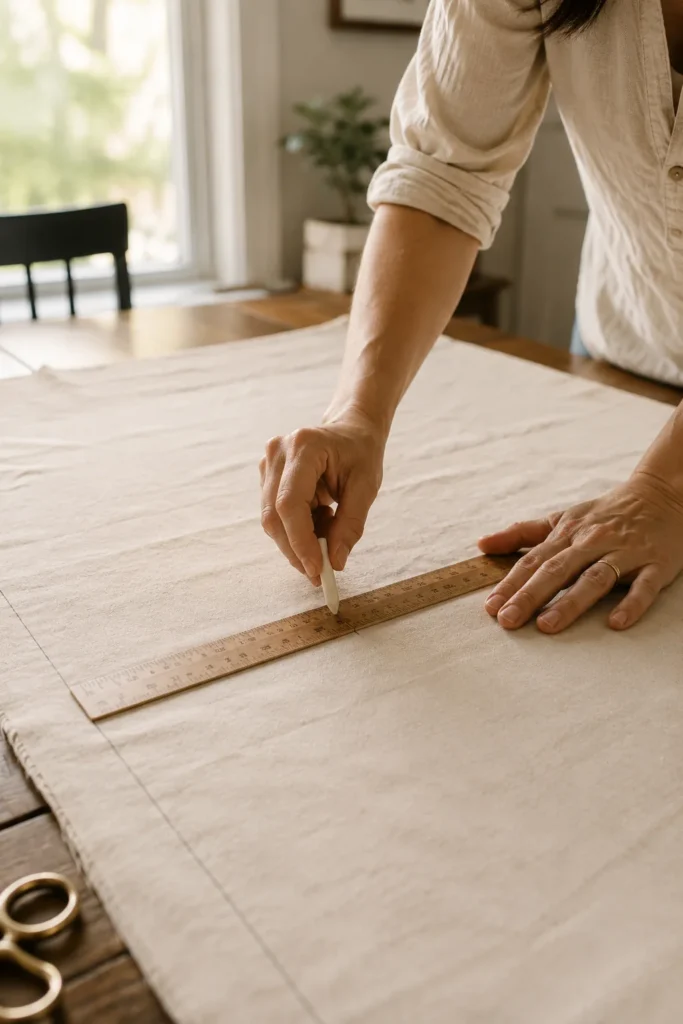
Target a finished square size that matches your cushion pad exactly. If your insert measures 18×18 inches, cut two fabric squares to precisely 19×19 inches.
That extra 1 inch accounts for a 0.5-inch seam allowance on all four sides. Beginners often cut panels to the exact target size without seam room, resulting in a tiny, overstuffed pillow.
Spread your fabric out on a hard surface and square up the weave before cutting. Use a clear acrylic ruler to trace straight lines with chalk.
If you lack a rotary cutter, heavy kitchen shears work fine just keep the lower blade resting flat against the table while slicing.
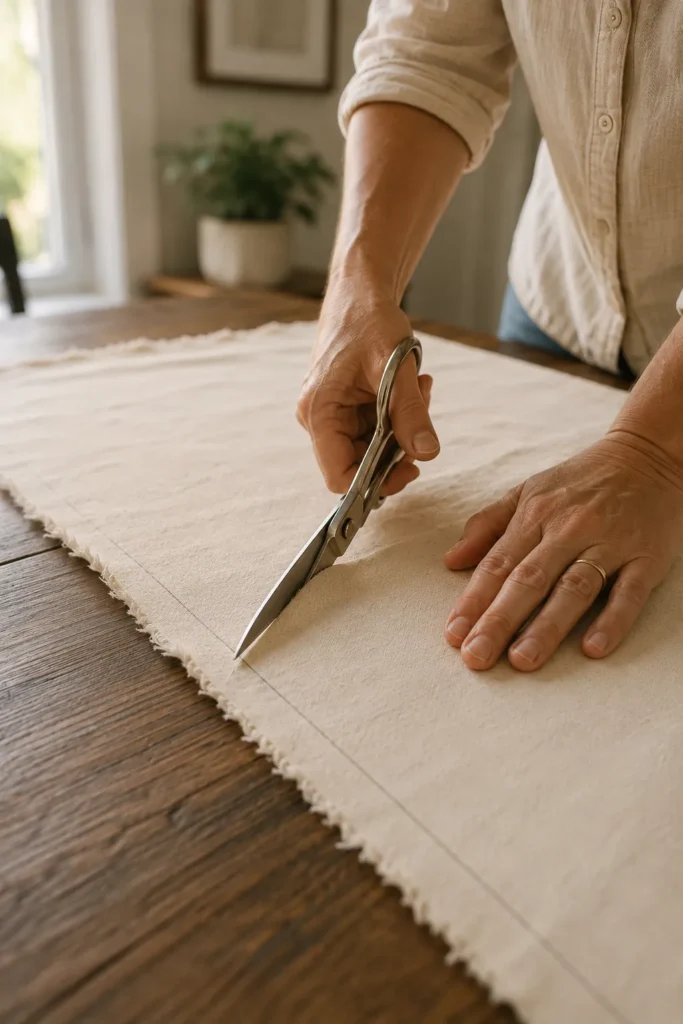
2. Press your fabric flat with a hot steam iron
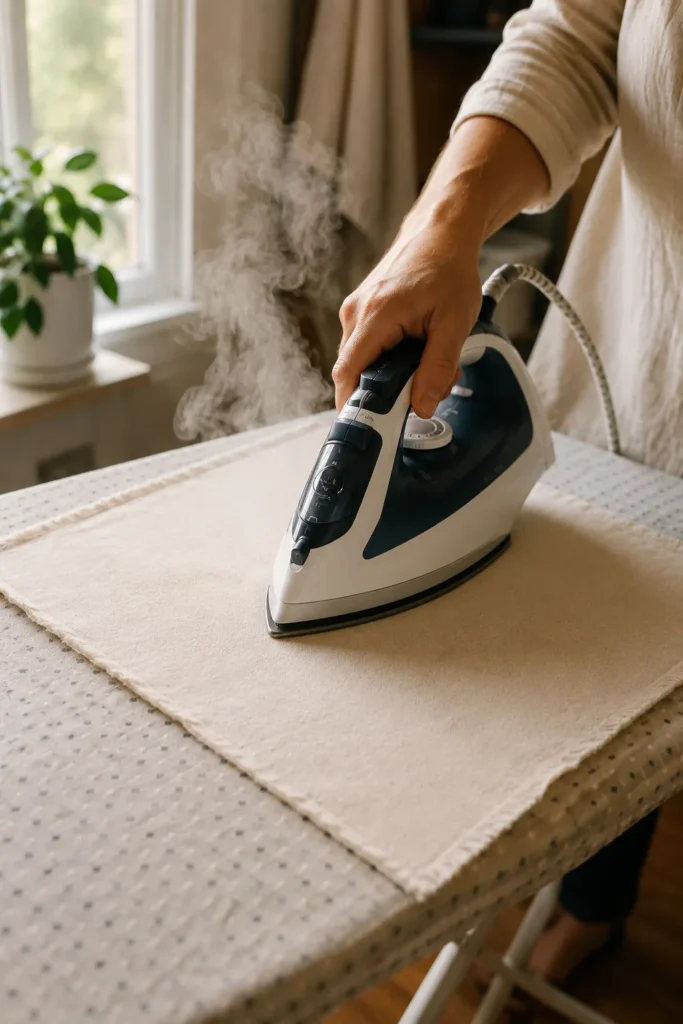
Wrinkles in raw cotton distort your brushwork later. Set your iron to the high cotton setting with full steam.
Pass the iron slowly over both panels until the weave rests completely flat. Residual moisture from the steam softens stiff canvas fibers, making paint absorption smoother in later steps.
Let the panels cool on your table for 2 minutes before moving them. Handling hot, freshly steamed cotton causes new creases immediately.
3. Draft your mudcloth geometric design on paper
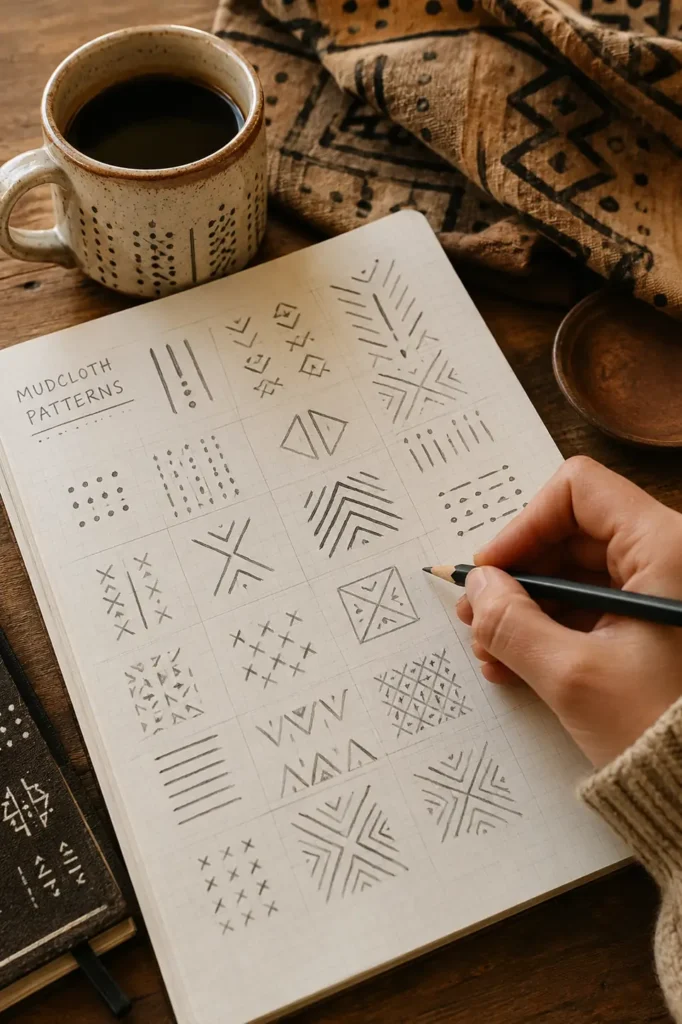
Practice your layout on plain paper before touching a brush to fabric. Draw a simple 18×18-inch box to represent your panel space.
Traditional Malian motifs consist of repeating chevrons, crosshatches, dots, and parallel lines. Divide your box into three vertical columns or four equal quadrants using a pencil.
Sketching first lets you test spacing and line weight without risk. If you feel hesitant about drawing freehand, cut a piece of thick cardboard into a 2-inch triangle or diamond to use as a quick tracing template.
4. Transfer the pattern grid lightly onto the top panel
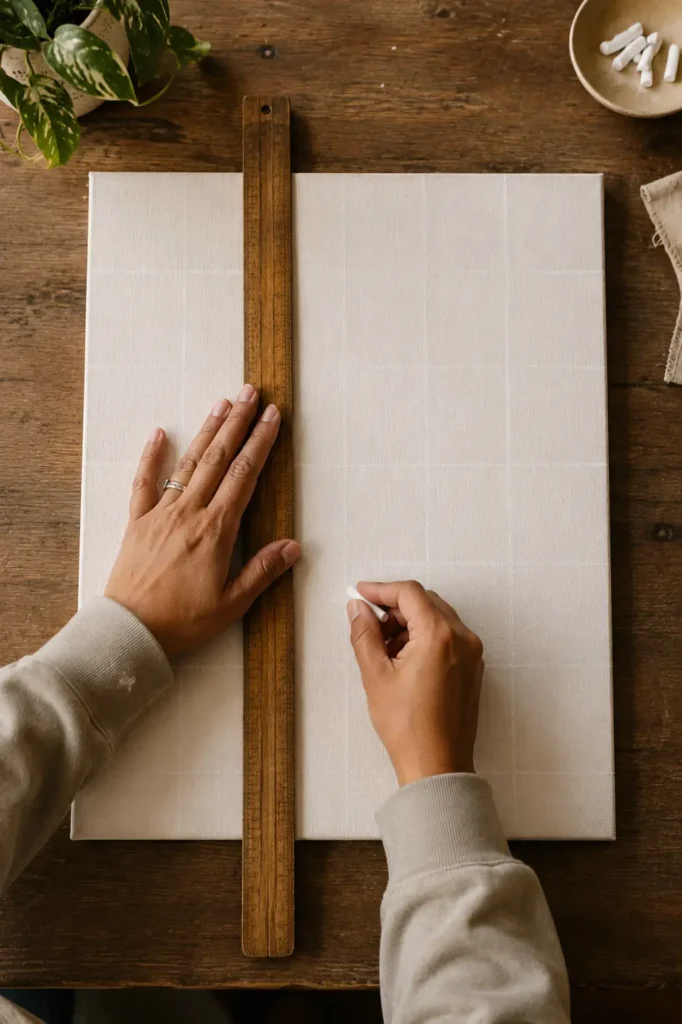
Position your ironed top panel flat on your workspace. Slide a rigid piece of corrugated cardboard directly underneath the fabric.
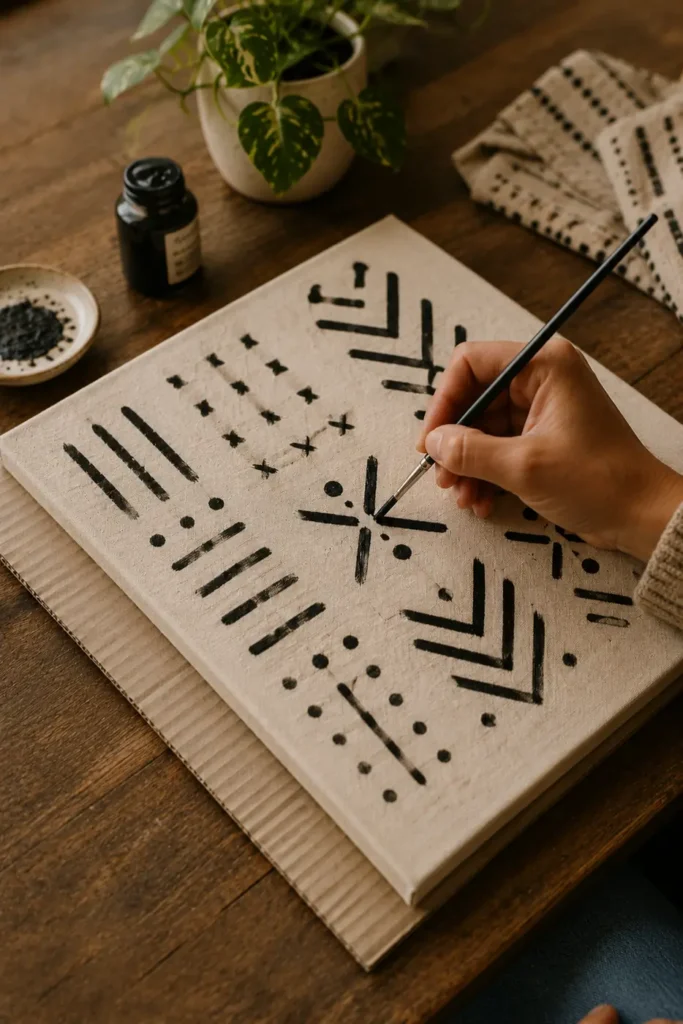
The cardboard prevents paint from bleeding onto your table while providing a firm, smooth writing surface. Use a clear ruler and tailor’s chalk to draw faint grid guidelines across the front.
Keep your pressure light so lines wash out later. If tailor’s chalk is not in your supply kit, a standard yellow watercolor pencil makes a great water-soluble alternative that disappears under damp wiping.
5. Paint the bold black symbols with a steady hand
Dip the tip of a size 4 flat synthetic brush into matte black fabric paint. Wipe excess paint against the rim of your palette to keep the bristles clean and controlled.
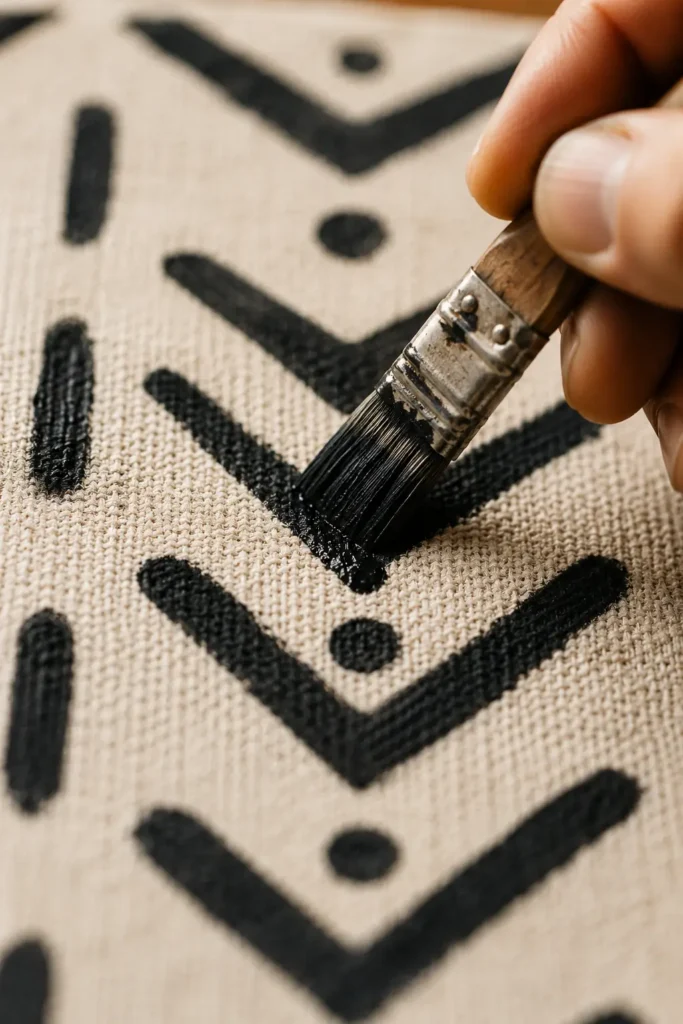
Paint your vertical lines, chevrons, and dots directly over your chalk grid. Work carefully from top to bottom so your hand never rests on wet paint.
Let your brush strokes retain a raw, organic texture. Authentic West African mudcloth shows natural variations in line thickness, so minor imperfections actually elevate the handmade look.
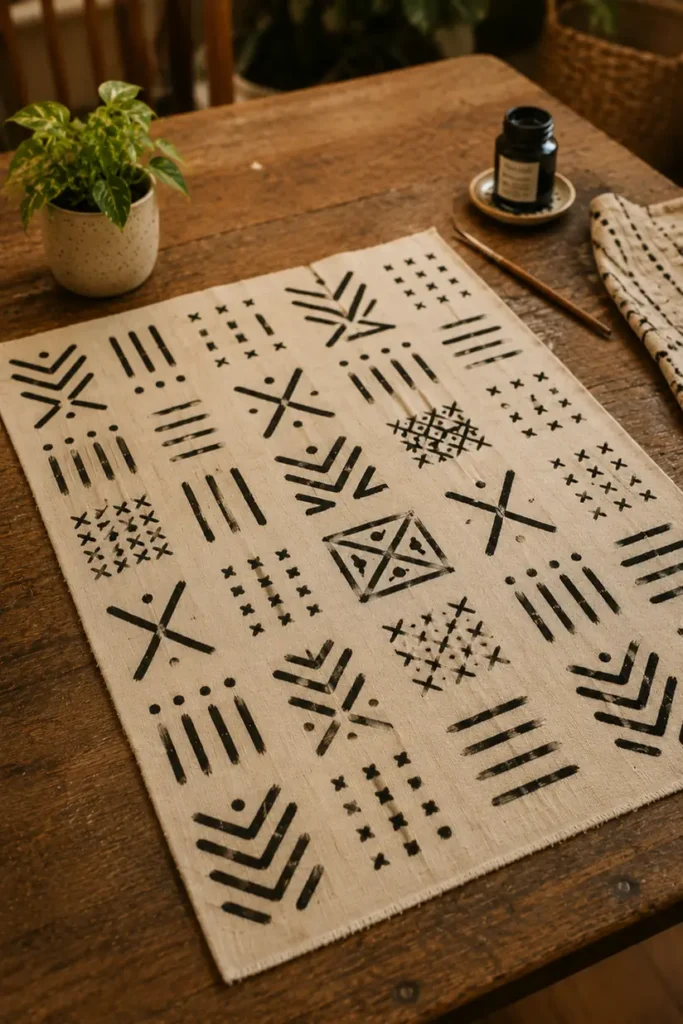
Allow the finished panel to dry flat for 24 hours. Rushing to heat-set wet paint ruins the finish and permanently smudges your design.
Fabric paint should feel like thick yogurt. If it pulls or drags on the rough canvas, mix in 3 to 4 drops of tap water to thin the paint slightly without losing deep black opacity.
6. Set the paint permanently using dry heat
Once the panel feels completely dry to the touch, place it face-up on your ironing board. Cover the painted face with a thin cotton pressing cloth or scrap muslin.
Set your steam iron to high heat and turn the steam function off completely. Moisture at this point can lift uncured binder and ruin your crisp lines.
Never press the hot iron plate directly onto dry fabric paint. The heat will melt the acrylic polymers, tearing the design off your panel and sticking permanently to your iron soleplate.
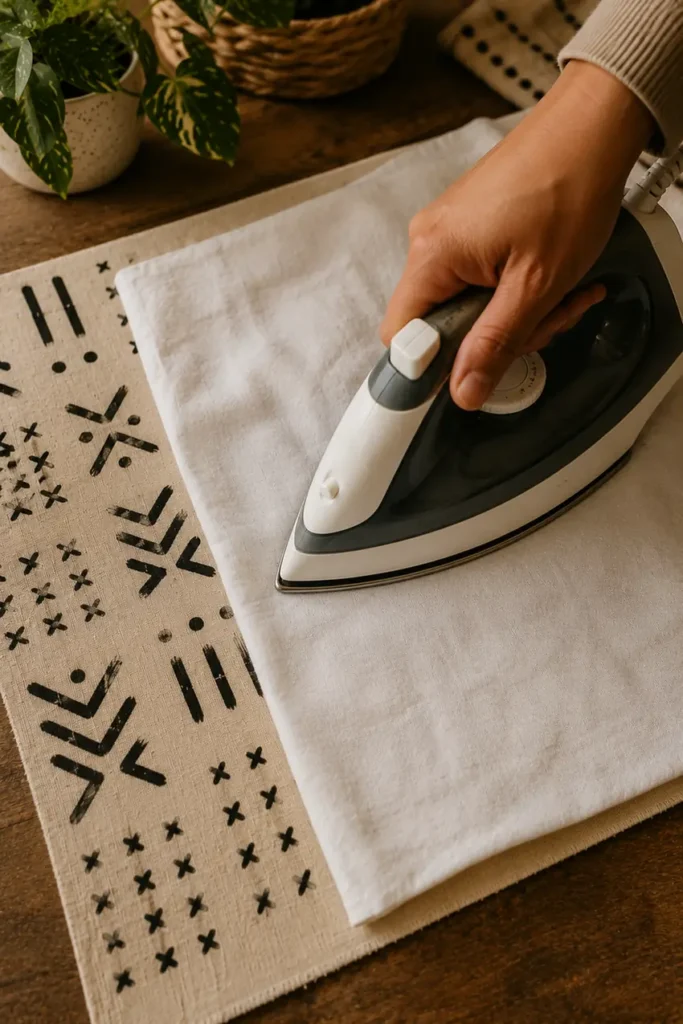
Press the iron down firmly over one section for 30 seconds without sliding it back and forth. Lift, move to the adjacent area, and repeat until you heat-set every square inch of the pattern.
7. Pin the front and back panels right sides together
Lay your heat-set top panel face-up on a wide, clean table. Place your blank back panel directly over it, face-down, matching all four raw edges precisely.
The painted pattern must face inward so your final seams stay hidden on the inside of the cushion cover. Smooth out air pockets with the palm of your hand from the center outward.
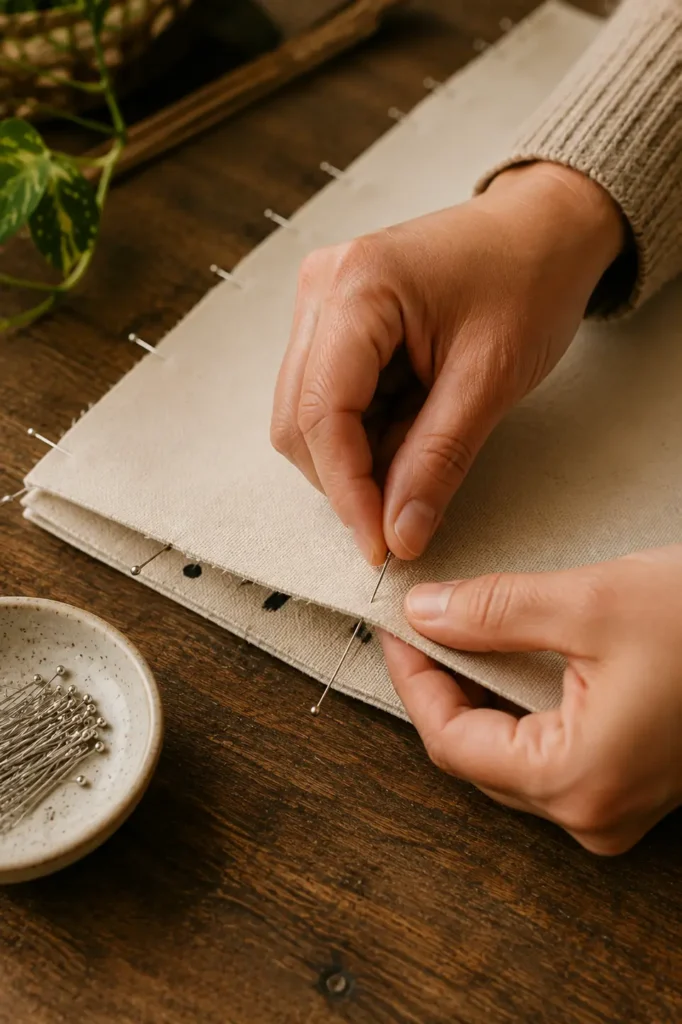
Insert sewing pins perpendicular to the raw edge every 2 inches around the full square. Pinning perpendicular rather than parallel lets you pull pins cleanly as your sewing machine foot approaches.
8. Stitch around the perimeter, leaving an opening for the insert
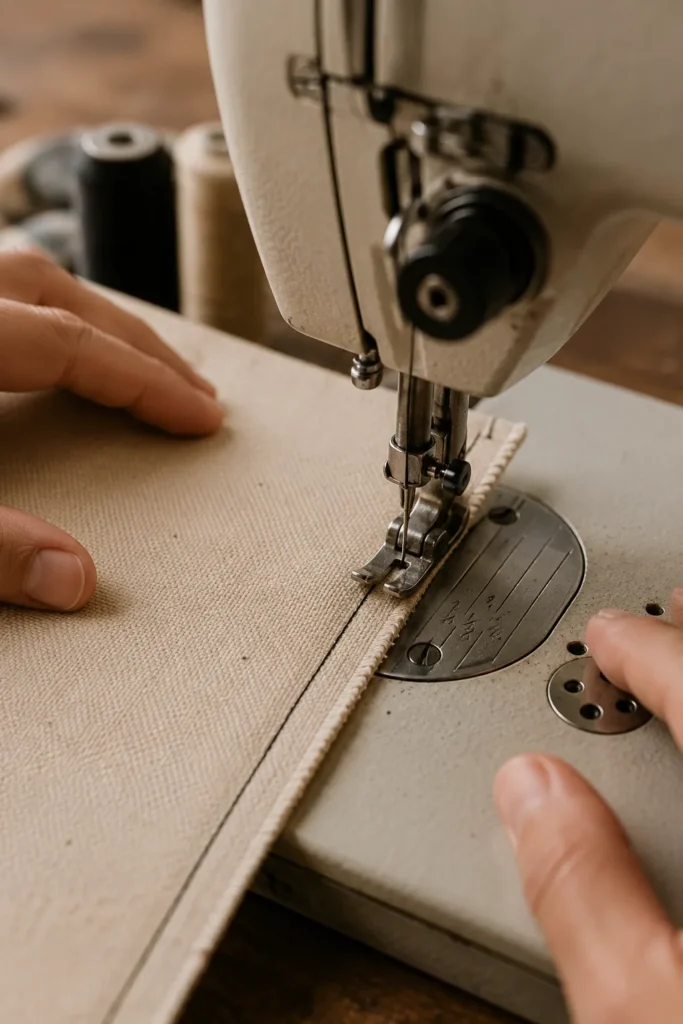
Set your sewing machine to a standard straight stitch with a length of 2.5 mm. Lower your needle 0.5 inches in from the corner on one bottom edge.
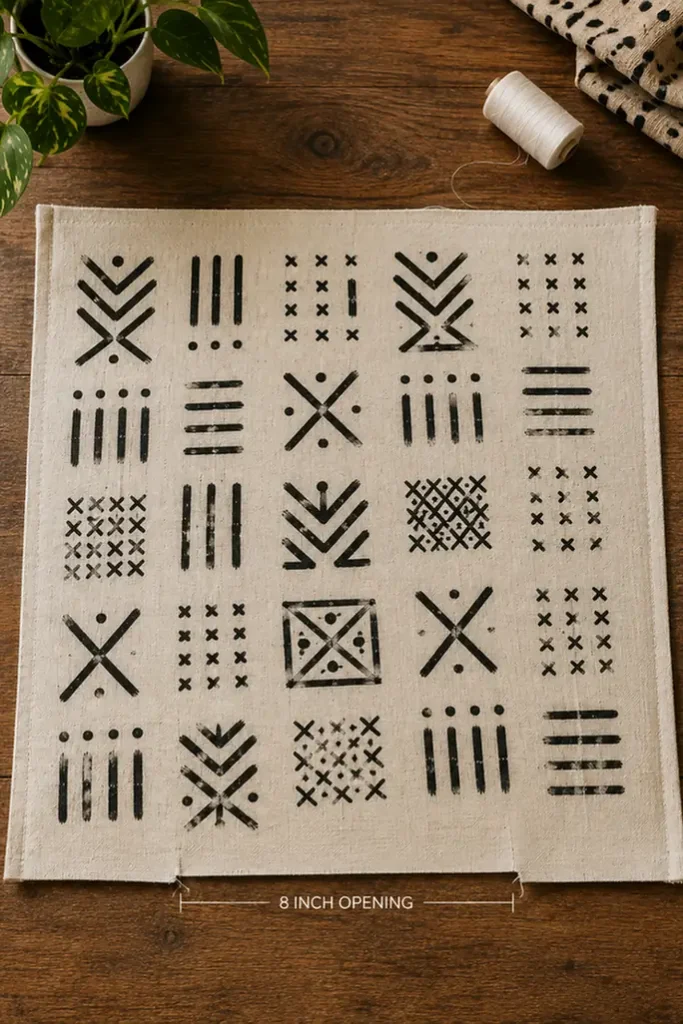
Sew around three full sides, stopping 3 inches past the final corner on your bottom side. This leaves a central gap of roughly 8 inches unstitched for stuffing your cushion pad later.
Backstitch for 3 to 4 stitches at both the start and end of your seam. Reinforcing these stress points prevents the thread from unraveling when you shove the thick pillow insert inside.
9. Clip the corners and flip the cover right side out
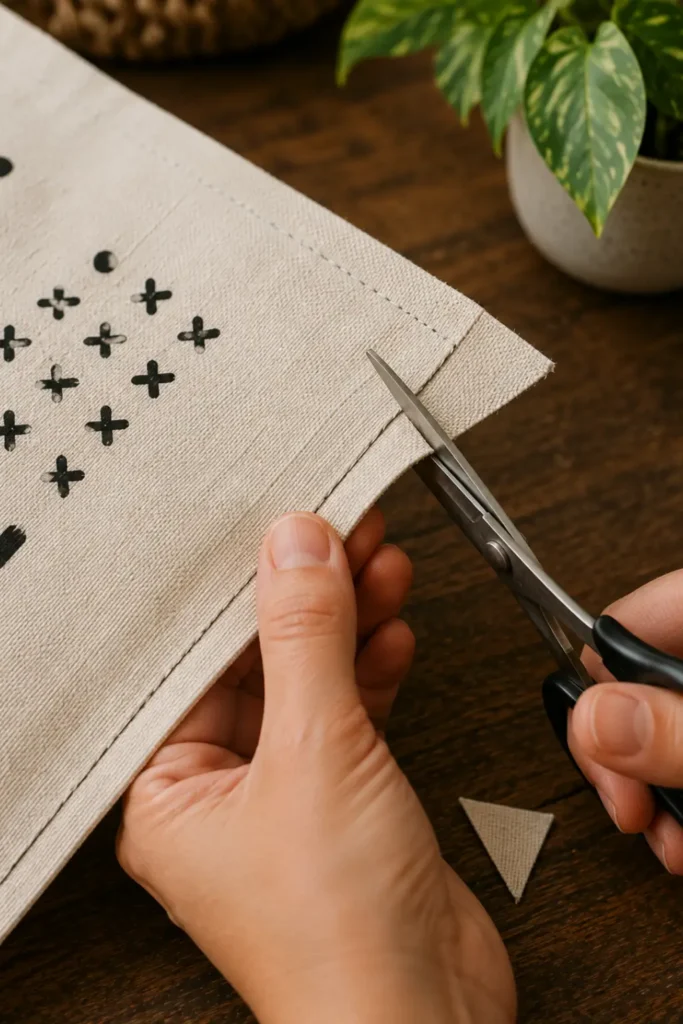
Trim the extra fabric at all four corners using sharp scissors, slicing diagonally across the point about 0.125 inches away from your thread line.
Clipping corner bulk ensures sharp, crisp square points once turned. Be careful not to nick your sewn stitches, or you will end up with a hole at the corner seam.
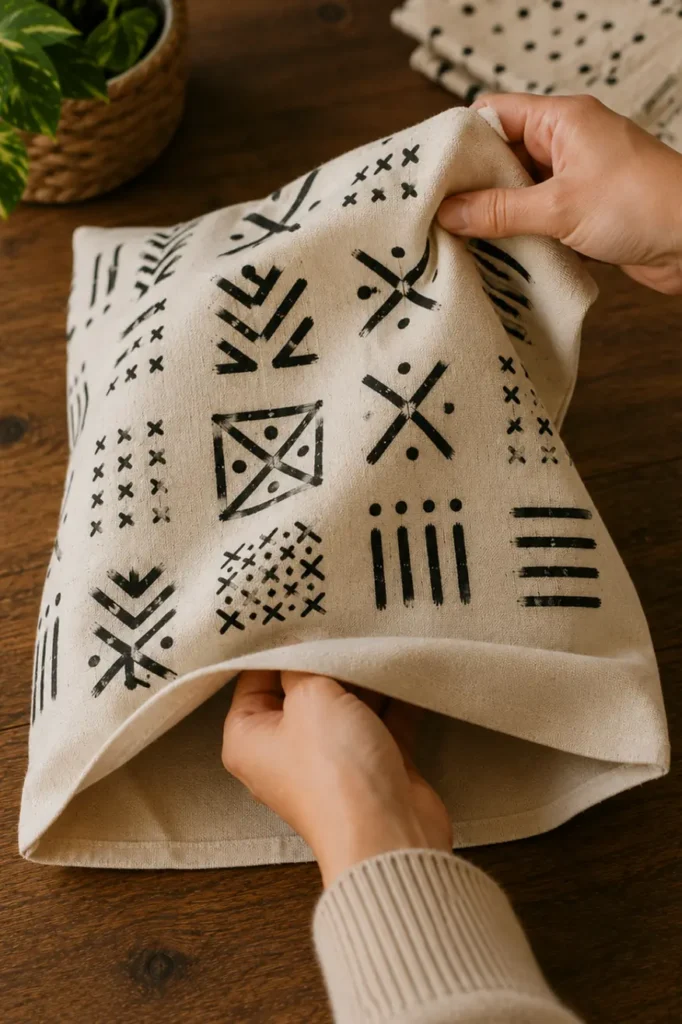
Reach your hand through the 8-inch opening, grab the furthest interior corner, and pull the entire cover right side out. Use a blunt tool like a chopstick or point turner to push out all four corners fully.
10. Stuff the insert tightly and hand-stitch the gap closed
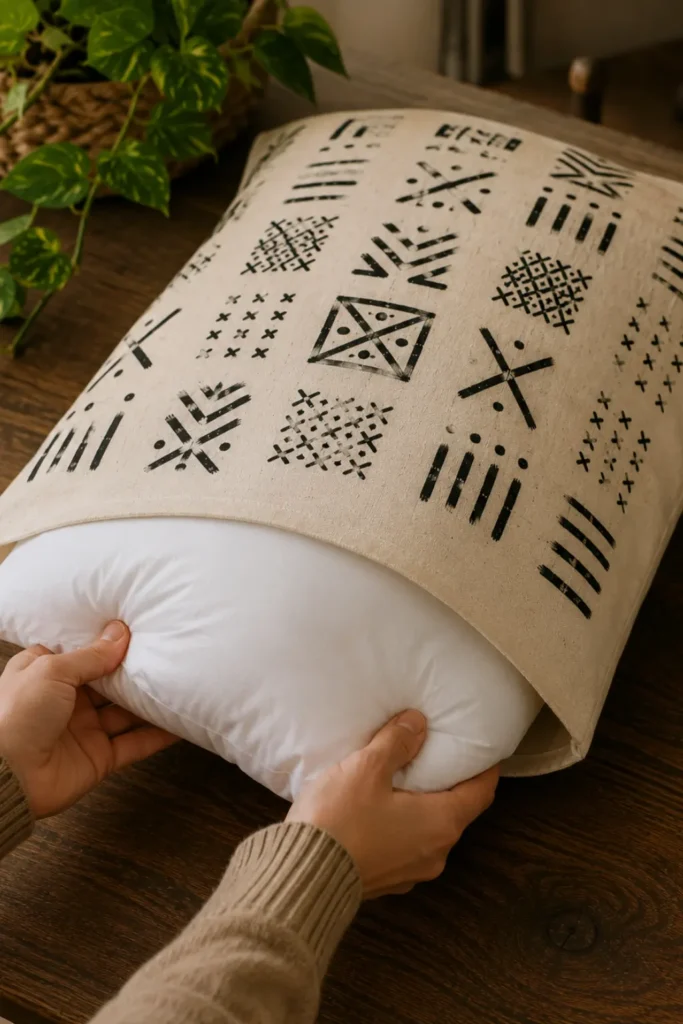
Compress your 18×18-inch cushion insert by folding it in half like a taco. Guide it carefully through the narrow opening, then release it inside to fill out the corners.
Fold the raw edges of your 8-inch opening inward by 0.5 inches to match the machine seam line, and press the folded edges tight with your fingers or a cool iron.
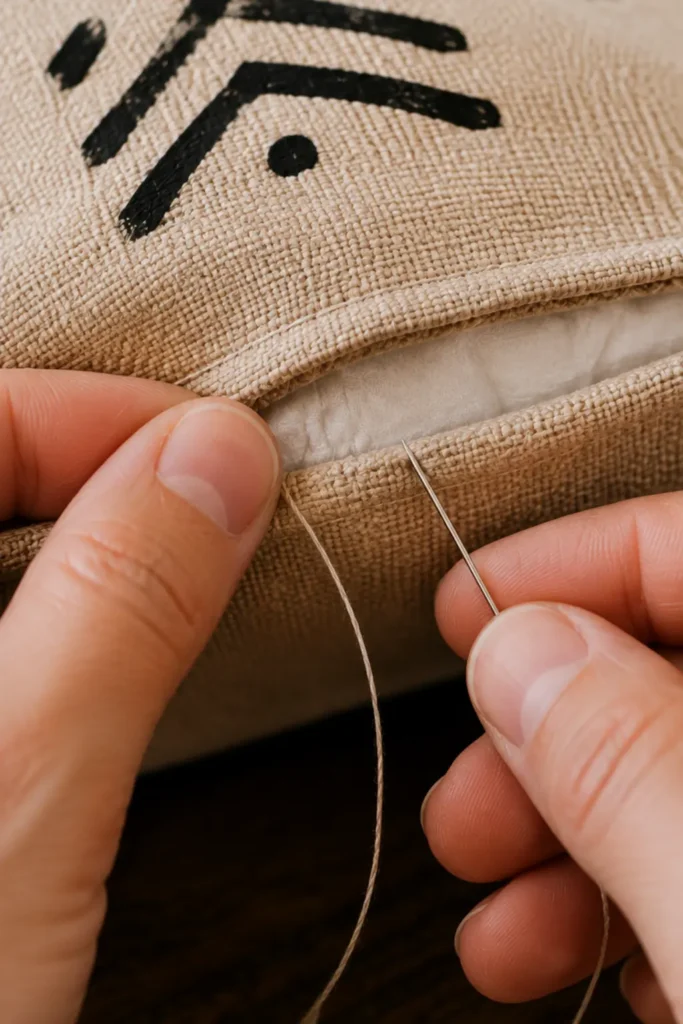
Secure the gap using an invisible ladder stitch and a hand-sewing needle double-threaded with matching polyester thread. Take small 0.125-inch stitches alternating between the top and bottom folded lips, then pull taut to seal the pillow completely.
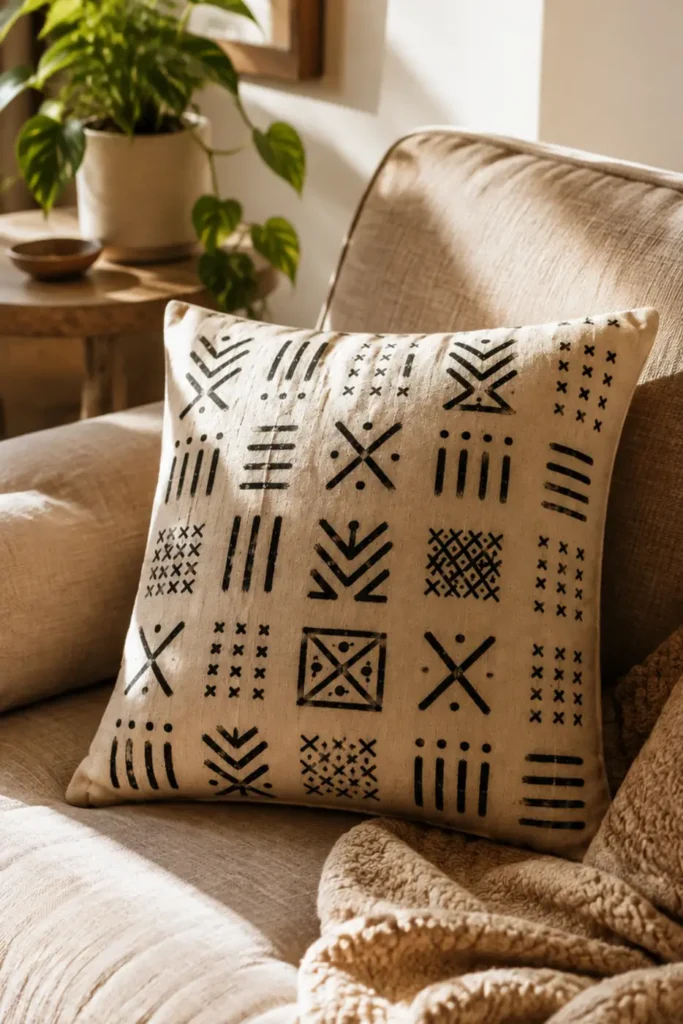
Before & After: What to Expect
- Plain, stiff off-white cloth
- Flat appearance with no pattern
- Flimsy, unshaped panel form
- Textured, hand-painted geometric design
- Plump, tailored square fit
- Durable, machine-washable finish
| If This Happens | Try This Fix |
|---|---|
| Paint lines bleed into fabric | Stop adding water. Use cardboard backing and apply paint with less pressure. |
| Corners look bunched and rounded | Clip corner fabric diagonally close to seam before turning cover right side out. |
| Pillow feels loose or wrinkled | Swap for an insert that is 1 to 2 inches larger than your cover dimensions. |
Common Mistakes & Easy Fixes
Why it happens: Paint was too runny or applied too thick.
How to fix: Thin paint with only a few drops of water, and keep a cardboard backing underneath the fabric to absorb excess moisture.
Why it happens: Seam allowance fabric got bunched inside the point.
How to fix: Clip the corner seam allowance diagonally right up to the thread line before turning the cover right side out.
Why it happens: The insert is the exact same size as the finished cover.
How to fix: Always use an insert that is 1 to 2 inches larger than your cut panel dimensions for a firm, high-end plumpness.
Frequently Asked Questions
Can I wash my hand-painted mudcloth pillow in a washing machine?
Yes, provided you heat-set the acrylic fabric paint thoroughly in Step 6. Turn the pillow cover inside out and wash on a gentle cycle with cold water, then line dry to preserve color contrast.
What if I don’t own a sewing machine?
You can assemble this entire project using heavy-duty iron-on hem tape or fabric glue along the 0.5-inch seam allowances, or hand-sew the perimeter using a tight backstitch.
What type of fabric gives the most authentic mudcloth texture?
Unbleached cotton drop cloth, heavy linen, or raw bull denim provides the best nubby, slubbed texture that mimics genuine handwoven Malian cotton strip-cloth.
Quick Reference Cheat Sheet
SCREENSHOT ME- Panels: 19×19 inches
- Insert: 18×18 inches
- Seam Allowance: 0.5 inches
- Gap for Insert: 8 inches
- Heat-Set Time: 30 sec/area
- Cut & iron fabric panels.
- Grid pattern & paint black symbols.
- Dry 24 hours; dry-iron heat set.
- Pin right sides; sew 3.5 sides.
- Clip corners, turn, stuff & ladder-stitch.
Conclusion
Stepping back to admire hand-painted mudcloth resting on your sofa is one of the most satisfying moments in home crafting. Those bold, textured geometric lines instantly add warmth, story, and authentic Afrocentric style to your living space.
If you love this look, try making a matching set with inverted colors—painting a black canvas background with cream or white symbols.
Pin this guide to your favorite home decor board on Pinterest so you have these exact measurements and heat-setting times ready when you start your next weekend project.