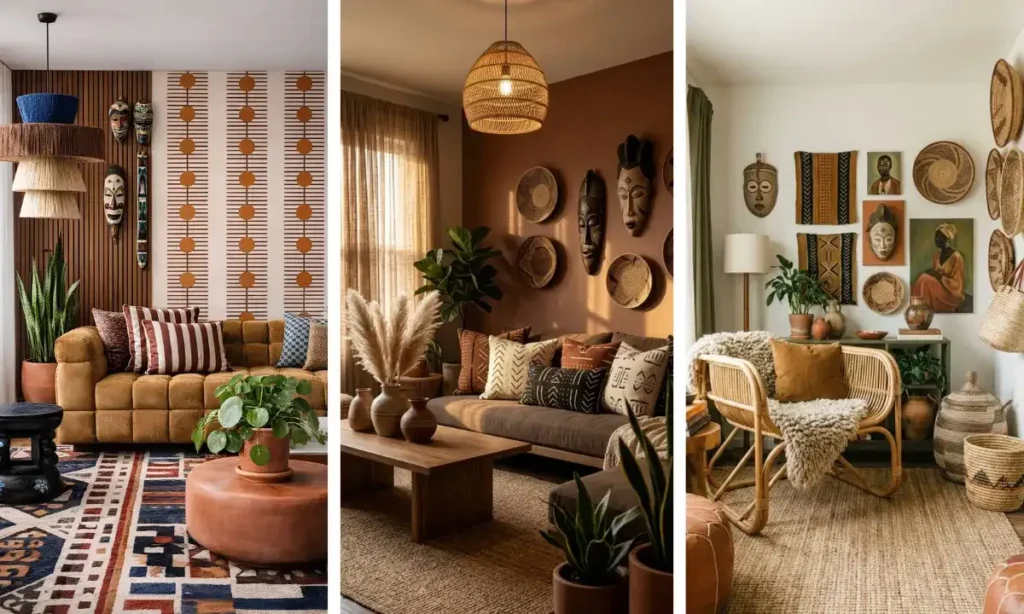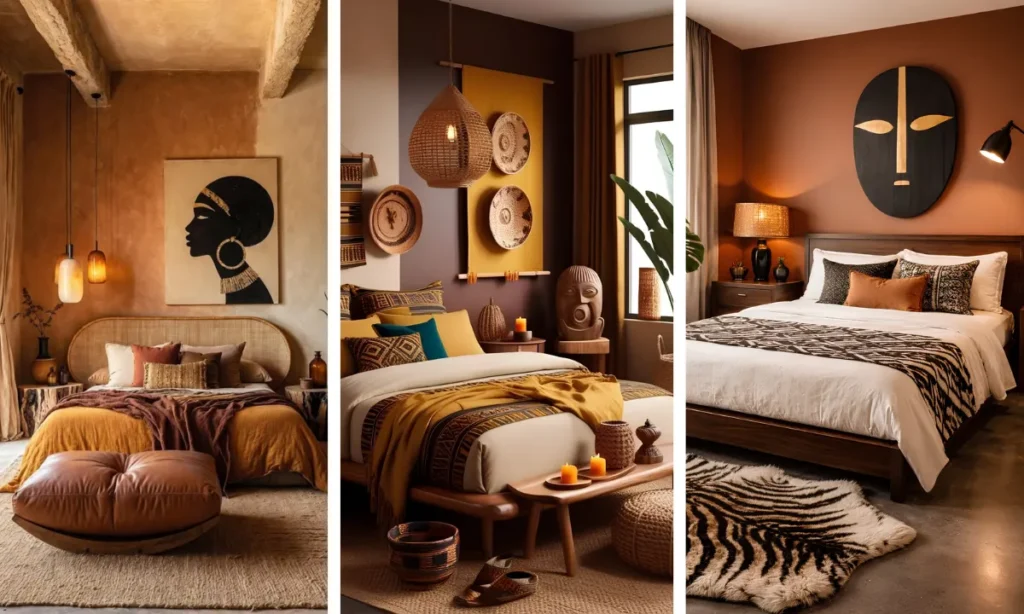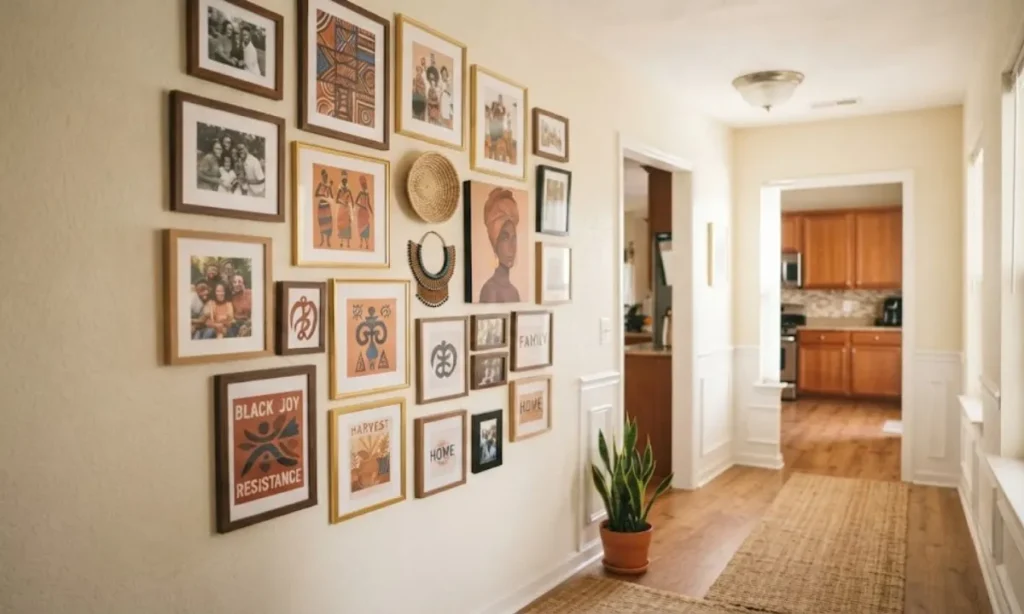
Most gallery walls end up looking like a furniture store display. Matching frames, evenly spaced, forgettable by the third glance. That’s not what you’re after.
You want a wall that stops people mid-step, one that holds your grandmother’s church photo next to a piece of Kente cloth art and a snapshot from last year’s family reunion.
Learning how to create an Afrocentric gallery wall means learning how to arrange meaning, not just objects.
This guide walks you through the whole process, from picking the story your wall will tell to hanging the very last frame.
You’ll gather your pieces, plan the layout on the floor before a single nail goes in the wall, and build outward from one anchor piece so the whole arrangement feels intentional instead of accidental.
The planning takes real thought. The hanging itself, once you’ve mapped it out, moves fast.
Expect to spend a weekend on this if you’re starting from scratch: one day gathering and sorting, one day hanging.
If you already have your photos and art picked out, you can likely finish the wall itself in an afternoon.
By the end, you’ll have a wall that does more than fill space. It’ll tell people who your family is.
- Define the story you want the wall to tell
- Gather your photos, art, and keepsakes
- Choose your wall and measure the space
- Pick a color thread to tie everything together
- Sort your pieces into focal points and fillers
- Choose your frame style and finish
- Lay out the design on the floor first
- Trace your layout onto paper templates
- Tape the templates to the wall
- Hang the anchor piece first
- Hang the remaining pieces outward from the center
- Step back and adjust for balance
Define the Story You Want the Wall to Tell
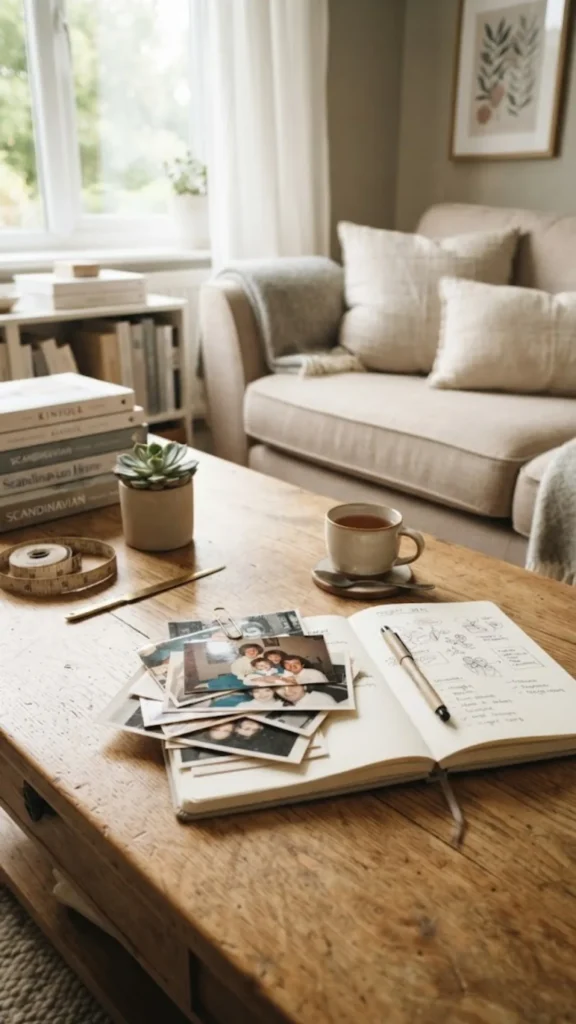
Before you touch a single frame, decide what this wall is actually about. Is it three generations of women in your family? Your journey from your grandparents’ homeland to where you live now? A mix of ancestry art and everyday joy? Pick one thread.
A wall trying to say everything usually ends up saying nothing. Write your theme down in one sentence and pin it somewhere you’ll see it during the next few steps.
Gather Your Photos, Art, and Keepsakes
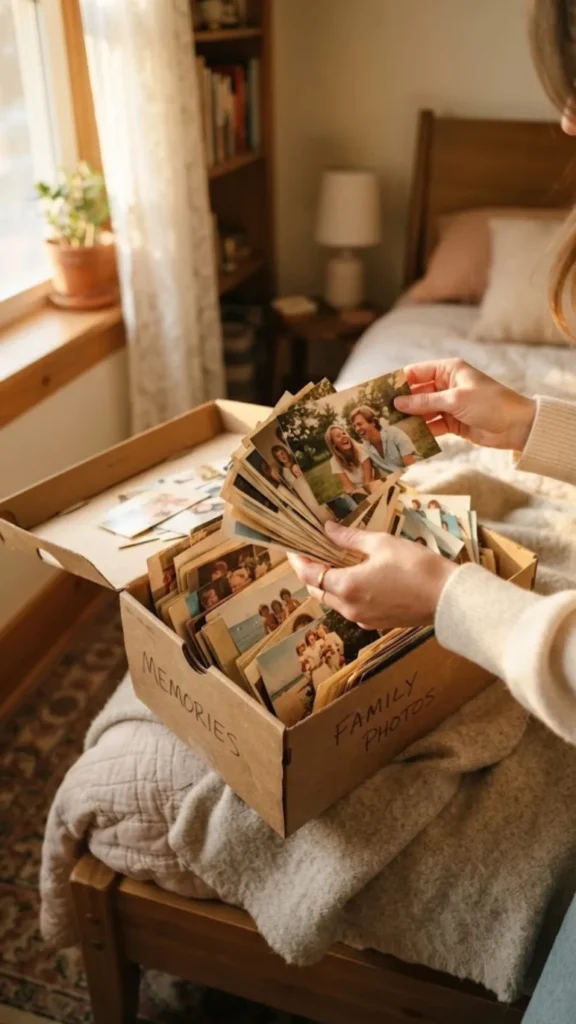
Pull every photo, print, and keepsake that could fit your theme, even ones you’re not sure about yet. Look in these spots first:
- Old photo albums and shoeboxes
- Phone camera roll and cloud storage
- Framed pieces already hanging elsewhere in the house
- Textiles, fabric scraps, or small heirlooms that could be framed
Print any digital photos now at a local shop or home printer, since 1 to 2 days is common for photo lab turnaround. You want everything physically in hand before you start sorting.
Choose Your Wall and Measure the Space
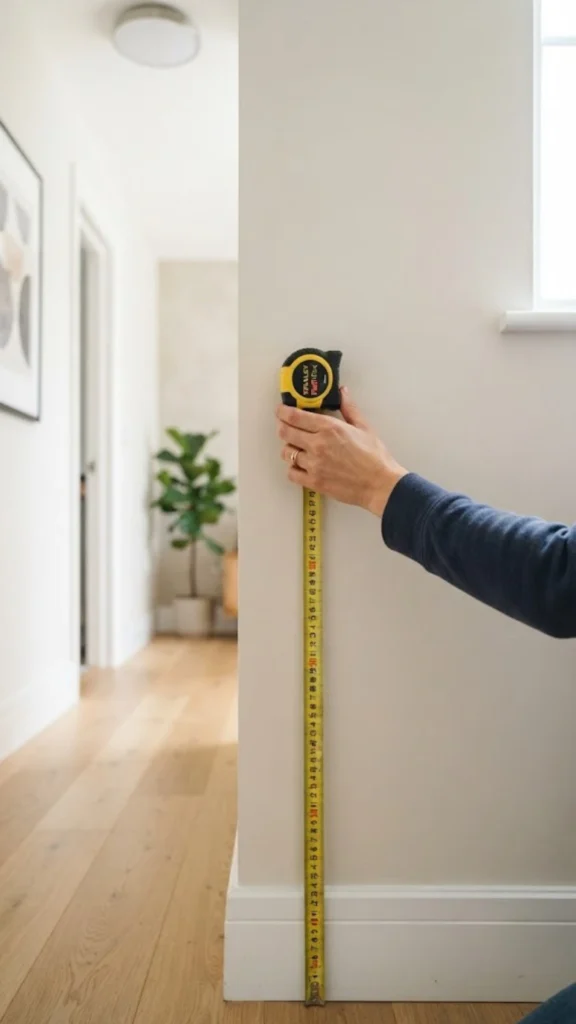
Look for a wall with breathing room, ideally one you pass often, like a hallway, staircase, or the space above a couch.
Measure the width and height with your tape measure and write both numbers down. A gallery wall generally needs at least 4 feet of width to feel intentional rather than cramped.
If your wall is narrower, plan a vertical column instead of a wide spread. This number becomes your ceiling for every layout decision from here on.
Pick a Color Thread to Tie Everything Together
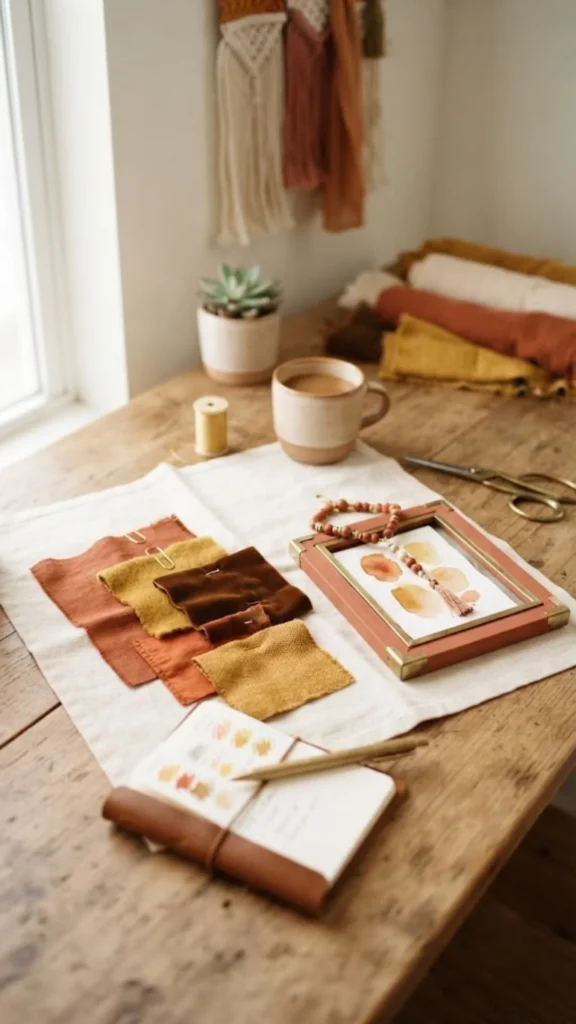
Two or three colors, pulled from your existing pieces, will carry your eye across the whole wall. Look at what’s already in your photos and art: warm terracottas, deep browns, a pop of gold, whatever repeats naturally.
You don’t need to repaint anything. A small object like a woven basket or beaded frame can carry the color if a photo can’t.
Lay your chosen pieces on the floor and squint at them from a few feet away. If one piece jumps out as “wrong,” it usually clashes on color, not content. Swap the frame mat, not the photo.
Sort Your Pieces Into Focal Points and Fillers
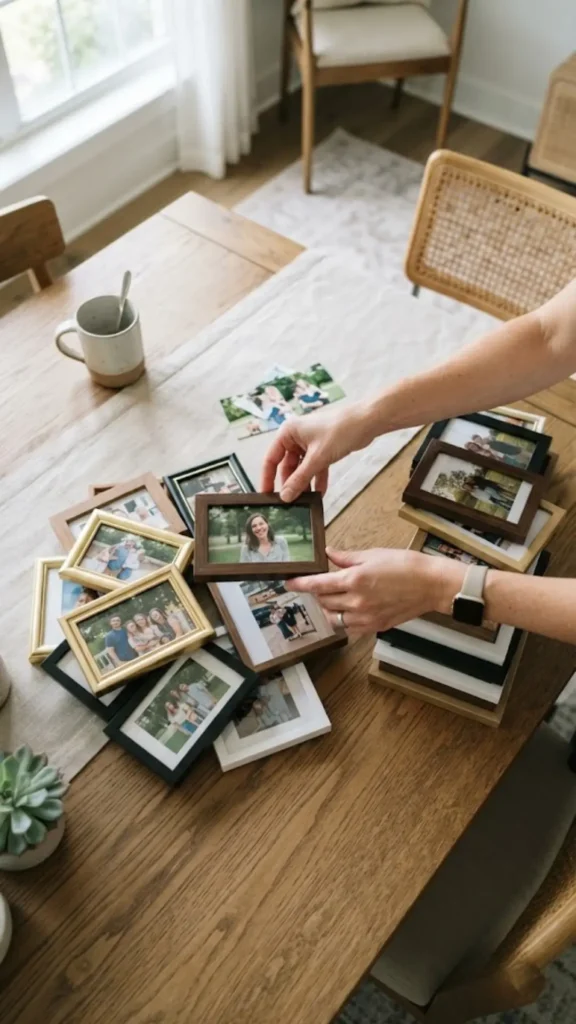
Not every piece carries equal weight, and that’s the point. Split what you’ve gathered into two piles:
- Focal pieces: the largest photo, the boldest art print, the one item that says the most about your family’s story
- Filler pieces: smaller photos, quotes, small textiles, and objects that support the focal pieces without competing
Most walls need one or two focal pieces and five to eight fillers. If everything you own feels like a focal piece, that’s a sign to trim your selection before moving forward.
Choose Your Frame Style and Finish
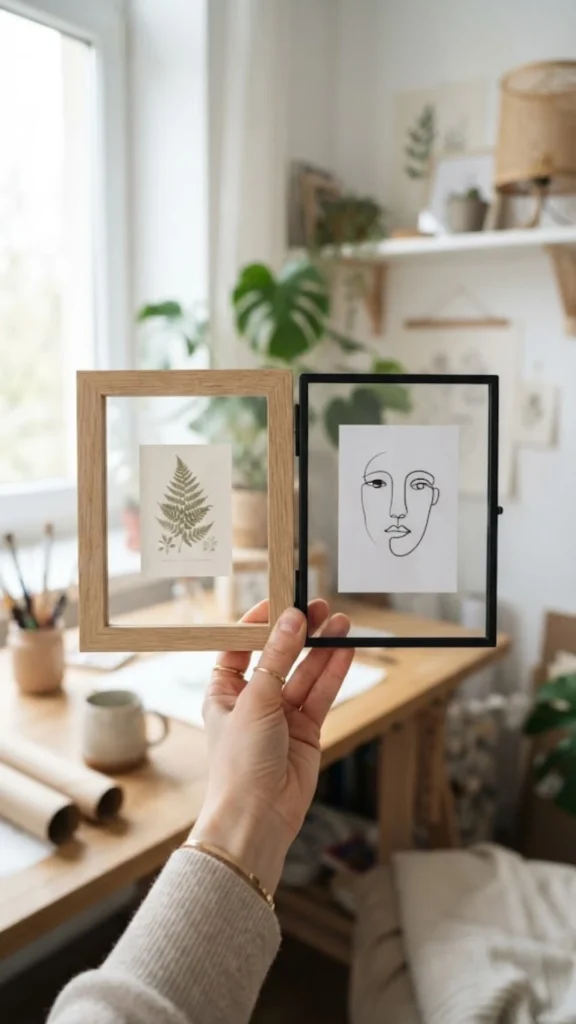
A gallery wall reads as intentional when the frames share something, even if the photos and art don’t match.
Pick either one finish across all frames (all black, all warm wood, all brass) or one shape family (all rectangles, mixing only a single round accent piece). Mismatched frame sizes are fine and even preferred.
Mismatched frame finishes, scattered with no logic, are what make a wall look unplanned.
Thrifted frames often mix gold, silver, and black hardware. Before hanging anything, do a quick pass with a can of matching spray paint so the metals don’t fight each other on the wall.
Lay Out the Design on the Floor First
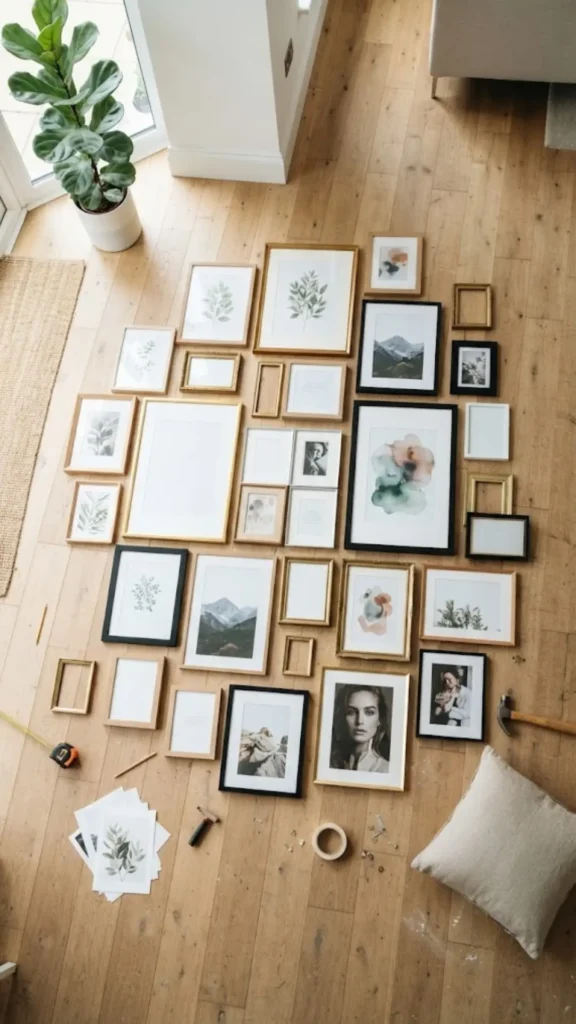
Clear a stretch of floor roughly the same size as your wall space and arrange every piece there before anything touches the wall. This is where mistakes are cheap.
Move the anchor piece around, test different neighbors for it, step back, and look with fresh eyes. Give yourself at least 20 minutes here. Rushing this step is how walls end up with awkward gaps you only notice after the nails are in.
Trace Your Layout Onto Paper Templates
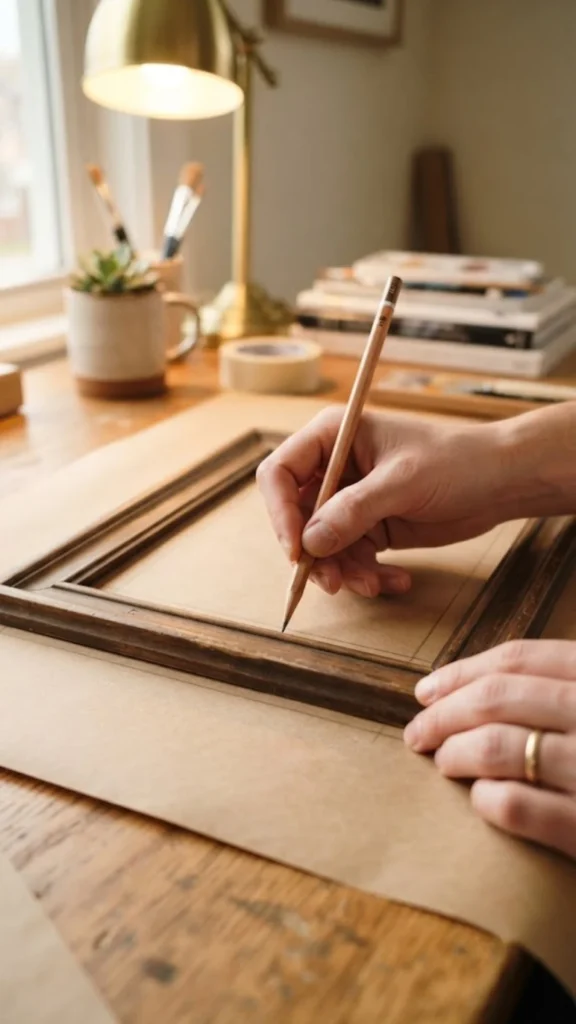
Once your floor arrangement feels right, trace each frame onto a sheet of kraft paper or newspaper. For each one:
- Lay the frame flat on the paper
- Trace around the outer edge with a pencil
- Cut along the line
- Mark the hanging point on the template where the hook or wire sits
This turns your floor layout into a moveable map you can test on the actual wall without a single nail going in yet.
Write the frame’s name or a quick description on each template in pencil. “Grandma’s kitchen photo” is much faster to spot than a blank paper cutout once you have a dozen taped to the wall.
Tape the Templates to the Wall
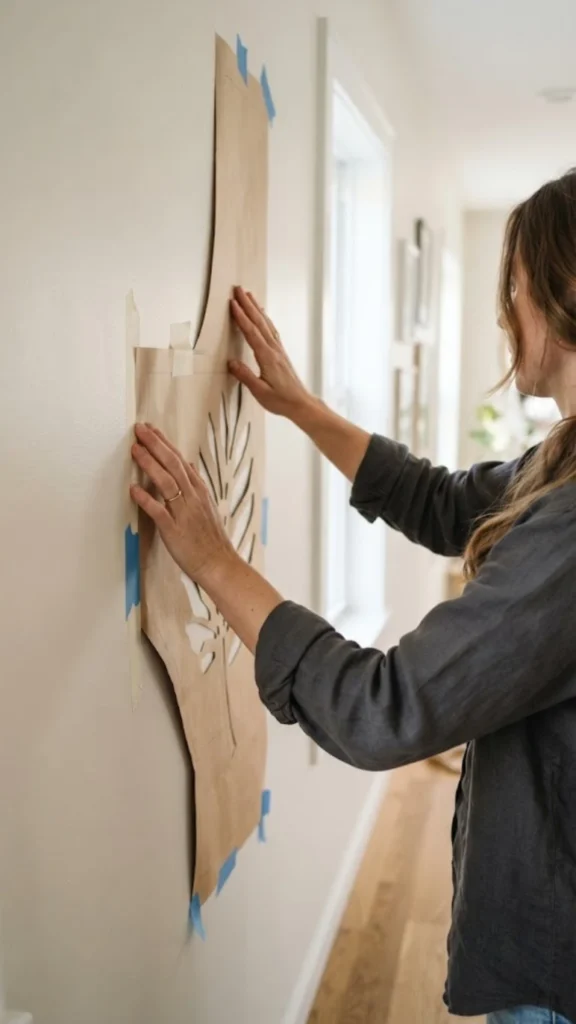
Using painter’s tape, stick each template to the wall in the same arrangement you built on the floor. Keep 2 to 3 inches of space between templates for a cohesive cluster look, or 3 to 4 inches for a more spread-out feel.
Step back after every few templates and check the spacing from across the room, not just up close. Adjust now. This is your last easy chance before the drilling starts.
Hang the Anchor Piece First
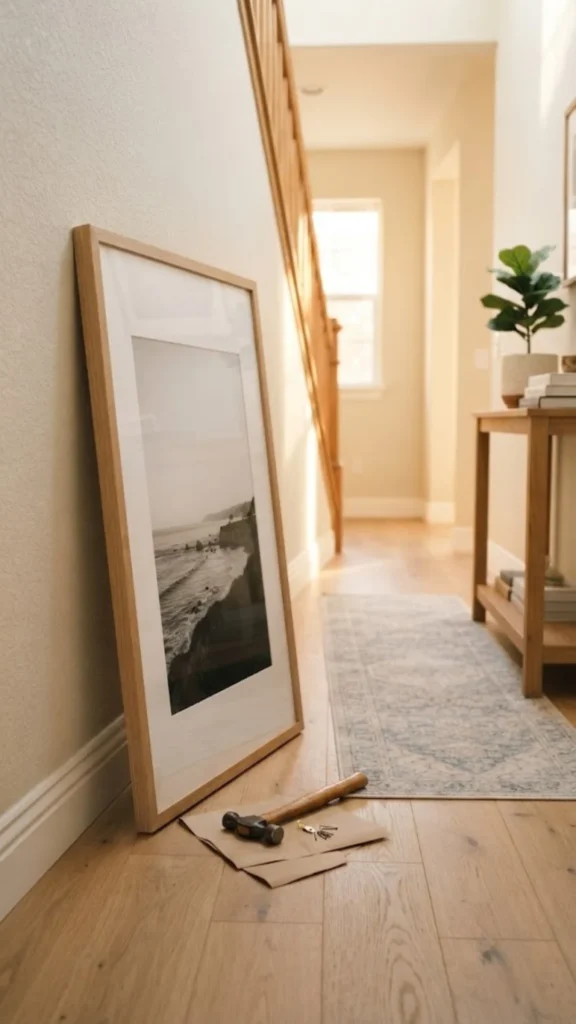
Find your anchor template, the one holding your largest or most meaningful piece, and confirm its position one more time before touching a hook to the wall.
Use a stud finder here if the piece is heavy, since a stud gives far more holding strength than drywall alone.
Mark the hanging point through the paper with a pencil, then remove the template and drive your hook into that exact mark.
Hang the Remaining Pieces Outward From the Center
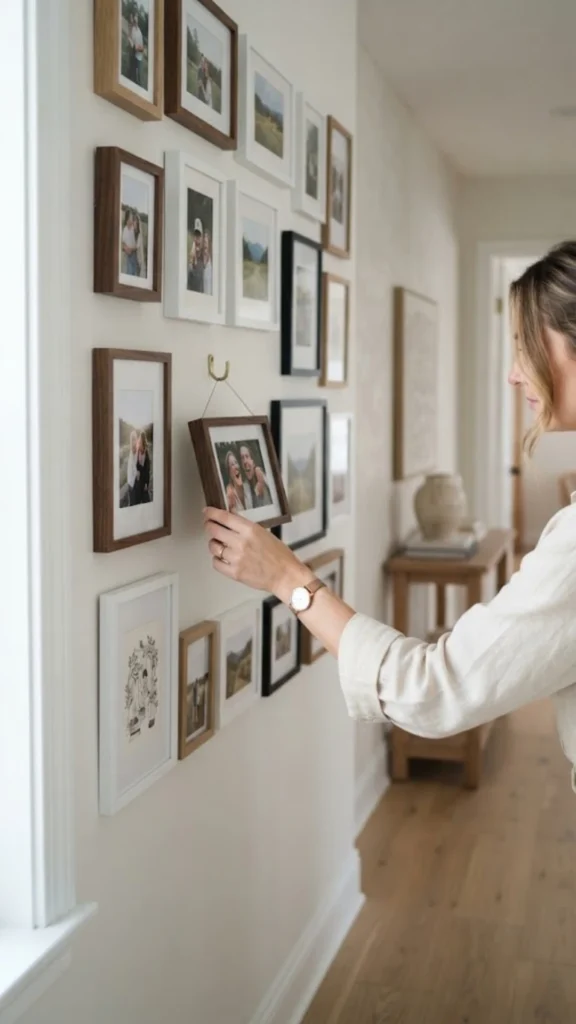
Work outward from your anchor piece in both directions rather than hanging left to right across the wall.
This keeps the spacing even on both sides as you go, instead of running out of room on one edge.
Remove one template at a time, right before you hang that specific piece, so you never lose track of which spot belongs to which frame.
Heavier frames, anything over 5 pounds, need more than a nail in drywall. Use a drywall anchor rated for the weight, or hit a stud if one lines up with your layout.
Step Back and Adjust for Balance
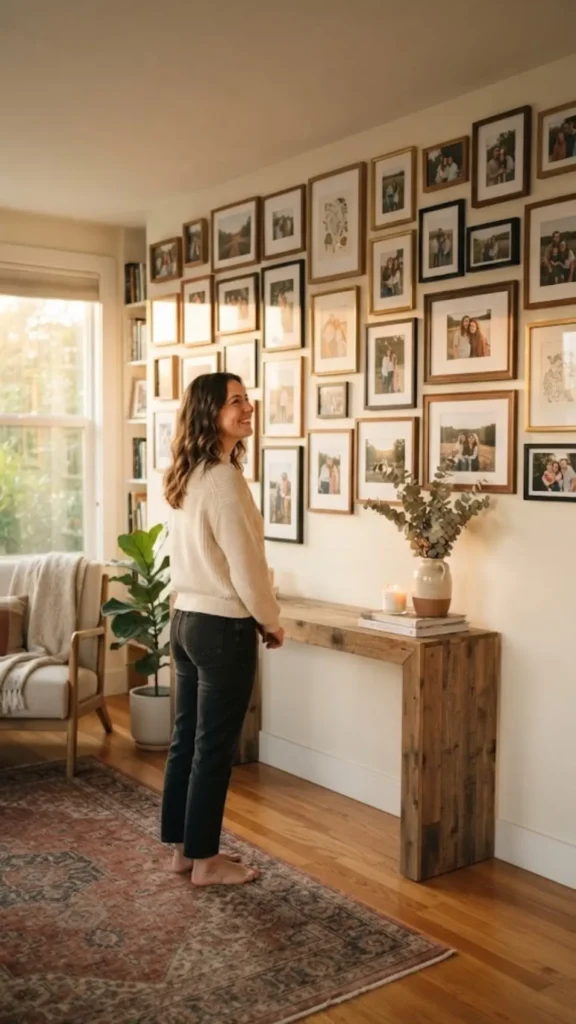
Walk to the other side of the room and look at the whole wall at once. Check that the visual weight feels even from left to right, not just piece by piece.
A cluster of dark frames on one side and light ones on the other will pull the eye unevenly, even if every individual spacing measurement was correct.
Small nudges now, a half-inch here or there, make a bigger difference than they seem like they should.
Skipping the floor layout step
Going straight to the wall feels faster, but it means every mistake becomes a nail hole. The floor layout costs you 20 minutes and saves you a wall full of patched spots.
Choosing too many focal pieces
When everything competes for attention, nothing wins. Stick to one or two true focal pieces and let the rest support them.
Mixing frame finishes without a plan
Gold, black, and silver hardware scattered at random reads as clutter, not curated. Pick one finish or one shape family before you start hanging.
Hanging heavy frames with just a nail
A nail in drywall holds far less than it looks like it should. Anything over 5 pounds needs a rated anchor or a stud underneath it.
Spacing pieces by eye instead of measuring
Gaps that look even up close often aren’t once you step back. Measure your spacing between templates instead of guessing, and check it from across the room before committing.
How many pieces do I need for a gallery wall?
Most walls work well with 7 to 10 pieces total, including one or two focal points and the rest as supporting fillers.
Do all my frames need to match?
No. Matching finish or shape family is what makes a wall feel planned, not matching frame size or brand.
Can I include non-photo items, like fabric or beads?
Yes. A small shadow box or a framed piece of fabric adds texture and works well as a filler piece among your photos.
What if my wall isn’t a perfect rectangle?
Work around outlets, switches, or corners the same way you’d work around any piece. Leave that spot empty in your floor layout and build the rest of the arrangement around it.
How do I protect sunlit photos from fading?
Use UV-protective glass in the frame, or print copies instead of hanging originals if the wall gets direct sunlight for part of the day.
Photos & art • Frames • Tape measure • Kraft paper • Painter’s tape • Pencil & scissors • Hooks • Hammer & level • Stud finder (optional)
- Define your wall’s story
- Gather photos, art, and keepsakes
- Choose and measure your wall
- Pick a color thread
- Sort focal points and fillers
- Choose frame style and finish
- Lay out the design on the floor
- Trace paper templates
- Tape templates to the wall
- Hang the anchor piece
- Hang the rest outward from center
- Step back and adjust
Conclusion
Your wall isn’t just decorated anymore. It’s telling a story, one frame at a time, in a room your family walks through every day.
You’ve gone from a pile of loose photos and art to a wall that says something true about who your people are.
Next, think about a small brass plaque or handwritten card near the anchor piece, naming the person or moment it honors. It’s a small touch that turns a gallery wall into a keepsake.
Save this guide now so you have it ready when you start pulling photos this weekend.