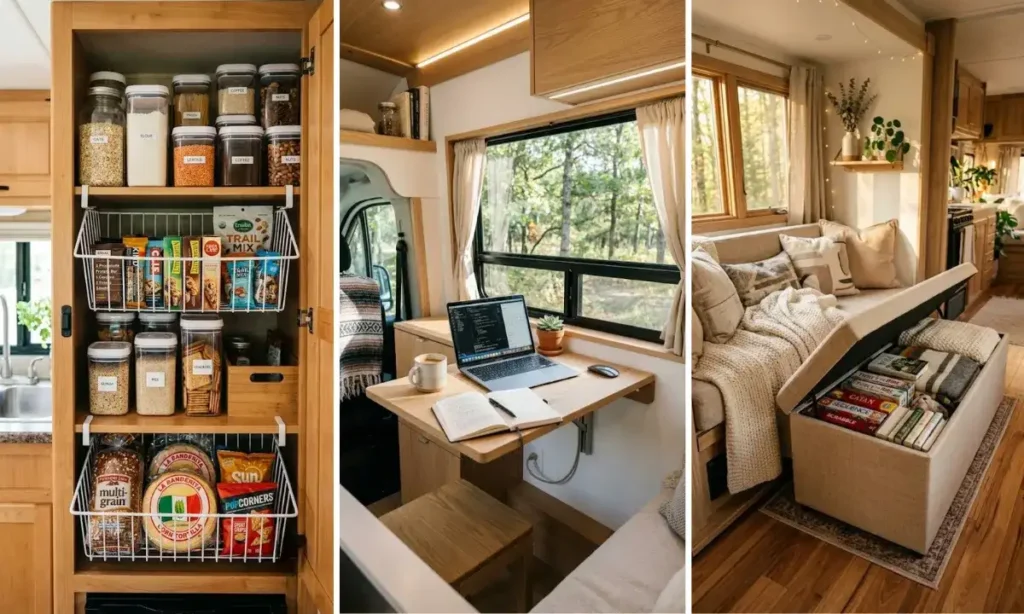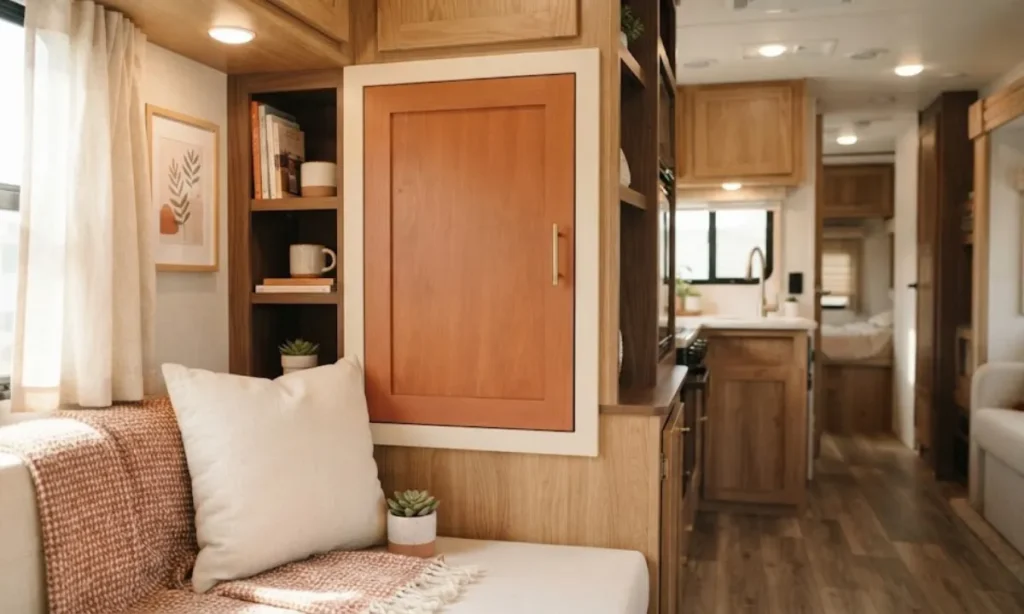
Every RV has dead space that nobody talks about. The gap beside your fridge. The hollow toe-kick under your cabinets. The awkward six inches between your bed frame and the wall. Most people fill these spots with a bin from Target and call it storage, but it never quite looks right. It looks like it was added on, not built in.
This guide walks you through building custom RV storage hacks that look like the manufacturer put them there. No fancy woodworking degree required.
You will measure a cavity, cut a panel to fit it exactly, finish it to match your existing cabinetry, and mount it so it survives real highway miles without rattling loose. The whole approach works because it follows the same order a cabinet shop would use: measure twice, build once, finish last.
Expect to spend a full afternoon on your first piece, closer to 2 hours once you have done it a second time. You do not need a table saw. A hand saw, a miter box, and patience will get you through this diy rv storage hacks project just fine.
🧰 What You’ll Need
🗺️ At a Glance
Find the Dead Space Hiding in Your RV
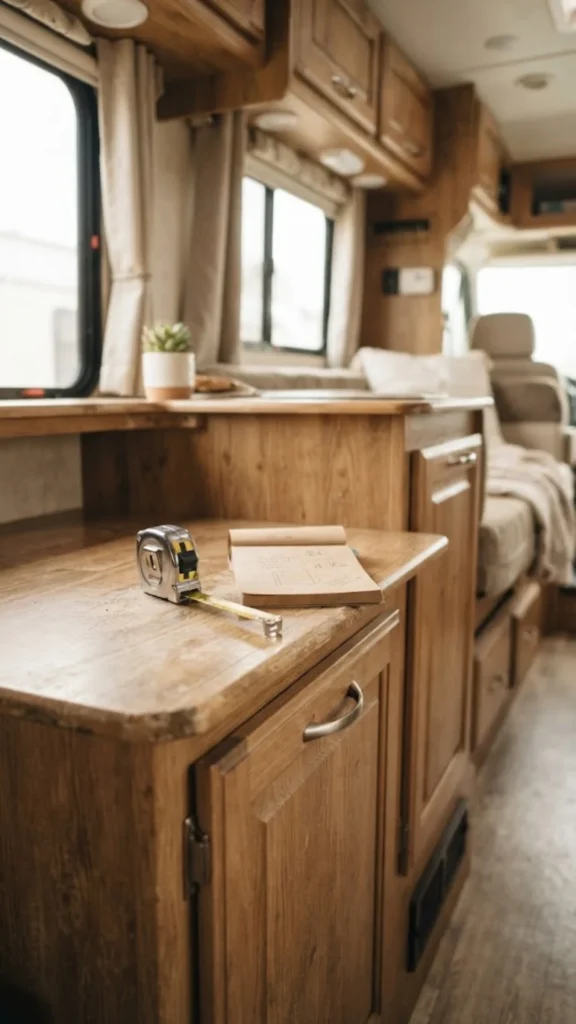
Walk your rig slowly and knock on surfaces. A hollow sound behind a wall panel or under a bench usually means there is unused cavity space back there. Check these five spots first:
- The toe-kick under your kitchen cabinets
- The gap beside your fridge or stove
- Wall cavities behind removable panels
- The dead zone under a dinette bench
- The space between your mattress and the wall
Skip anything near plumbing lines or the furnace exhaust. Cutting into those spots creates problems far bigger than storage.
Measure the Cavity From Every Angle
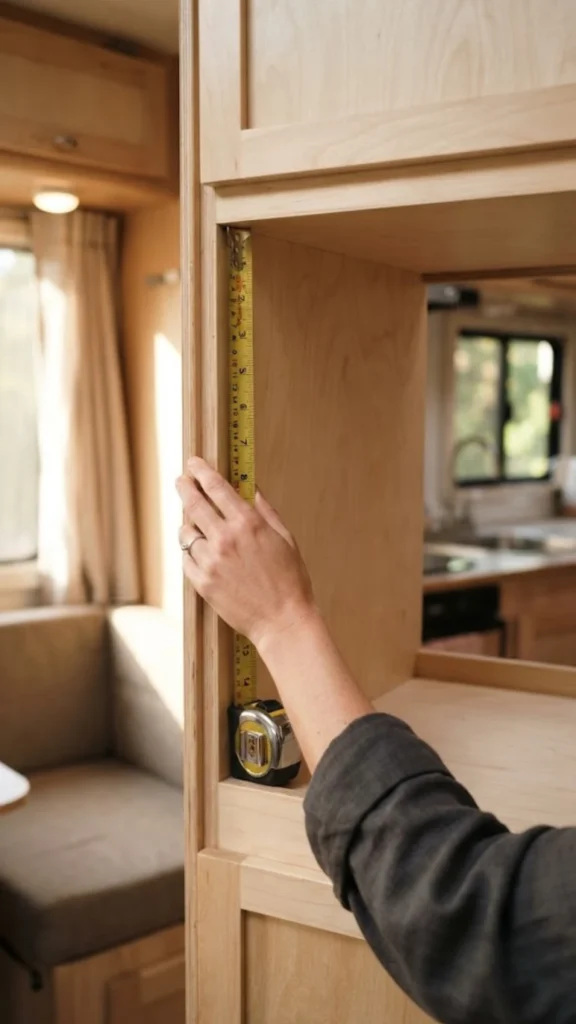
A cavity that looks rectangular from the front is rarely a true rectangle. RV walls flex, cabinets settle, and floors are not always level after years on the road. Measure the width at the top, middle, and bottom of the opening.
Do the same for the height on the left and right sides. Write down the smallest number for each dimension, not the average. Building to the tightest measurement means your panel will always fit, even if the opening narrows somewhere you didn’t expect.
- Measure width at the top of the opening
- Measure width at the bottom
- Use whichever number is smaller for your cut list
Match Your Build Material to Your RV’s Interior
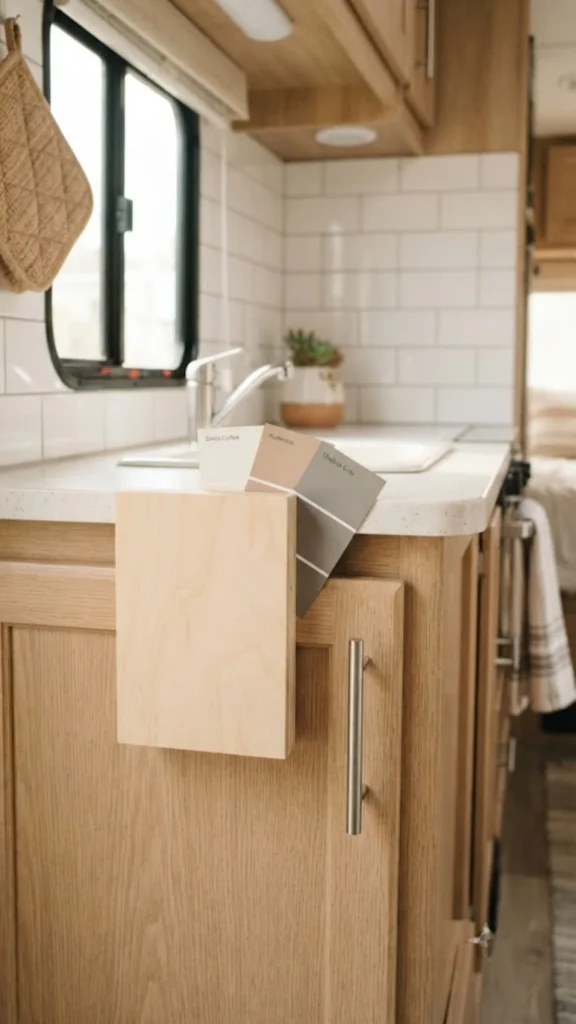
Most RV interior panels are made from lightweight plywood or MDF finished with a wood-grain laminate. Buying a ¾-inch sanded plywood or MDF panel from a hardware store gives you a similar weight and rigidity without adding bulk your rig cannot spare.
MDF sands to a smoother finish, which matters if you plan to paint. Plywood holds screws better at the edges, which matters if your piece will see regular use, like a pull-out drawer. Bring a paint chip or photo of your existing cabinetry with you so the hardware store can help you pick a stain or paint base that will actually match once it’s dry.
Sketch Your Storage Piece Before You Cut Anything

A rough sketch on paper saves you from an expensive cutting mistake. Draw the panel as a simple rectangle first, then add any notches for hinges, cleats, or trim overlap. Note these three details directly on the sketch before moving to the saw:
- Final width and height, using your smallest measurements from Step 2
- Which edges will show trim versus which edges get hidden by the cavity wall
- Where the cleat line sits, usually ¾ inch up from the bottom edge
This sketch becomes your cut list, so keep it close while you work.
Cut Your Panels to the Exact Cavity Size
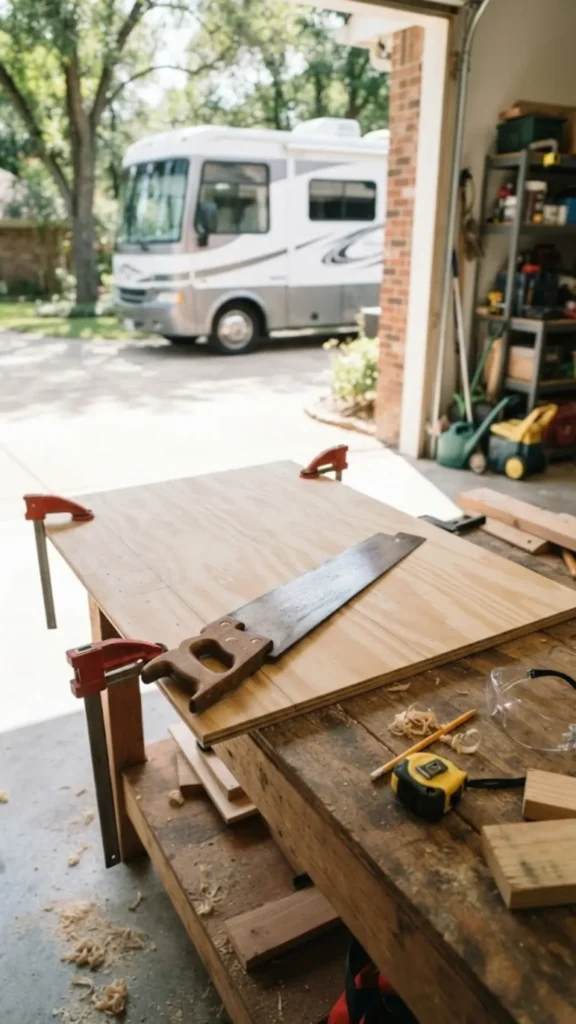
If you are using a hand saw, clamp the panel to a workbench or sturdy table before cutting. This keeps the blade tracking straight instead of wandering off your pencil line.
Cut slightly outside your marked line, closer to a hair’s width than a full 1/8 inch, since you can always sand down to the line, but you cannot add material back. Support both sides of the cut as you finish, or the offcut piece will snap away and splinter the edge right before the blade exits.
- The blade starts to angle away from the pencil line midway through the cut
- The offcut piece wobbles instead of staying flush against the panel
Sand Every Edge Before You Test-Fit

Rough edges catch on cavity walls and scratch paint off in the exact spot nobody wants to see. Start with 120-grit sandpaper to knock down saw marks, then switch to 220-grit for a smooth final pass.
Sand in the direction of the wood grain, not across it. A sanding block gives you straighter edges than sandpaper alone, but a folded piece of cardboard wrapped around the paper works in a pinch.
Test-Fit the Piece and Mark Adjustments
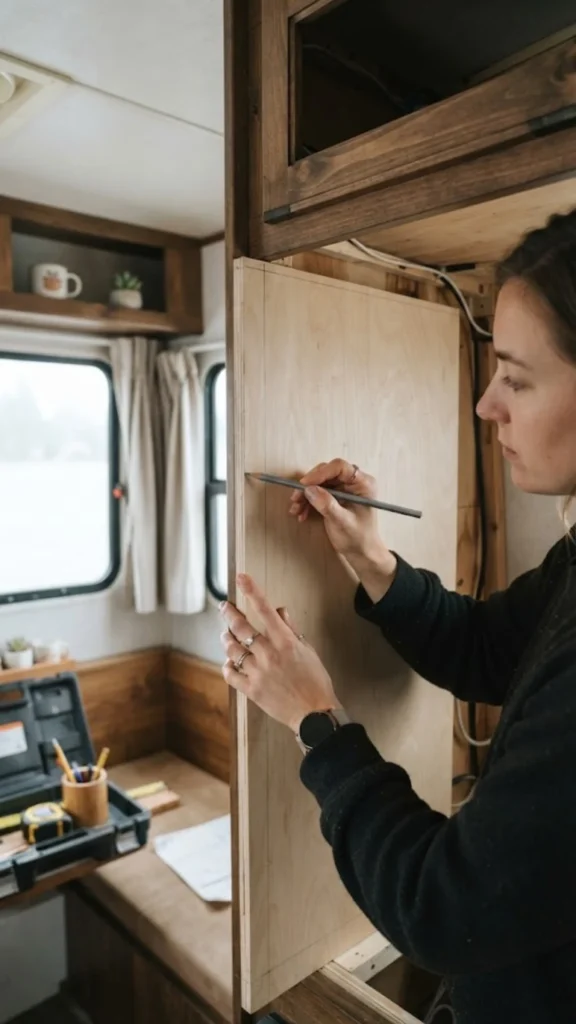
Slide the panel into the cavity without forcing it. A little resistance is normal, but if you have to shove or tap it with a mallet, something is still too big.
Pull it back out and mark exactly where it binds with a pencil, right on the panel itself. That mark tells you precisely where to sand or trim next, instead of guessing and taking material off the wrong edge.
Prime the Panel to Block Stains and Odors
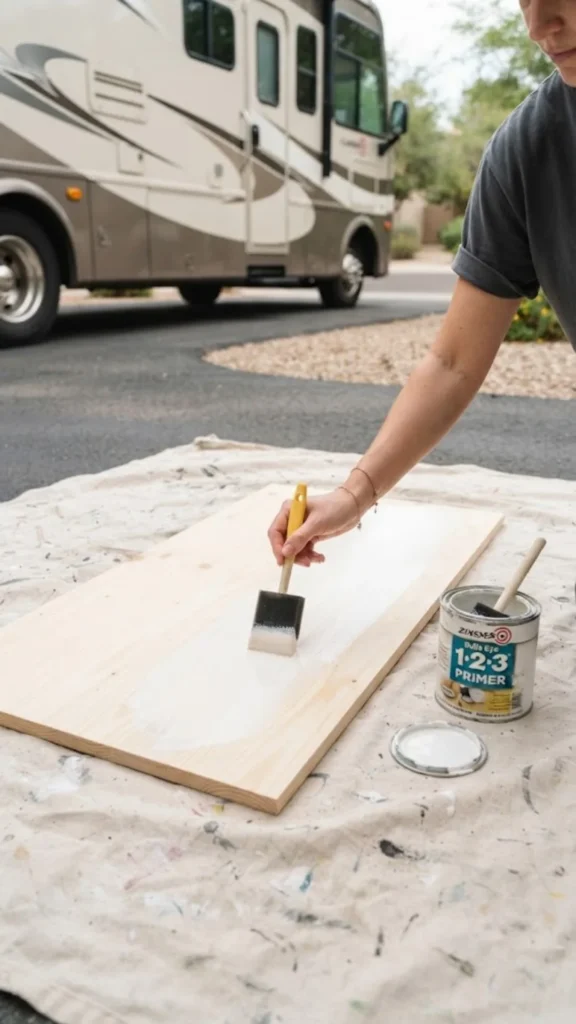
RV interiors deal with humidity, propane smells, and the occasional spilled drink over the years, and raw wood soaks all of it up. A stain-blocking primer seals the surface before any of that becomes permanent.
Apply one thin coat with a foam brush, working in long strokes with the wood grain. Let it dry for 30 minutes, then check the surface with your fingertip. If it still feels tacky, give it another 15 minutes before moving on.
Paint or Stain to Match Your Existing Cabinetry
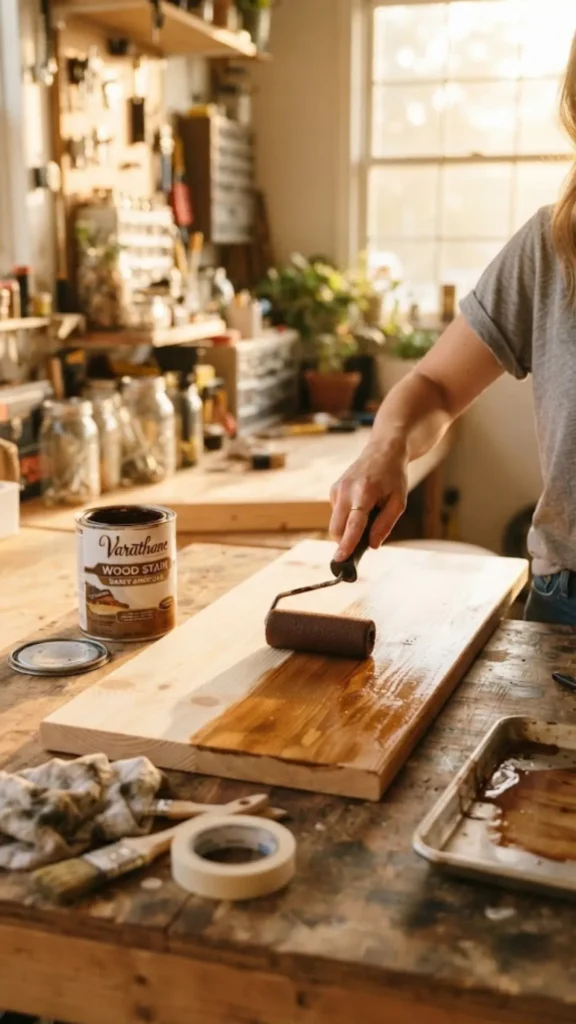
This is the step that makes your storage piece disappear into the RV instead of standing out as an obvious add-on. Three things matter here for a convincing match:
- Test your paint or stain on a hidden scrap piece first, never directly on the final panel
- Apply thin coats, since thick coats pool in corners and dry a shade darker than the can suggests
- Wait the full recoat time on the label before adding a second coat, even if the first coat looks dry to the touch
Matching stain is trickier than matching paint, since wood grain and age both affect the final color. If your existing cabinetry has any orange or amber undertone, lean toward a warm stain rather than a gray one.
Attach Cleats as Your Hidden Support System
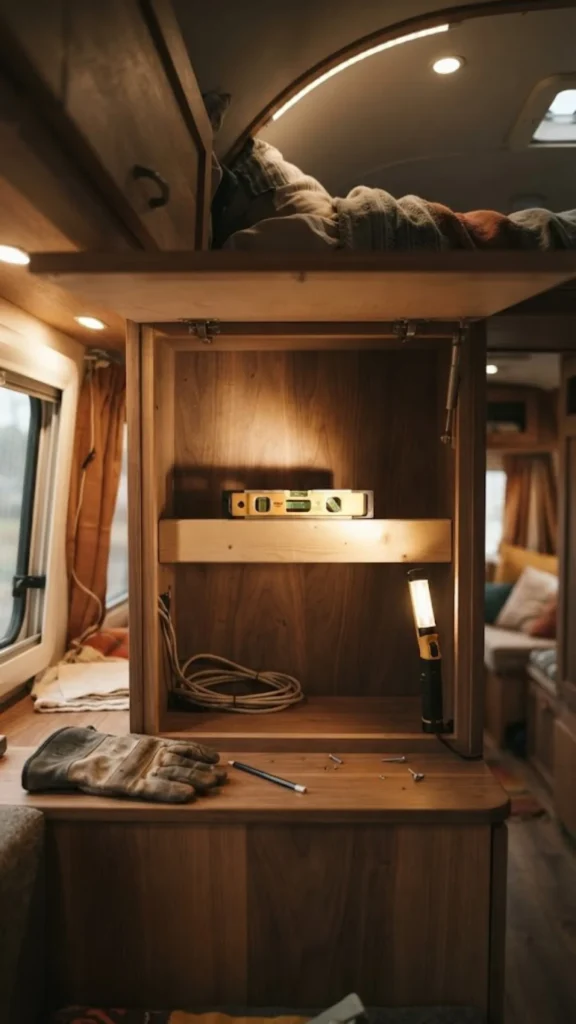
Cleats are small strips of wood, usually 1×2 pine, screwed to the inside walls of the cavity to create a ledge your panel rests on. This hidden support does the actual weight-bearing work, not the fasteners you add later.
Cut two cleats to match the depth of your cavity, then screw each one ¾ inch below where you want the panel’s top surface to sit. A level here matters more than almost anywhere else in this build. One crooked cleat and your finished piece will sit at a visible tilt every time you open it.
Secure the Panel With Hidden Fasteners
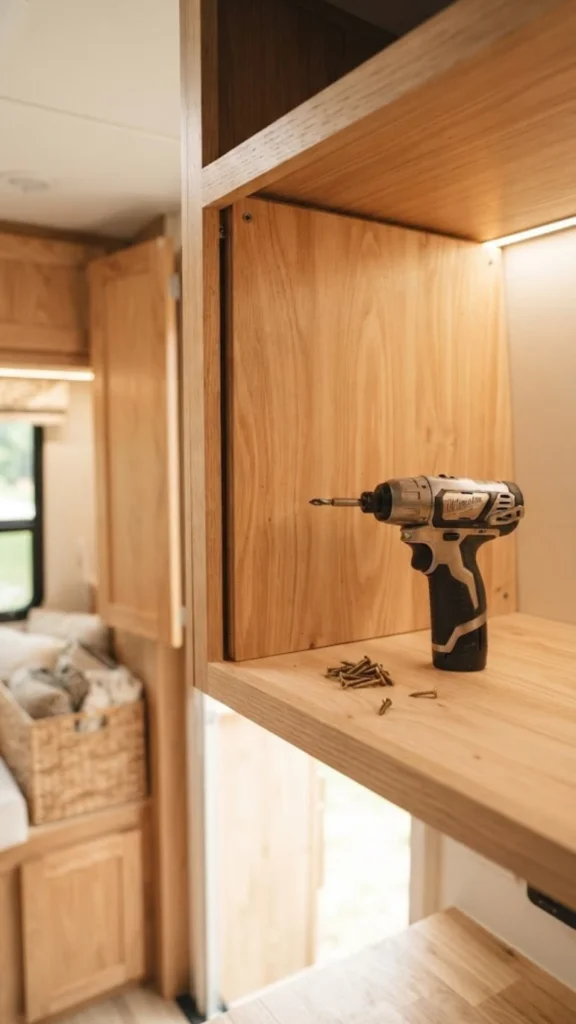
Drive screws up through the cleat into the underside of the panel rather than down through the visible top face. This keeps every fastener out of sight once the piece is installed. Pre-drill each hole first, since driving a screw into plywood or MDF without one often splits the edge. Two screws per cleat is usually enough for a panel this size. Snug is the goal here, not tight enough to dimple the wood surface.
- You’ve drilled a pilot hole slightly smaller than the screw shaft
- The drill bit is at least as long as the screw itself
- You’re driving straight in, not at an angle
Add Trim to Hide Every Seam
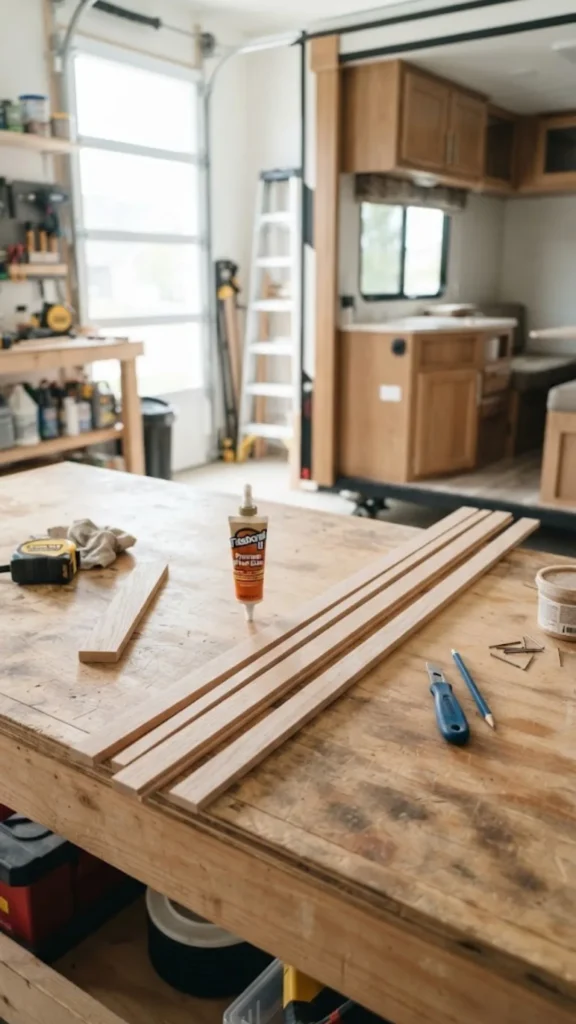
Even a well-measured panel leaves a thin gap around its edges once it’s installed, and trim is what turns that gap into a clean, finished line. Cut your molding strips to match each edge, mitering the corners at 45 degrees so they meet without a visible butt joint.
Glue and pin-nail the trim in place rather than screwing it, since screw heads on trim are hard to hide and easy to notice. Paint the trim to match before installing it if possible. Touching up paint in a tight corner after the fact is far harder than painting a flat strip on your workbench.
Install a Soft-Close Latch or Hidden Pull
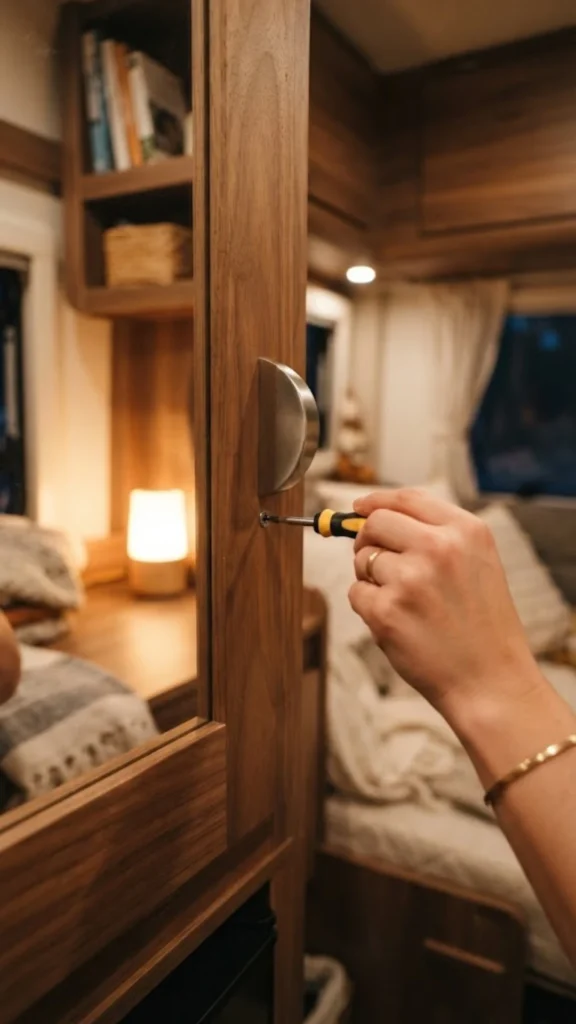
A flush pull or a soft-close latch keeps your storage piece looking built-in even when it’s in daily use. Mark the pull location on the panel face, centered or slightly offset depending on your design, then drill a pilot hole before attaching the hardware.
Soft-close latches need a strike plate mounted inside the cavity wall, lined up so the panel clicks shut without slamming. Test the latch five or six times before calling it finished, since RV floors are rarely perfectly level and a latch that catches at home may not catch the same way once you’re parked on a slope.
Line the Interior and Load-Test for Travel
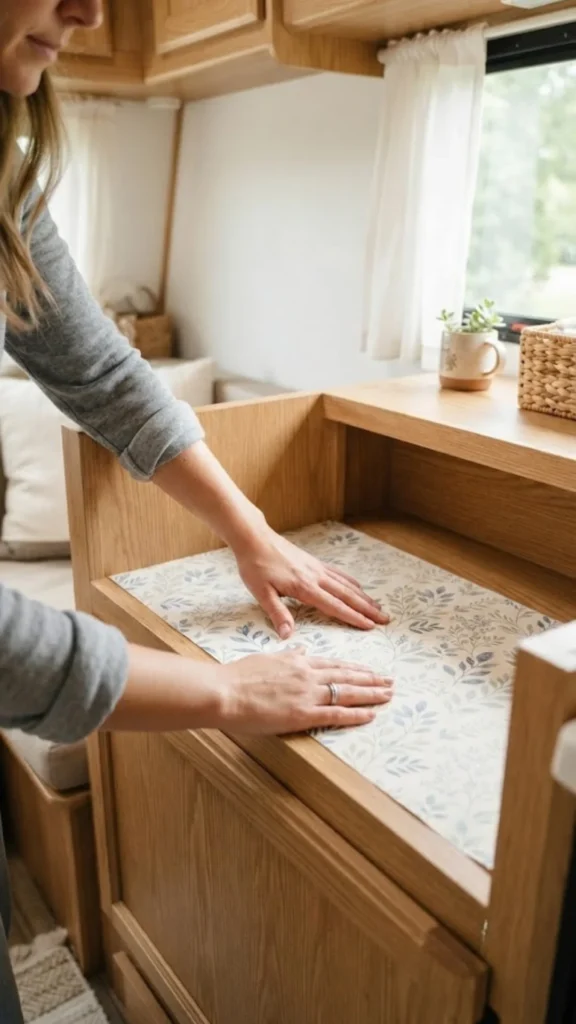
Cut a piece of shelf liner to fit the inside floor of your new storage space. This protects the raw wood from scratches and keeps small items from sliding around on the bare panel.
Once the liner is down, load the space with the actual items you plan to store, close it up, and take the rig for a short drive over a bumpy road if you can. Listen for rattles.
- No rattle, no shifting: you’re done
- Slight rattle: add a thin foam strip along one edge
- Items sliding forward: add a small lip or divider before your next trip
This final check matters more than it seems. A piece that looks perfect parked in the driveway can still fail the moment you hit a pothole at 60 mph.
⚠️ Common Mistakes to Avoid
❓ Frequently Asked Questions
Will this add too much weight to my RV?
How do I get rid of the new wood or paint smell?
I don’t own a miter box. Can I still cut clean trim corners?
What if my cavity isn’t a perfect rectangle?
Can I skip the soft-close latch to save time?
📋 Quick Reference Card
Wrap-Up
Your RV now has one less awkward gap and one more spot that actually earns its keep. That panel you built to fit its exact cavity will hold up to real miles, not just look good sitting still in the driveway. Once this one feels routine, the same process works on every other dead space in your rig, from under the dinette to behind the driver’s seat.
Save this diy rv storage hacks guide before your next build weekend.